

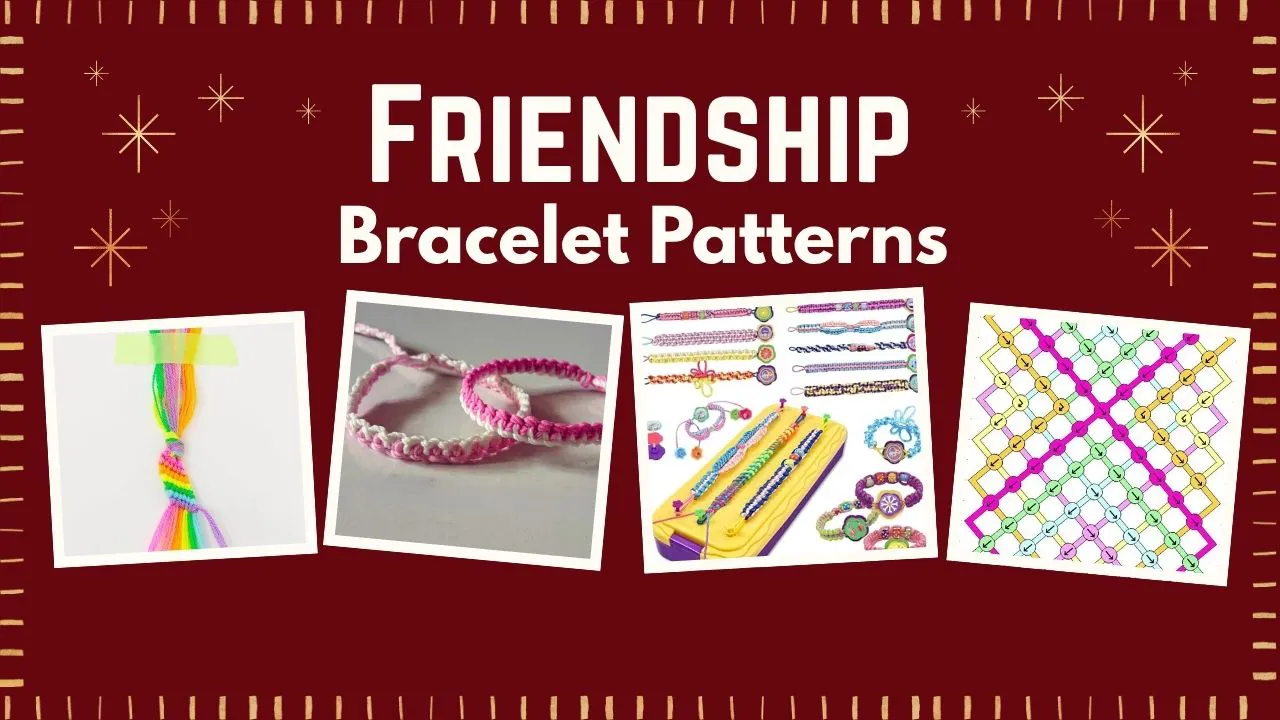
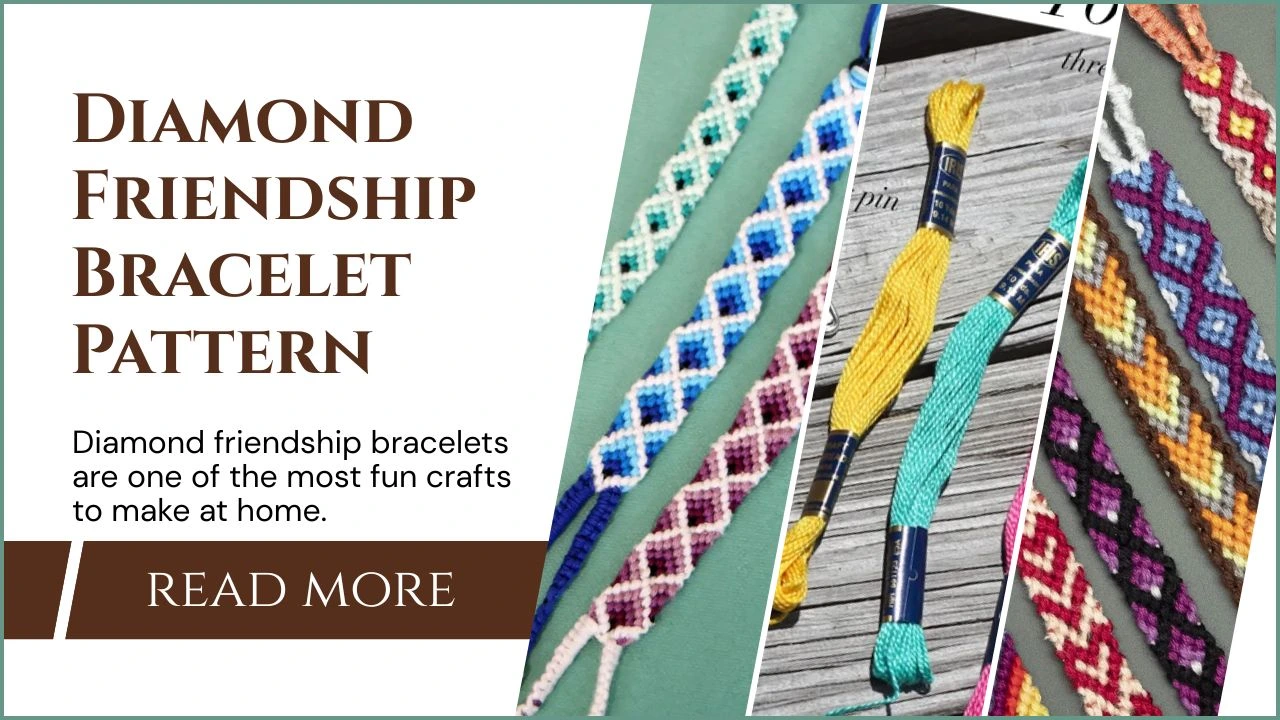


Friendship bracelets are entertaining. They are knitted in colored threads and knots. Most individuals like preparing them for their friends. To have cool bracelets, you should know how to read friendship bracelet patterns.
Patterns demonstrate how to tie the strings. They instruct you about the color of the thread. They also inform you of the type of knots to tie. With this pattern, you can match the design of your bracelet.
To learn how to read the pattern, first know your supplies and then look at the pattern. Learn the basic knots, understand symbols, and set your strings in a sequence. Read the pattern row alternately from left to right. Repeat rows and observe post-knot movements. You can also consult video tutorials if you face any problem.
It is this guide that will teach you how to read the patterns of friendship bracelets. It is easy to follow. Even inexperienced children will learn how to make a bracelet.
In This Post
- Key Takeaways
- Types of Friendship Bracelet Patterns
- How to Read Friendship Bracelet Patterns: Complete Guide
- Step 1: Get your supplies
- Step 2: Look at the pattern
- Step 3: Learn the basic knots
- Step 4: Understand symbols
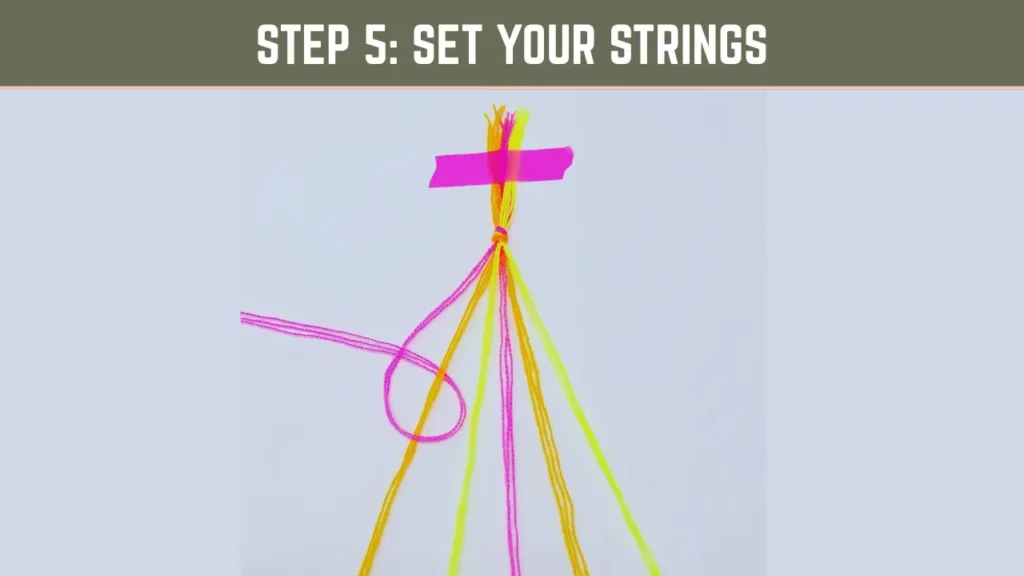
- Step 5: Set your strings in sequence according to how the pattern indicates.
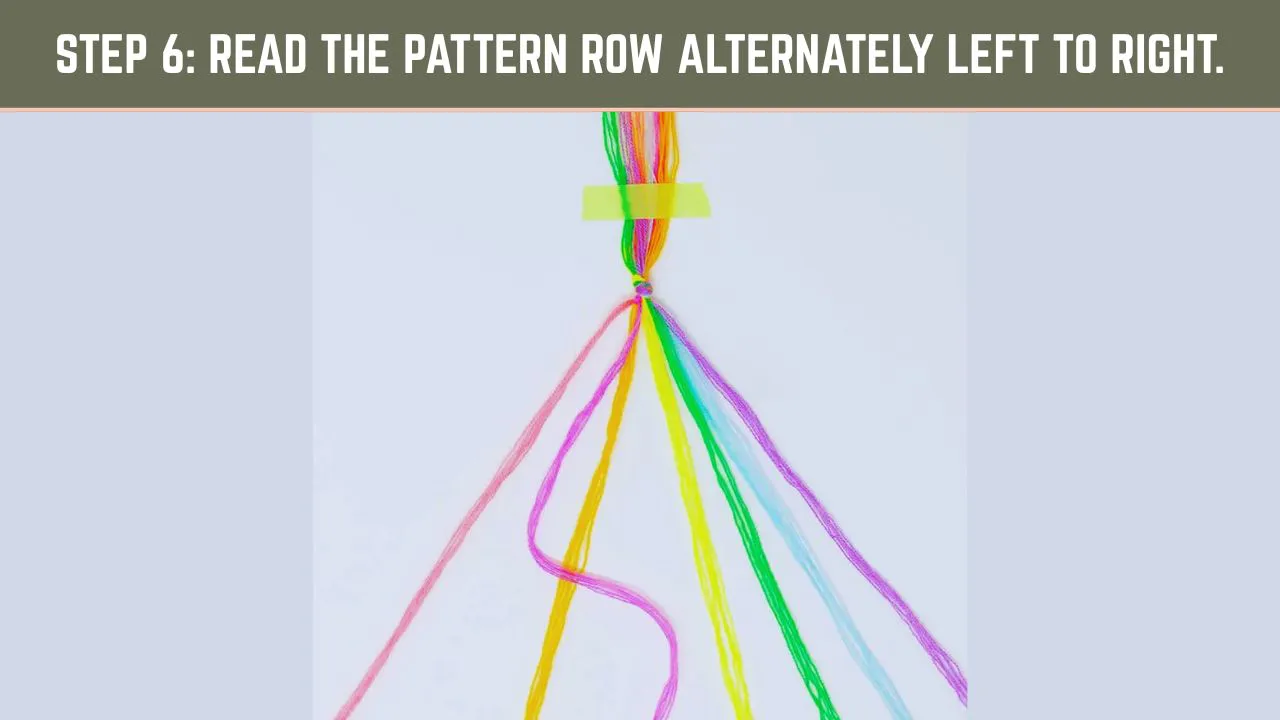
- Step 6: Read the pattern row alternately left to right
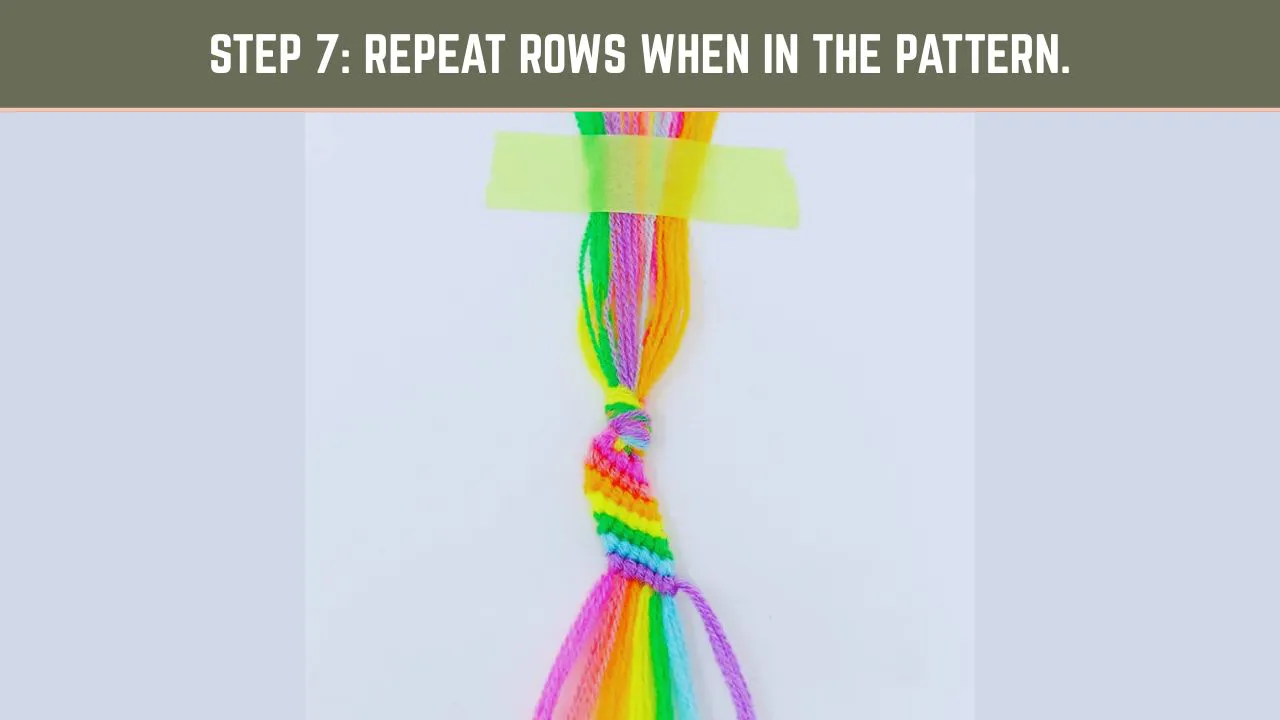
- Step 7: Repeat rows when in the pattern.
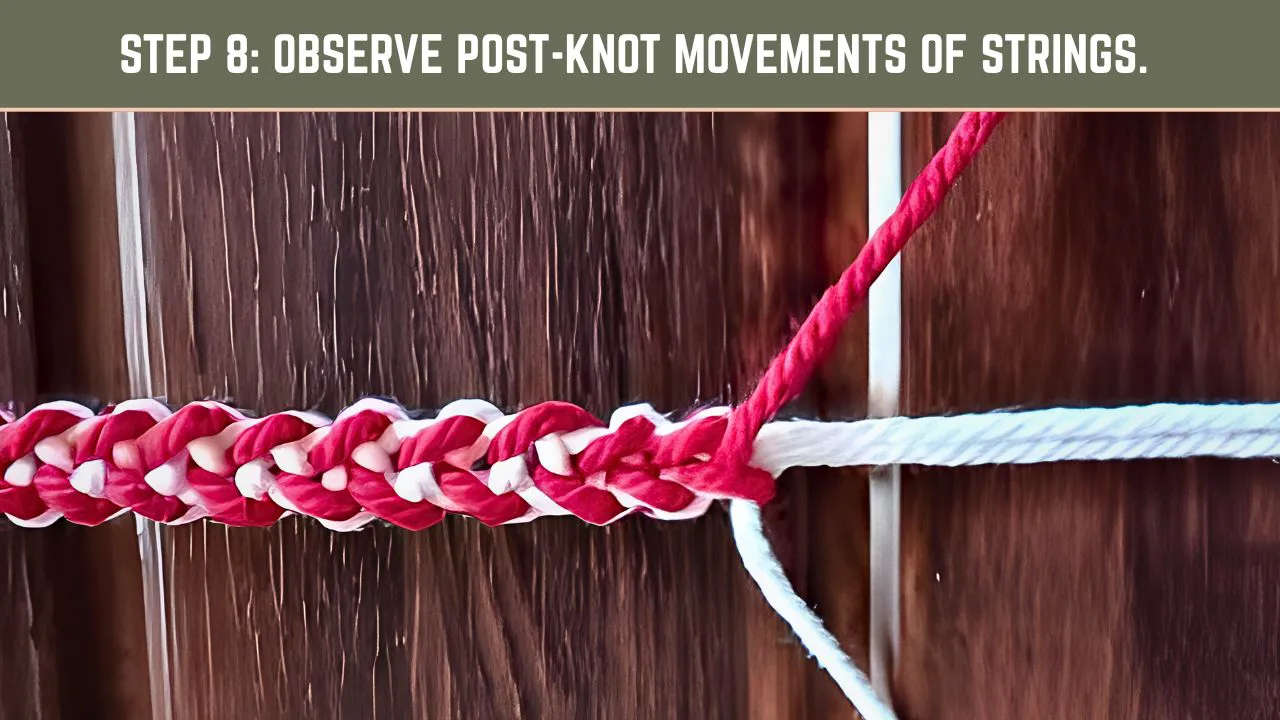
- Step 8: Observe post-knot movements of strings
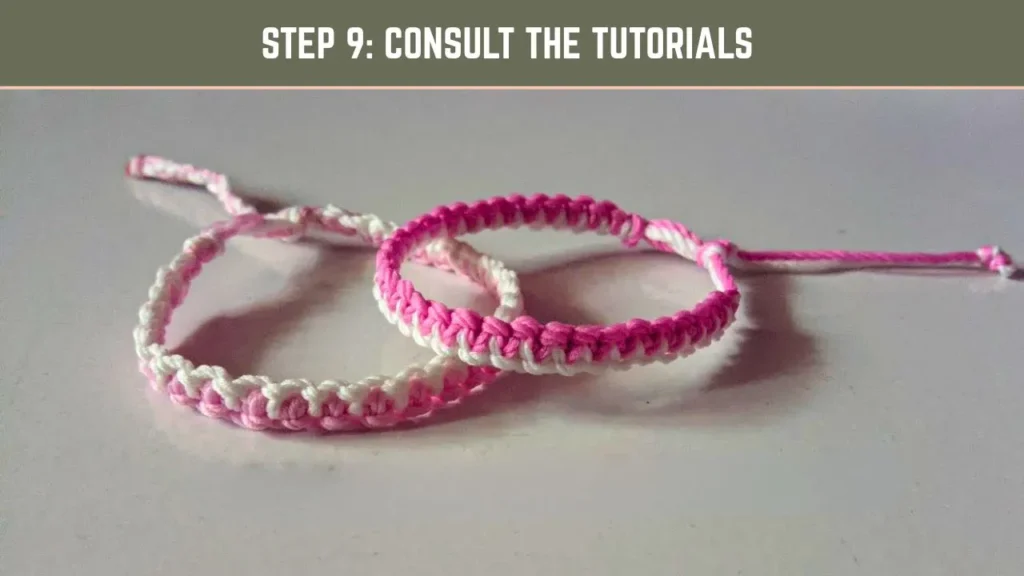
- Step 9: Consult the tutorials or videos in case you require additional assistance.
- Elements of Friendship Bracelet Patterns
- The Four Basic Friendship Bracelet Knots
- Frequently Asked Questions (FAQs)
- Final Thoughts
Key Takeaways
- Patterns of friendship bracelets depict the direction of knots and colors of strings. Patterns are read from left to right in rows.
- There is a special symbol or arrow in each knot. There are four fundamental knots that you have to know.
- Reading with simple patterns will help practice reading them. Learn more using tutorials, books, or websites.
About Friendship Bracelet Patterns?
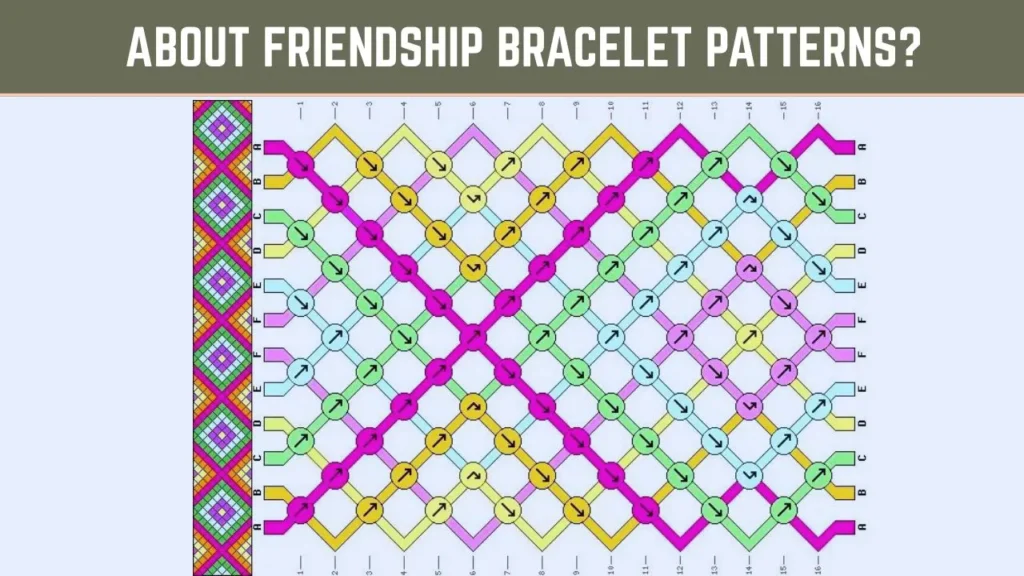
Friendship bracelet patterns serve as a guide for creating bracelets. They tell you how to arrange the strings. They also show which knots to tie and in what order. Patterns use colors, arrows, and symbols to guide you.
There are many types of patterns. Some are simple chevron or zigzag styles. Others are called alpha patterns, which show letters or pictures. Patterns may be either simple or difficult, depending on the design.
There are many different bracelets you can make by learning how to read a pattern of friendship bracelets. You can access patterns in books, websites, or tutorials. The patterns help you create beautiful and fun bracelets for your friends.
Types of Friendship Bracelet Patterns
There are many types of friendship bracelet patterns. First, simple patterns like chevrons are easy to learn. Next, alpha patterns create letters and pictures. Then, mixed patterns combine different knots. Lastly, select a style that fits you most.
- Chevron patterns are widespread and have forward and backward knots to form V shapes or zigzags.
- Alpha Patterns let you create letters, numbers, or pictures. They look like pixel art and use a grid system.
- Single Knot Patterns use only forward-backward or backward-forward knots. These are easy and beginner-friendly.
- Mixed Patterns combine different knot types and styles in one bracelet. These can be more complex and creative.
How to Read Friendship Bracelet Patterns: Complete Guide
Here is a complete and easy step-by-step guide on how to read a friendship bracelet pattern:
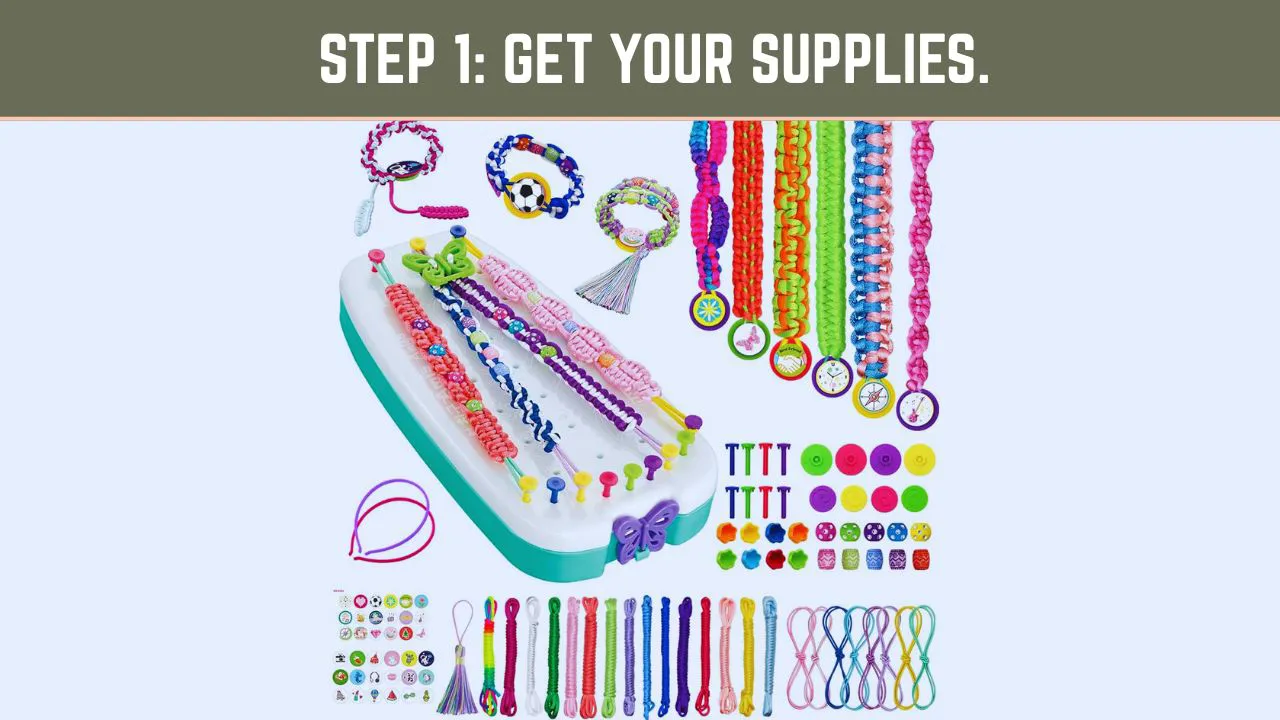
Step 1: Get your supplies
You will require a piece of embroidery, a pair of scissors, and a piece of tape or a clip to keep your strings together.
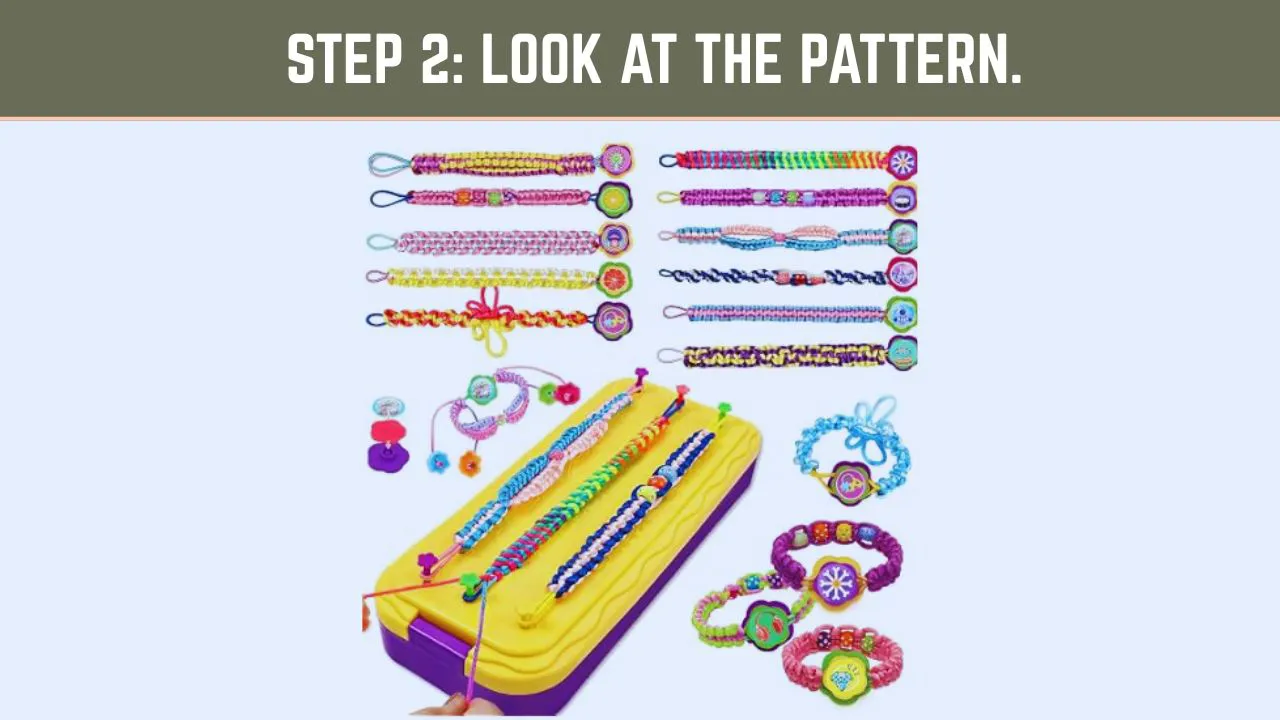
Step 2: Look at the pattern
Count the strings and view their color.
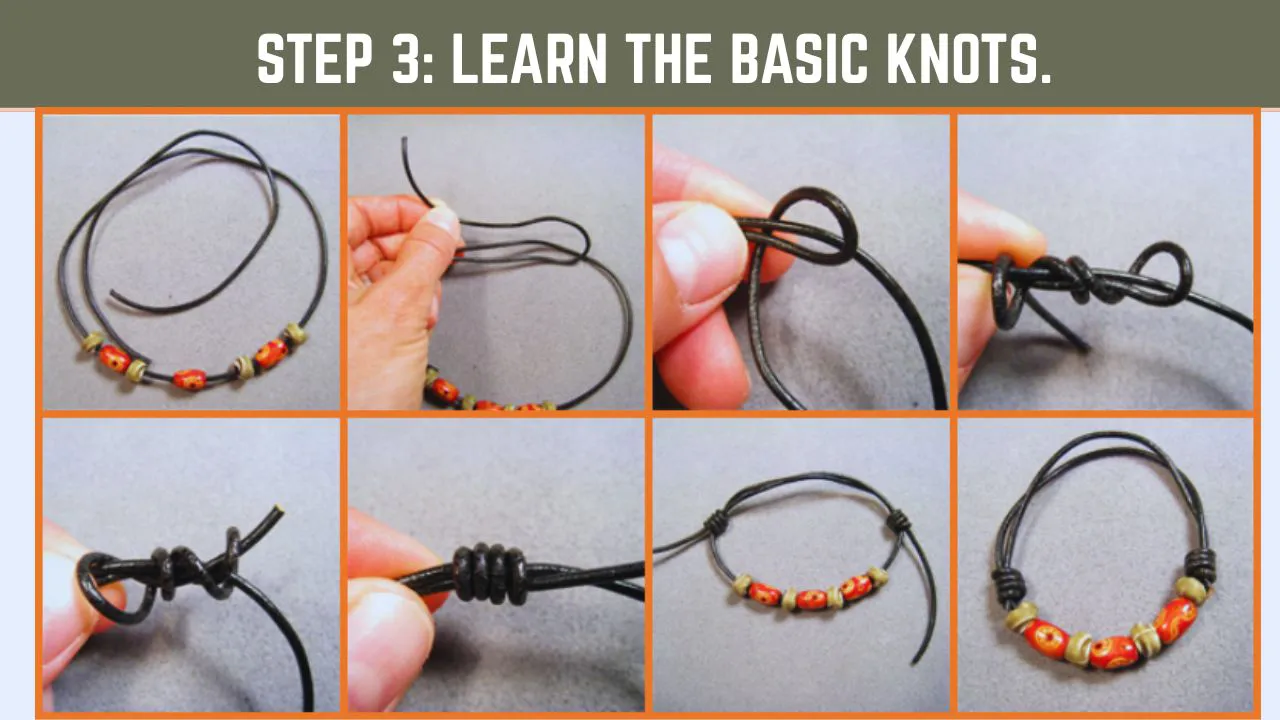
Step 3: Learn the basic knots
You have to be acquainted with the forward knot, backward knot, forward-backward knot, and backward-forward knot.
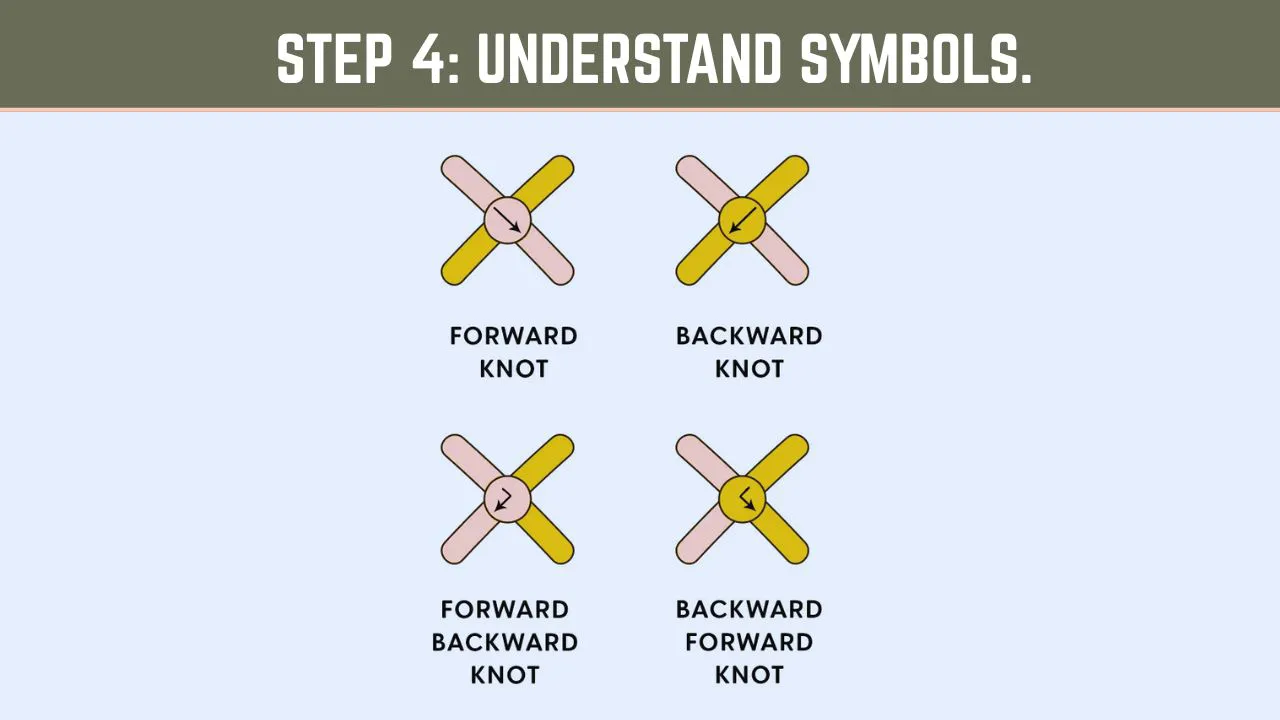
Step 4: Understand symbols
Arrows show knot direction. The right row indicates a forward knot. The left arrow refers to the bath clockwise knot. Combined knots sometimes have two directions depicted by arrows.
Step 5: Set your strings in sequence according to how the pattern indicates.
Step 6: Read the pattern row alternately left to right
Tie each knot as shown.
Step 7: Repeat rows when in the pattern.
Step 8: Observe post-knot movements of strings
There are some knots after which the strings change positions.
Step 9: Consult the tutorials or videos in case you require additional assistance.
Elements of Friendship Bracelet Patterns
Friendship bracelet patterns have many parts. First, you see the string colors. Then, symbols show knot types. Next, arrows guide knot direction. Finally, rows tell you the order. Understanding these elements helps you follow patterns easily.
| Element | What it means | Why it matters |
| String order | Which color is where at the start | The wrongdoer means the others will look wrong |
| Knot types | Forward, backward, FB, BF knots | These create the design |
| Symbols/arrows | Show knot direction | Help you know which knot to tie |
| Rows and columns | Each row is a step in the bracelet | Follow them to finish the bracelet |
| Repeats | Parts you do again and again | Helps make longer bracelets |
| Length | How many rows to tie | Tells when to stop |
The Four Basic Friendship Bracelet Knots
There are four basic knots you must learn. First, the forward knot is simple. Next, the backward knot comes after. Then, forward-backward and backward-forward knots follow. Knowing these knots helps you read friendship bracelet patterns easily.
- Forward Knot: Tie the left cord over the right two times. Left string moves right.
- Backward Knot: Take the right string over on the left, twice. Right string moves left.
- Forward-Backward Knot: Tie the forward half, then the backwards half. String stays on the foot.
- Backward-Forward Knot: Tie backward half, and then forward. String stays on rthe ight.
- It is important to know these knots as they will assist you in reading friendship bracelet patterns and following any design.
Frequently Asked Questions (FAQs)
Start with easy patterns. Learn the basic knots first. Apply basic tutorials or videos.
Alpha patterns are similar to pixel art. They represent letters or images by knots and colors.
That is, you tie a half knot forward and a half knot backward. And the working string remains on the left.
Arrows indicate what knot to put and in which direction.
Final Thoughts
Understanding the patterns of friendship bracelets allows you to create numerous cool patterns of bracelets. Begin with basic designs and master the four knots. Practice by using tutorials, books, or websites. Age does not matter, as you can read any design and create beautiful bracelets for your friends. Play with designing and befriending your bracelets!


![The Best 30+ Free Crochet Cat Patterns [Beginner-Friendly Guide]](https://crochetmind.com/wp-content/uploads/2025/04/1-The-Best-30-Free-Crochet-Cat-Patterns-Beginner-Friendly-Guide.webp)


