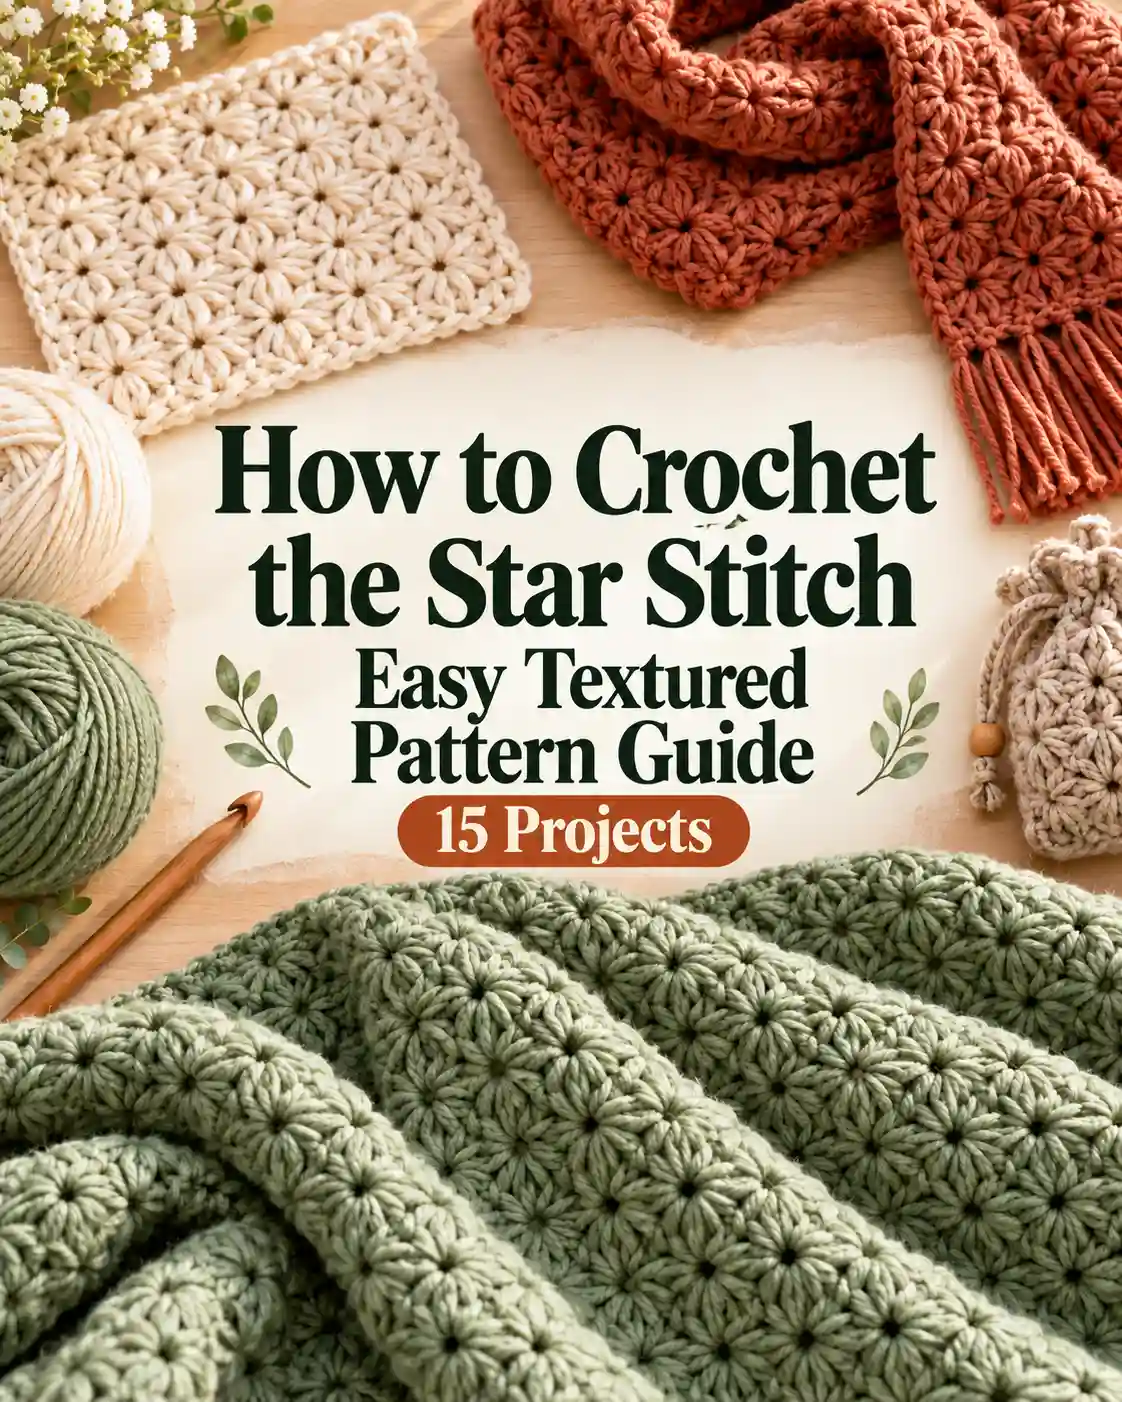
Star stitch crochet creates connected clusters with small central openings, giving the fabric its distinctive star-like texture. You make each cluster by drawing up loops, closing them together, and adding a chain; this guide explains a flat-row version and shares 15 project ideas for using it.
Those little stars can look intimidating before you know where the hook goes. Start with a small sample, learn to recognize the center of each cluster, and save the larger blanket or shaped beanie for when the repeat feels familiar.
Key Takeaways
- Practice crochet star stitch on a small square first.
- Keep drawn-up loops even and locate each star’s eye.
- Follow one tutorial’s starting chain and edge instructions.
- Measure a washed sample before planning project dimensions.
- Choose yarn for softness, care, structure, and intended use.
- Use dedicated patterns for crowns, baskets, and round joins.
How Do You Make Star Stitch Crochet?
Make connected loop clusters, close each with a chain, and alternate star rows with the return row described below.
At a Glance
- Locate the eye created by each closing chain.
- Keep the drawn-up loops similar in height.
- Follow the same edge treatment throughout.
- Count stars before beginning the next row.
The key is hook placement. Each new star connects to the previous one, so you work into parts of an existing cluster as well as the next stitches.
The small opening created by the closing chain is called the eye. Finding that eye makes the next star, and the return row, much easier to follow.
Before choosing a project, use this quick comparison.
| Project group | Good starting point | Main detail to check |
|---|---|---|
| Small practice pieces | Dishcloth or square coaster | Consistent loops and straight edges |
| Winter accessories | Scarf or seamed ear warmer | Drape, length, and fit |
| Blankets | Small rectangular blanket | Gauge, yarn quantity, and finished weight |
| Bags and wallets | Flat pouch panels | Stretch, lining, and closures |
| Shaped projects | Beanie or basket | Pattern-specific shaping and round joins |
These are project ideas rather than complete patterns. A rectangle is easier to adapt than a crown, structured base, or fitted accessory.
What Yarn and Tools Should You Use?
Choose smooth, light-colored yarn so you can see individual loops. Fuzzy fibers and very dark shades make the eye harder to locate while learning.
Gather:
- Yarn and a compatible crochet hook.
- Scissors and a tapestry needle.
- Two stitch markers for the edges.
- A ruler or measuring tape.
The Craft Yarn Council classifies medium yarn as category 4 and bulky yarn as category 5. These categories help you compare yarn thickness, but the finished fabric still depends on your hook, tension, and stitch pattern.
Use the hook recommendation on the yarn label as a starting point. Adjust after making a sample if the fabric feels too stiff or loose.
Which Abbreviations Do You Need?
This guide uses US crochet terminology.
| Abbreviation | Meaning |
|---|---|
| ch | Chain |
| hdc | Half double crochet |
| st | Stitch |
| yo | Yarn over |
To work how to half double crochet, yarn over, insert the hook, and draw up a loop. Yarn over again and pull through all three loops.
How Do You Work the First Star?
Starting-chain conventions vary between tutorials. For this example, follow the flat-row approach documented by RaffamusaDesigns, whose 22-chain sample produces nine stars. Keep its edge treatment consistent rather than combining instructions from different versions.
- Chain 22.
- Draw up a loop through the second chain from the hook and each of the next four chains.
- With six loops on the hook, yarn over and pull through them together.
- Chain once to form the eye.
Keep the drawn-up loops similar in height. Pulling them tight makes closing the cluster harder and can flatten the texture.
How Do You Connect the Next Star?
The next cluster shares part of the previous star.
- Draw up a loop through its eye.
- Draw up another through its final leg.
- Draw up one through the same foundation chain used by that leg.
- Draw up a loop through each of the next two chains.
- Close the six loops together, then chain once.
Continue across. Finish with one hdc in the chain used by the final leg.
How Do You Work the Return Row?
For this version, chain two and turn; those chains count as the first hdc. Work two hdc into every star eye, then one hdc into the final edge stitch.
Begin the next star row with three chains. Collect loops through the second and third chains from the hook and the first three stitches, then close the cluster and chain once. Continue the connected stars, ending with an hdc in the previous row’s turning chain.
Repeat the return row and star row to extend the sample. The construction and edge treatment above follow the same RaffamusaDesigns method.
Before enlarging it, check that the star count stays consistent and the edges remain reasonably straight.
Which 15 Projects Can You Make With Crochet Star Stitch?
Use the stitch for blankets, winter accessories, bags, small practice pieces, and home décor, choosing a shaping pattern when needed.
At a Glance
- Start small with a dishcloth or square coaster.
- Practice wearable rectangles with scarves and ear warmers.
- Plan gauge and yarn quantity before making blankets.
- Check structure, closures, and shaping for bags and baskets.
15 Crochet the Star Stitch Easy Textured Pattern Guide
Once your sample looks even, choose something that makes good use of the texture. These ideas range from small rectangles to projects that need a dedicated shaping pattern.
1. Why Choose a Star Stitch Baby Blanket?
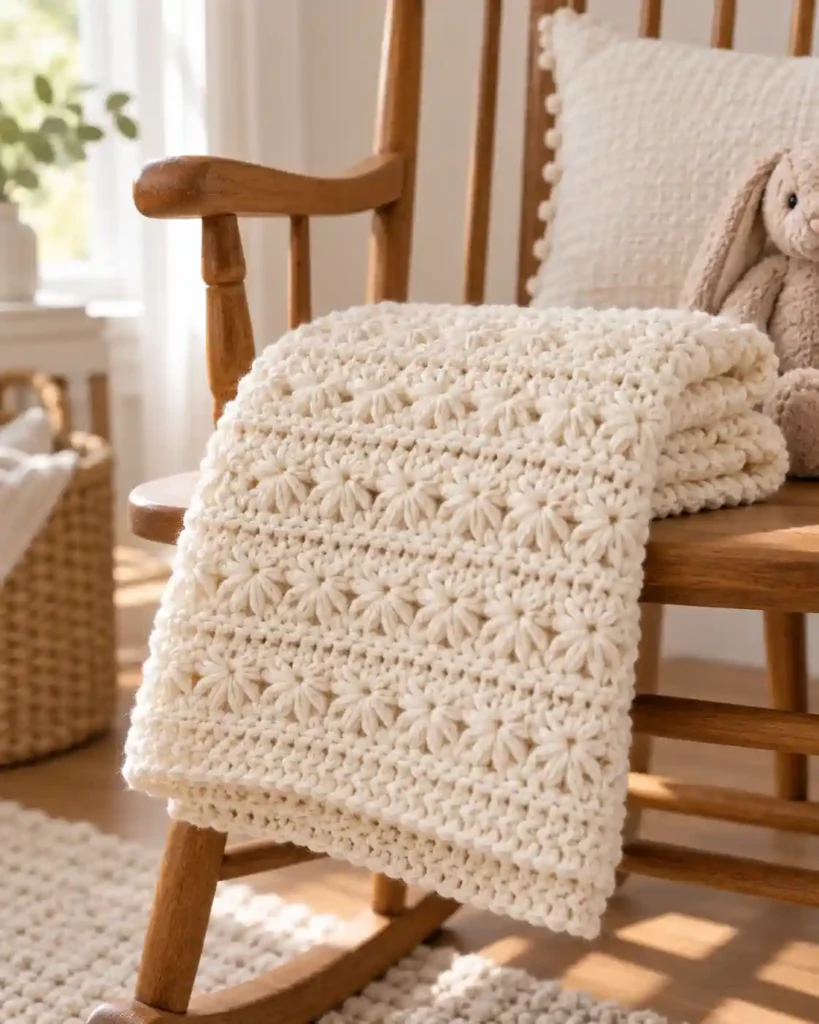
A crochet a baby blanket project using star stitch gives a simple rectangle plenty of detail without adding separate motifs. Compared with open lace, the clustered fabric creates a more substantial surface, so yarn choice matters for keeping it soft. A cream or pale sage version suits a handmade gift that can coordinate with different nursery colors. Choose this project when you want visible texture and are comfortable repeating the same rows over a larger area.
Check the yarn’s washing instructions and assess drape before committing. Finish with secure woven ends and a smooth border that complements the stars.
2. What Makes a Chunky Star Stitch Throw Appealing?
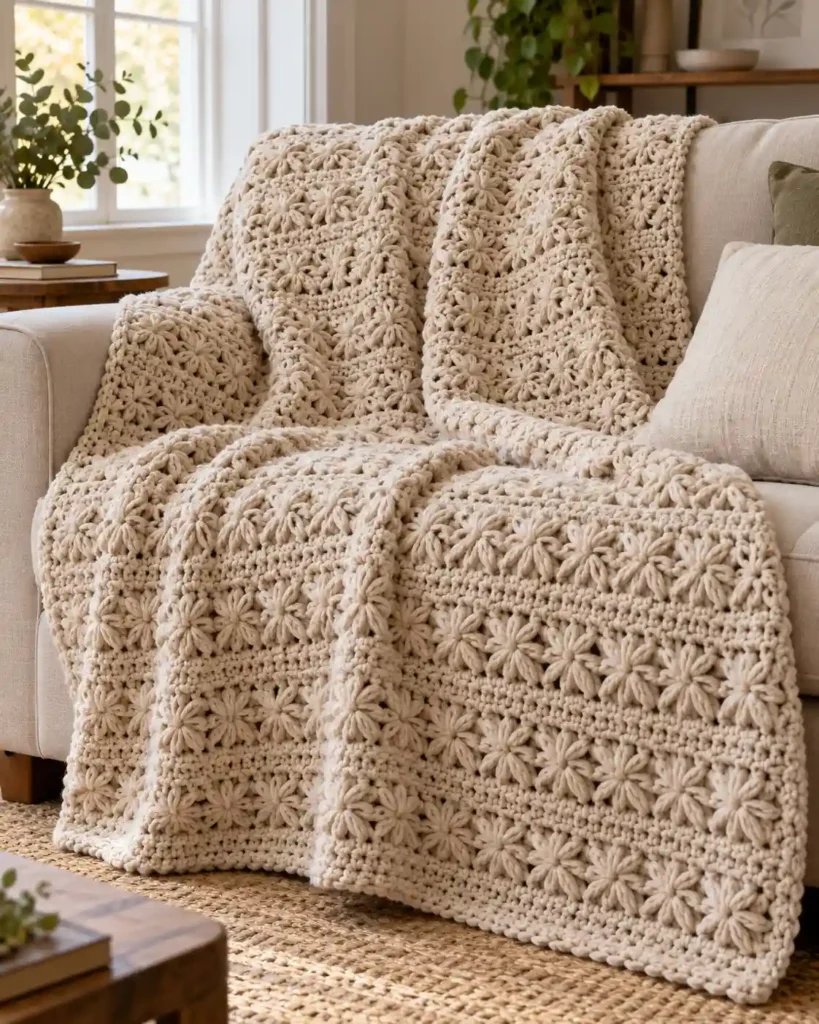
A chunky star stitch crochet throw blanket makes each cluster easy to see across the room. Larger yarn builds a bigger fabric area per repeat, although the finished throw can become heavy. Draped over the end of a sofa, an oatmeal or warm brown version adds texture without needing a busy color scheme. It suits someone who enjoys substantial crochet fabric and wants a practical living-room project.
Make a sample large enough to judge weight and flexibility. Estimate yarn from that sample rather than assuming a chunky throw will be a quick or inexpensive finish.
3. How Can a Striped Star Stitch Blanket Show Off the Texture?
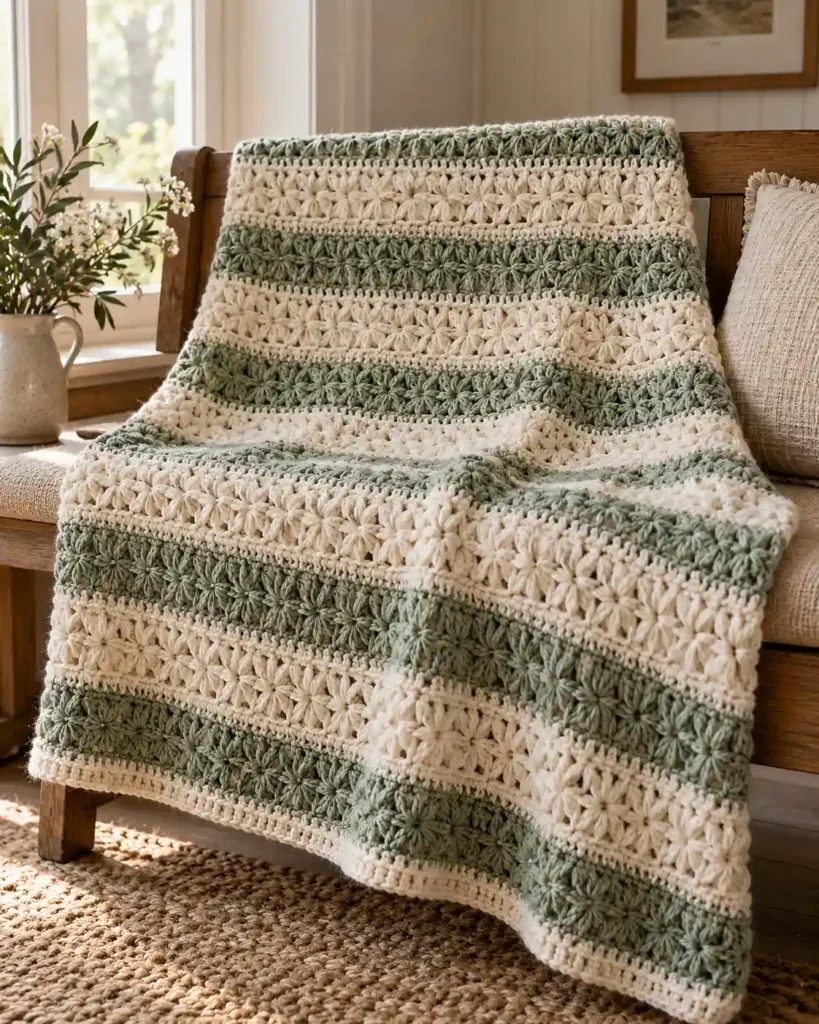
Stripes help separate the rows visually, making a star stitch blanket easier to appreciate from a distance. A limited palette gives clearer structure than frequent random color changes. Cream and muted green would work well on a reading-chair blanket where the stitch should remain the focal point. Pick this version if you enjoy planning colors as much as working the repeat.
Change shades at a consistent point in the stitch sequence. Decide whether to carry or cut the yarn, and check that the edge stays flexible.
4. Why Try a Star Stitch Scarf?
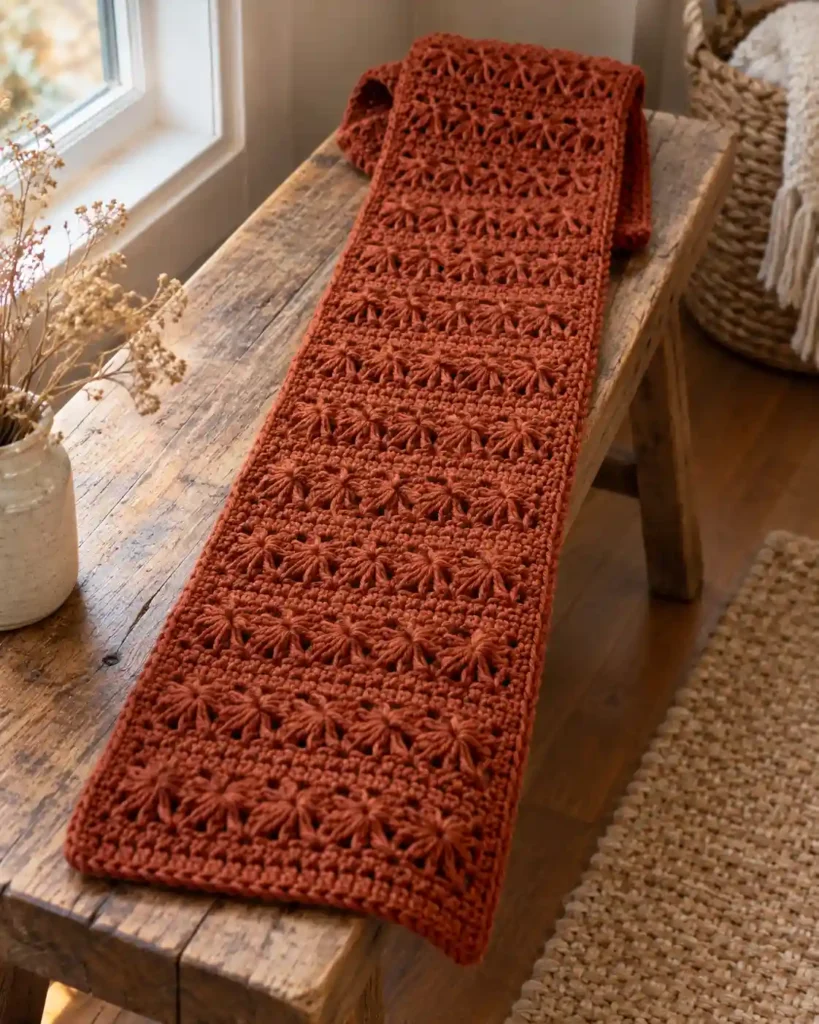
A star stitch scarf turns a familiar rectangle into something with noticeable surface detail. For beginners, how to crochet a scarf for beginners can provide a straightforward starting point while keeping the star-stitch texture as the focal point. For everyday winter wear, a solid rust, navy, or cream shade lets the stars show without competing with a patterned coat. This is a useful next step when your practice sample is even and you want a wearable result.
Choose yarn that feels comfortable against the neck. Check both width and drape before working a long strip, especially if the fabric feels dense.
5. Would a Star Stitch Cowl Suit Your Routine?
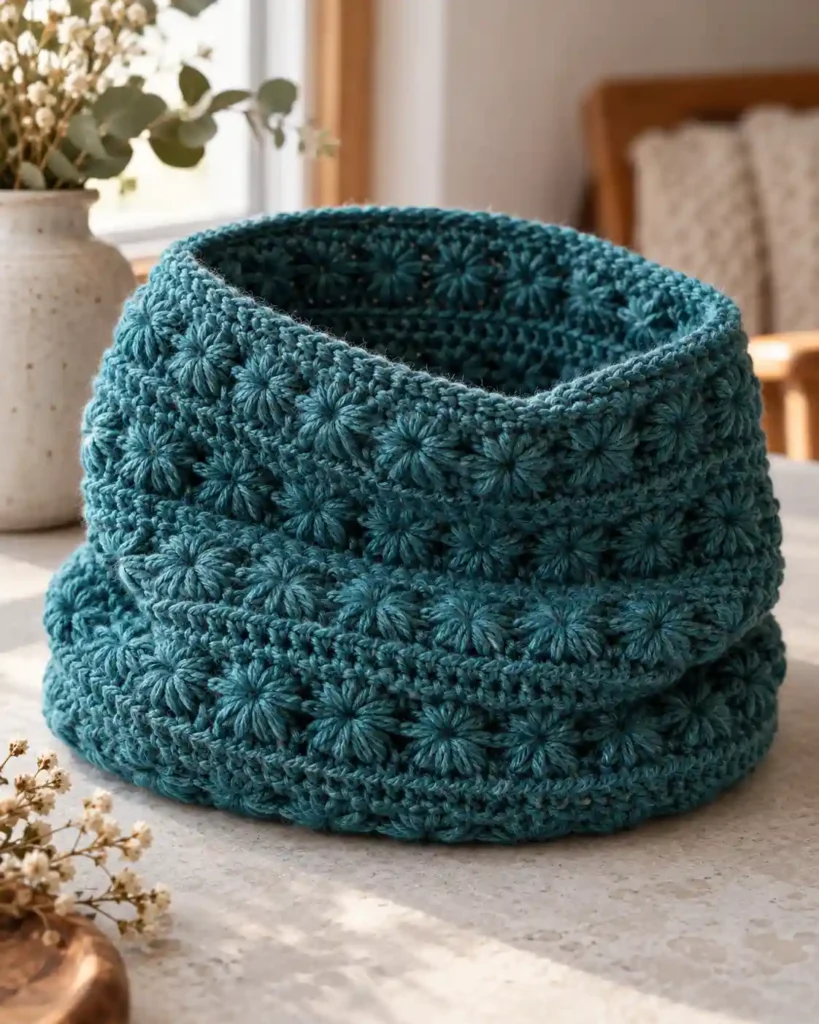
A star stitch cowl keeps the texture close to the face without long scarf ends to arrange. A seamed rectangle also gives you a simpler construction option than working joined rounds. It is handy for someone who wants to pull on a warm accessory before a morning walk. Choose a cowl when compact shape and easy wear matter more than styling a long scarf.
Measure the opening before joining the ends. If you prefer a round version, follow a pattern that explains the starting cluster and join.
6. What Should You Check Before Making a Star Stitch Beanie?
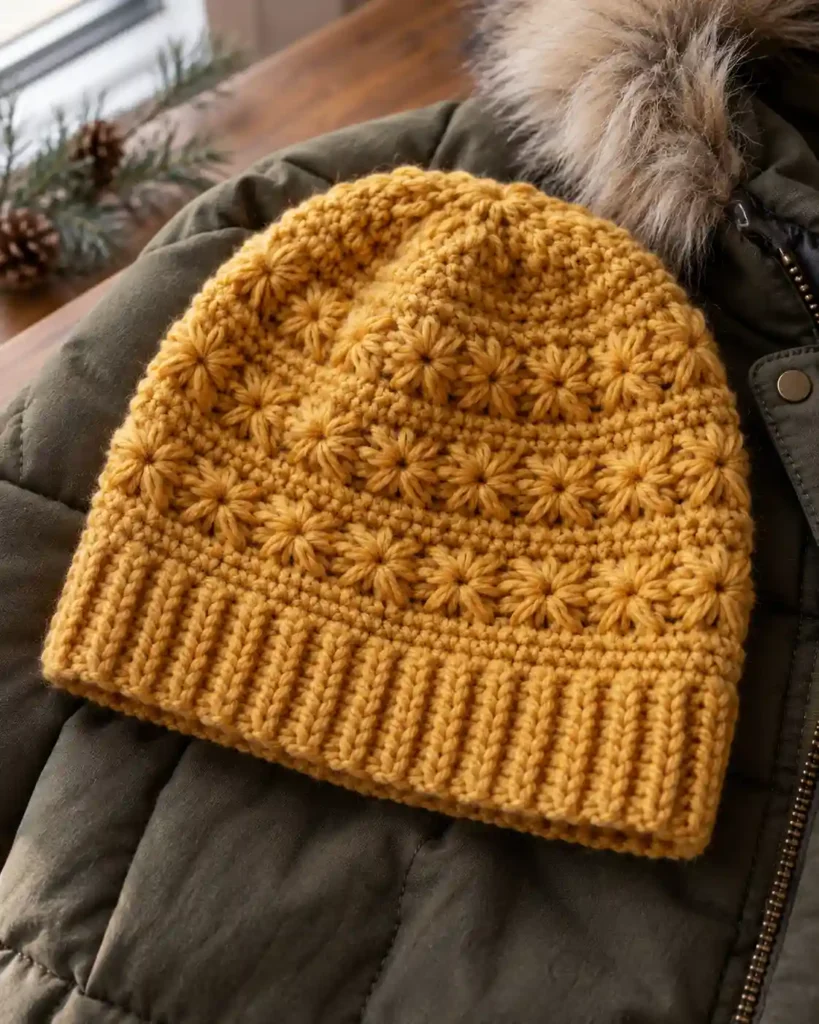
A star stitch beanie combines a textured body with a brim that can frame the pattern neatly. Unlike a scarf, it needs deliberate shaping to fit the head and close the crown. A mustard hat with a plain ribbed brim would bring color to a simple winter outfit. For beginners, how to crochet a beanie for beginners is a useful reference before adapting the star-stitch texture.
Check head circumference, finished measurements, and gauge. Crown decreases must work with the cluster structure, so avoid substituting star stitch into an unrelated beanie pattern.
7. Why Make a Star Stitch Ear Warmer?
An ear warmer puts the star texture into a small wearable band. It needs less coverage than a hat and can suit someone who usually wears their hair up. A plum or charcoal version is practical for chilly walks when a full beanie feels unnecessary. Choose it for a compact gift once you understand how the fabric stretches.
Measure before closing the band. A twisted front can add interest, but a flat seam makes a good first version.
8. How Can You Make a Star Stitch Tote More Practical?
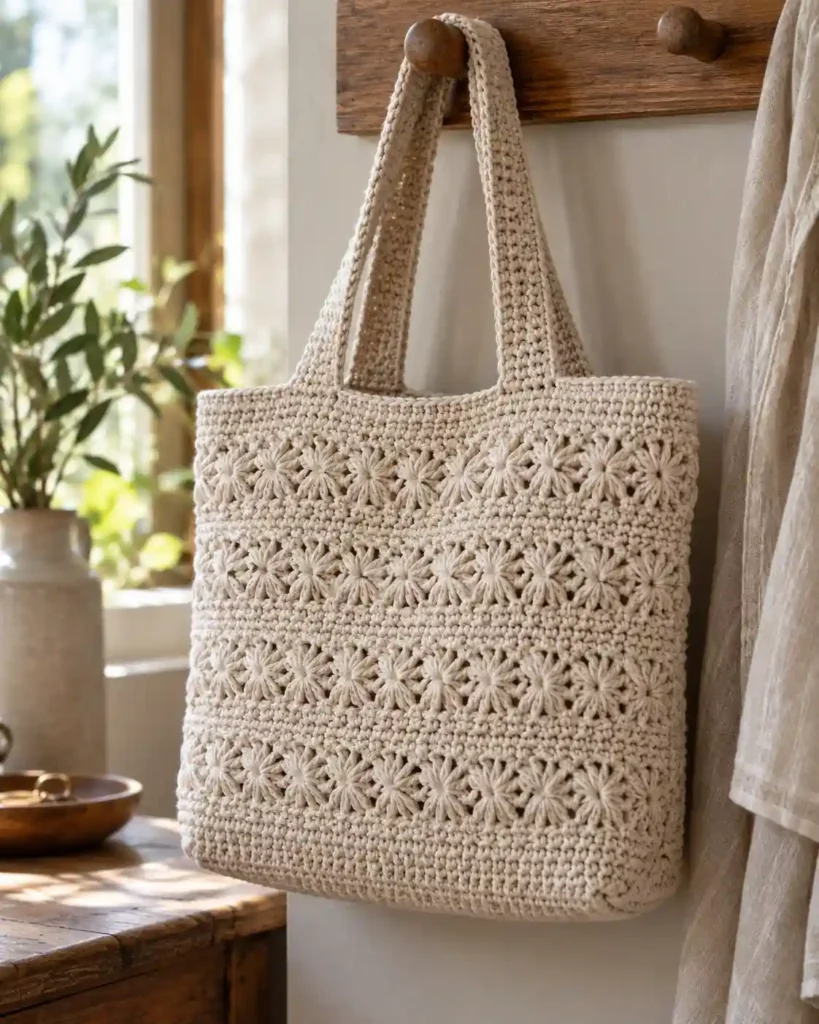
A star stitch tote brings decorative texture to an everyday bag. The interesting surface can carry the design without relying on multiple colors or elaborate embellishments. For a bag holding a notebook, keys, and a small project, natural cotton gives a clean, understated look. It is a good choice when you are willing to spend time on sturdy finishing.
Reinforce handle attachments and consider lining the body. Test how the crochet stretches under the intended load before treating the bag as finished.
9. When Is a Star Stitch Phone Bag Useful?
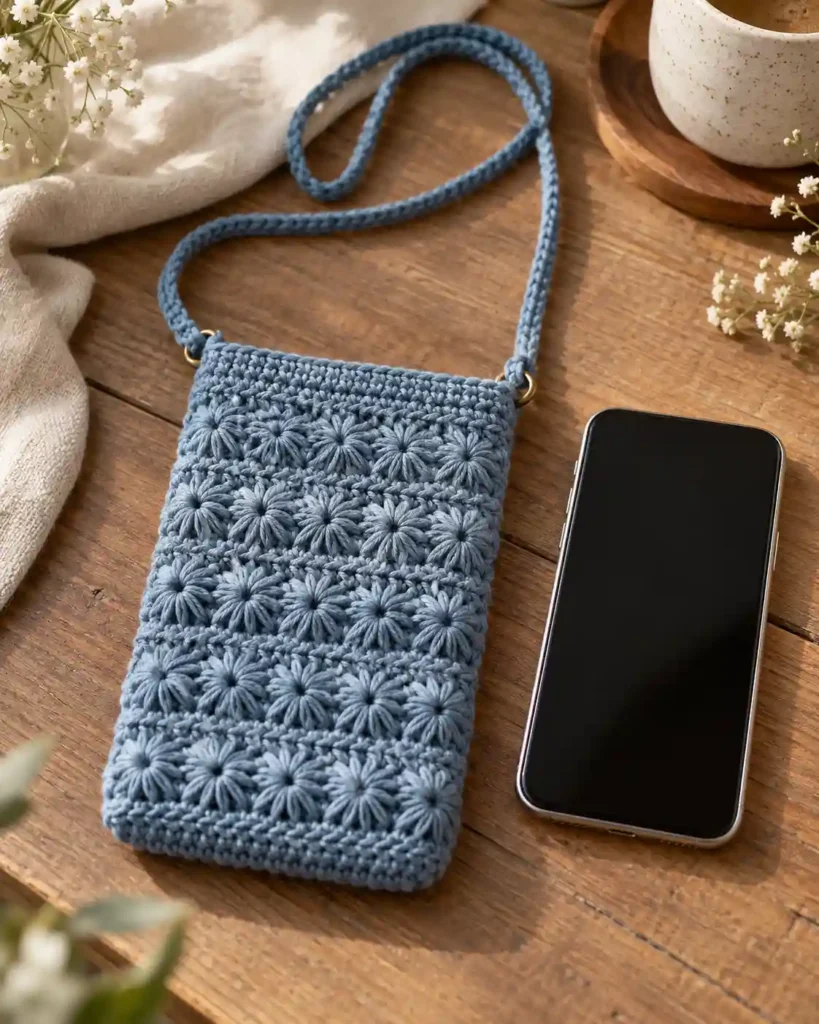
A phone bag gives the stitch a small, clearly defined purpose. Its fitted shape is more compact than a tote, making it useful for carrying only a phone and a few essentials. A dusty blue pouch with a comfortable crossbody strap could suit a short outing when a larger bag feels excessive. Choose this project if you enjoy tailoring dimensions to something you already own.
Measure the phone with its case attached. Allow room for insertion, then check the closure and strap attachment for everyday movement.
10. What Makes a Star Stitch Wallet Different?
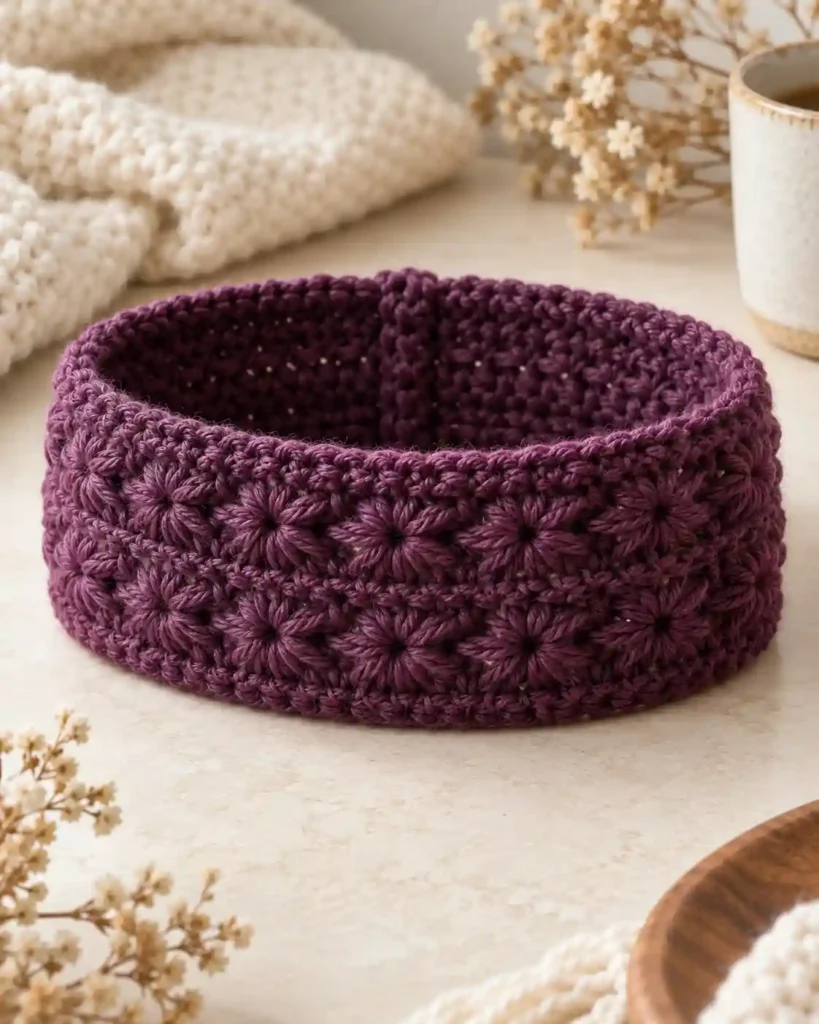
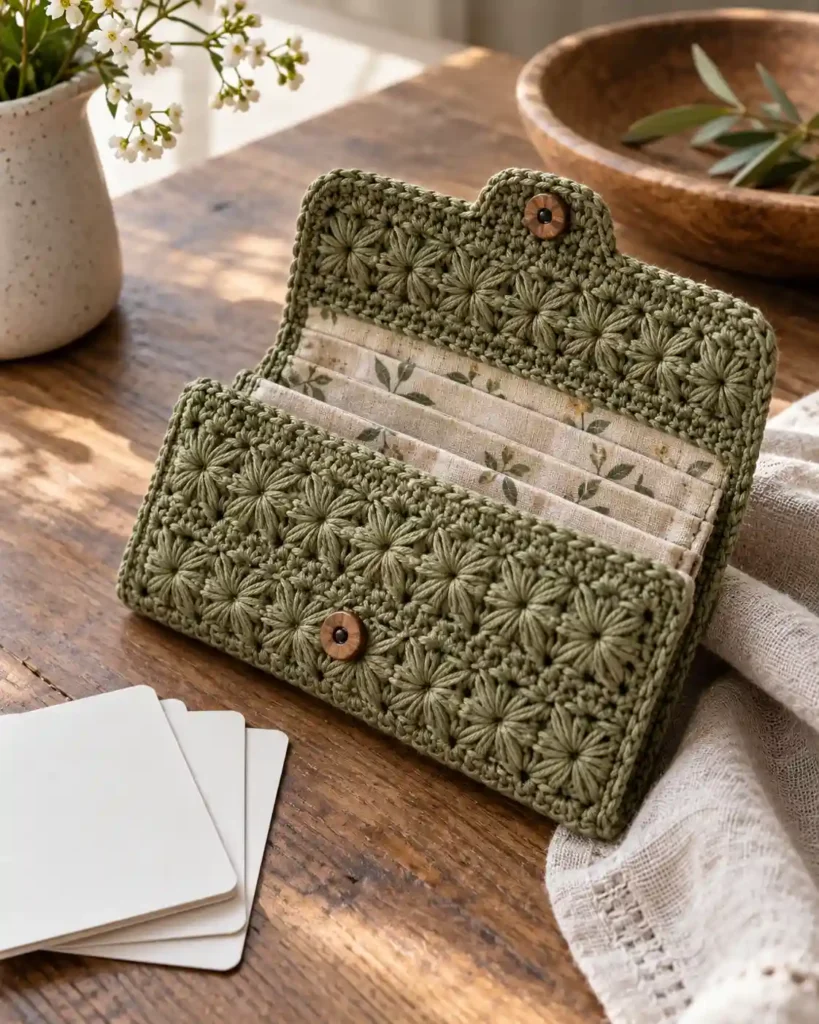
A star stitch wallet turns a small crochet panel into something that gets handled often. Its textured exterior offers a different feel from a plain fabric card holder, while a lining improves its usefulness. An olive wallet with a simple flap could keep a few cards together inside a larger bag. It suits a maker who enjoys small finishing details more than long rows.
Measure the cards and leave sufficient flap overlap. Add a lining so card corners cannot work through openings in the crochet.
11. Why Start With a Star Stitch Dishcloth?
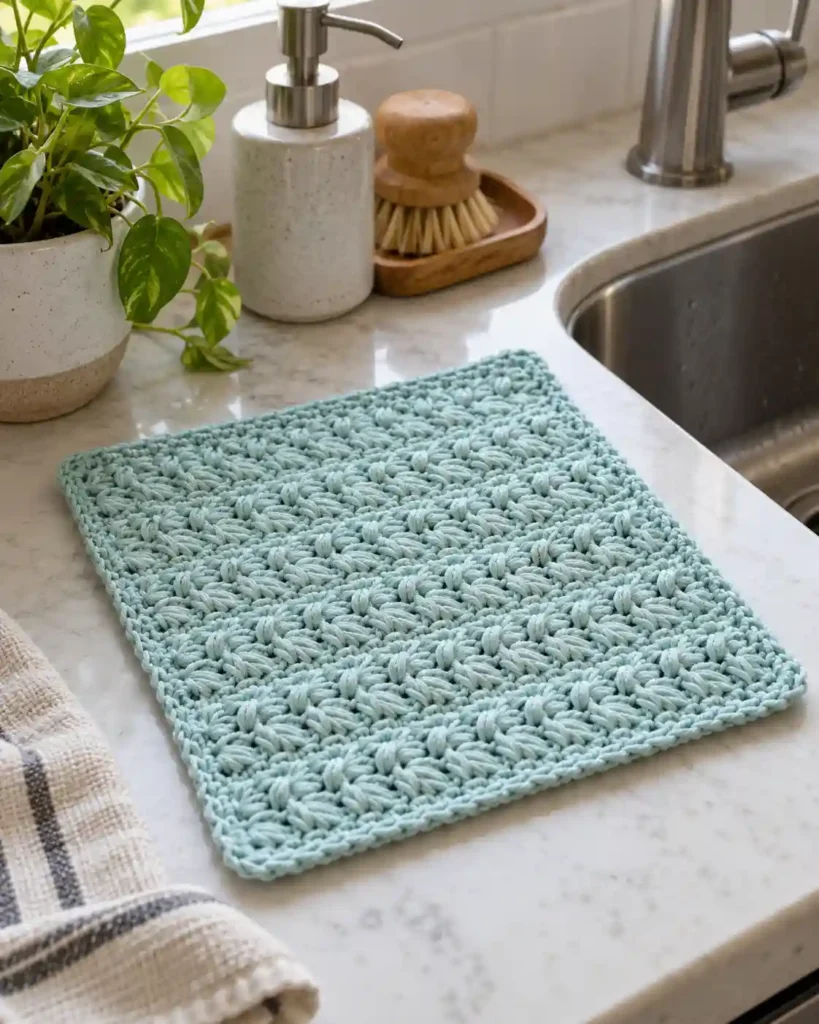
A dishcloth lets your practice piece become something useful. Compared with jumping straight into a blanket, the smaller square gives you fewer rows to undo while learning. A pale aqua cotton cloth can sit beside the sink and show the texture clearly. Choose it when you want repetition practice with a manageable finish.
Select washable cotton and check the fabric’s thickness. A dishcloth should be able to dry between uses; it should not be treated as an insulating potholder.
12. Can Star Stitch Work for a Coaster?
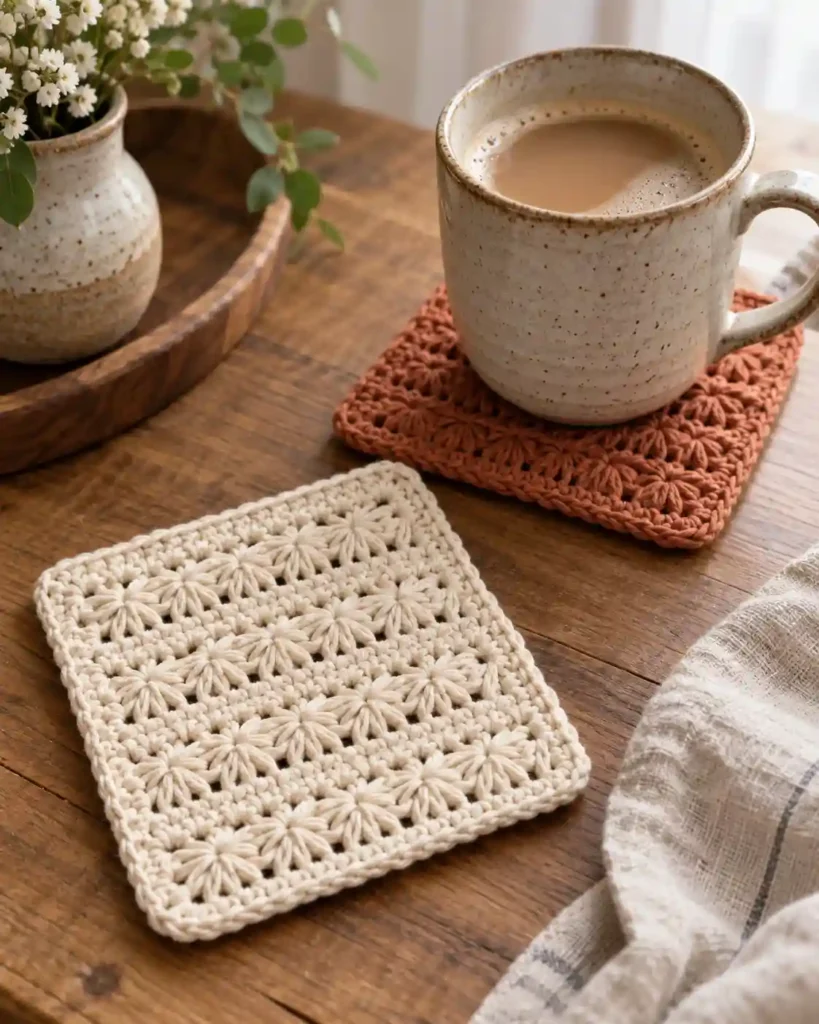
A square star stitch coaster is a compact way to explore the repeat. A crochet coasters pattern for beginners can help keep the construction manageable, while keeping it rectangular avoids the increases required for a circular version. A pair in cream and terracotta would make a useful small addition to a desk or coffee table.
Make it wide enough for the intended mug base. Check that the coaster lies flat, and reshape it gently according to the yarn’s care instructions.
13. How Do You Keep a Star Stitch Bookmark Slim?
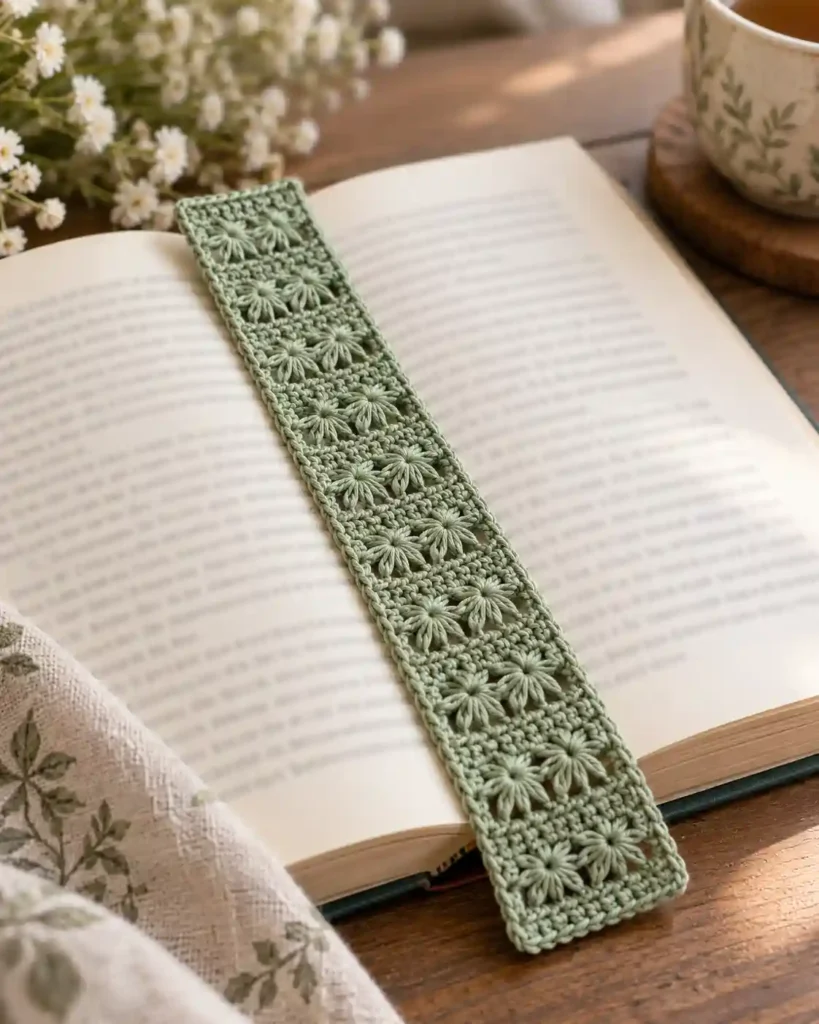
A bookmark shows the stitch on a narrow strip where every cluster is noticeable. Fine yarn helps it fit between pages more comfortably than a thick decorative band. A sage bookmark tucked into a reading journal makes a small gift with an obvious use. Choose this idea if you like delicate projects and do not mind working at a smaller scale.
Test it inside a closed book before adding embellishments. Keep any tassel or finishing detail modest so it does not undermine the slim shape.
14. What Does a Star Stitch Basket Need?
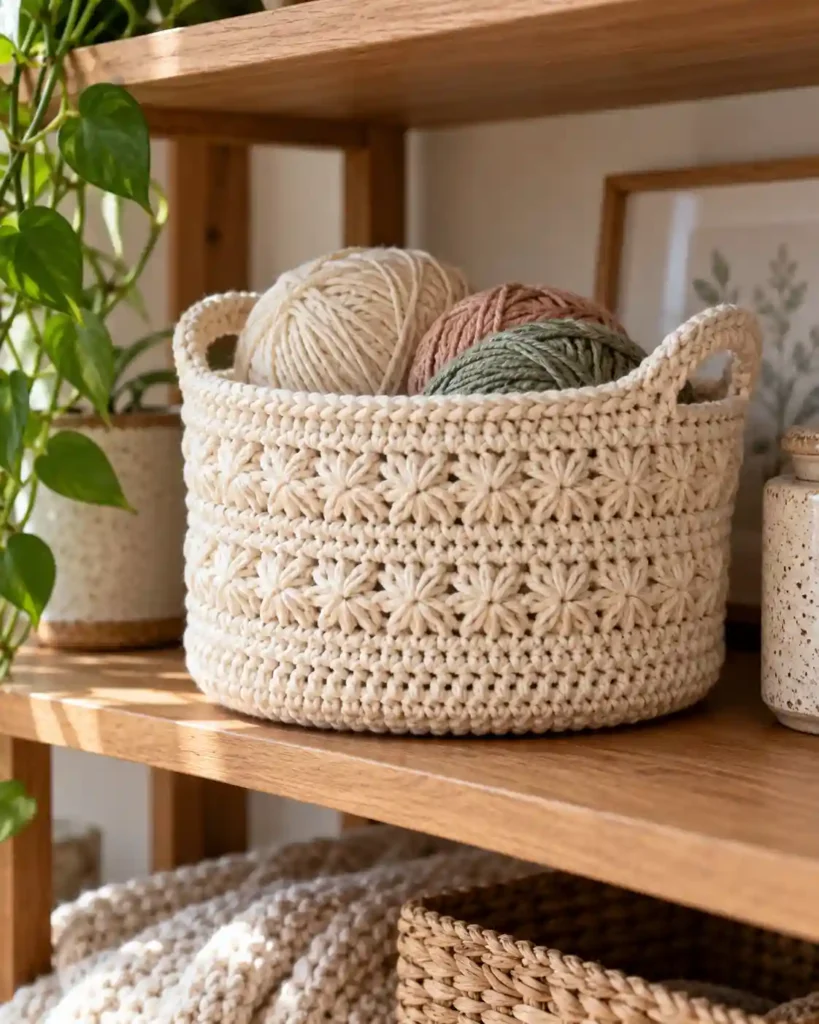
A star stitch basket pairs decorative sides with a functional storage shape. It requires firmer construction than a soft pouch, particularly around the base. On a shelf, a small cream basket could hold spare yarn balls or lightweight craft supplies. This project suits someone ready to follow instructions for structure and transitions into rounds.
Choose a tested basket pattern with a stable base. Evaluate cord or yarn firmness carefully, and reinforce the shape only where the design requires it.
15. Why Use Star Stitch for a Pillow Cover?
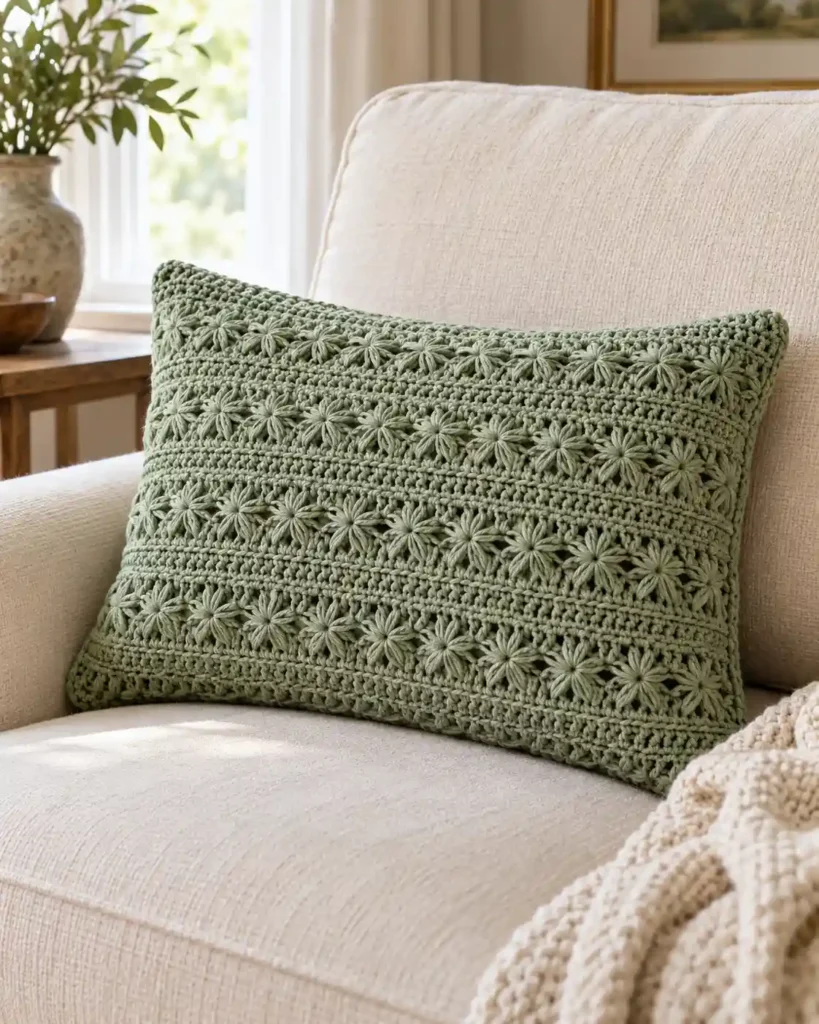
A star stitch pillow cover makes the texture a visible part of a room. One solid-colored panel can create interest without a detailed colorwork design. A sage cover on a cream armchair would suit a space that needs a little softness and surface detail. Choose this project when you want home décor with useful, removable construction.
Measure the insert and plan the closure before starting. An envelope back or suitable fastener makes laundering easier, and a lining can help if the insert shows through.
How Do You Choose Yarn and Plan the Size?
Choose yarn for the project’s purpose, then measure a treated sample to plan repeats, rows, and yarn requirements.
At a Glance
- Match fiber and fabric feel to the intended use.
- Wash or block the sample before measuring.
- Calculate dimensions using the chosen stitch repeat.
- Allow additional yarn for borders, seams, and finishing.
Begin with the project’s job. Softness matters for a scarf, absorbency matters for a dishcloth, and resistance to stretching matters for a bag.
Gauge means how many stitches and rows fit within a measured area. The Craft Yarn Council cautions that matching yarn-weight categories does not guarantee interchangeable results; you still need a gauge sample when substituting yarn, as explained in its Yarn Standards FAQs.
For sizing and yarn planning:
- Make a representative sample.
- Wash or block it as the finished project will be treated.
- Measure its width and height.
- Use those measurements to plan repeats and rows.
- Estimate yarn from the sample, allowing additional yarn for finishing.
Do not calculate a blanket’s starting chain from width alone. Convert the required width into the repeat used by your chosen pattern.
How Can You Fix Common Star Stitch Problems?
Check closing chains, loop height, star counts, and edge stitches before adjusting your tension or hook size.
At a Glance
- Make the closing chain after every cluster.
- Compare drawn-up loops for consistent height.
- Count stars and inspect both row ends.
- Test adjustments on a sample before continuing.
Check the simplest explanation first.
- Missing eyes: Confirm you made the closing chain after each cluster.
- Uneven stars: Compare the height of your drawn-up loops.
- Changing width: Count stars and check the first and last stitches.
- Stiff fabric: Review tension and try another hook size on a sample.
Some differences between tutorials are intentional. Annie’s Attic explains that special-stitch names and construction can vary by designer, so the directions within the particular pattern take priority.
Keep a successful sample beside the working piece. It gives you something concrete to compare when the texture starts looking different.
FAQs About Crochet Star Stitch?
Is Star Stitch Suitable for Beginners?
It can suit beginners who already understand chains and basic stitches. Learning the insertion points on a small square is more manageable than combining the stitch with shaping.
Can You Work Star Stitch in the Round?
Yes, but round starts and joins need their own instructions. Use a dedicated round tutorial or project pattern rather than joining flat-row directions without adjustment.
For crochet star stitch accessories worked in rounds, check the pattern’s joining instructions before starting.
Does Star Stitch Use a Lot of Yarn?
The clustered fabric can require substantial yarn, depending on tension, yarn thickness, and size. Estimate from a measured sample rather than applying one universal multiplier.
Is Jasmine Stitch the Same as Star Stitch?
They are generally treated as different constructions, even though search results sometimes use overlapping names. Check the actual instructions before choosing a tutorial.
How Should You Wash Finished Projects?
Follow the yarn label and account for linings, buttons, and other components. The Craft Yarn Council identifies fiber content and care information as important details provided on yarn
Final Thoughts
Star stitch crochet is a simple way to add rich texture and visual interest without relying on complicated shaping or separate motifs. Once you understand how to draw up the loops, close each cluster, and repeat the pattern across a row, the stitch becomes much easier to work with.
Start with a small practice swatch before moving on to larger projects such as scarves, blankets, bags, or other textured accessories. Pay attention to your tension, yarn choice, and finished gauge, since these can noticeably change the look and feel of the stitch.
Whether you are learning a new crochet technique or looking for a textured project to make next, the star stitch offers plenty of room to experiment. Choose a project that matches your skill level, follow the stitch repeat carefully, and enjoy watching the connected stars build into a beautiful finished fabric.

![The Best 30+ Free Crochet Cat Patterns [Beginner-Friendly Guide]](https://crochetmind.com/wp-content/uploads/2025/04/1-The-Best-30-Free-Crochet-Cat-Patterns-Beginner-Friendly-Guide.webp)