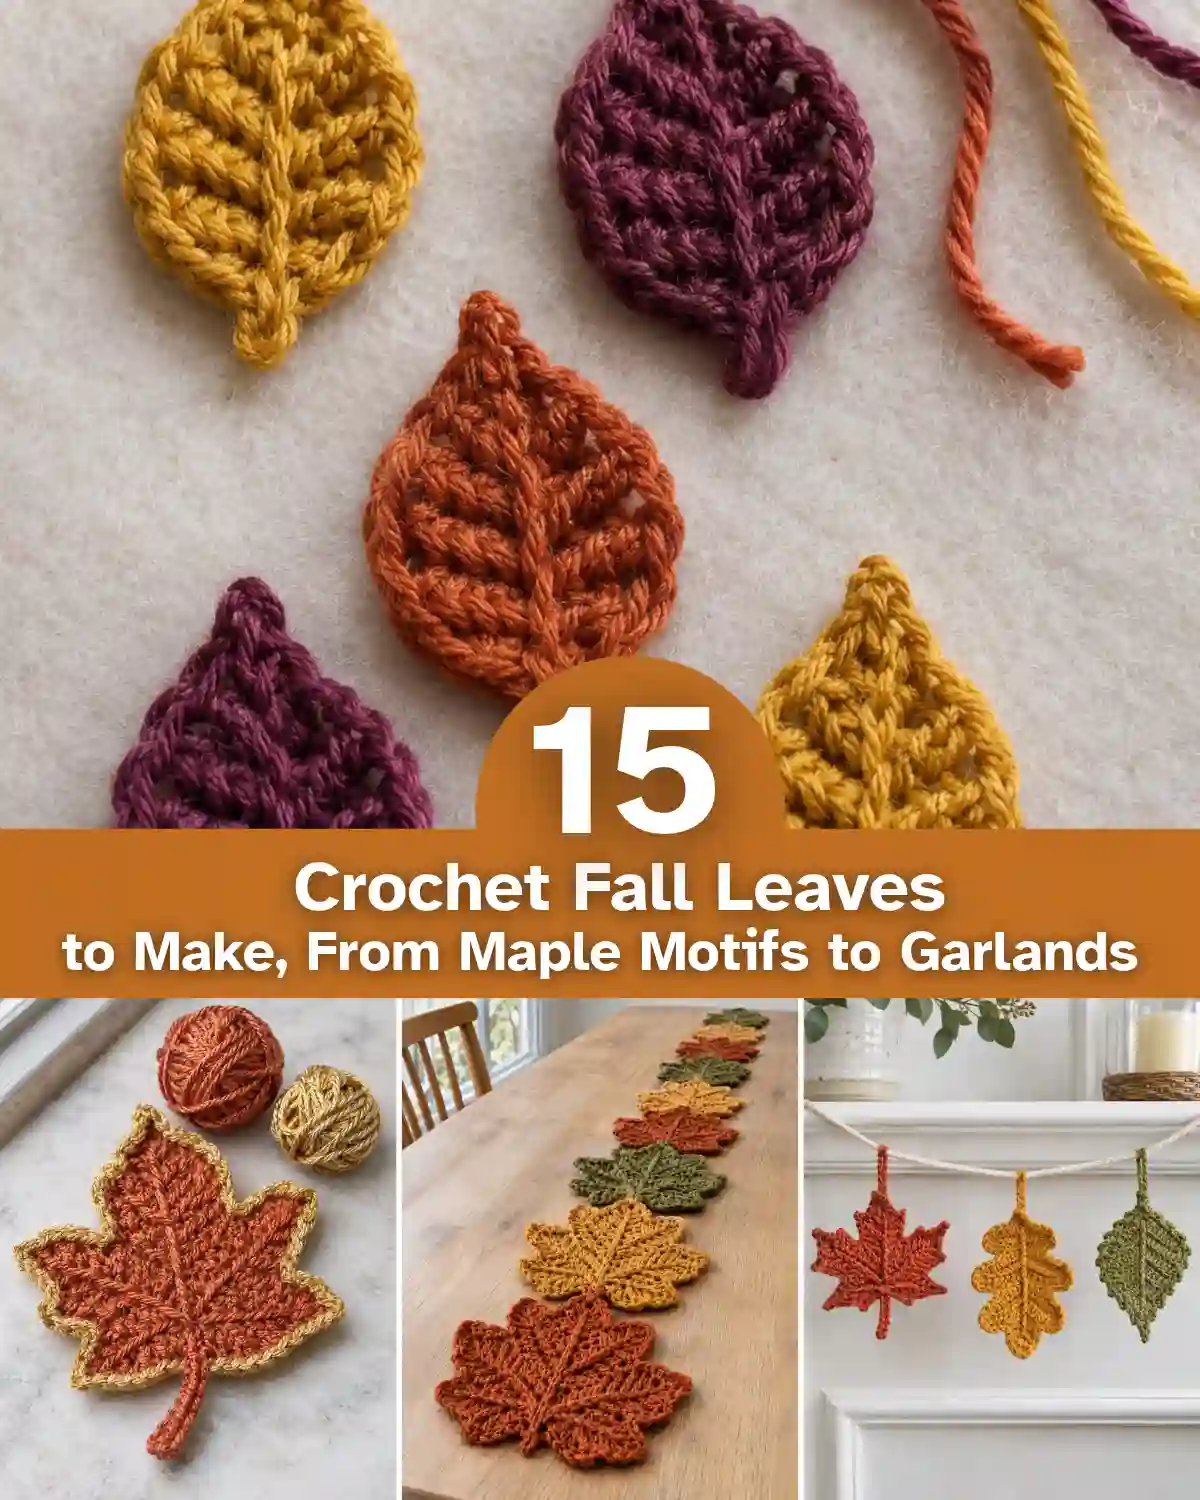







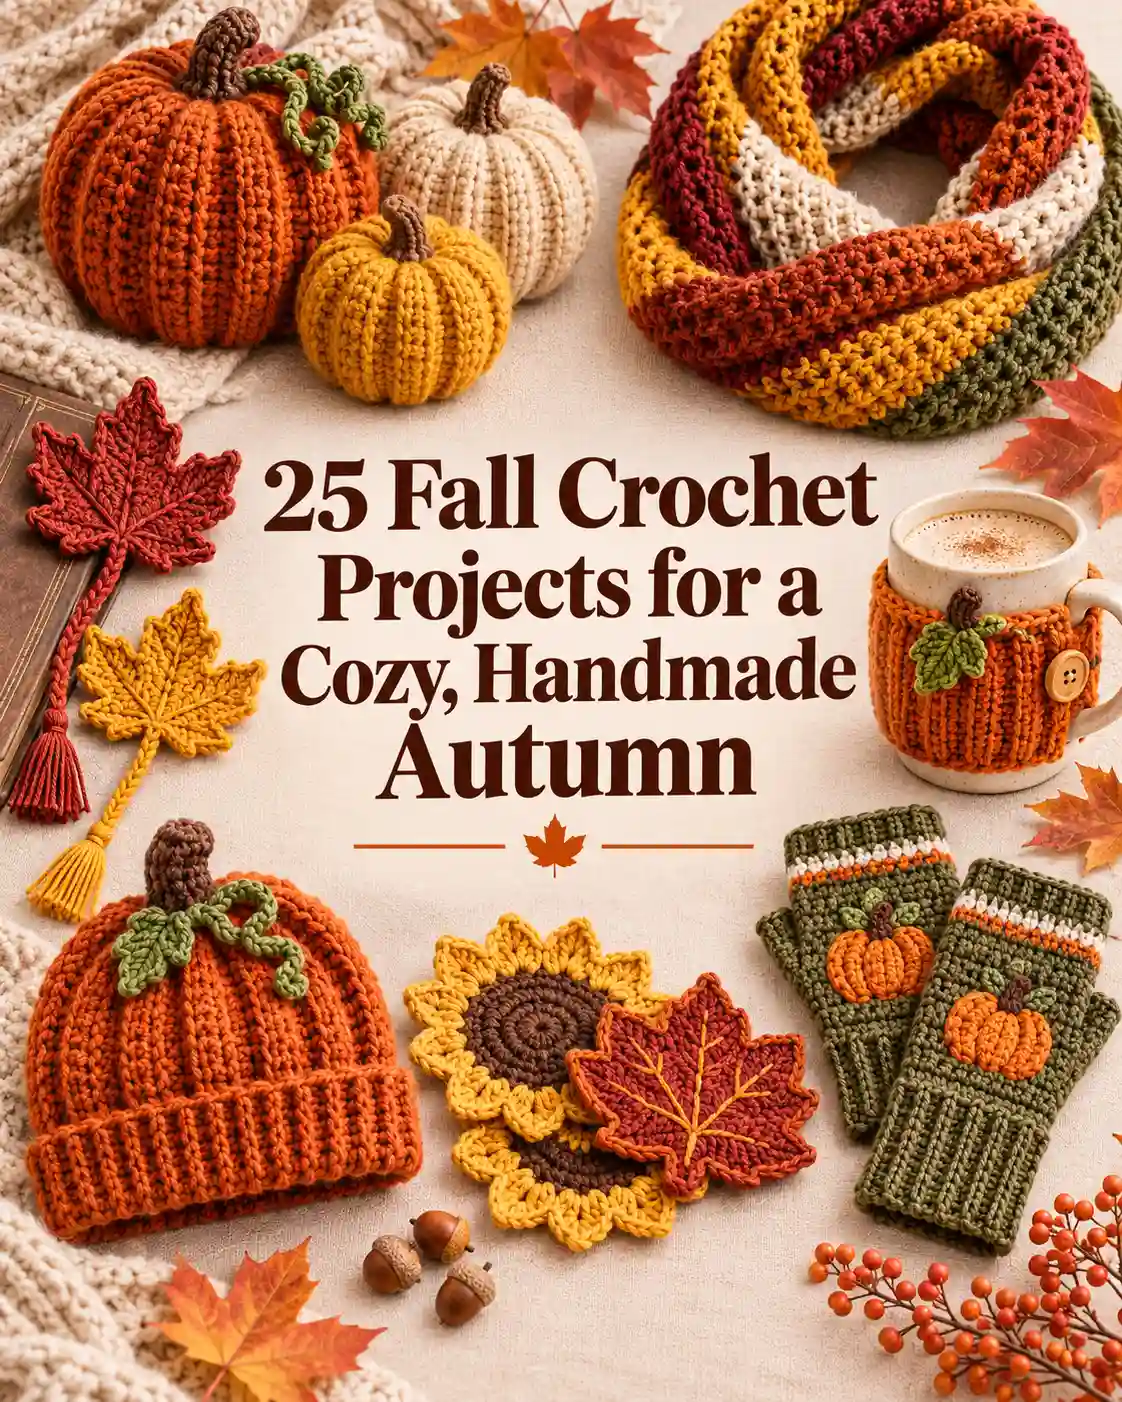



Crochet fall leaves start with a small motif you can finish on its own or turn into something useful. This guide covers 15 ideas, including free maple, oak, and birch patterns, plus a range of fall crochet projects such as a mantel garland, flat mug coasters, and a table runner you can size to your table. For your first leaf, grab a smooth yarn in a light autumn color so you can see where each stitch goes. Have a little mustard or rust yarn left over from another project? Start there and see what one leaf looks like before you pick colors for the rest.
Key takeaways
- Practice with a pointed leaf worked around a starting chain.
- Try the free maple, oak, or birch pattern next.
- Mix leaf shapes in a crochet fall leaves garland.
- Test your first coaster under the mug you actually use.
- Block the leaves before measuring and joining your table runner.
Which crochet fall leaves should you make first?
Start with the shape you want to see in the finished project. A simple pointed leaf is easiest to repeat for a garland. A wide maple shape makes more sense under a mug, where the center needs enough room to support the base. Set aside scissors, a tapestry needle, and a removable stitch marker before you start.
| What you want to make | Start with | What to check |
|---|---|---|
| Your first leaf | #1 Beginner pointed leaf | The stitches on both sides of the starting chain line up |
| Recognizable autumn shapes | #2–4 Maple, oak, and birch | Each shape looks distinct when laid flat |
| A project for yarn scraps | #5 or #15 Mini leaves or a bookmark | The leaf fits the tag or book without added bulk |
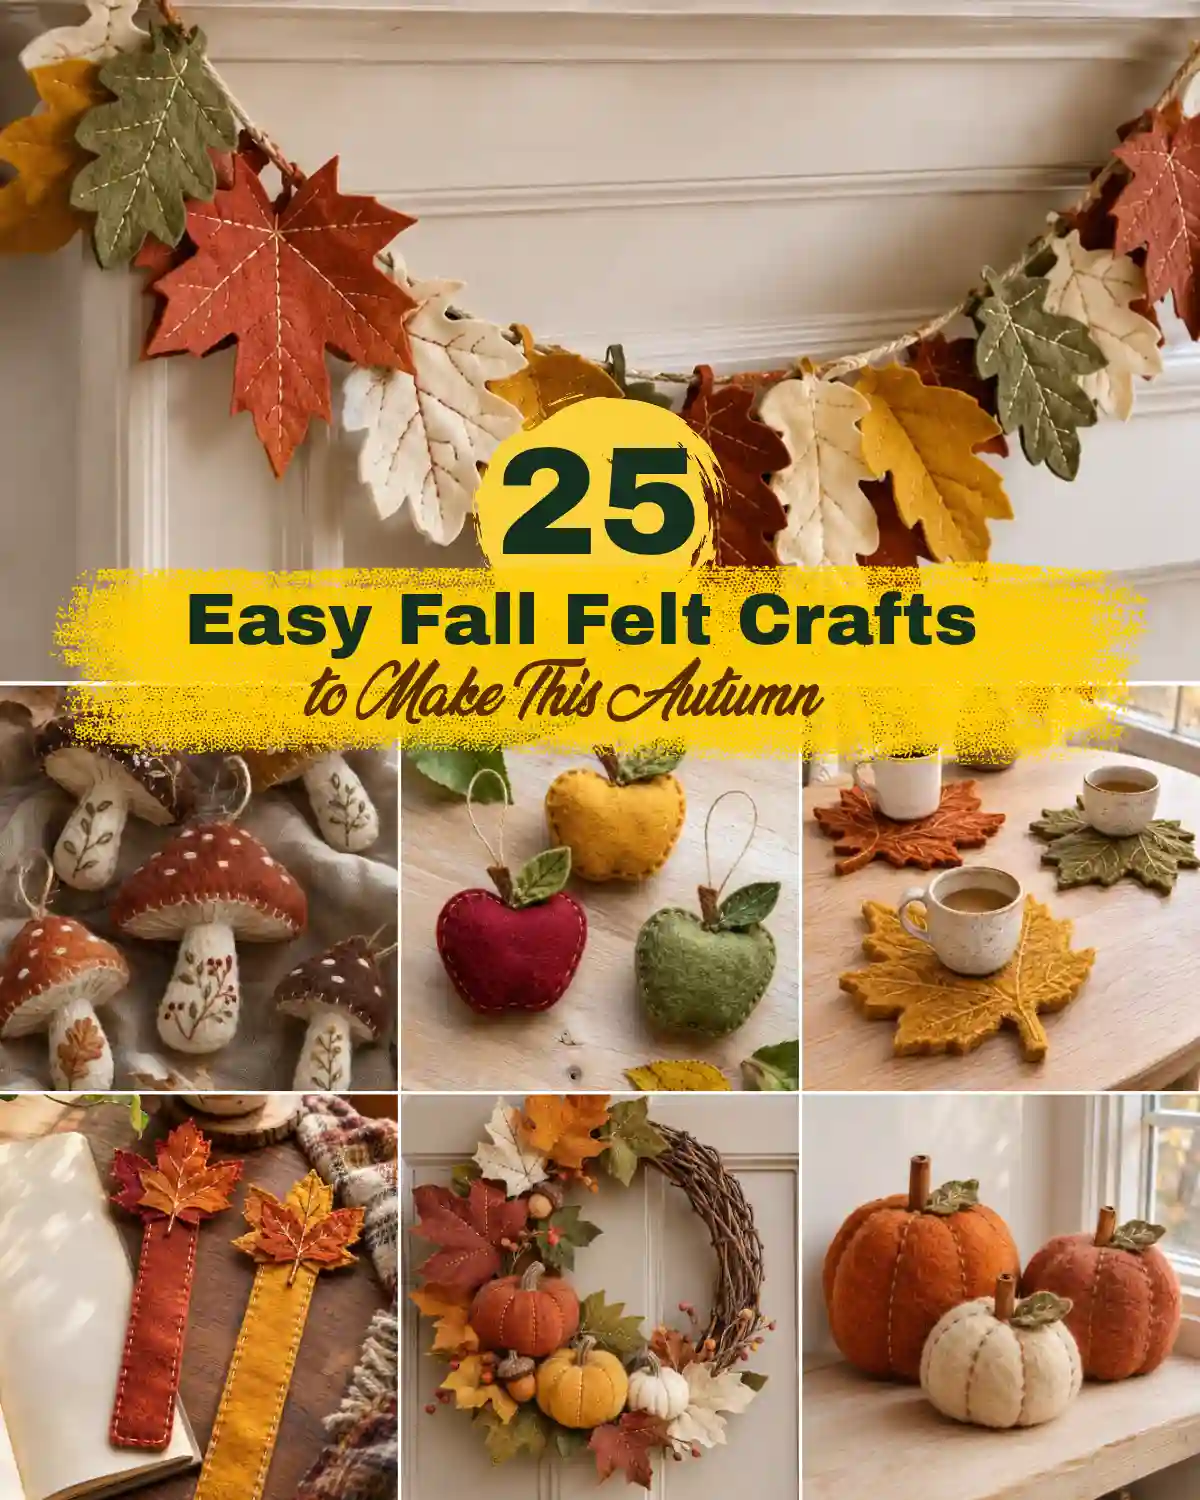
| A mantel decoration | #9 Fall leaf garland | The leaves face forward when the cord hangs |
| A fall table setting | #10–12 Coasters, runner, or placemat | The center lies flat under the mug or plate |
| A project with a little texture | #7 or #13 Raised-vein leaf or wreath | The raised stitches or layered leaves stay visible |
Where can you start with a free crochet fall leaf pattern?
Start with the pointed leaf in item 1 to practice working around a chain, then try maple, oak, or birch once you’re comfortable shaping both sides.
At a glance
- Choose maple for pointed lobes and a prominent center ridge.
- Choose oak for a longer silhouette with rounded lobes.
- Choose birch for an angular shape with a finely toothed edge.
15 Crochet Fall Leaves to Make, From Maple Motifs to Garlands
The eight motifs below move from a simple foundation-chain leaf to shaped edges and raised veins. Pick one to practice, then save the finished sample. It will come in handy when you’re deciding how far apart to space a garland or how many leaves will fit around a wreath.
1. How do you crochet an easy fall leaf?
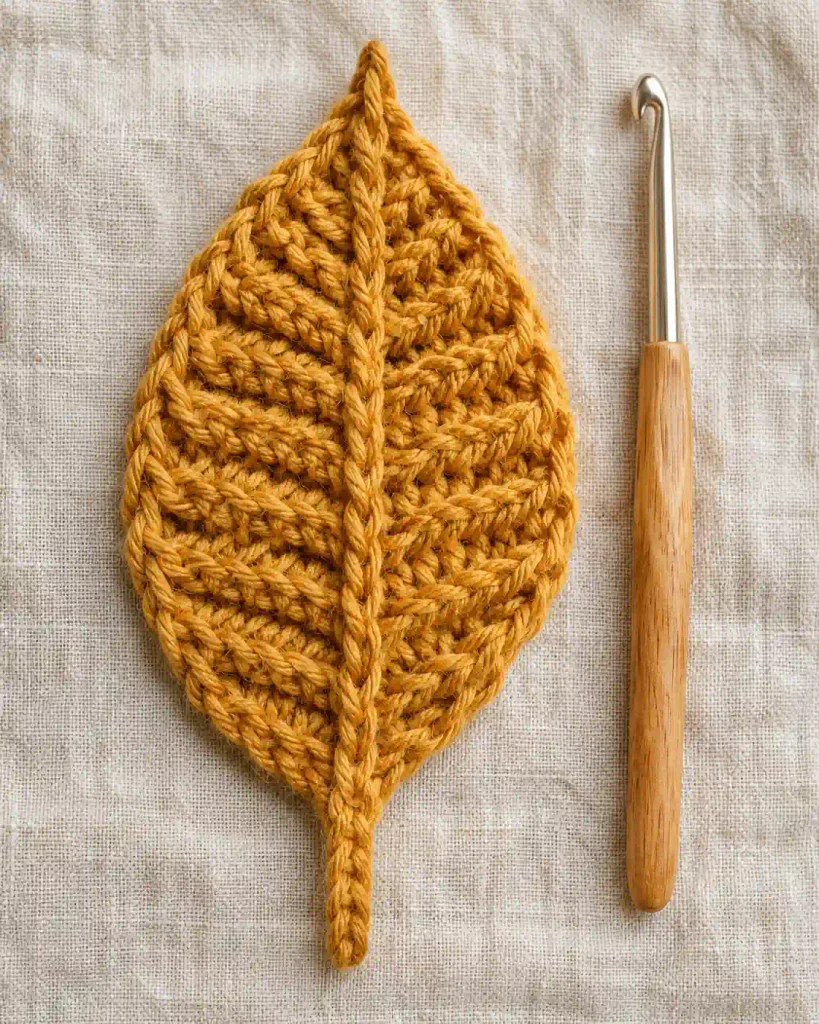
A small pointed leaf lets you see how changing stitch height changes a shape. The short stitches narrow the ends, and taller stitches make the middle wider. In the Yarn Garden’s free pattern works around a starting chain, and the designer’s leaves measured 2–5 cm long, depending on the yarn.
When you reach the far end of the chain, mark the stitch at the tip. Rotate the work so you can see the unused loops along the other side. Once you’re back at the stem end, lay the leaf flat and check that the two sides look balanced before weaving in the tail.
2. What gives a classic crochet maple leaf its shape?
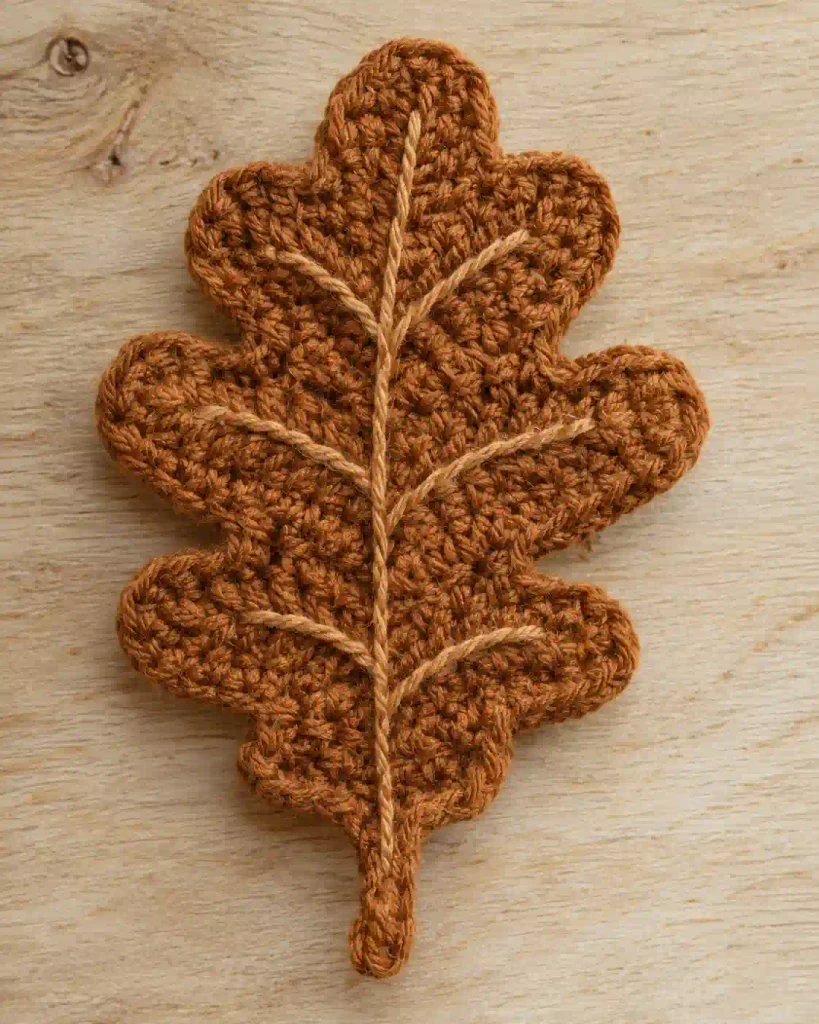
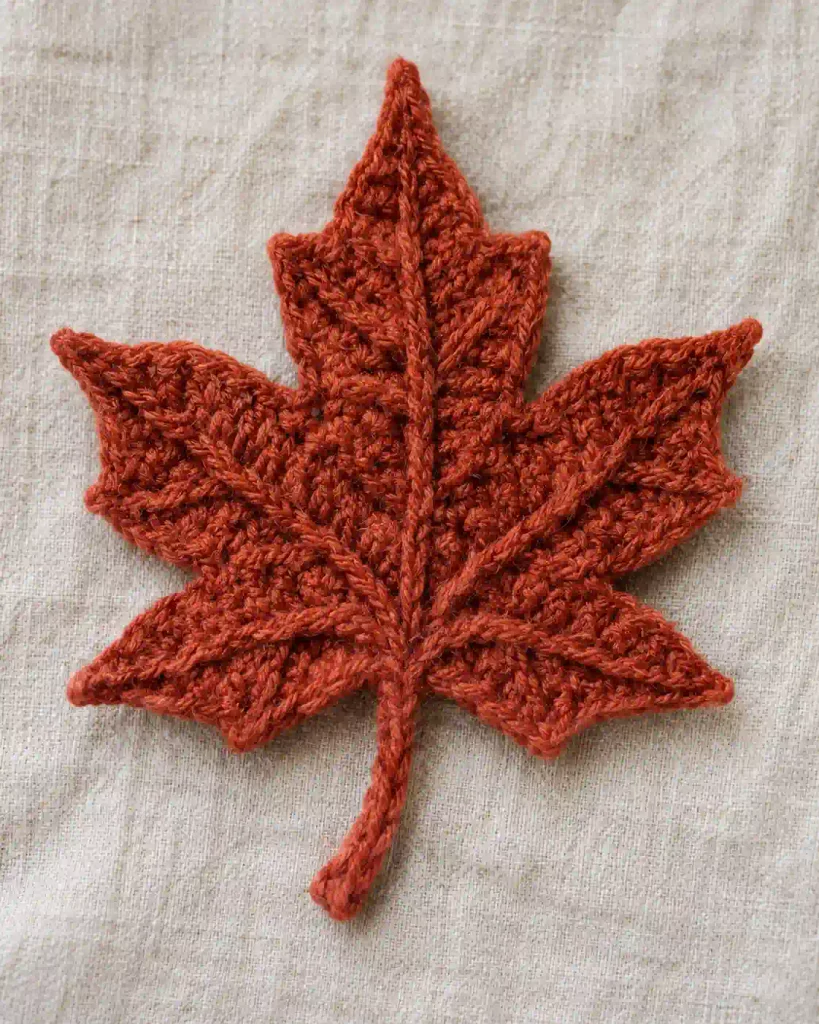
A maple leaf gets its silhouette from the pointed lobes that branch away from the middle. Work the center first, then watch the order of the side sections so you can spot a missed point before finishing the stem. Nicole Riley’s free written pattern gives a sample size of 4½ by 2 inches, including the stem.
Rust yarn shows off the ridges beautifully. For a garland, make a few maple leaves in the same yarn weight and pin the tips into shape while blocking. The finished shapes will read as maple even when the cord hangs in a soft curve.
3. How do you get rounded lobes on an oak leaf?
Oak leaves have a longer profile and gentler lobes than the sharp maple points. Thoresby Cottage publishes two free oak sizes, about 6 cm and 9 cm tall in the designer’s samples. The smaller one fits neatly in a mixed cluster, while a few of the larger leaves are enough to fill out one side of a wreath.
Check the paired lobes as you work back along the second side. On a flat oak leaf, a line of embroidery in a slightly darker brown can define the center vein. Leave the yarn tail long if you already know where you’ll sew the leaf.
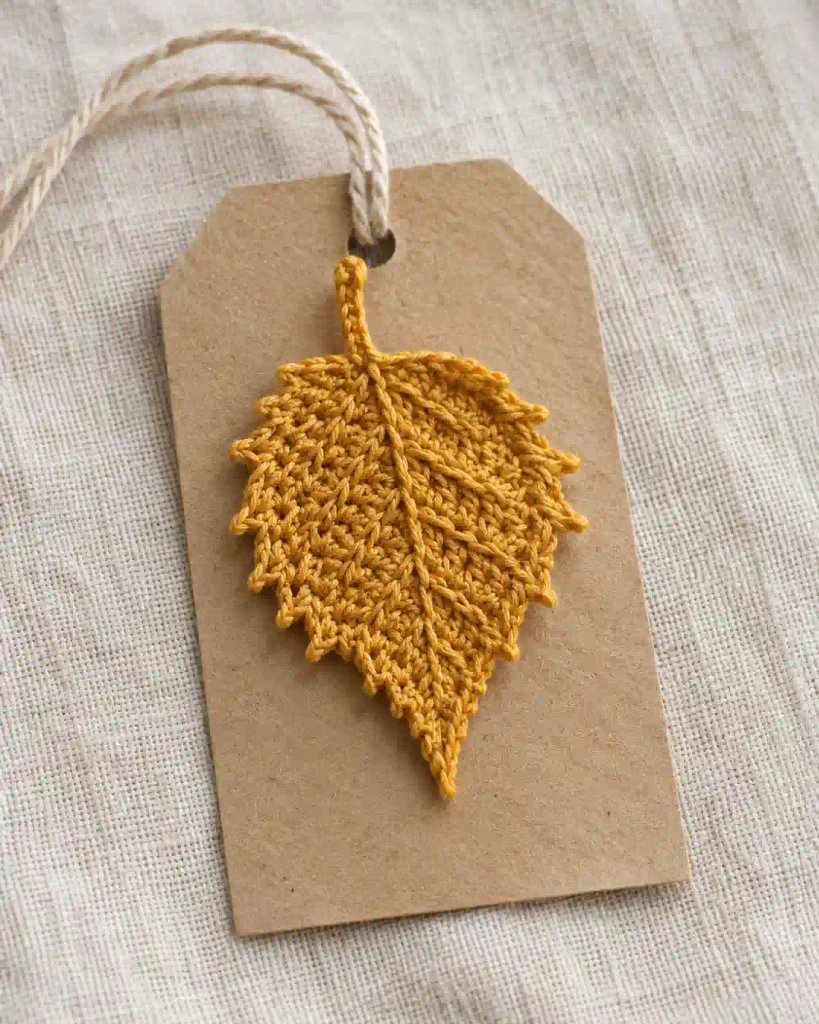
4. How do you make a small crochet birch leaf?
Try a birch leaf when you want an angular shape with a finely toothed edge. Trishagurumi’s free birch pattern uses separate shaping on each side of the base and a short chain-loop edging to outline the teeth. The edge shows up nicely in golden yarn against a plain kraft tag.
For gift wrapping, try a finer yarn and a hook that gives you a firm fabric. Make one leaf and put it on the tag before making the rest. A shorter stem gives you more room for the recipient’s name.
5. What can you make with mini crochet fall leaves?
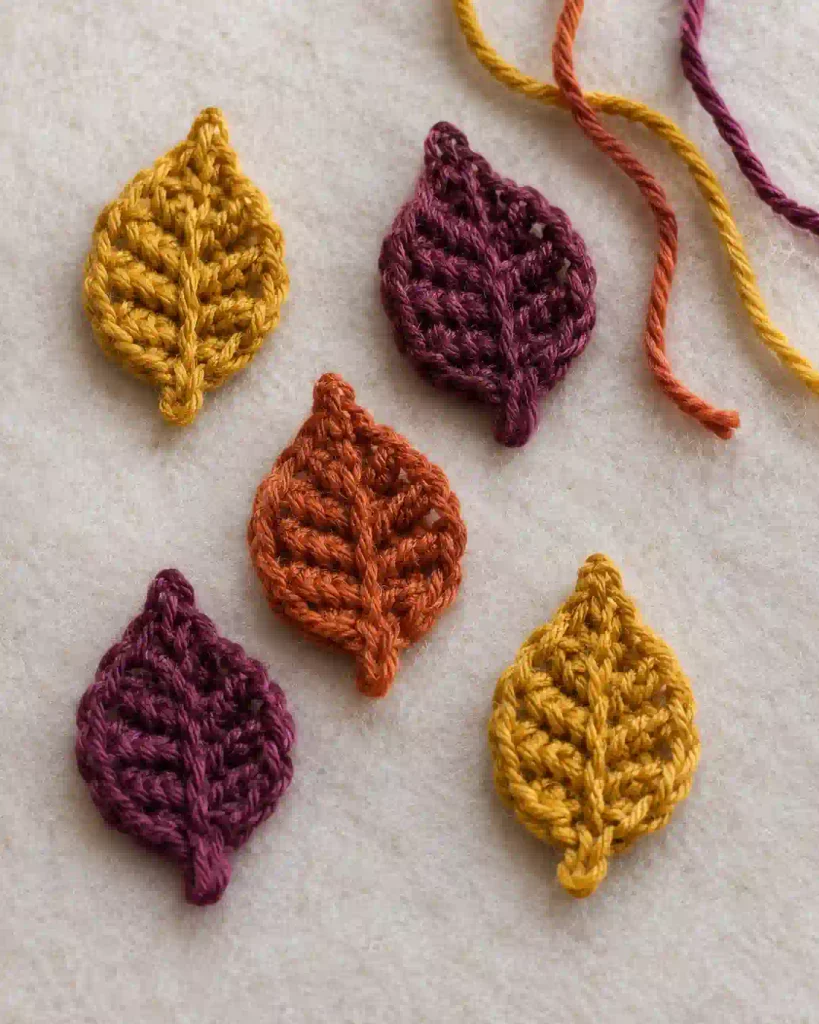
Those short lengths of mustard, copper, and plum are enough to add a little leaf to a place card or gift bag. Work the starter motif in a finer yarn with a suitable hook, or pick a pattern designed for thread. The smaller stitches keep the stem and tip in scale.
Once you’ve made a sample, leave one longer tail on each leaf for sewing. Try three tiny leaves on the corner of a card to see how the colors work together. On fabric, sew the leaf to the surface as an appliqué, a decorative piece attached to a larger base.
6. Where should you change color on a two-tone leaf?
A copper leaf with a mustard edge makes the shape easy to see, even with just two yarn scraps. Finish the body in one color and join the border yarn near the stem, where you can hide both tails on the back. Use the pattern’s edging and check that the points still lie flat as you work around them.
For softer colors, try plum edging on a dusty rose leaf. A contrasting edge is worth doing when you’re making a handful of motifs in the same shape and want each to look a little different.
7. How do you crochet raised veins on a leaf?
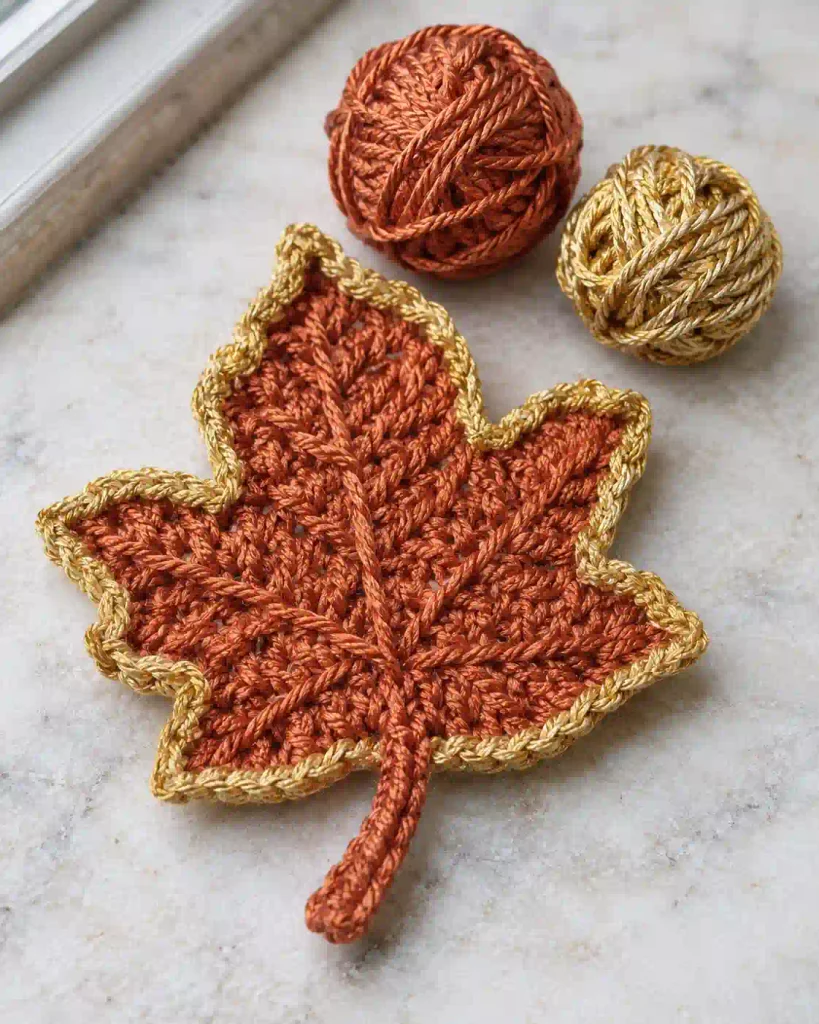
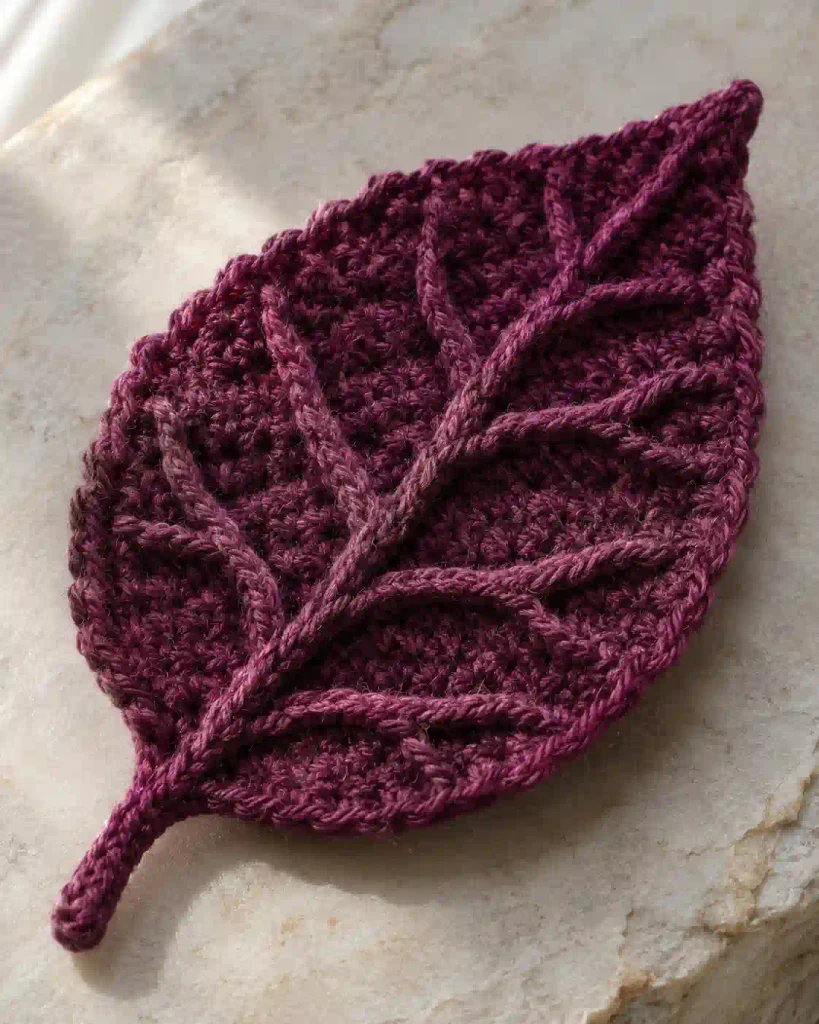
A raised vein gives a plain leaf enough texture to stand out on a wreath or a flat wall hanging. Try surface slip stitch, which forms a new line of stitches on top of finished crochet. With the working yarn underneath, draw up a loop through the fabric and work along the center, pulling each new loop through the loop on the hook.
Stop after the central vein and lay the leaf down. If the sides draw inward, redo that line with looser loops before adding the smaller branches. A vein in the same color gives a subtle finish, while a darker shade makes it easy to see from across a mantel.
8. How do you finish a crochet pumpkin with a leaf and tendril?
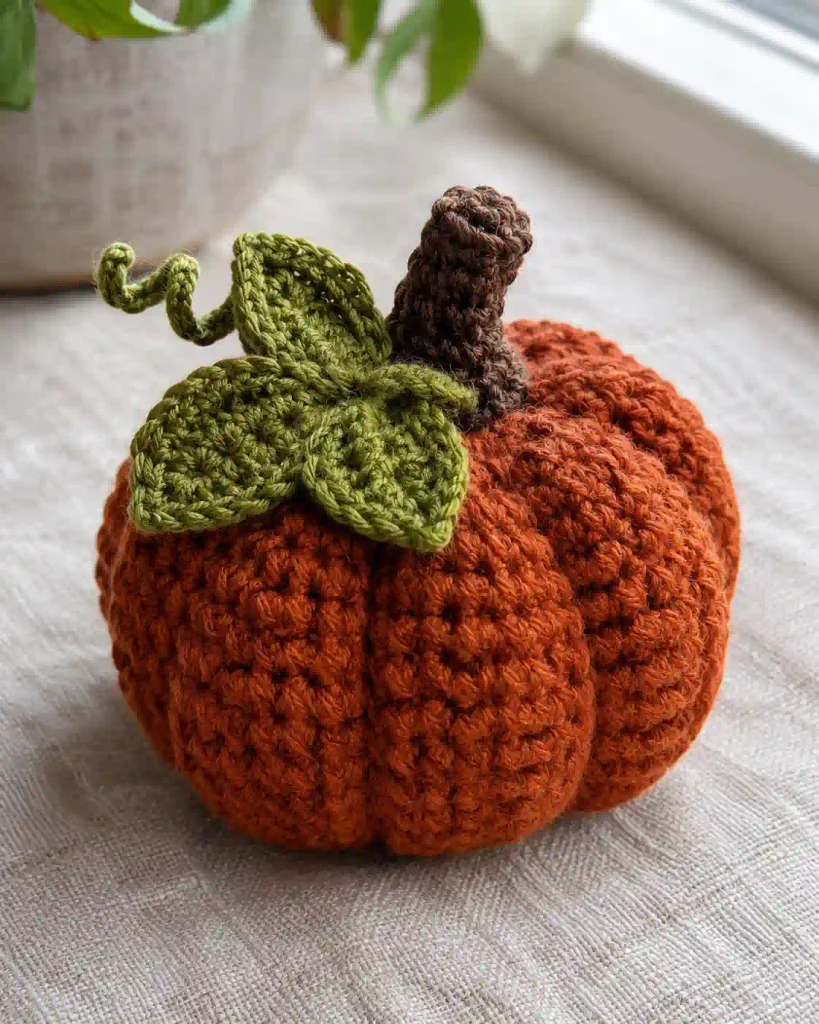
A little green leaf and a curled tendril give a plain ribbed pumpkin a more natural finish. You can also try a crochet pumpkin pattern to create the base for your decorative leaf. Lay both pieces beside the stem before sewing so you can see whether the leaf covers too much of the pumpkin’s top. On a small pumpkin, work the curl separately so you can shorten or reposition it without moving the leaf.
To make a simple tendril, crochet a chain and work two single crochet stitches into each chain back toward the start. Let it coil, then use its tail to attach it. A couple of small anchoring stitches will keep the curl from disappearing behind the stem.
How can you use crochet fall leaves in autumn decor?
Hang leaves from a cord for a garland, cluster them on a wreath, or choose broad, flat motifs for coasters, runners, and placemats. These ideas also make lovely crochet fall decor for your home.
At a glance
- Lay out garland motifs before sewing them to the cord.
- Test coasters and placemats with your own mugs and plates.
- Tie wreath leaves in place if you want to reuse the base.
9. How do you make a crochet fall leaves garland?
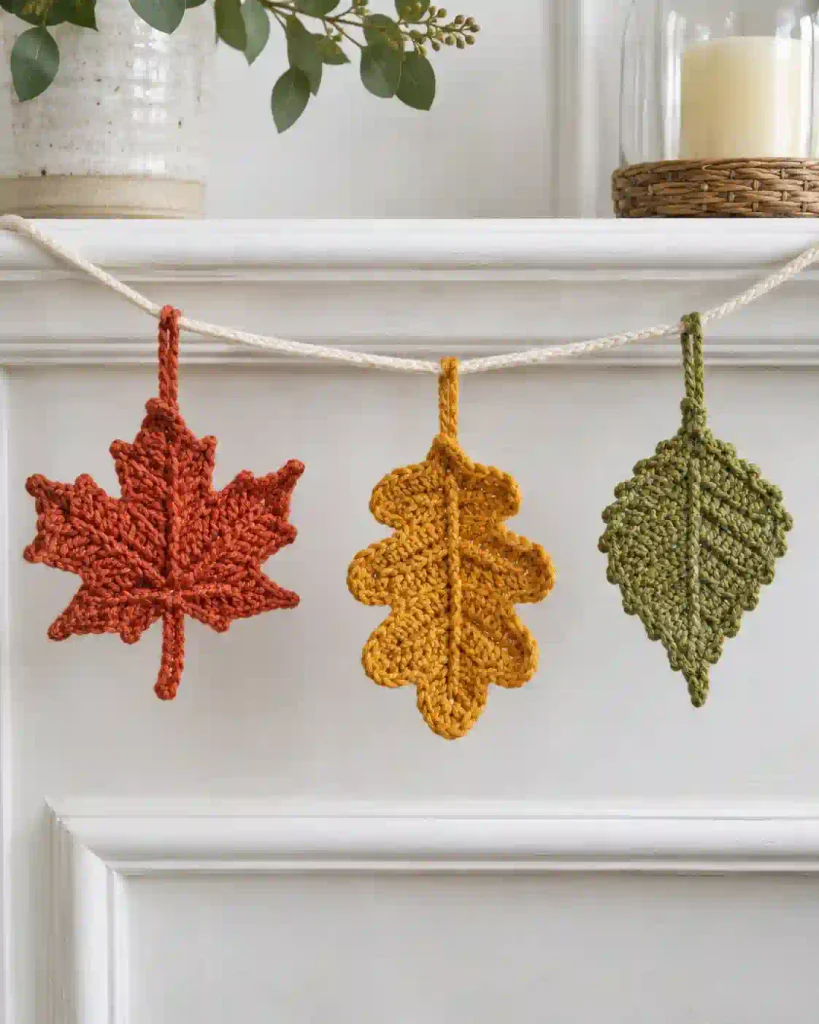
This crochet fall leaves garland looks fuller when the motifs vary in width. Try an alternating maple, oak, and birch repeat across a mantel, with the stems pointing toward the cord. Start with a test run on a table so you can move the leaves around before stitching them down.
- Hang the empty cord first and mark where the first and last leaves should sit.
- Lay it flat and try about 3 inches between attachment points, then adjust by eye for your widest motif.
- Sew or tie the leaves to the cord and hang it again. Add a second tack near the stem on any leaf that keeps turning sideways.
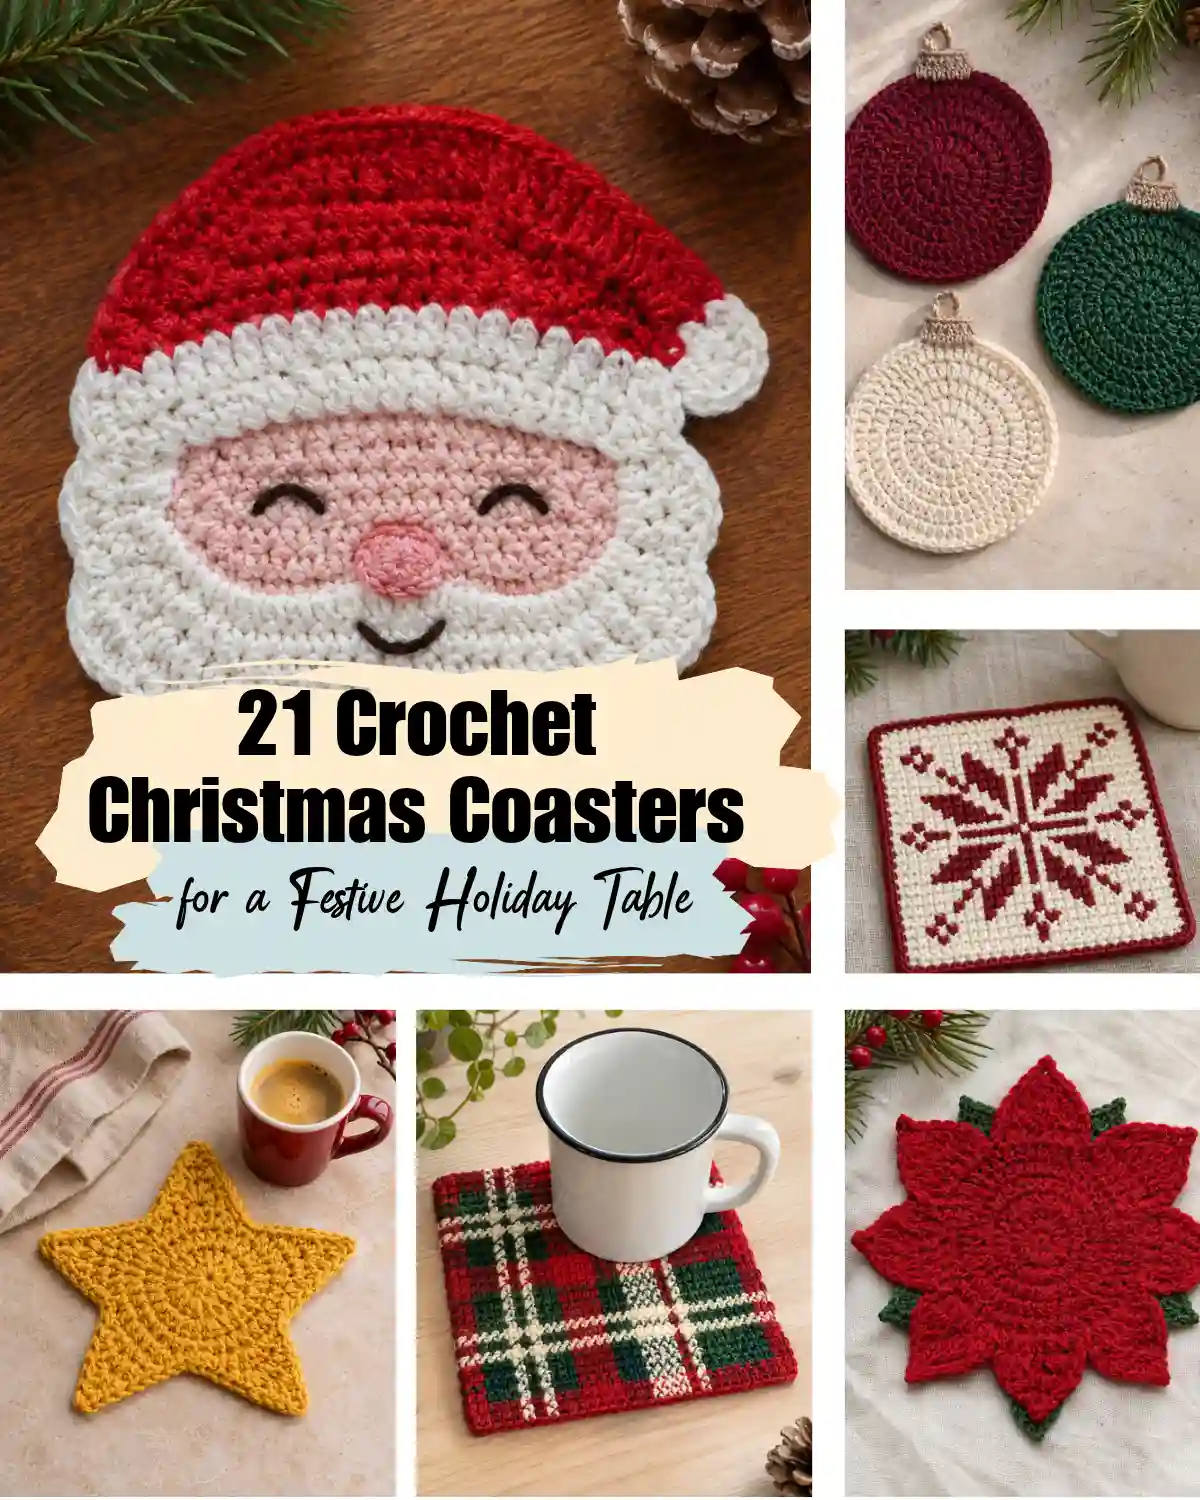
10. How do you make leaf coasters that sit flat?
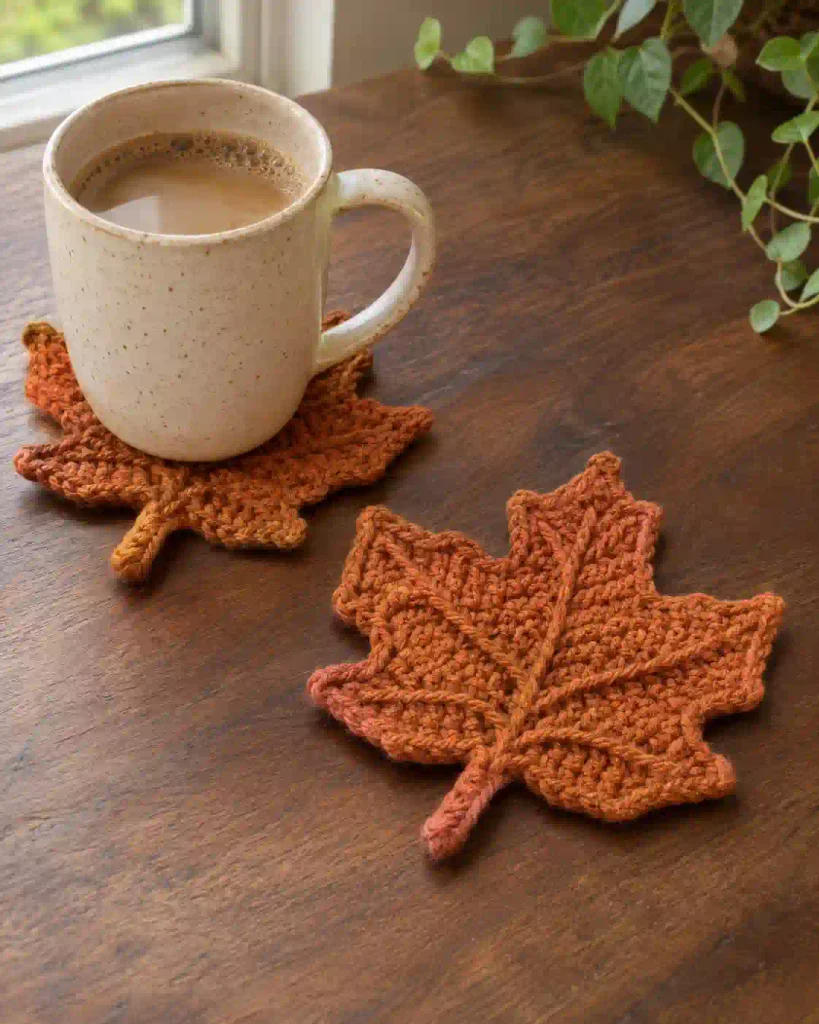
On a leaf coaster, the middle does the work. If you want to explore another beginner-friendly coaster project, try this crochet coasters pattern for beginners. A wide, tightly stitched cotton leaf gives a mug a broad base, and a short stem stays out of the way of the handle. Before making a set, put your usual mug on the first coaster and check for rocking.
Measure the mug’s base across its widest point. For example, a 3-inch mug base can sit on a 3½-inch flat center with about ¼ inch showing on each side. Keep raised veins and thick borders outside the part that supports the mug.
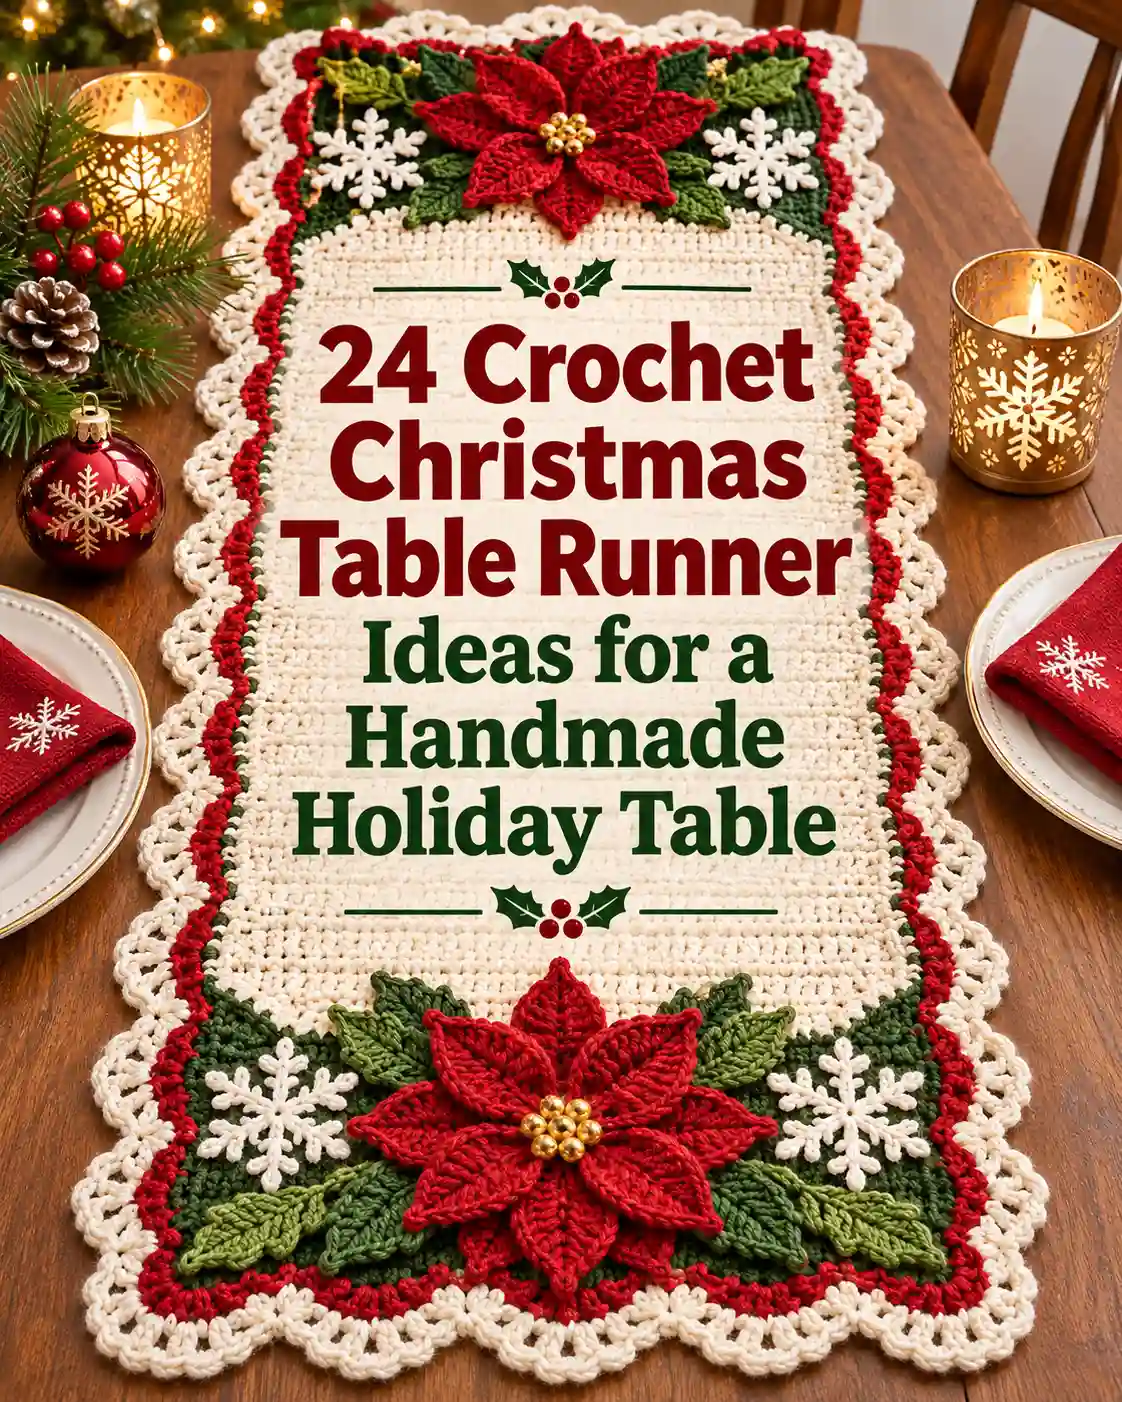
11. How do you size a crochet fall leaves table runner?
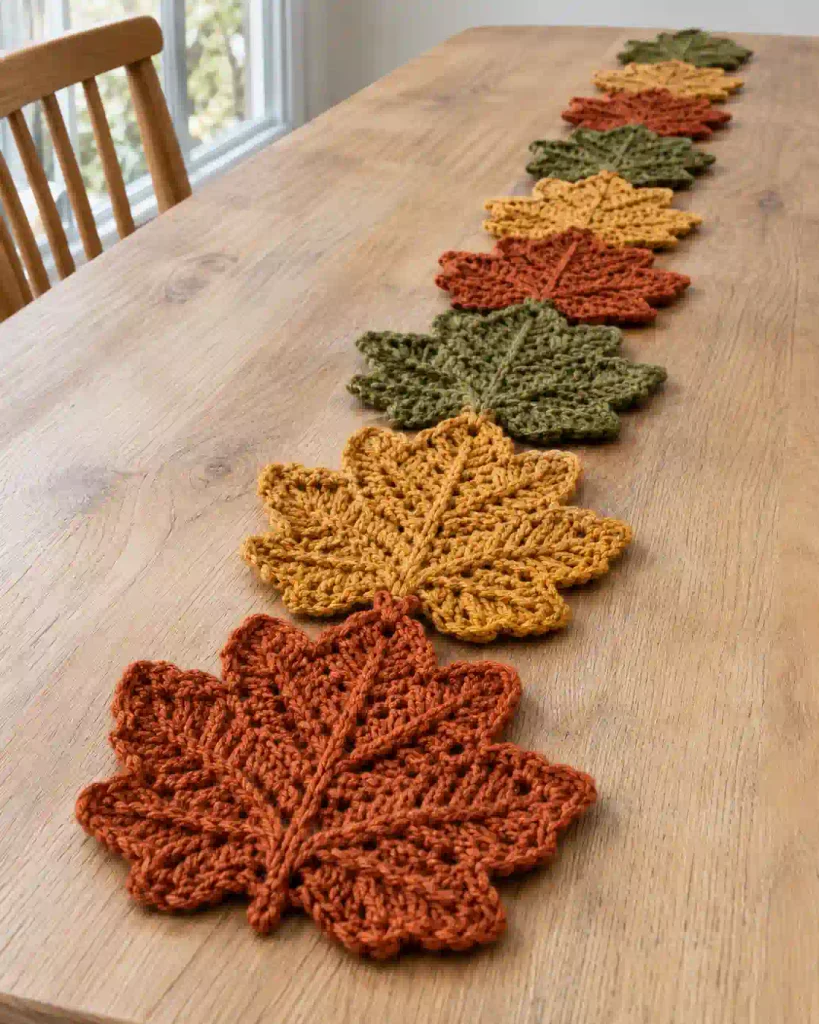
Joining leaves into a runner lets you fit the length to the table. Make three leaves in the yarn you plan to use, block them, and lay them in a repeat, with the tips alternating slightly left and right. That little shift gives the runner room to follow the natural shape of each motif.
Measure the distance each new leaf adds after overlapping. For example, six motifs that are 7 inches long with five 1-inch overlaps make a runner about 37 inches long. Use yarn and a tapestry needle to sew through neighboring edge loops from underneath, keeping the joins loose enough that the runner lies flat.
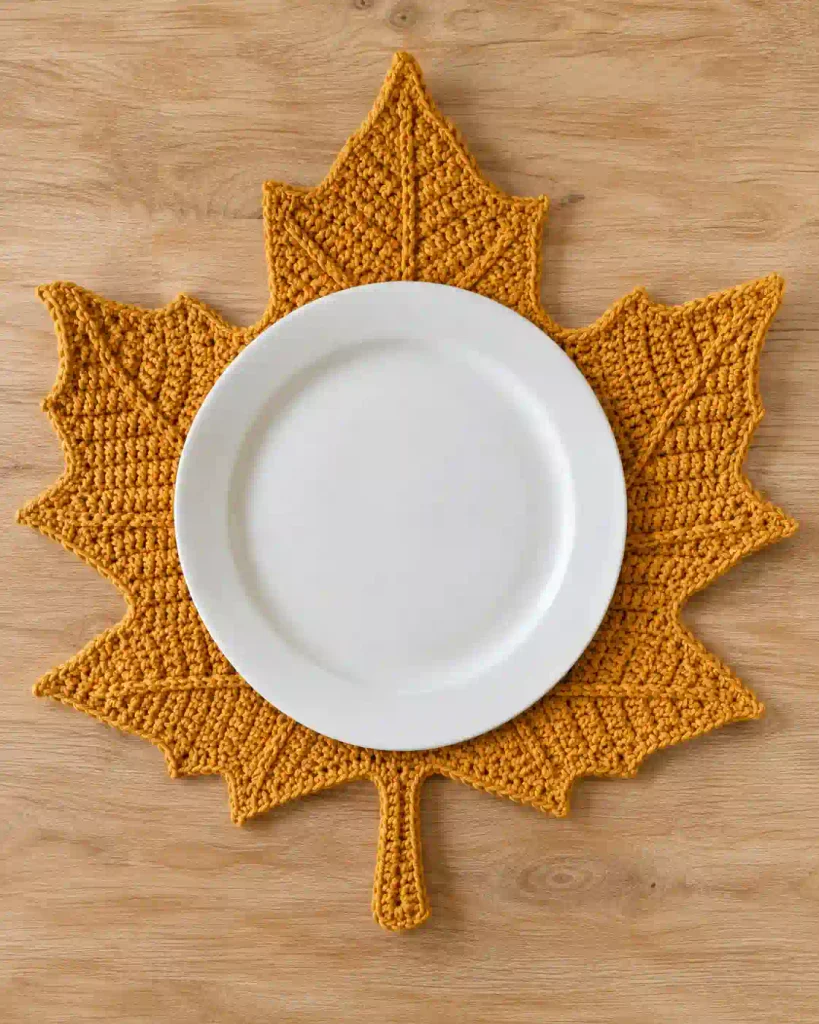
12. What makes a crochet maple leaf work as a placemat?
Give a placemat room to show off the maple points around a dinner plate. Choose a maple design sized for the table, or make one trial piece with a thicker yarn and a compatible hook before committing to a set. A bigger leaf can still be awkward under a plate if the center domes or the join sits directly underneath it.
Place your dinner plate on the blocked sample and check that it sits flat. Rotate the mat so the longest point extends into open table space. The stem can sit off to one side where it won’t catch under the plate.
13. How do you attach crochet leaves to a fall wreath?
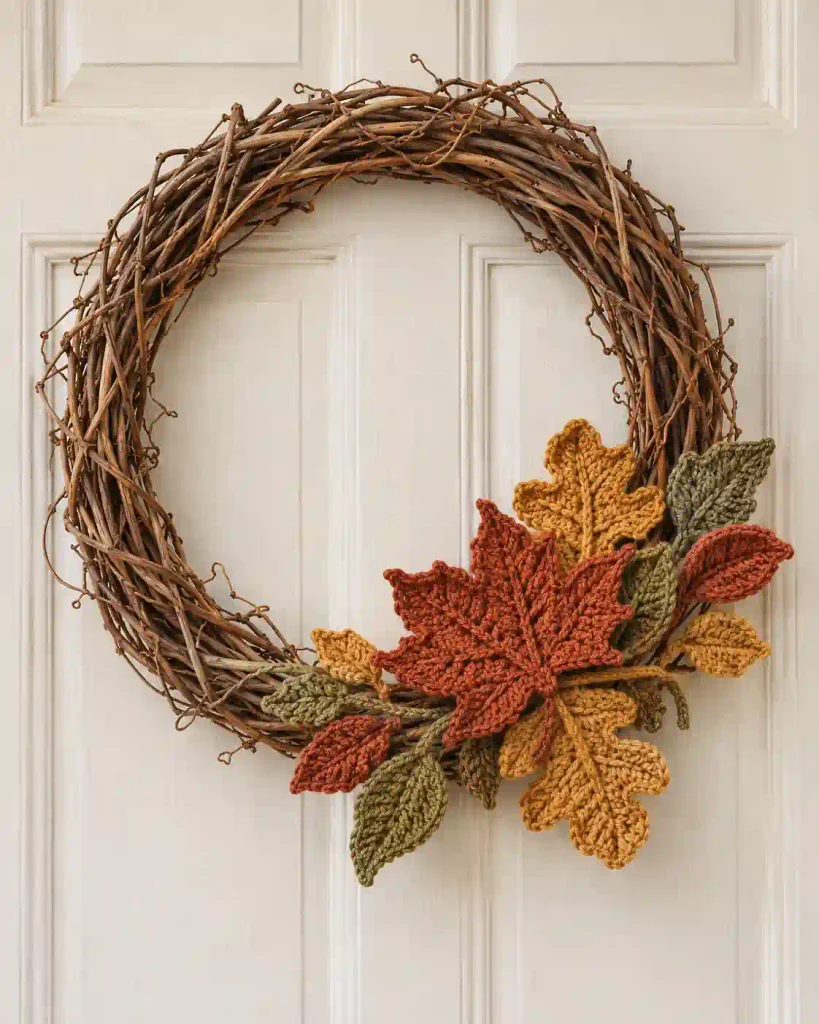
A cluster of leaves on one side of a grapevine wreath leaves space for the stems and vine to show. Set the larger maple and oak leaves down first, then tuck a raised-vein leaf or two over the join. Check the arrangement from a few feet back. That’s where the difference between the silhouettes becomes obvious.
Tie each piece through the grapevine with a matching yarn tail. If a leaf lifts away from the base, secure one lobe with a discreet second stitch. The yarn ties are easy to undo when you want to reuse the wreath base.
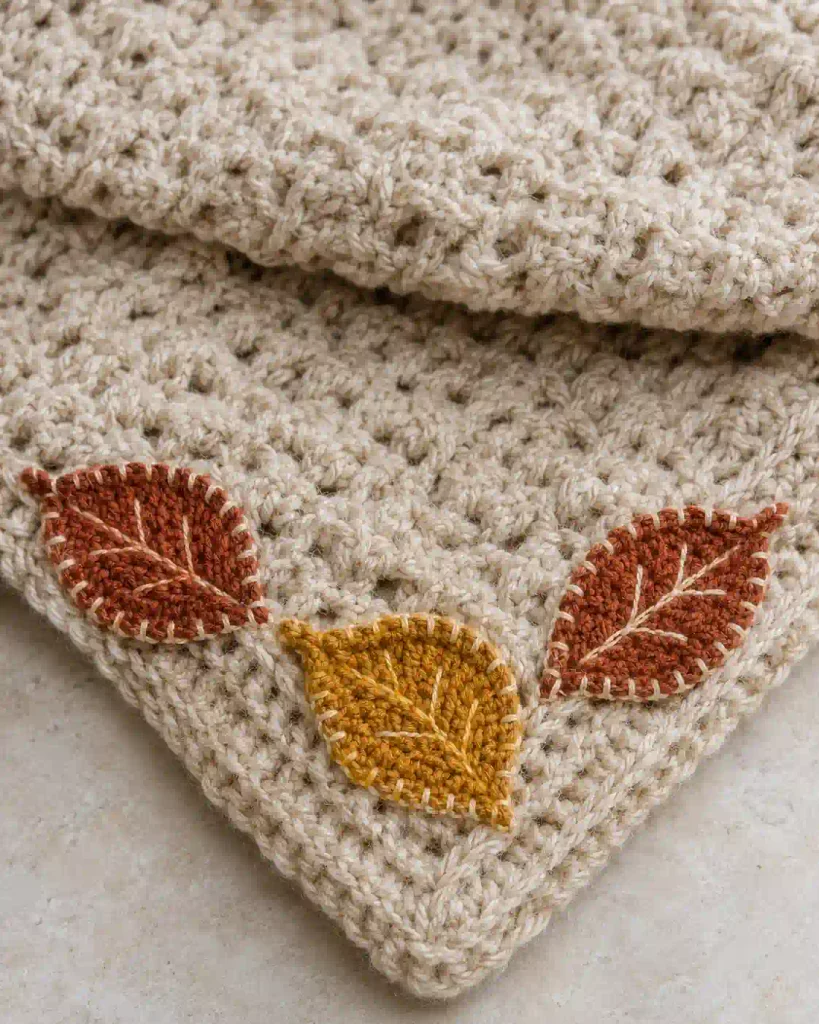
14. How do you sew fall leaf appliqués onto a blanket?
Three flat leaves at the lower corner of an oatmeal throw add color without changing how the rest of the blanket feels. For a fuller border, arrange a test repeat and fold the throw the way it will sit on the sofa. That helps you see whether the leaves will show when the blanket is folded.
Choose a motif yarn that can be washed the same way as the blanket. Pin each leaf in place, then use a tapestry needle to sew around its edge with small stitches. Tack down the stem and every point that tends to lift, especially if the blanket gets used daily.
15. How do you keep a crochet leaf bookmark slim?
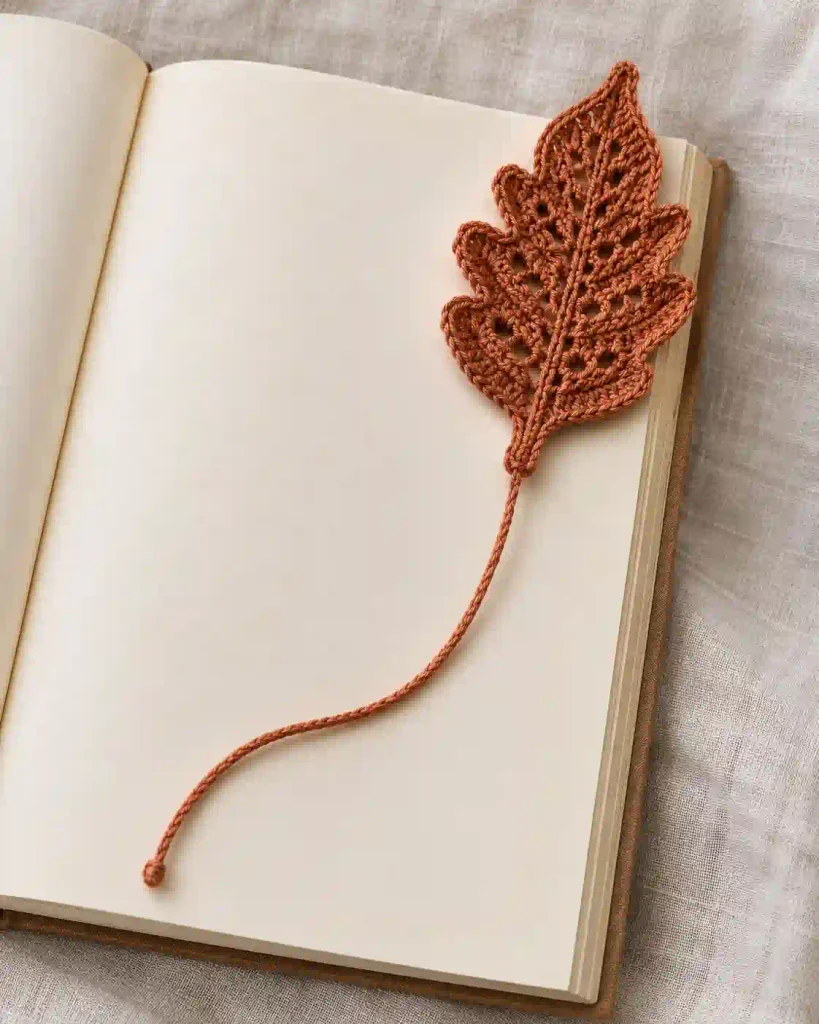
A small leaf can peek out from the top of a book while a fine chain marks the page. You can also explore a crochet flower bookmark for another handmade page marker idea. Try the mini motif in cotton and give the cord a flat join at the stem. It makes a nice extra when you’re wrapping a paperback for someone who reads with a cup of tea nearby.
Use the book itself to check the cord length. Leave enough to trail beyond the lower edge, weave the end along several chain loops, and close the book on the chain for a quick fit check.
How do you choose yarn and block crocheted leaves?
Choose a smooth yarn for clear stitch definition, use a hook that suits the pattern, and shape the finished leaf flat as it dries.
At a glance
- Read the yarn label before wetting the motif.
- Arrange the tip and lobes while the leaf is damp.
- Measure the dry leaf before making a matching set.
Smooth yarn is easiest for seeing the individual stitches on a first leaf. The Craft Yarn Council classifies worsted as medium-weight yarn, category 4, and gives a general crochet-hook range of 5.5–6.5 mm for that category. Before finishing your motifs, learn how to block crochet to help shape the leaves evenly. Follow the pattern’s hook size when it calls for a firmer fabric or when finished measurements matter.
Blocking means shaping the finished crochet as it dries. Lion Brand recommends checking the yarn label and shaping washed work on a flat surface, as explained in its crochet blocking guide. For a maple or birch leaf, arrange the points and edges first, use pins if needed, and leave the motif in place until it dries.
FAQs About Crochet Fall Leaves
How many leaves do you need for a crochet garland?
Count the spaces between leaves, then add one if you want a motif at each end. For a crochet fall leaves garland with 24 inches between the first and last attachment points and 3 inches between leaves, start with nine motifs. Lay them out first and widen the spacing where larger shapes overlap.
Can you crochet a fall leaf without a magic ring?
Yes, choose a leaf pattern worked around a starting chain. If you’re searching for “crochet fall leaves free pattern” and want to skip the ring, the pointed leaf in item 1 is a good place to start. You work along one side of the chain, turn at the tip, then work back along the other side.
Can you mix yarn weights in one set of crochet leaves?
Yes, especially for a wreath or garland where leaves of different sizes can sit side by side. Use a suitable hook for each yarn and arrange a sample of each before attaching them. For a set of coasters you want to match, use the same yarn weight and hook throughout.
Can you sew crochet leaves onto clothing?
Yes, a flat crochet leaf can work as an appliqué on a cardigan or another garment. Choose a yarn you can wash with the garment, then pin the leaf in place and check how the fabric hangs. Sew around the edge with small stitches and tack down any points that lift.
How do you store crochet fall leaves between seasons?
Store clean, fully dry leaves flat so their tips and stems keep their shape. For a garland, loosely coil the cord and lay the leaves in order so they’re easy to hang next year. Keep heavy items off the stack, especially if some of the leaves have raised veins.
Which crochet fall leaf will you make first?
Pick one leaf and try it in a color you already have. A gold birch makes a good gift tag, a handful of maple and oak leaves can fill out a mantel garland, and a flat cotton leaf can go straight under your favorite mug. Once you know how your first motif looks and feels, making a matching set is much easier.
Final Thoughts
Crochet fall leaves are a simple and creative way to bring the warmth of autumn into your home. Whether you make colorful maple motifs, delicate oak leaves, cozy coasters, or a handmade garland, each project offers a chance to experiment with yarn colors, textures, and stitches. Choose a pattern that matches your skill level, gather your favorite fall shades, and enjoy creating something special for the season. Even a few handmade leaves can add a beautiful seasonal touch to your home or make a thoughtful gift for someone you love.