


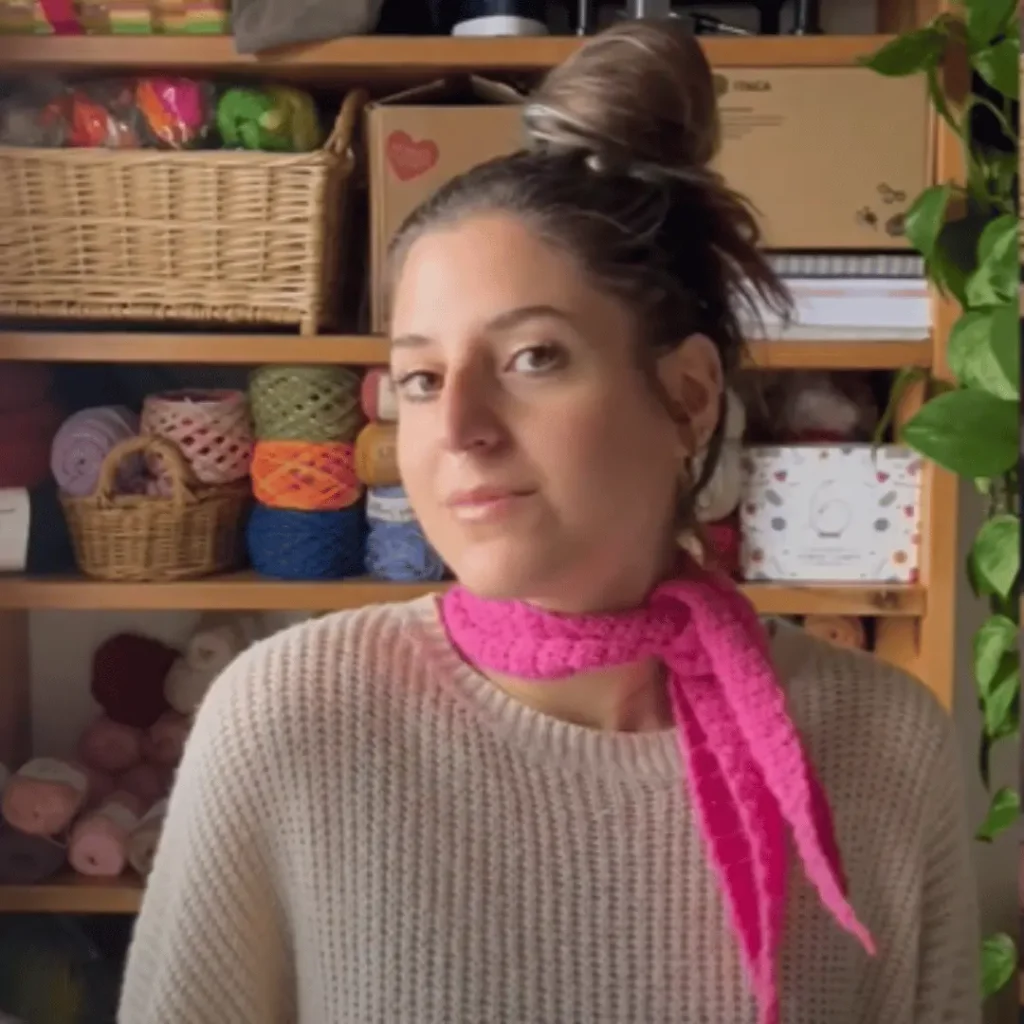
Crochet A Mini Scarf: Are you thinking about something cozy and cute? Crocheting a mini scarf is just what you are looking for. It is simple, fun, and perfect for you to keep yourself warm in the colder days, as well as make you stylish.
The best part is that you will have the choice to choose yarn and yarn color on your own. You can even customize your scarf as you like. This will reflect your unique personality to others. So don’t delay. Read the rest of our article and get the complete guide on how to crochet a mini scarf for beginners.
Key Takeaways:
- Crocheting a mini scarf is simple and perfect to keep you warm.
- Soft yarn is the best one for crocheting yarn. For instance, you can choose acrylic yarn.
- You can add your personal touch to your scarf by adding colorful stripes.
In This Post
- What Materials Do I Need To Crochet A Mini Scarf?
- What Type Of Yarn Is Best For A Mini Scarf?
- Useful Crochet Stitch Abbreviations
- What Crochet Stitches Are Best For A Mini Scarf?
- Skills You’ll Learn
- How To Crochet A Mini Scarf For Beginners?
- Styling Your Crochet Mini Scarf
- Tips to Crochet a Mini Scarf
- How To Customize Your Mini Scarf?
- Final Thoughts
- Frequently Asked Questions (FAQs)
What Materials Do I Need To Crochet A Mini Scarf?
Not just yarn, but you will have to manage the other supplies before you head to crocheting. Here is the list if needed of materials to crochet a mini scarf:
| Supplies | Details |
|---|---|
| Crochet Hook | A US size G 4mm crochet hook is best. But make sure to make a swatch and check your gauge! |
| Yarn Needle | After you have finished to crochet a mini scarf, you will need this to weave in the ends of your scarf. It will help your scarf look neat and clean. |
| Scissors | A must-have for any yarn project! You will have to use it to cut your yarn when you’re finished. |
| Knitting Needle | A knitting needle will help you to hold your stitch at the place where you crochet it. |
What Type Of Yarn Is Best For A Mini Scarf?
When you are about to choose yarn for a mini scarf, note that soft and easy-to-use yarn is the best choice! For instance, you can go with acrylic yarn; this yarn is affordable and comes in many colors.
After crocheting, you will feel nice against your skin. Cotton yarn is also good, but a good suggestion is to use it in the summer season. It helps keep you cool. For beginners, we suggest going with medium-weight yarn, like worsted weight. They are perfect because it’s not too thick or thin.
With this, you can make your crocheting process far easier and work very easily and quickly. From this, you can look for yarn that is labeled as “soft” or “gentle.” It will give you a comfy feel when you wear your mini scarf. Lastly, remember, that you must choose a yarn color that you love but also matches what you will pair it up with.
Useful Crochet Stitch Abbreviations
Here we have a list of some common crochet stitch abbreviations you may find while working with your pattern. So better to have a deep knowledge of this to crochet a mini scarf pattern:
| Abbreviation | Meaning |
|---|---|
| ch | Chain |
| sl st | Slip Stitch |
| sc | Single Crochet |
| hdc | Half Double Crochet |
| dc | Double Crochet |
| tr | Treble Crochet |
| blo | Back Loop Only |
| dec | Decrease |
| st | Stitch |
What Crochet Stitches Are Best For A Mini Scarf?
Before you jump to crochet a mini scarf, make sure to have a quick glimpse of some of the important stitches. It is even more important if you are at the beginner level. This brief will give you a clear idea and help you complete the project without any interruption. Here you go:
1. Half Double Crochet Back Loops Only Two Together (hdc-blo-2tog)
Through this method, you will learn to decrease the number of stitches when you try to make a nice texture. However, here is the simple process to do it:
- First, wrap the yarn around your hook.
- In the next step, put your hook just at the back loop of your next stitch. It would be the one farthest from you. Now gently pull the yarn through that loop.
- Check once and ensure you have three loops on your hook. You need to follow the same steps in the back loop of the next stitch.
- Just after completing that, you will have four loops on your hook. Done? Wrap the yarn around your hook and go one more time. Congrats, you’ve done it!
2. Half Double Crochet Decrease (hdc-dec)
It is almost similar to the first, but we will say it is much easier to apply. Here is how you can do it:
- As usual, first, wrap the yarn around your hook.
- Now take your hook and put it into the next stitch.
- Then you have to pull the yarn through that stitch. Just check once; you should now have three loops on your hook.
- If yes, do the same thing in the next stitch and get the fourth loop.
- After you have done that, wrap the yarn around your hook again. Great job! You’ve decreased one stitch!
Skills You’ll Learn
Learning how to crochet a mini scarf is a fun and simple way to add something new to your crochet skills. It’s easy for beginners and takes little time. You’ll discover basic stitches, master your tension, and finish neatly. And these skills will serve you well when you work on larger crochet projects in the future.
- Chain Stitch (ch): This stitch begins everything you crochet. Perhaps you’ve heard of the chain, right? You’ll practice crocheting evenly to make the base of your little scarf.
- Single Crochet (sc) and Double Crochet (dc): These essential stitches provide the texture and shape. They are small but mighty and are important aspects of building patterns and making anything crochet.
- Gauge Control: You will be forced to keep your tension even. It will make your scarf even in width, and give you a more accurate crochet.
- Finishing Techniques: You will learn to weave in yarn ends neatly. You can personalize your scarf or complete the look by adding fringing or buttons.
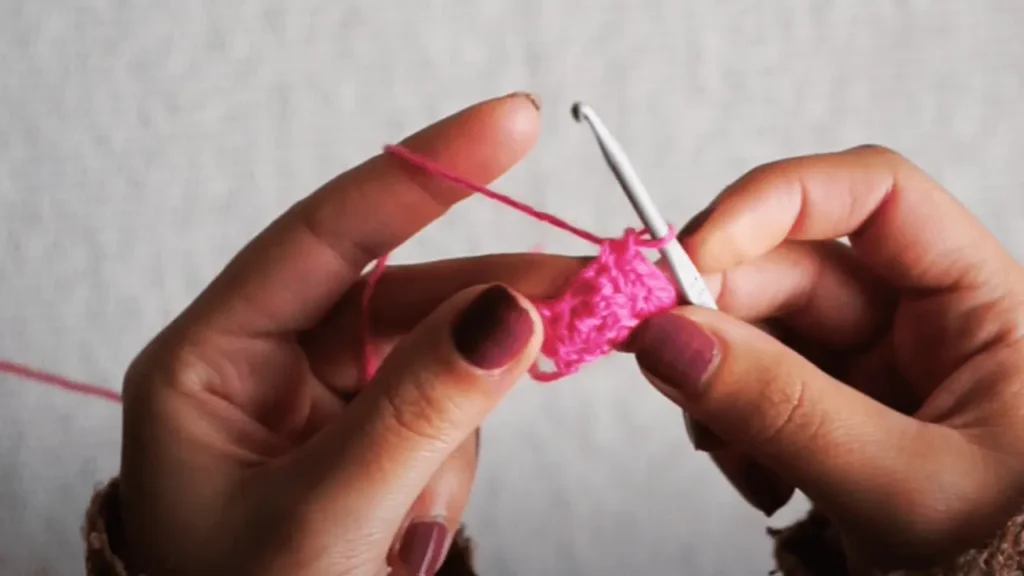
How To Crochet A Mini Scarf For Beginners?
Follow the step-by-step instructions to crochet a mini scarf on your own:
Step 1: Choose The Yarn
Before you start to crochet a mini scarf, make sure you have the right yarn at hand. Otherwise, all your efforts will just go in vain. Well, for this project, DK-weight yarn is the best suggestion for you. While crocheting using this yarn, you will feel completely light and soft against your skin. Even the outcome will be a super soft scarf that you’ve tried out.
The next thing is choosing the color. Here, my suggestion is to choose a yarn that shows off your stitches well. It’s all about making your scarf look neat and cozy! You can choose Swish DK yarn in two colors.
For example, pick Forest Heather in a pretty green and then pick Marine Heather in a dark teal. No worries, you can choose the yarn in any color you like!
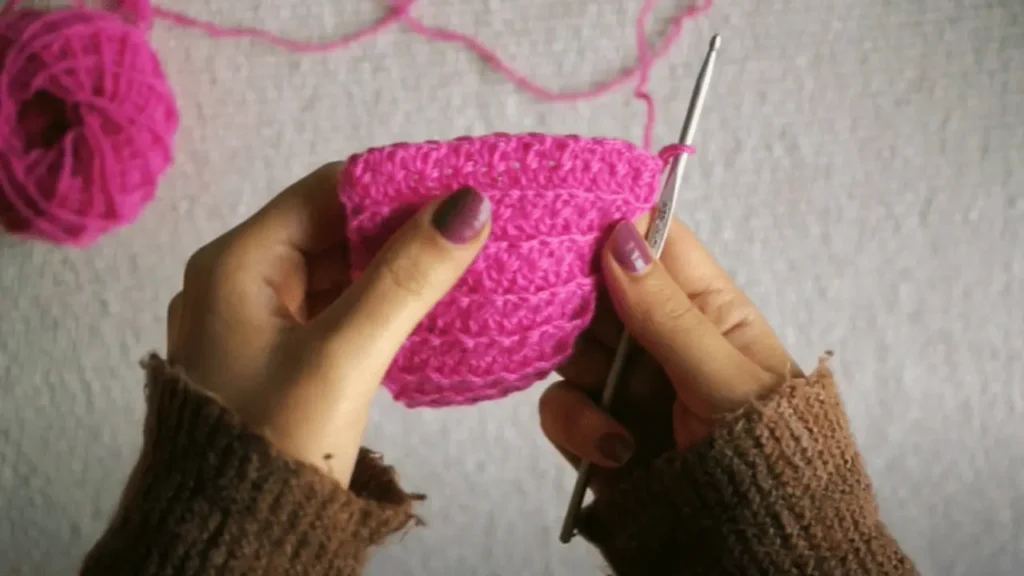
Step 2: Increase Section
In this major tutorial, you will learn how you increase the stitches to crochet a mini scarf! Here is a quick table that will guide you. Check and practice as written:
![How To Crochet A Mini Scarf For Beginners? [Step-By-Step With Image]](https://crochetmind.com/wp-content/uploads/2024/10/Increase-Section-1024x576.webp)
Row 1: First, chain 3. But don’t count it as your first stitch. Right after that, make 1 half double crochet from your hook. It would be in the third chain and then turn your work.
Total Stitches: 1
- Row 2: In this row, chain 2. Count it as a stitch, then make 2 hdc in the first stitch. When done, turn in your work.
Total Stitches: 2
- Row 3: Chain 2. Then just make 1 hdc in the first stitch. In the same process, make another one in the next stitch. Turn your work.
Total Stitches: 2
- Row 4: This would be similar to what you did in row 3. Chain 2 and make hdc-blo in the first stitch, and then make hdc in the last stitch. Turn your work.
- Row 5: Chain 2. Just as before, you have to make 2 hdc-blo in the first stitch. When done, turn in your work!
- Row 6: Chain 2. First, make 1 hdc in the first stitch and then 1 hdc-blo in the next stitch. Here you will have to make 1 hdc in the last stitch. Finally, turn in your work.
- Row 7: In this step, repeat row 6. Chain 2 and make hdc-blo in the first stitch and two hdc-blo in the last stitch. Turn your work and move to the next row.
- Row 8: Twists start here. After making chain 2, you have to make 2 hdc-blo in the first stitch, then 1 hdc-blo in the next stitch. When done, make another 1 hdc in the last stitch. Just turn in your work and go ahead.
- Row 9: As usual, start by chaining 2. But make hdc-blo in each stitch across until you get to the last stitch. When done, 1 hdc in the last stitch.
- Row 10: Repeat row 9. In this row, do exactly what you have done above.
- Row 11: First, you have to make chain 2. Then make 2 hdc-blo in the first stitch. Finally, add hdc-blo in each stitch in each space until you get to the last stitch. With one more hdc in the last row, complete your row!
Step 3: Middle Section
Now it’s time to work with the middle section of your mini scarf. It will give your scarf a nice and cozy look. Here is how you will do it:
Row 1: First, chain 2 for the first stitch of the row. Then, make a half-double crochet throughout the row. Don’t miss using the back loops only. Make 1 hdc in the last stitch and complete your row. Then turn your work and go further.
Options for Repeating Row 1:
You will have two options for how many rows you want to do in the middle section.
Option 1: If you want a shorter middle section, repeat Row 1 for a total of:
- 5 rows
- 11 rows
- 16 rows
- 22 rows
- 27 rows
- 33 rows
Option 2: If you want a longer middle section, repeat Row 1 for a total of:
- 33 rows
- 38 rows
- 44 rows
- 49 rows
- 55 rows
- 60 rows
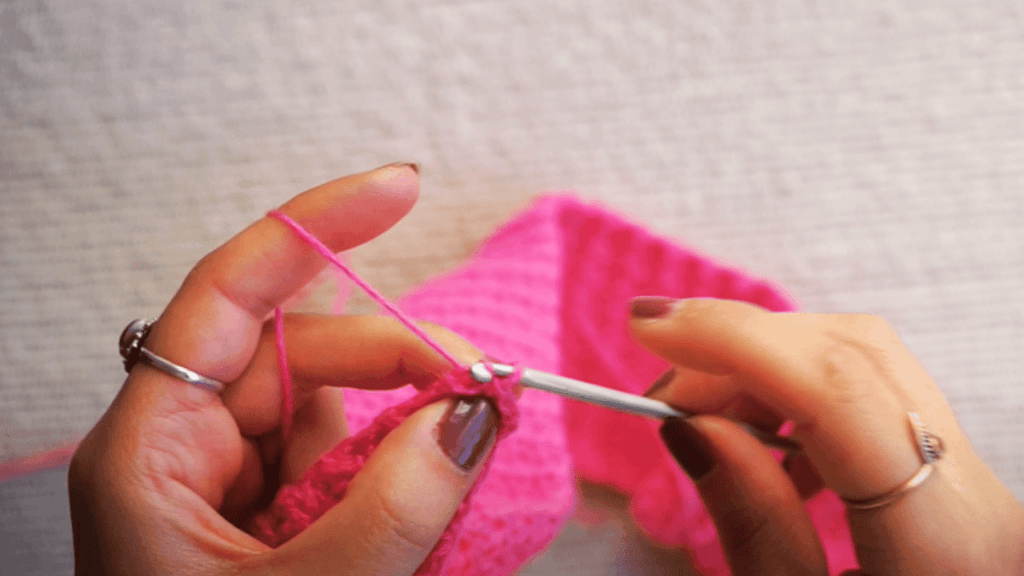
Step 4: Decrease Section
Here you will disgrace the stitches to make the shape. Follow the instructions carefully, and let’s get started!
Row Instructions:
| Row | Instructions | Instructions |
|---|---|---|
| Row 1 | Chain 2. Make a half double crochet two together (hdc-blo-2tog) in the first two stitches. Then, hdc-blo in each stitch until you are at the nbd. Make 1 hdc in the last stitch. | 13 |
| Row 2 | Chain 2. Make 1 hdc-blo in each stitch across; you will get the last stitch. Then make 1 hdc in the last stitch. | 13 |
| Row 3 | Repeat the same as Row 2: Chain 2, make 1 hdc-blo in each stitch across, and go to the last stitch. Make 1 hdc in the last stitch. | 13 |
Final Rows:
| Row | Instructions | Total Stitches |
|---|---|---|
| Row 37 | Ch 2, hdc-dec across remaining sts. Turn. | 1 |
| Row 38 | Ch 2, hdc in the last st. Do not turn down your work. | 1 |
Step 5: I-Cord Edging
Now the time comes to add a neat border to your mini scarf. You need to use I-cord edging. Just insert your hook on the edge and yarn over. Right after that, pull up the loop and make 3 stitches.
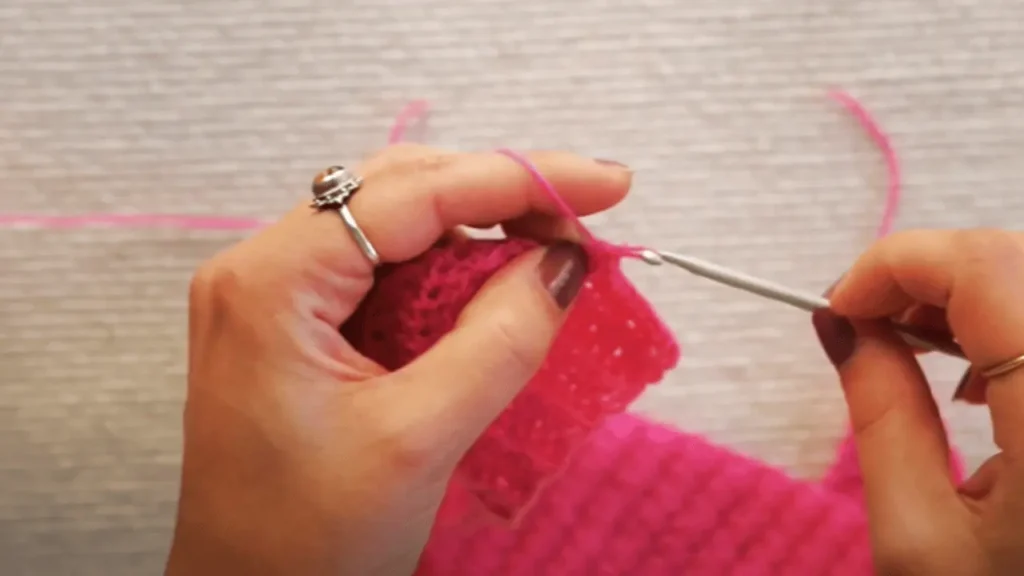
With the use of the loop, you have to continue crocheting. Make sure your stitches are stable in place.
Step 6: Seaming the Ends
When you are done with the I-cord edging, this is the time to seam the end. It is even far simpler than you ever thought.
First, make sure both ends of your scarf match up. Now take your needle and sew the two ends of the scarf together. Ensure to make small, even stitches. When done, weave in any leftover yarn, and your scarf is ready! Wow!
Haven’t you cleared yet? Let’s see the YouTube Video for your easy understanding:
Styling Your Crochet Mini Scarf
Crochet mini scarves are so cute. Because they are so small, they can be used creatively. Whether you’re accenting, decorating, or creating something special for someone special, this little project makes a big impact. Below are some fun things to make with and wear your mini masterpieces.
As a Fashion Accessory
Complete your look with a bit of handmade embellishment. Tie the mini scarf around a ponytail, braid, or bun. You can tie it onto a hat or loop it through a bag strap. It gives some colour and texture to your ensemble. It is great for easy, stylish accessorizing with a personal touch.
For Dolls or Toys
Crochet mini scarves are best for doll clothes. They wrap beautifully around the necks of stuffed animals and figurines, perfect for kids who love dress-up games. You can even create matching scarves for the toy and its owner. It is a creative, thoughtful, generous gift that brings joy and personality.
As a Pet Accessory
Scarves Fit for Small Dogs or Cats. Mini scarves are adorable neckwear for cats or small dogs. Soft Yarn – Soft and comfortable, suitable for children, adults, and older people. Opt for something fun, colourful, or patterned, which suits your pet’s vibe. They work well for photos, holidays, or fun, cuteness. Always supervise pets wearing accessories as they play, chew, tug, or scratch, and remove the accessory immediately if the pet is uncomfortable, if there is damage, or if it has been chewed on.
Decorative Use
Mini scarves serve as clever decor. Hang them over presents, dangle on a holiday tree, or encircle jars and bottles. They provide a cosy, rustic something to any spot. Opt for seasonal shades when creating themed makeups. It’s a fantastic way to use up leftover yarn and spread a little bit of handmade charm.
Tips to Crochet a Mini Scarf
It is very easy to crochet a mini scarf, but there are a few tricks you can do to make magic with your mini scarf. Watch what yarn you use, make sure your stitch is the same thickness, and that you’ve added all the finishing touches. These little refinements make your scarf look like the work of a pro, no matter how much experience you have. Follow these tips below.
1. Choose the Right Yarn
It is best to use soft yarns like cotton, bamboo, and acrylic. These are soft, feel good next to your skin, and are easy to handle. Extremely scratchy or too heavy yarns should be avoided for mini projects. Opt for a short pile for neat stitches. They can also showcase your stitch work and make it easier to wear.
2. Keep Tension Even
Uneven tension will cause your scarf to be wavy or firm. Just work on keeping the size consistent in each stitch. Be careful not to pull the yarn too tight or leave too much slack. Practice is for getting a feel for loose tension. It also makes the result of the mini scarf look and feel a lot better.
3. Practice Your Edges
Clean edges transform your scarf from sloppy to polished. Count your stitches and always turn your work the same side out. Use stitch markers if needed. It also helps your scarf maintain a nice, squarish shape. Straight sides are a must on small projects where any flaws will show.
4. Try Colour Changes
Stripes and ombre will give you personality. Mixing it up with the colours adds visual interest and diverges from the usual look of a mini scarf. At least plan some of your colour changes for the smoothest transitions. Try mixing leftover yarns when you make them. It is an easy step if you do not want to bother with more advanced techniques.
5. Don’t Skip Blocking
Blocking allows you to shape and smooth your mini scarf. Steam or use a damp cloth and let the scarf lie flat to dry. It helps the stitches and makes them look better. Even humble scarves look bound together after blocking. That is a fast step that adds polish to your handmade piece.
How To Customize Your Mini Scarf?
Not just making random scarves will be enough unless you are giving your own touch either. For instance, you can follow our expert suggestion and make your scarf personalized.
Add Colorful Stripes
You can use different cool colors and make stripes. For instance, you can choose two or three yarn colors and start alternating them in each row.
Use Ombre Yarn
You should know that ombre yarn changes color gradually. It will help bring a fade effect to your scarf and make it unique to see.
Try Different Stitches
Don’t just stick to the half-double stitch. It will just make your scarf look very general and dull. Instead, you can try other different stitches and make your scarf eye-catching.
Add Fun Accessories
The best suggestion is to add small patches or buttons to your scarf. It will make your scarf even more special than you’ve ever seen.
Experiment with Length
Though you are crocheting a mini scarf, you can try to change the length as you want. Make your scarf longer or shorter to suit your style.
Add Fringe
If you just want to spice things up, we recommend adding fringe to the ends of your scarf. For this, cut pieces of yarn and tie them onto the edge for a fun look!
Final Thoughts
Well, you have learned how to crochet a mini scarf for beginners. If you have done this, congratulations! You now have a cozy accessory to show off. If you don’t start, just remember, that practice makes perfect. So don’t worry if you need to do a few tries to make an effective stitch. Also, don’t miss out on experimenting with different colors and stitches to make your scarf even more special.


![The Best 30+ Free Crochet Cat Patterns [Beginner-Friendly Guide]](https://crochetmind.com/wp-content/uploads/2025/04/1-The-Best-30-Free-Crochet-Cat-Patterns-Beginner-Friendly-Guide.webp)


