



























These 18 fall clay crafts include 10 air-dry clay projects, five polymer clay ideas, and three makeovers for terracotta pots you already own. Explore more fall crafts for additional seasonal inspiration. Start with a maple leaf dish for an easy afternoon project, make little ghosts for Halloween, or paint a set of pots for your covered porch. Take a look around before you pick a project. That bare spot on the mantel or the spare pot by the back door might make the choice for you.
Key takeaways
- Press real leaves into clay for detailed dishes and ornaments.
- Make fall air dry clay crafts for shelves and mantels.
- Shape polymer clay into tiny gifts and accessories.
- Paint spare terracotta pots for a covered porch.
- Light clay jack-o’-lanterns with battery-powered LEDs.
Which fall clay crafts should you make first?
Pick a spot for your finished piece before you open the clay. A ring dish needs a shallow rim, a garland needs pieces light enough to hang, and a porch planter needs an open drainage hole. Those little decisions make it easier to choose a project you’ll actually use.
| What you have | What you can make | Good first project | How it sets |
|---|---|---|---|
| Air-dry clay | Leaf dishes, pumpkins, ghosts and ornaments | Maple leaf trinket dish | Dries at room temperature |
| Oven-bake polymer clay | Earrings, bag charms and miniatures | Pumpkin and candy corn bag charms | Cures in an oven according to the package |
| Terracotta pots | Scarecrows, pumpkin stacks and planters | Acorn and leaf planter | The pots are already fired. Allow the paint to dry. |
What fall air dry clay crafts can you make without a kiln?
A rolling pin, a smooth work surface and a few leaves are enough to get started. Leave time between shaping and painting. Crayola says its Air-Dry Clay generally takes 24 hours to dry to the touch and 72 hours to dry completely, with timing affected by the size of the piece and the surrounding conditions. Check your own clay’s instructions before you plan a painting day.
18 Fall Clay Crafts to Make With Air-Dry Clay
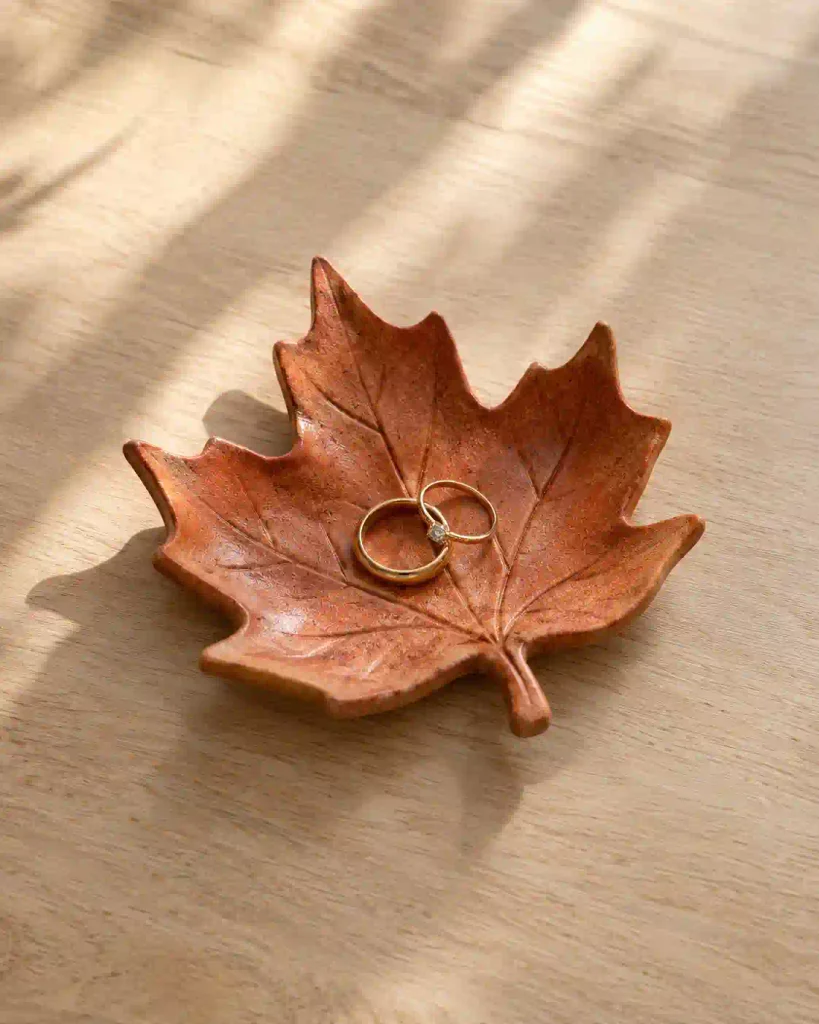
1. How do you make a maple leaf trinket dish?
A real maple leaf gives this little dish a network of veins you’d have a hard time drawing by hand. Press the leaf vein-side down into an evenly rolled sheet of clay, then peel it back and trim around the outline. Rest the cutout in a shallow bowl lined with parchment to give it a gentle curve, following your clay’s drying directions. Keep the rim low if you’ll use it for rings beside the bed or keys by the door.
2. Hand-sculpted clay pumpkins
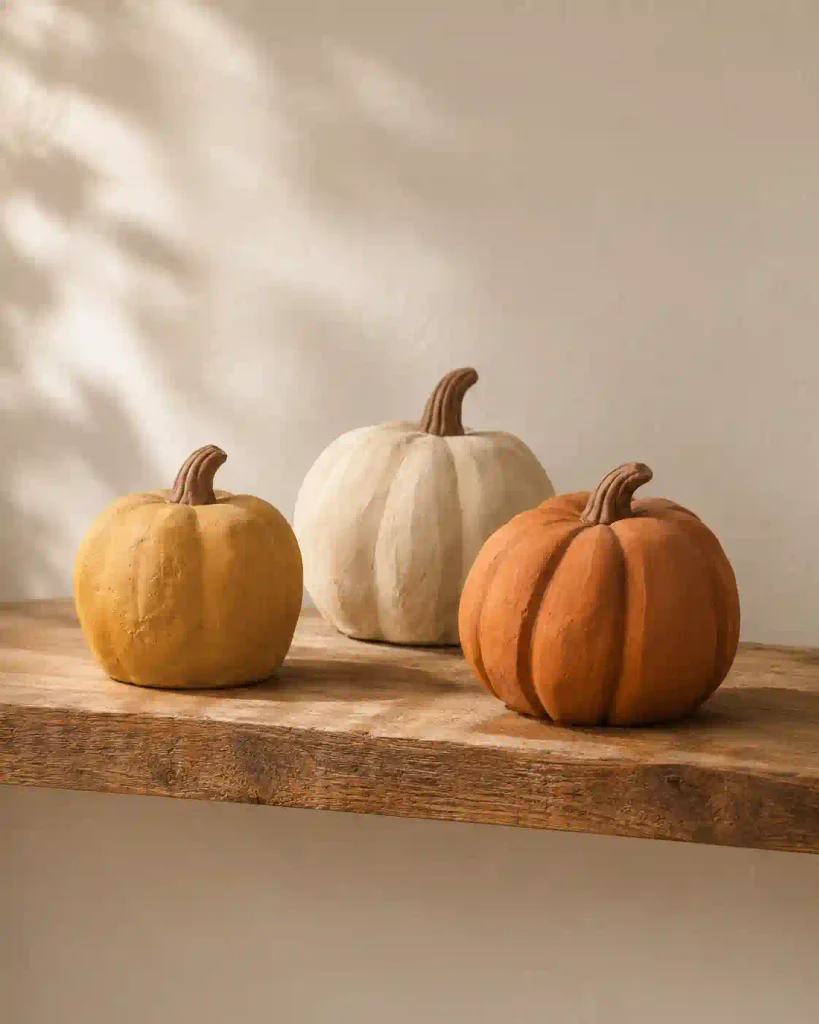
A trio of clay pumpkins looks especially good when the shapes are a little uneven. For more seasonal pumpkin inspiration, explore these fall pumpkin crafts. Make one squat, one taller and one small enough to tuck between them, then use a rounded tool to press in the ribs. Give each pumpkin a short clay stem and follow the package guidance for drying thicker pieces. For a shelf that stays up through November, try cream, muted orange and ochre.
3. How do you make little sheet ghosts?
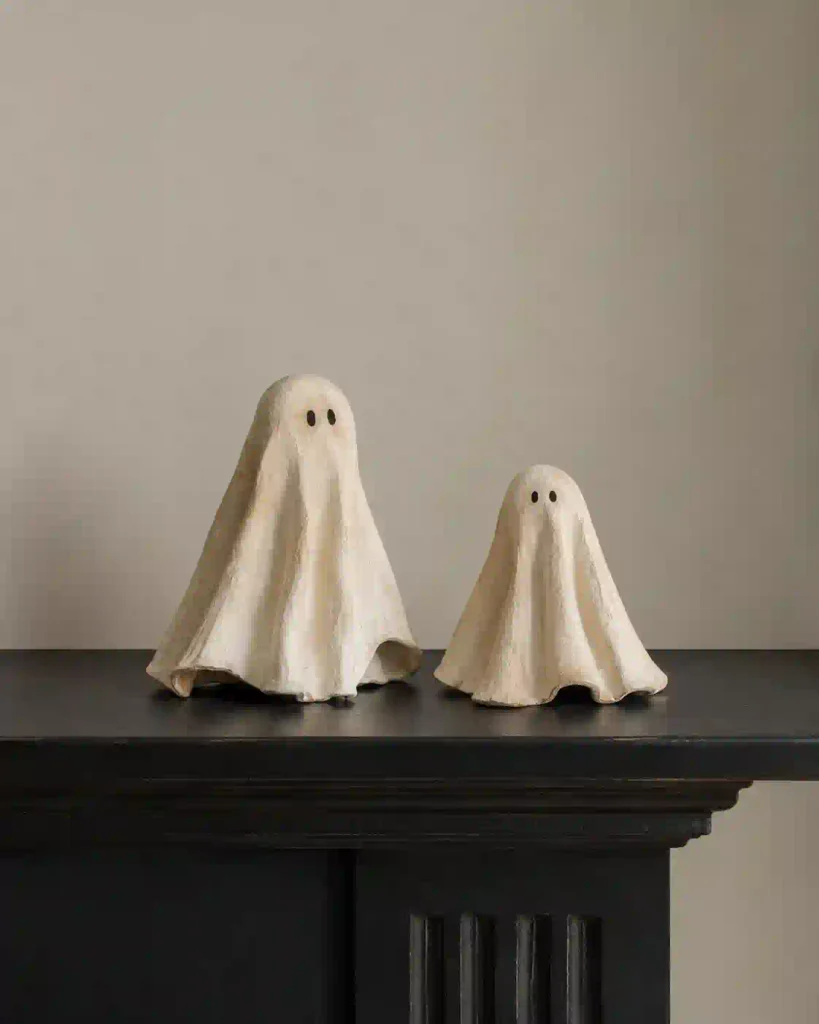
Roll out an even sheet of clay and drape it over a small removable form. Let the folds fall differently on each ghost, with the bottom edges touching your work surface so the finished pieces can stand on their own. Once the clay is fully dry, paint two sleepy eyes on one and a surprised little mouth on another. The faces are what make a pair of these fun to tuck between books or perch on a mantel. You can also explore more halloween crafts for seasonal decorating ideas.
4. Autumn fridge magnets
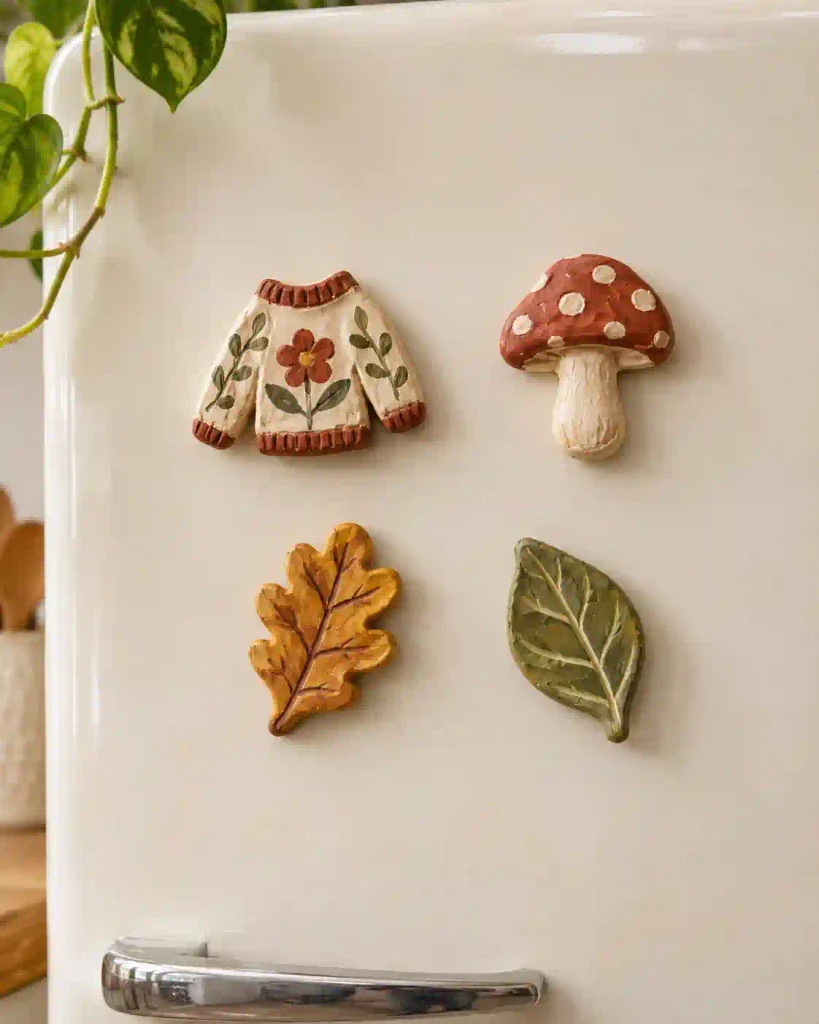
A tiny cable-knit sweater, a red mushroom and a mustard-colored leaf make a sweet set of fall clay magnets. Shape the pieces flat and check that their backs sit flush before they dry. Paint the faces once they’re fully dry, then attach magnets with an adhesive suitable for both materials and let it cure as directed. Make a matching set for an adult who likes small seasonal touches in the kitchen.
5. How do you string a clay acorn garland?
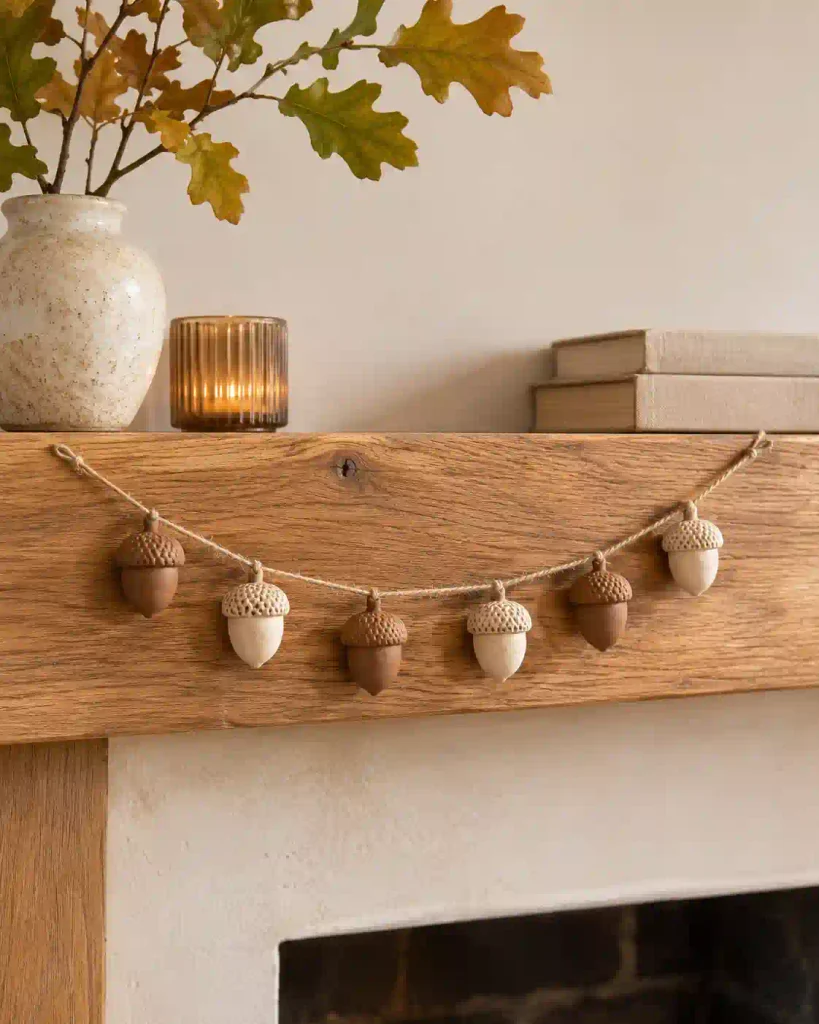
The best part of a clay acorn is the cap. Press a crosshatch into it with a blunt tool and leave the lower half smooth so the texture stands out. Keep the acorns small and light, pierce the threading holes while the clay is workable, and check that the holes fit your twine. When they’re dry, space them with knots and support the strand at the ends and in the middle of the mantel.
6. How do you make leaf print hanging ornaments?
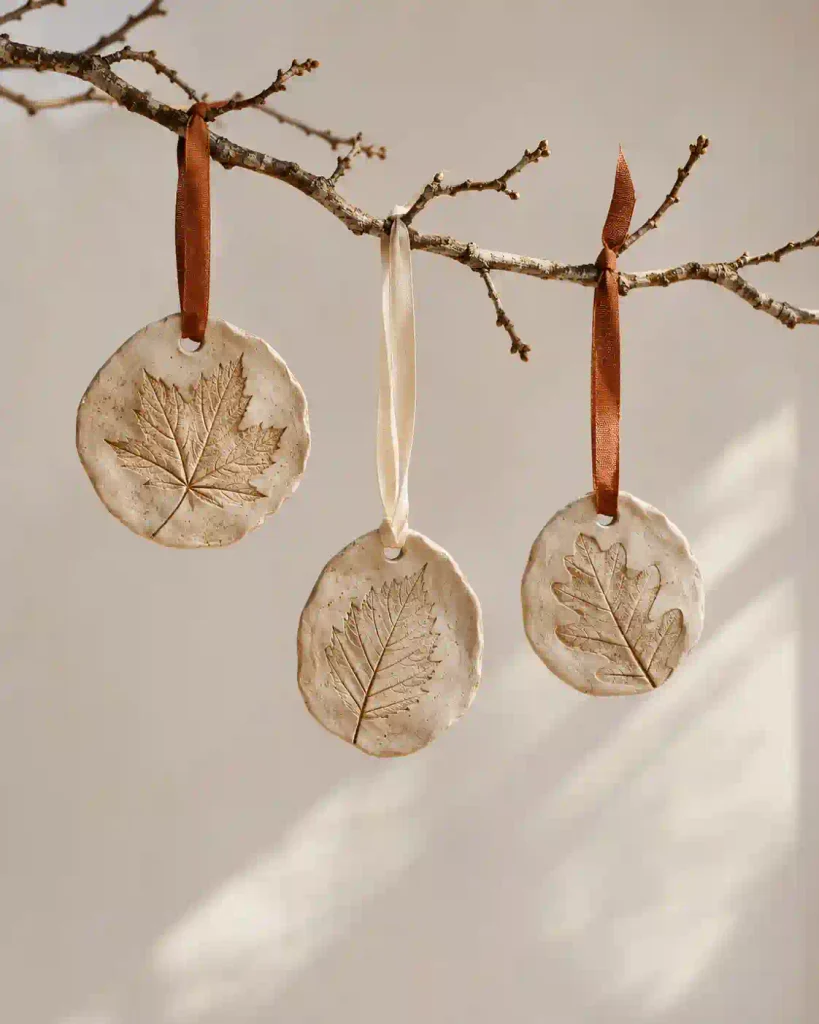
Collect a few small leaves with raised veins on the underside. Maple gives you sharp points, while oak has rounded lobes that stand out nicely in a set. Press the leaves into flat clay, cut around the impressions and punch each hanging hole a little in from the edge. Once dry, hang them from a bare branch with matching ribbon and leave a few unpainted so the vein patterns catch the light.
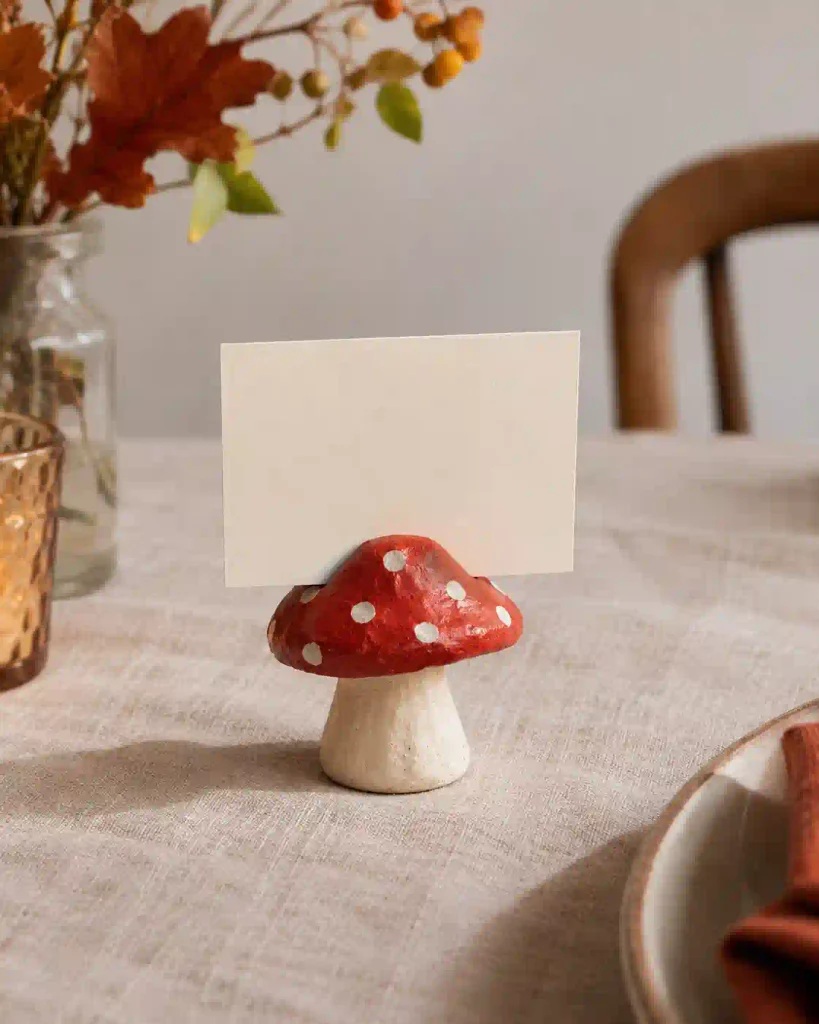
7. Mushroom place card holders
A red-capped clay mushroom can hold a guest’s name and serve as part of the Thanksgiving table decor. Start with a broad, flat base so the mushroom stands steadily, then cut a slot across the cap while the clay is workable. Use a scrap of the actual card stock to check the slot width. If you’re making a batch, repeat the base shape and vary the spots so each guest gets a slightly different mushroom.
8. How do you sculpt a clay pinecone?

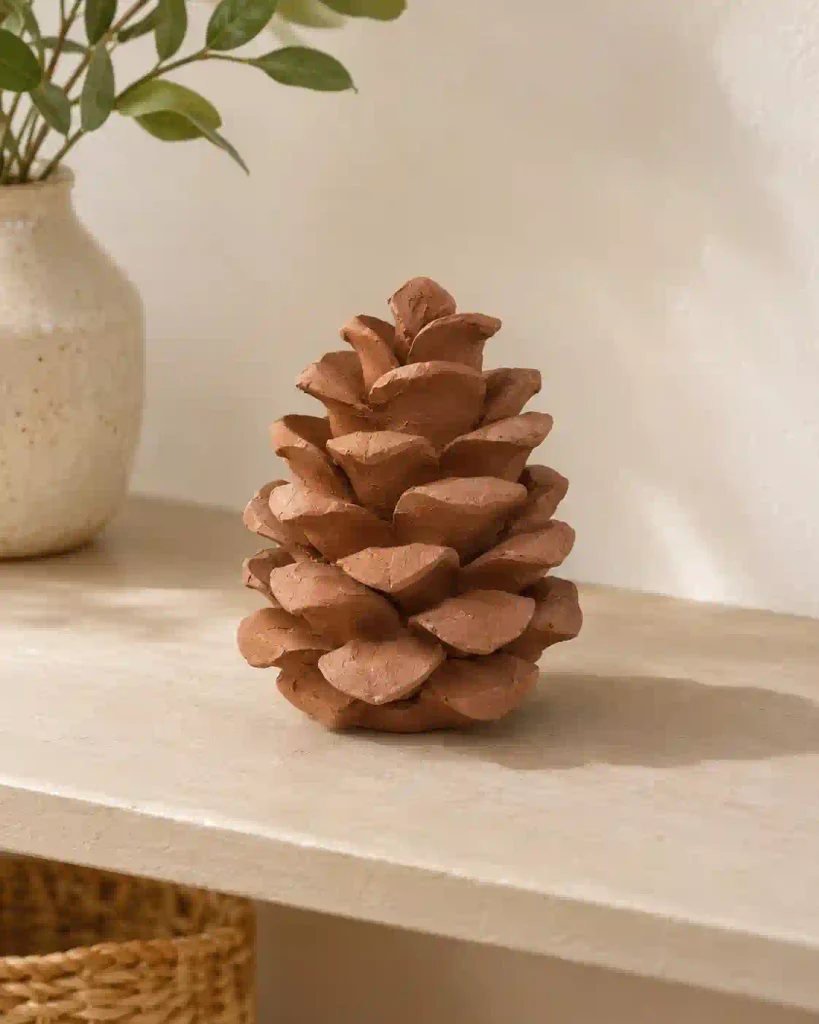
Build a short clay cone and add small overlapping scales, starting at the base. Stagger each row so the tips sit between the ones below, and keep the tips thick enough to handle after drying. A light brush of tan on the raised edges brings out the pattern. Make one for a shelf vignette where you can see those small details up close.
9. Stamped autumn coasters
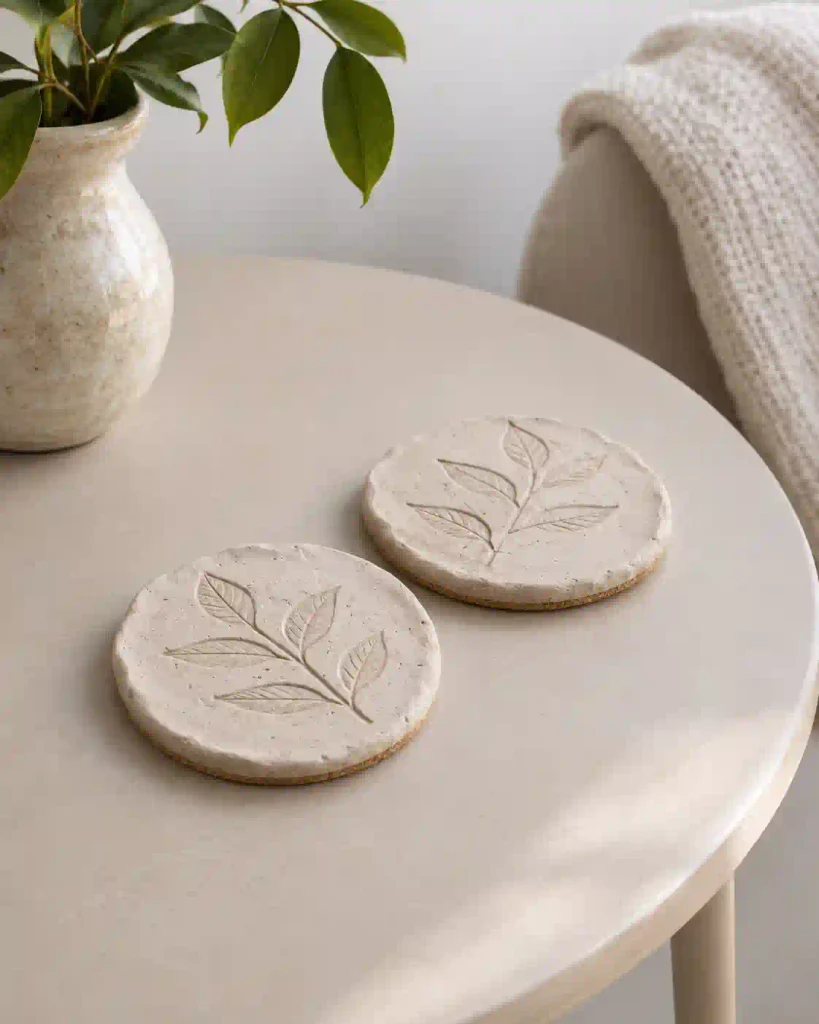
Leaf-stamped clay rounds give a side table a fall detail even when nobody’s sitting down with a drink. Roll the clay evenly, cut the rounds, and press a leaf or stamp into each one. Dry them flat according to the clay directions, then add cork backing to help protect the tabletop. Use them as dry decorative accents unless your specific clay and finish are rated for the moisture and heat they’ll encounter. Crayola notes that sealing its Air-Dry Clay doesn’t waterproof it.
10. How do you make a jack-o’-lantern LED luminary?
Cut a face into a hollow clay pumpkin and give it an opening big enough to slide a battery-powered tea light inside. Check the fit while the clay is workable, then smooth the cut edges and let the shell dry completely. A wide grin throws more light across a dark shelf, while small round eyes give the pumpkin a softer look. Use a flameless LED only, in line with the National Fire Protection Association’s guidance for lighting jack-o’-lanterns.
What can you make with polymer clay for fall?
Use polymer clay for small fall projects such as maple leaf earrings, pumpkin bag charms and miniature pie toppers.
At a glance
- Pick leaf earrings or a bag charm for a wearable gift.
- Make a tiny pie or pumpkin market for shelf decor.
- Repeat one leaf shape for a matching set of napkin rings.
Polymer clay works well for tiny shapes, crisp color bands, and thin accessories. Before starting, review how to bake polymer clay to understand the curing process. The curing instructions depend on the product. Sculpey, for example, specifies 275°F for 30 minutes per ¼ inch of thickness for Premo. Use the directions on the package you buy.
11. How do you make polymer clay maple leaf earrings?
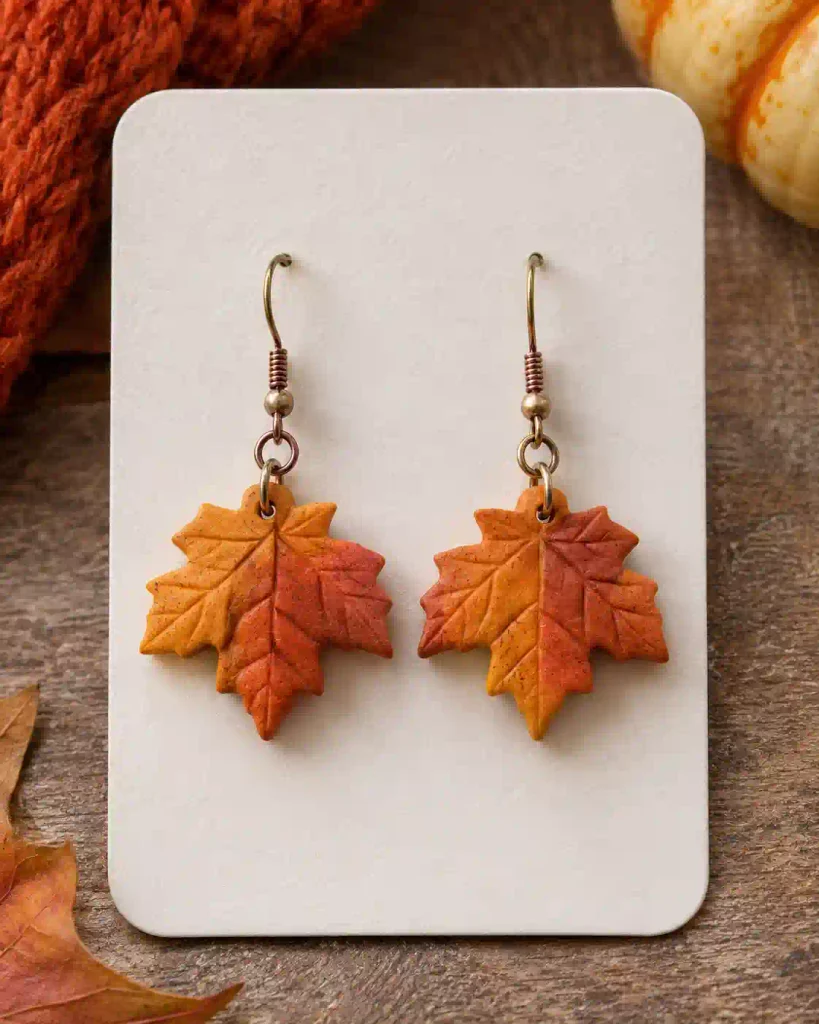
A pair of amber maple leaves is an easy way to bring fall color to a plain sweater. For more wearable inspiration, explore these polymer clay earrings. Roll a thin, even sheet and cut two mirrored leaves so they angle away from each other when worn. Add faint veins and make the hardware holes before curing, leaving enough clay around each hole. Once the leaves cool, attach the jump rings and earring findings, the small metal parts that connect the clay to the ear wires.
12. Pumpkin and candy corn bag charms
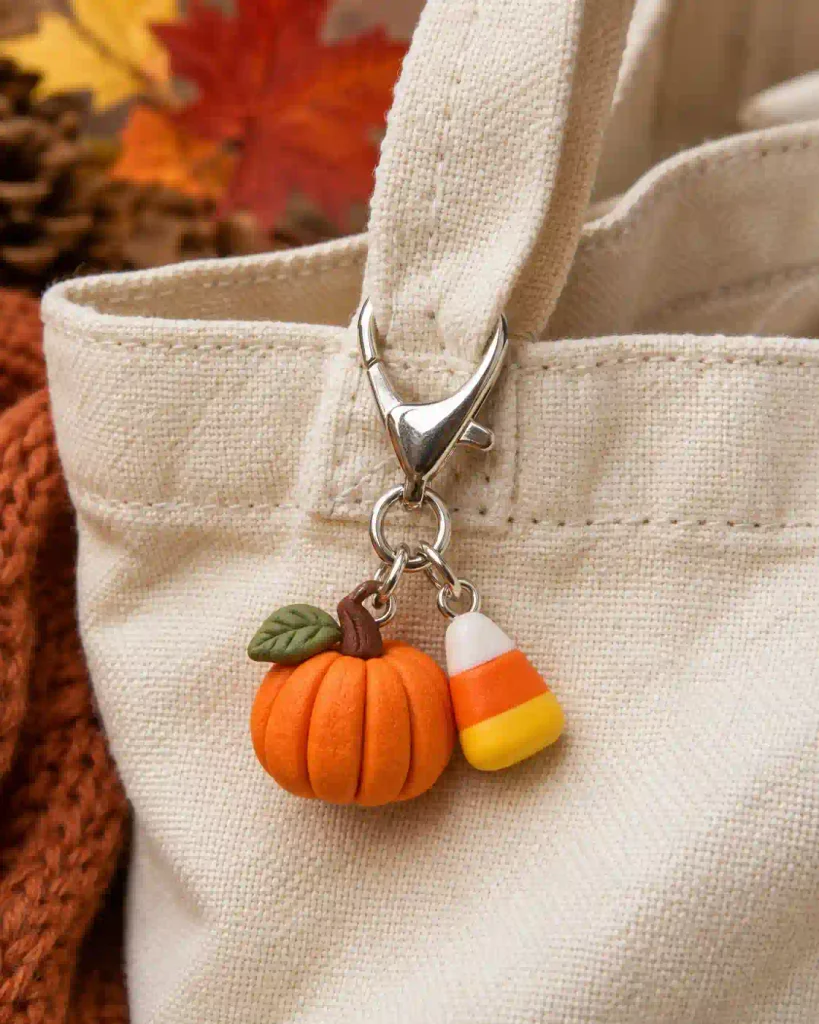
Clip a ribbed pumpkin and a striped piece of candy corn to the same tote for a little October color. Shape the pumpkin with a rounded tool, then make the candy corn by stacking white, orange and yellow clay before cutting a soft triangle. Add suitable charm hardware according to its directions and check that the loops are secure after curing and cooling. A shared clasp makes the pair easy to move between bags.
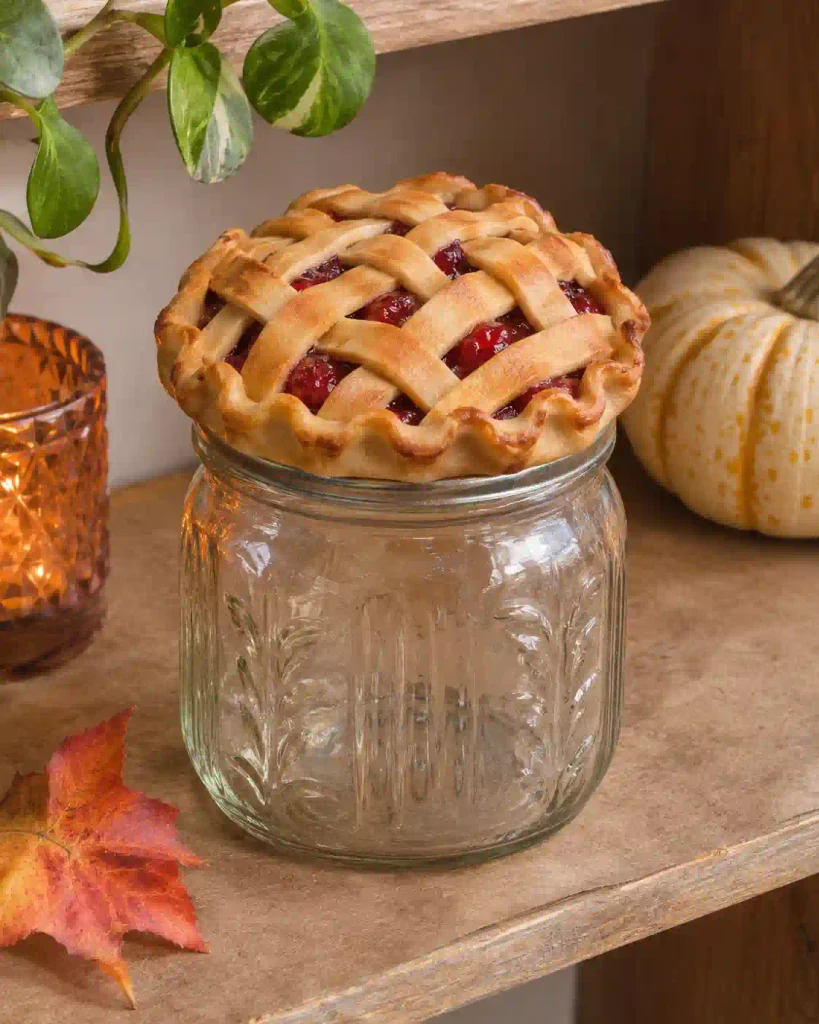
13. How do you make mini pie display jar toppers?
A crimped crust makes a clay pie recognizable even when it’s small enough to sit on a jar lid. Cut a clay disc to fit the outside of a clean display lid and add thin strips for a lattice, or make a pumpkin pie with a smooth orange center. Cure the topper separately and attach it after it cools. Use the jar for display and keep the clay and adhesive away from surfaces that touch food.
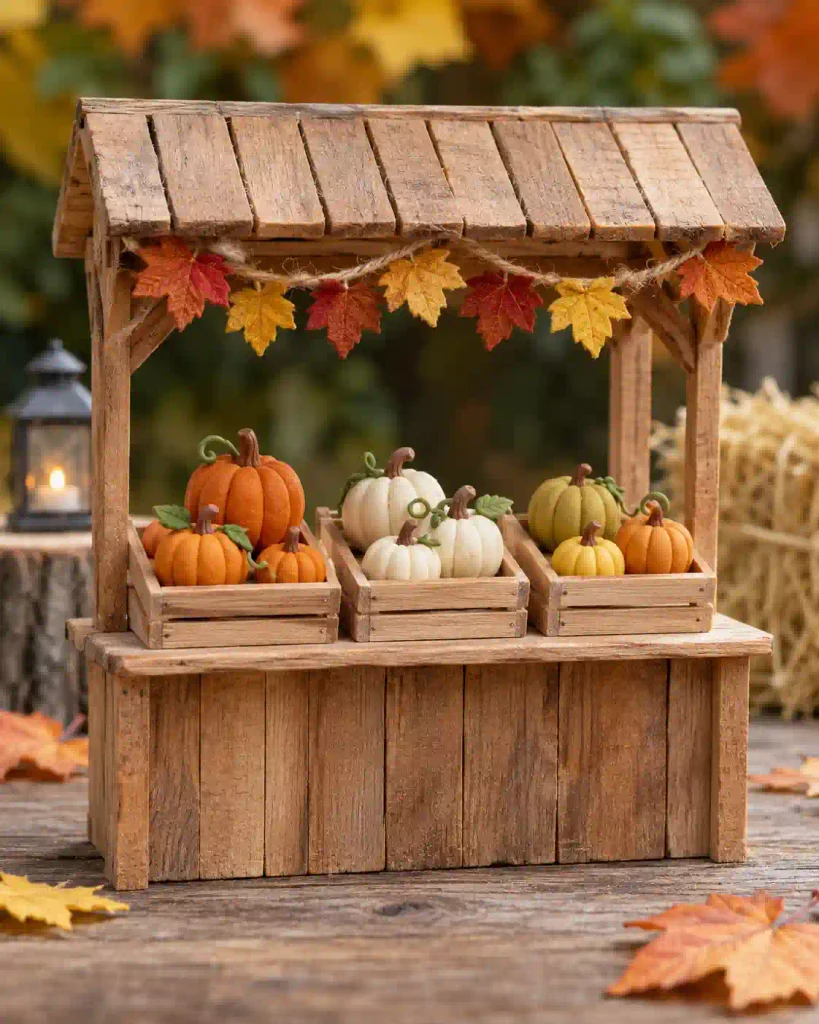
14. Miniature pumpkin market
A little crate of pumpkins is a good starting point for a whole miniature market. You can find more creative inspiration in these clay figure ideas. Choose one crate to set the scale, then sculpt short, tall and slightly lopsided pumpkins that look right inside it. Add a few pale pumpkins to break up the orange and turn some sideways so their ribs and stems show. A shallow wooden stall pulls everything together for a dollhouse or a small spot on a bookshelf.
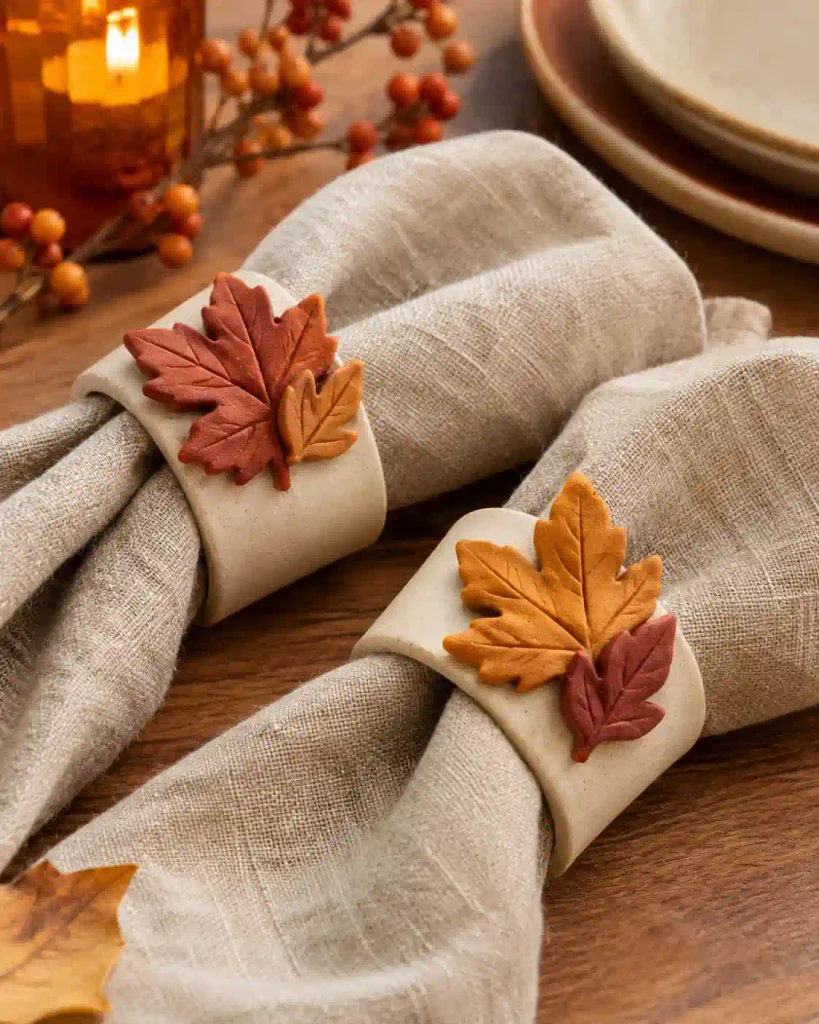
15. How do you make clay leaf napkin rings?
A small clay leaf gives a plain napkin ring just enough color for an autumn table. Shape thin leaves in two coordinating tones and cure them before attaching them to sturdy rings. Try alternating rust and amber down the table, or keep every ring the same color and vary the leaf shape. The plain ring makes the set easy to repeat when you need several matching place settings.
Which fall clay pot crafts work on a covered porch?
Make a painted scarecrow from one spare pot, stack several pots into a pumpkin display, or stencil a leaf border around a planter.
At a glance
- Use one pot for a scarecrow or a stenciled planter.
- Dry-fit graduated pots before painting a pumpkin stack.
- Leave drainage holes open on pots that will hold plants.
Start with clean terracotta pots and paint rated for the surface and the conditions where you plan to display them. Dry-fit stacked pieces before decorating. For any pot that will hold a living plant, leave its drainage hole open.
16. How do you turn a terracotta pot into a scarecrow?
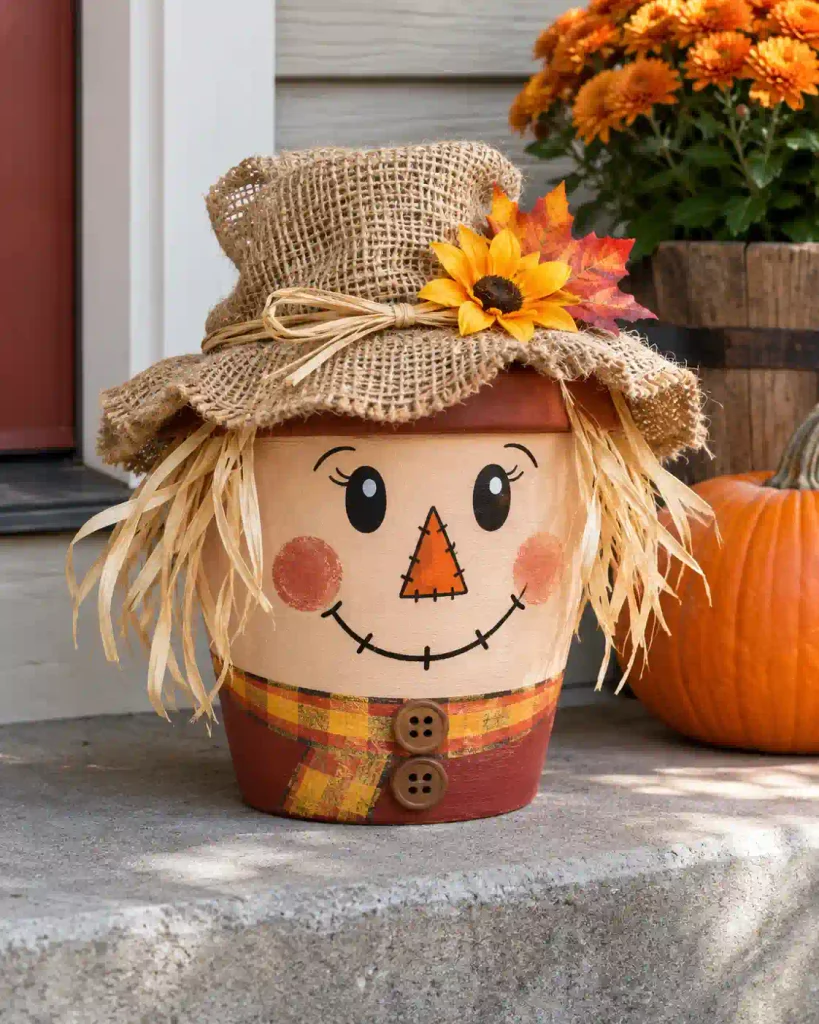
A painted face and a crooked burlap hat can turn one spare pot into a porch scarecrow. Mark the eyes and smile lightly first, then paint them and add raffia beneath the hat once the finish is dry. Set the pot on a flat, sheltered step where it won’t wobble. Keep the face simple if it’ll be seen from the path, where a big smile and rosy cheeks will show up best.
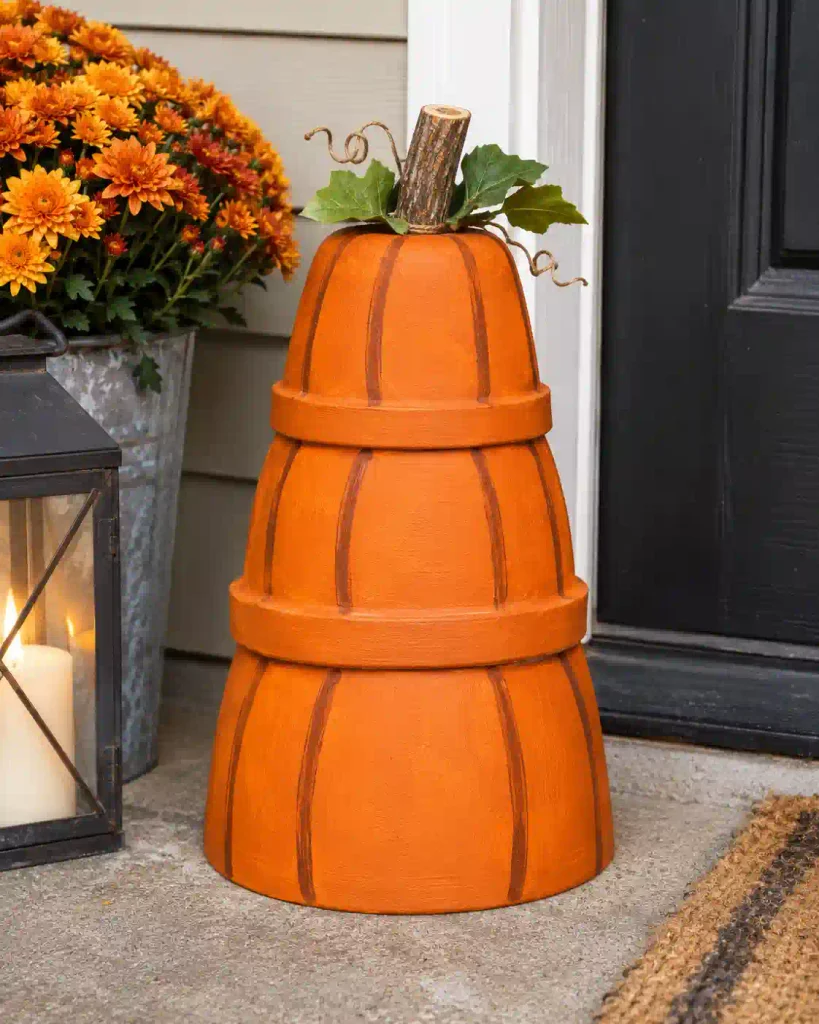
17. Stacked terracotta pot pumpkins
Three graduated pots give you a pumpkin stack with a different shape at each level. Try the arrangement on a flat surface first, putting the widest pot at the base and checking that each inverted pot sits securely. Paint curved rib lines on each pot, then add a short decorative stem on top. This is a good use for a mismatched set of pots you want to turn into one display.
18. How do you paint an acorn and leaf terracotta planter?
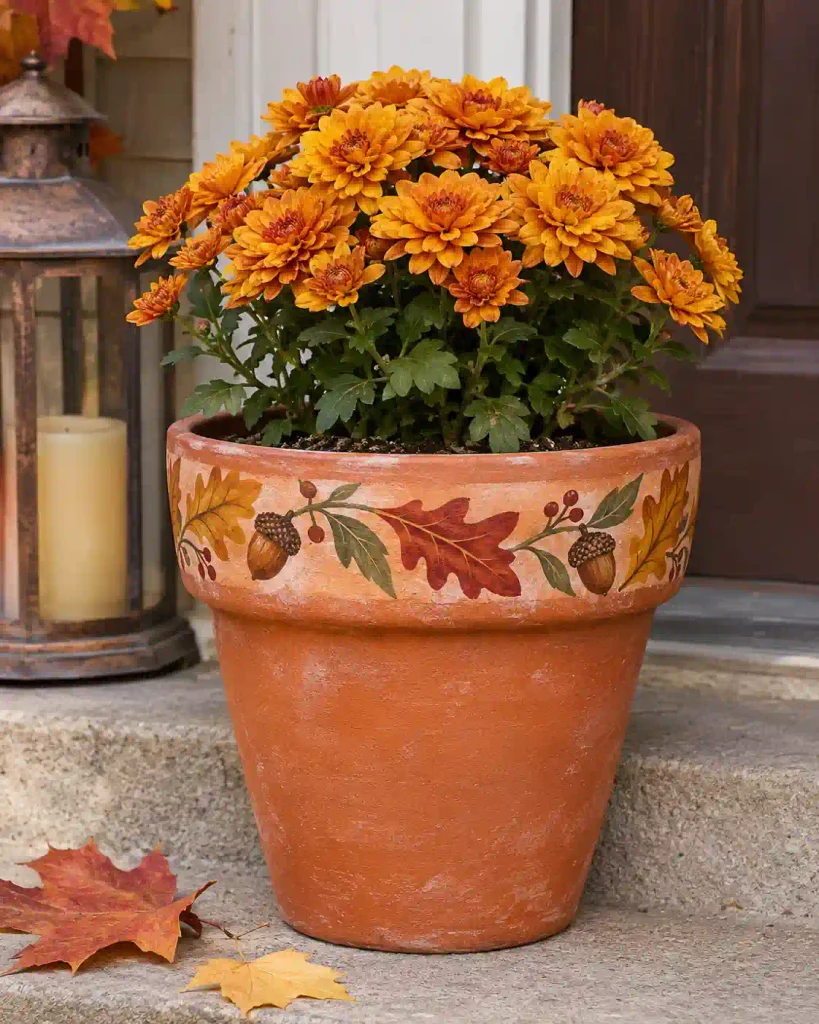
An acorn-and-leaf border leaves plenty of warm terracotta showing around a pot of autumn mums. Test the spacing with a paper stencil and work around the rim before applying paint with a lightly loaded brush. Use smaller motifs on narrow pots so the border looks balanced. Once the paint has dried as directed, pop in a removable nursery pot and check that water can drain freely.
FAQs about making and storing fall clay crafts
Which fall clay crafts can I make without an oven?
Choose an air-dry clay project such as the leaf dish, ghosts or hanging ornaments. Painting an already-fired terracotta pot also requires no oven. If you’re trying fall air dry clay crafts for the first time, a flat leaf ornament is easy to shape with a rolling pin.
How can I reduce cracking in air-dry clay?
Roll the clay to an even thickness and avoid sudden changes in thickness around rims, folds and joins. Follow your product’s drying instructions, especially for curved pieces and thicker sculptures.
When can I paint air-dry clay?
Wait until the piece is fully dry. For Crayola Air-Dry Clay, that generally means about 72 hours, depending on the size of the piece and drying conditions. Check Crayola’s air-dry clay drying guidance for more details.
Can I leave air-dry clay decorations outside?
Check whether your specific clay and finish are rated for outdoor exposure. For a porch project, painted terracotta is a practical choice when you use a suitable finish and put the piece in a sheltered spot.
How should I store clay decorations until next fall?
Store them in a dry box and pad delicate parts such as leaf tips, pumpkin stems and dish rims. Put heavier terracotta pieces in their own box so they can’t shift against smaller ornaments.
Final Thoughts
Fall is the perfect time to get creative with clay and bring a little seasonal charm into your home. From adorable pumpkins and leaf-inspired decorations to miniature figures and painted terracotta pots, these 18 fall clay crafts offer plenty of ways to make something special. Whether you prefer air-dry clay, polymer clay, or simple DIY pot makeovers, you can find a project that suits your style and skill level. Gather your supplies, choose your favorite idea, and enjoy creating handmade fall decorations that make the season feel even cozier.