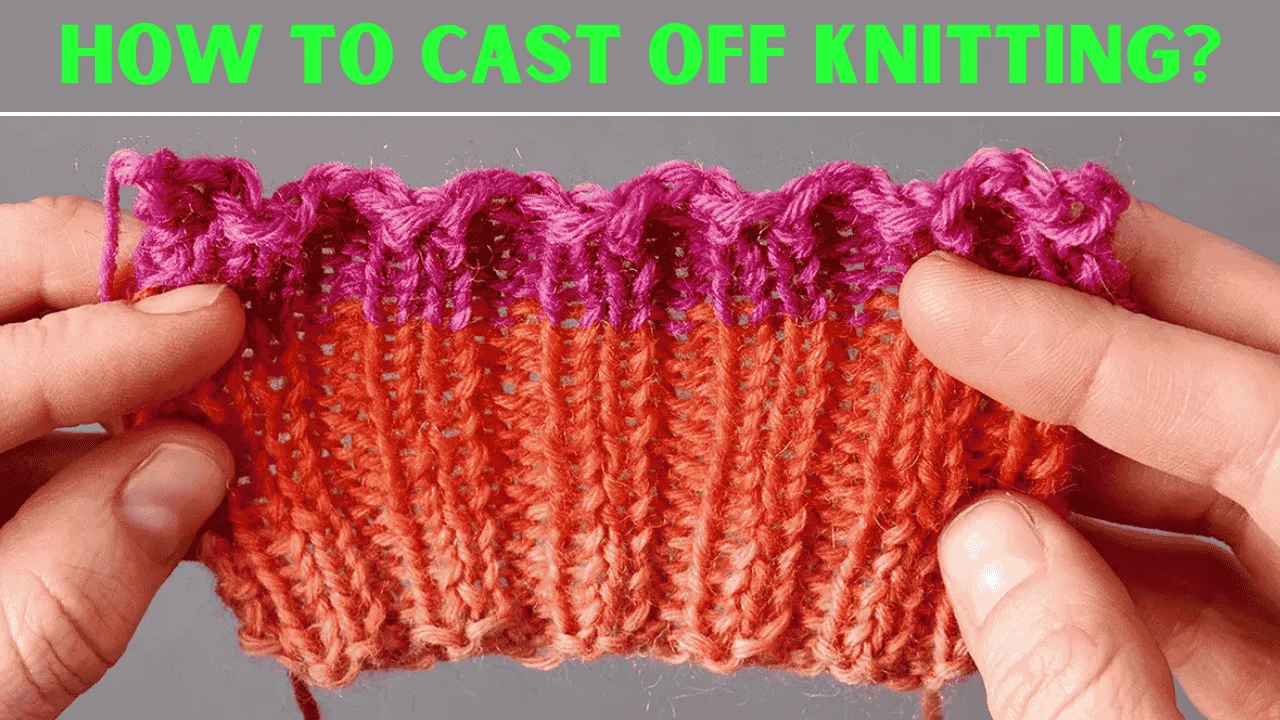
Have you ever finished a knitting project and most probably wondered how to end your project? If you don’t know how to cast off knitting, all of your efforts might go in vain. It is frustrating when you’ve put in hours and your project falls apart in the last step.
You might be thinking about how to finish off the edges that hold all of your stitches together. Don’t worry, casting off in knitting is far easier than you have thought. In this guide, you’ll learn some simple steps to neatly finish your knitting projects. With the right method, you will secure your stitches and create beautiful edges every time. Let’s move on.
In This Post
- What Is The Cast Of Knitting?
- What Are the Types Of Cast Offs Used In Knitting?
- How To Cast Off Knitting Using The Strandard Cast Off?
- How To Cast Off Knitting Using The Stretchy Cast Off?
- How To Cast Off Knitting Using The I-Cord Cast-Off?
- How To Cast Off Knitting Using The Picot Cast Off?
- In Closing
- Frequently Asked Questions
What Is The Cast Of Knitting?
Casting off or knitting off is the most popular process of finishing your last row of stitches. This is the most important step that ensures your stitches are secured and they won’t be unraveled. It also helps to create finished edges on your project, like a sweater or scarf. Cast off is also known as the bind off, which is more commonly used in the UK.
The word bind off is mostly used in the US. Though the meaning is the same, the terminology is different from each other. Casting off in stitch is very easy even though a beginner can try it, but only if they know the right procedures.
What Are the Types Of Cast Offs Used In Knitting?
There are a wide variety of cast-off processes you will find while knitting. Have a quick glimpse at the descriptions:
- Standard Cast Off: It is the most common and easiest casting-off process that most knitters use. You can simply do it by knitting two stitches, then you have to pull the first stitch over the second. You just need to keep repeating the process until you finish the row. The overall process ensures you a nice and simple edge.
- Stretchy Cast-Off: When you want to make a stretchy project like socks or hats where you need a flexible edge, this casting-off process is the suited one. You knit two stitches. Then simply pass the first stitch over the second, but you do it loosely. It makes your project stretchy, which will be perfect to fit on your wrists or head.
- I-Cord Cast-Off: This special cast-off process helps you make that thick, sturdy edge, absolutely perfect to knit for blankets or scarves. Though it will seem small after knitting, it is made by knitting a few stitches. Then you have to slide them back to the start of the needle. Just repeat the process and ensure a polished finish.
- Picot Cast Off: As the name suggests, this cast-off ensures a dancy finish-off. After knitting two stitches, you will make a small loop. That would be casting on a stitch and then binding it off. By doing so, you will create tiny points along the edge, like little decorations. It is amazing for adding a pretty finish to lace projects or shawls.
Don’t be confused just by seeing the preview above. Here I am going to highlight the delayed process for which of the other process descriptions above. Have a look and choose the best casting-off process for your projects:
How To Cast Off Knitting Using The Strandard Cast Off?
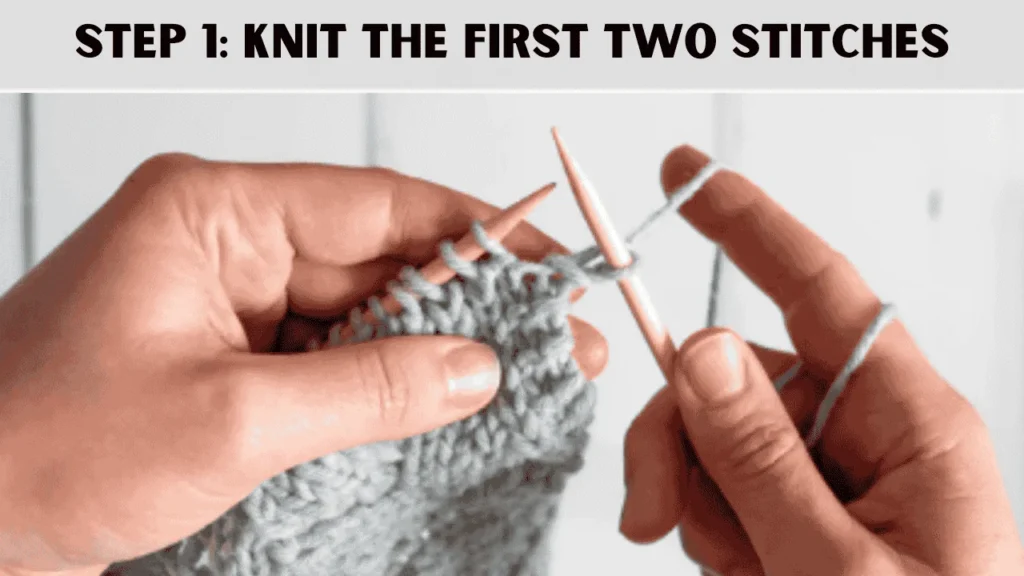
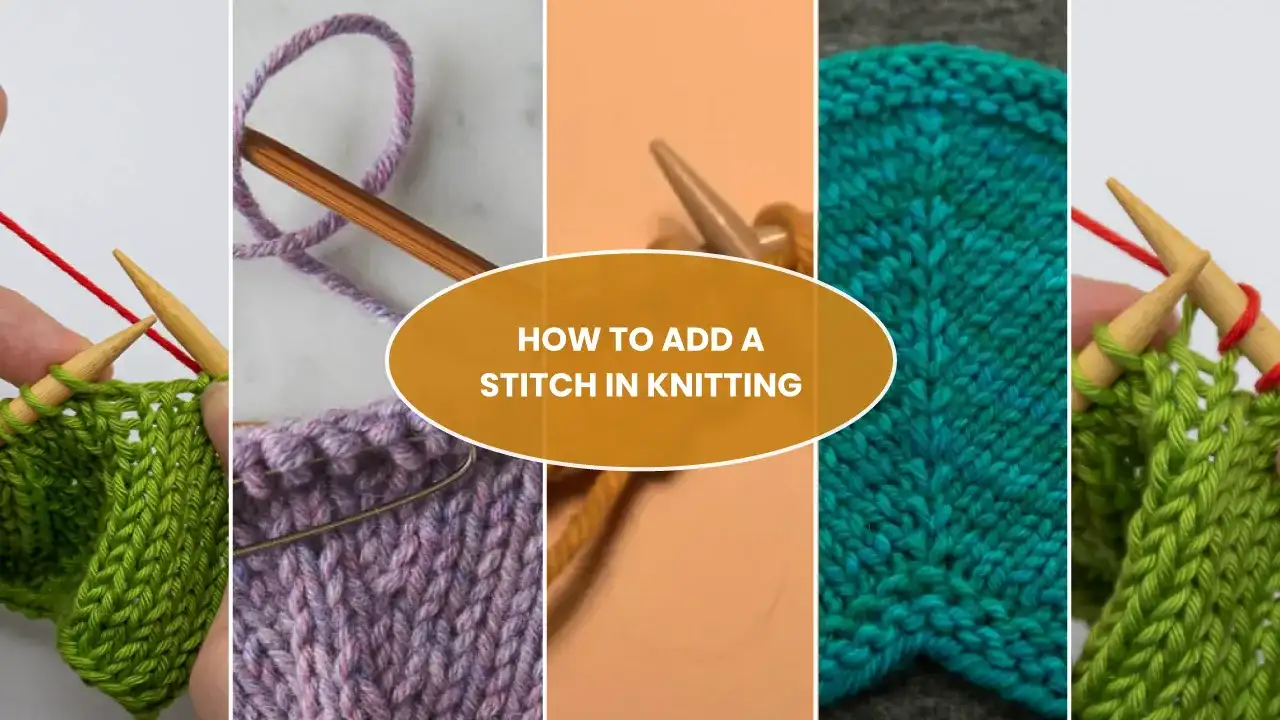
Step 1: Knit the First Two Stitches
First, start with the two stitches as you normally would. It is simple to do that; you take the yarn from the left needle and knit it onto the right needle. It is like in any normal row of knitting.

Step 2: Insert the Left Needle Into the First Stitch
When done, take your left needle and carefully insert it into the first stitch on the right needle. This is how you will move that stitch over the next one.

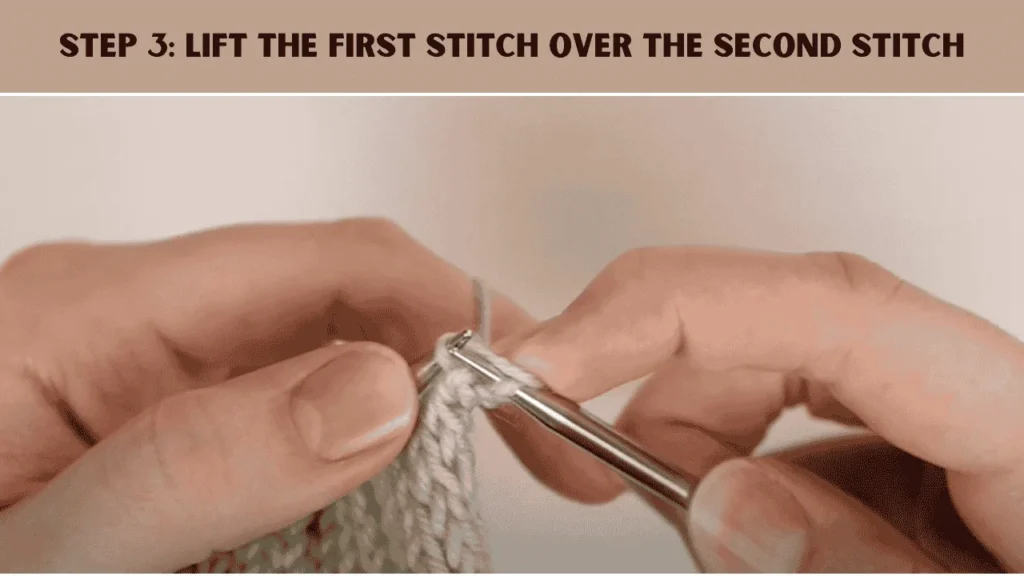
Step 3: Lift the first stitch over the second stitch
Then, use your left needle to lift the first stitch up and over the second stitch on the right needle. When you have done this, drop the first stitch off the right needle. As you can see, there is only the second stitch in place.
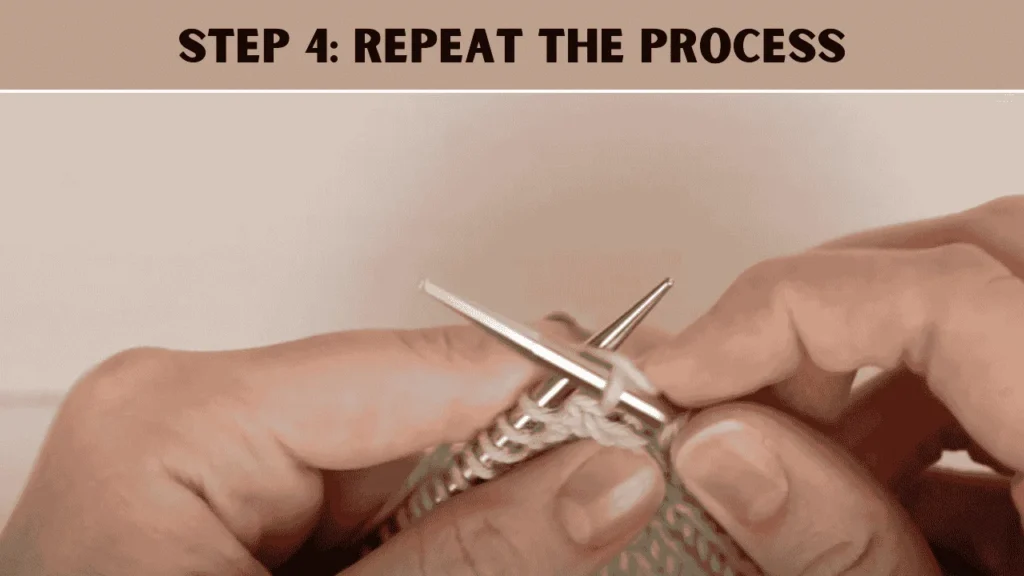
Step 4: Repeat the Process
After that, you will need to knit another stitch from the left needle. This is how you will get two stitches again on the right needle. Now simply repeat the process by lifting the first stitch over the second one and dropping it off. You need to keep doing it until you’ve worked through all the stitches. At the last, there will be only one stitch left on the right needle.
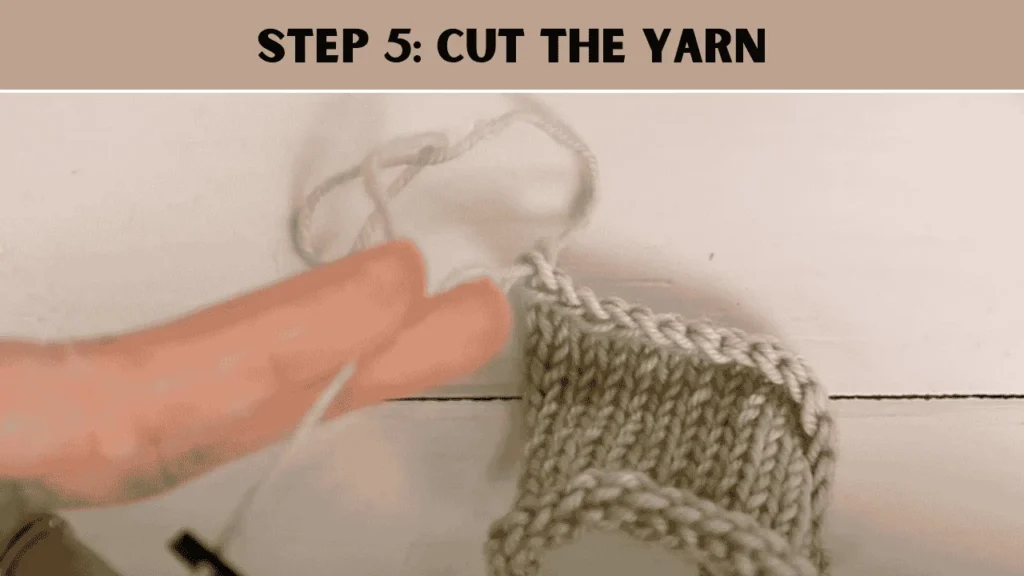
Step 5: Cut the Yarn
When you are done, make sure to cut the yarn, but leave about 6 inches of yarn to avoid making the stitches too stretchy.
How To Cast Off Knitting Using The Stretchy Cast Off?
Step 1: Knit the First Two Stitches
To start, knit the first two stitches on your needle as you normally would. But as soon as you knit the first stitch, you’re going to knit the two stitches together. For this, simply insert your needle into both stitches at the same time. Now gently loop the yarn around the needle and pull it through both stitches. This is how you can easily make one stitch, and there is one more stitch left on the needle.
Step 2: Slip the New Stitch Back onto the Left Needle
Now, you have a new stitch on your right needle. Just take that stitch and slip it back onto your left needle. This is the effective process that will keep the knitting going smoothly and you are preparing the next stitch.

Step 3: Repeat the Process
Continue this process across your project. It’s so simple. Knit two stitches together, then slip the new stitch back onto the left needle. Now keep repeating the process until you’ve cast off every stitch and finished your edge.

How To Cast Off Knitting Using The I-Cord Cast-Off?
Step 1: Cast On Three Stitches
This is a unique casting-off process. Instead of one or two stitches on the needle, you need to knit off three new stitches onto your needle. But use your normal working yarn and cast on the stitches just like you normally would.

Step 2: Knit Two Stitches
In the next step, knit the first two stitches on your needle. To do so, simply insert the needle into the back loop of each stitch. Then yarn over and pull the yarn through the loop. Let the stitches slide off the needle as you go.

Step 3: Knit Two Together
Next, you will knit the next two stitches together. This process is almost the same as the next one. Insert your needle through both loops at the back of the stitches. Then yarn over and pull the yarn through both loops at once. As before, let the stitches slide off your needle as you complete this stitch.

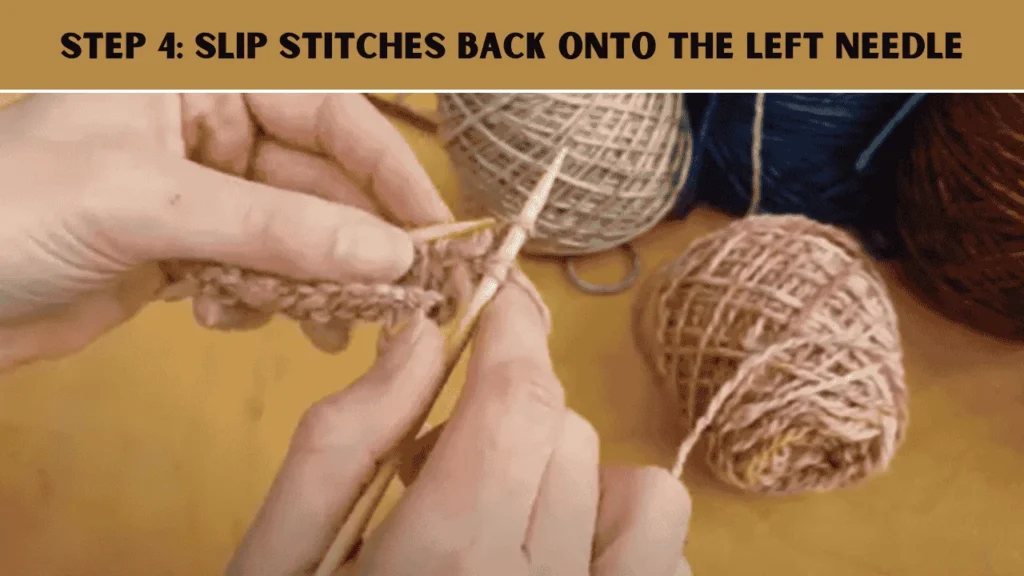
Step 4: Slip Stitches Back onto the Left Needle
If you look, you will find three stitches on your right needle. Just take all three of these stitches and carefully slip them back onto your left needle. This is how you can continue the I-cord cast off and keep your work moving smoothly.
Step 5: Repeat to the End
All you have done! In this step, you just need to repeat Step 1 until you’ve finished casting off your entire row. After finishing off, you will get a twisted edge for your knitting.
How To Cast Off Knitting Using The Picot Cast Off?
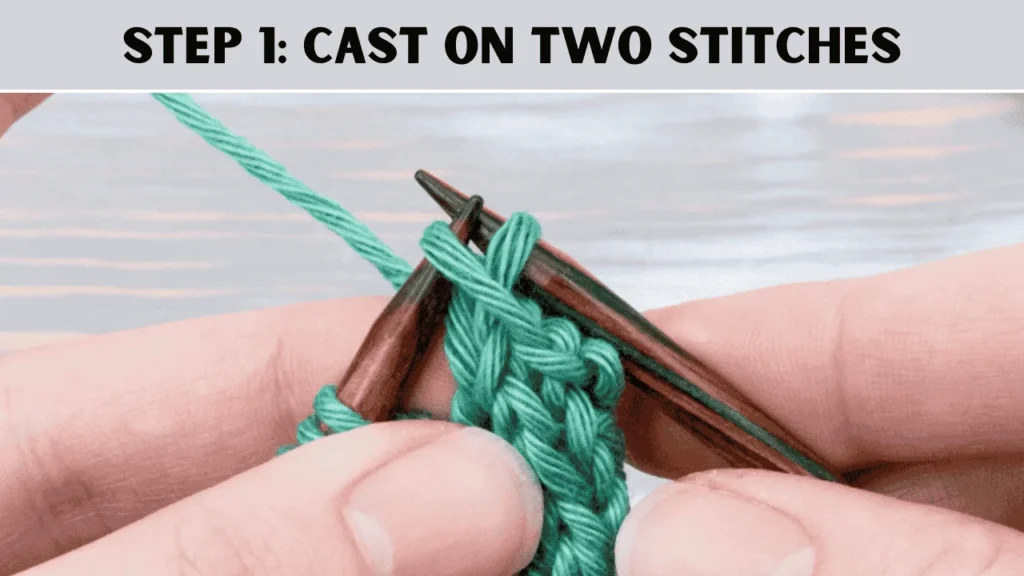
Step 1: Cast On Two Stitches
Start by knitting the two stitches on your needle, as simple as you have done so long. This is the first step in creating such a decorative picot. So be careful with every step. At the end of this, make sure you have two stitches left on your needle.
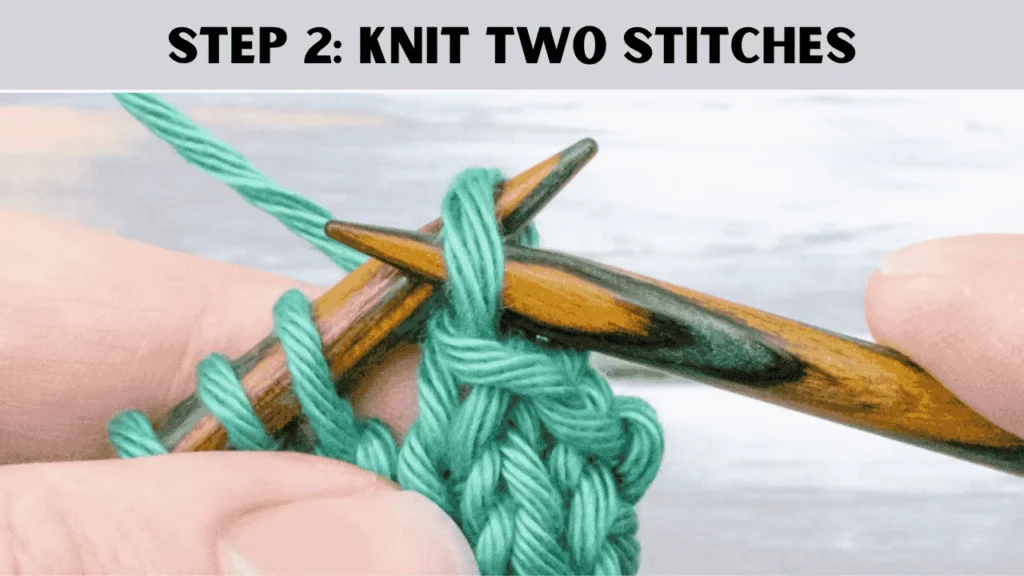
Step 2: Knit Two Stitches
Insert the needle into each stitch from the back loop, then yarn over, and pull the yarn through the stitch. Done! Now let the stitches slide off the needle as you finish each one.
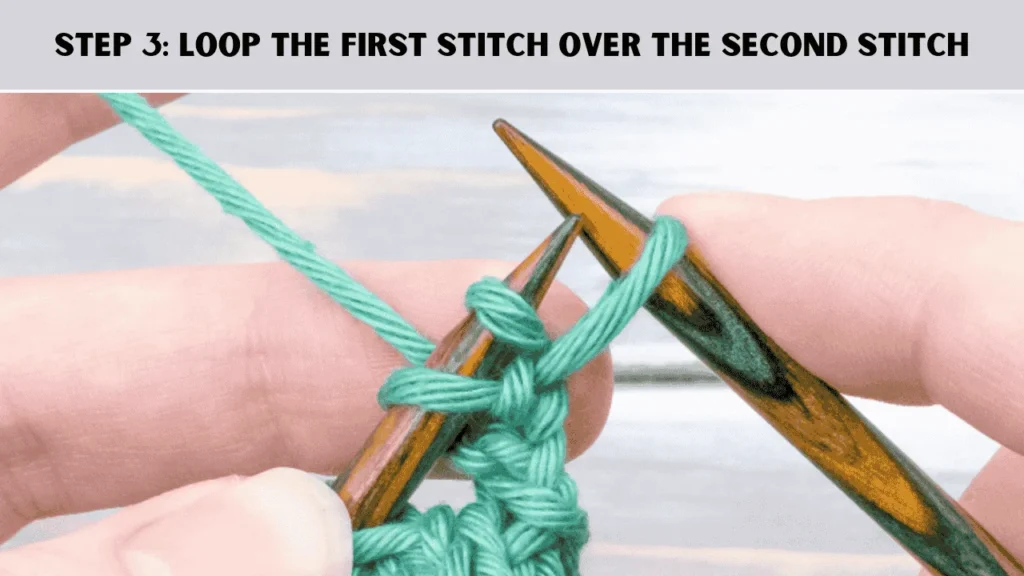
Step 3: Loop The First Stitch Over The Second Stitch
After you knit the two stitches, take the first stitch and carefully loop it over the second stitch. If you do it carefully, it will just bind off the first stitch and leave just one stitch on your needle. After that, you will see the picture’s little point.
Step 4: Knit One and Pass the First Stitch Over the Second Stitch
In this step, you need to knit one more stitch, then pass the first stitch over the second stitch. This will help to create a full picot shape. You just need to repeat the complete process a few times to make each picot stand out nicely. Most people repeat this about three times.

Step 5: Repeat the Process
Once you finish your picot, cast on two more stitches and repeat the whole process. Be careful about not missing any of the steps above. Keep your working yarn loose as much as possible to shape the picot edge nicely.
In Closing
Well, that’s all here up to how you can cast off knitting in various projects. Casting off is an essential skill every knitter should learn. Remember, practice makes perfect, so keep trying until you feel confident. If you are working on a project that has stretchy edges, make sure to use the stretchy cast-off method. In case you want to bring a decorative touch, try a picot cast-off. Happy knitting, and enjoy seeing your completed pieces come to life!








![Select Crochet Clothing Ideas: [Best Crochet Fashion] Crochet Clothing Ideas](https://crochetmind.com/wp-content/uploads/2025/07/Crochet-Clothing-Ideas-Best-Crochet-Fashion-in-2025-1-1.jpg)




![The Best 30+ Free Crochet Cat Patterns [Beginner-Friendly Guide]](https://crochetmind.com/wp-content/uploads/2025/04/1-The-Best-30-Free-Crochet-Cat-Patterns-Beginner-Friendly-Guide.webp)


34 thoughts on “How To Cast Off Knitting? [4 Easy Method]”
Thank you so much for sharing this wonderful post with us.
Thank you so much for sharing this wonderful post with us.
The information shared is of top quality which has to get appreciated at all levels. Well done…
Thank you for sharing indeed great looking !
Thank you for sharing indeed great looking !
Thank you so much for sharing this wonderful post with us.
A great post without any doubt.
Thank you so much for sharing this wonderful post with us.
A great post without any doubt.
Nice i really enjoyed reading your blogs. Keep on posting. Thanks
A great post without any doubt.
A great post without any doubt.
Nice i really enjoyed reading your blogs. Keep on posting. Thanks
Thank you so much for sharing this wonderful post with us.
Nice i really enjoyed reading your blogs. Keep on posting. Thanks
A great post without any doubt.
The information shared is of top quality which has to get appreciated at all levels. Well done…
A great post without any doubt.
The information shared is of top quality which has to get appreciated at all levels. Well done…
The information shared is of top quality which has to get appreciated at all levels. Well done…
Nice i really enjoyed reading your blogs. Keep on posting. Thanks
A great post without any doubt.
A great post without any doubt.
Nice i really enjoyed reading your blogs. Keep on posting. Thanks
The information shared is of top quality which has to get appreciated at all levels. Well done…
Nice i really enjoyed reading your blogs. Keep on posting. Thanks
The information shared is of top quality which has to get appreciated at all levels. Well done…
Some truly interesting info , well written and broadly speaking user genial.
A great post without any doubt.
An outstanding share! I have just forwarded this onto a friend who has been doing a little homework on this. And he actually ordered me dinner simply because I stumbled upon it for him… lol. So allow me to reword this…. Thank YOU for the meal!! But yeah, thanks for spending some time to talk about this matter here on your site.
A great post without any doubt.
This was an awesome article. I loved it. I’ll return to view some more. Thanks !
Nice i really enjoyed reading your blogs. Keep on posting. Thanks
Hello, the product images on your website are very high quality and reflect the real appearance of the products. This allows me to better understand the products.