


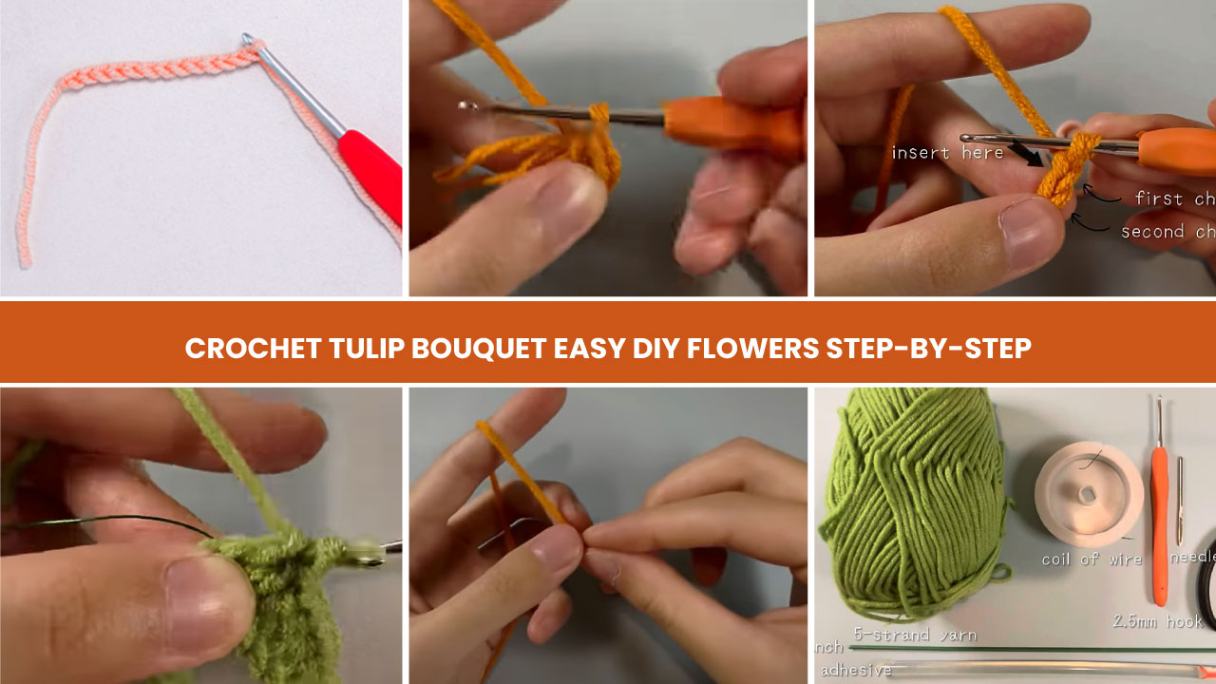

![How to Crochet Sunflower Bouquet [6 Easy Steps]](https://crochetmind.com/wp-content/uploads/2025/06/How-to-Crochet-Sunflower-Bouquet-6-Easy-Steps.jpg)


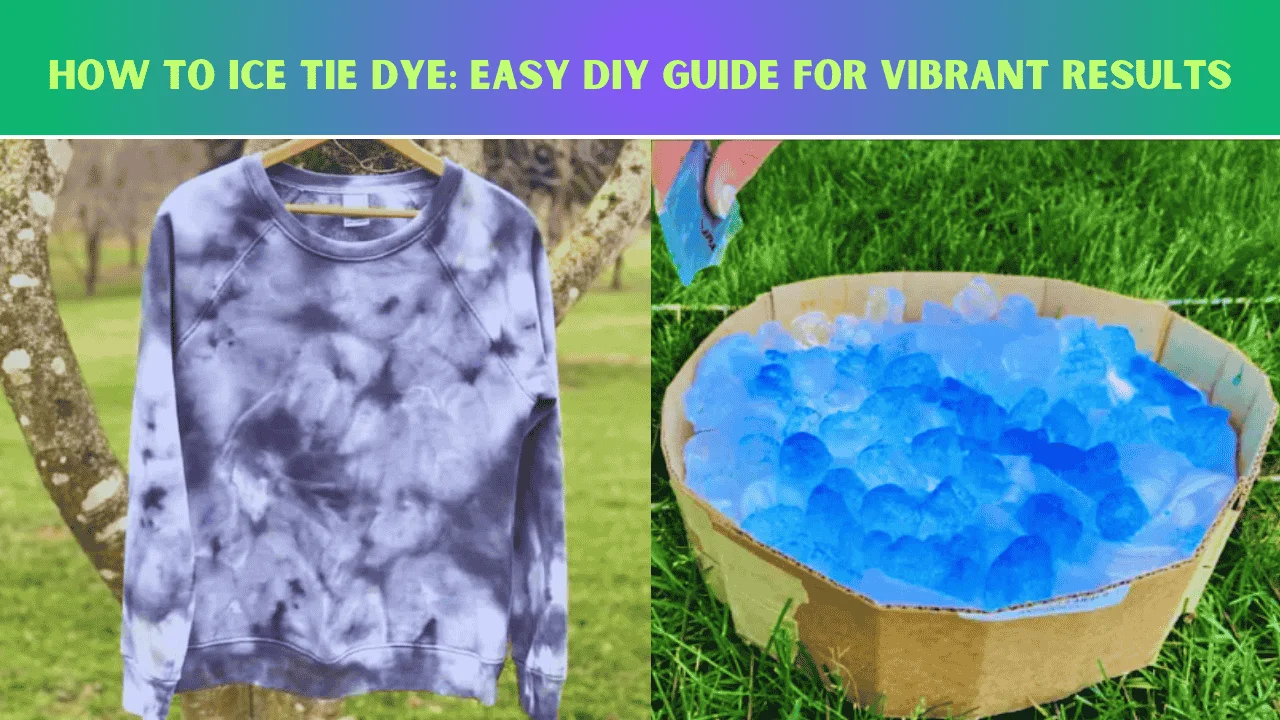
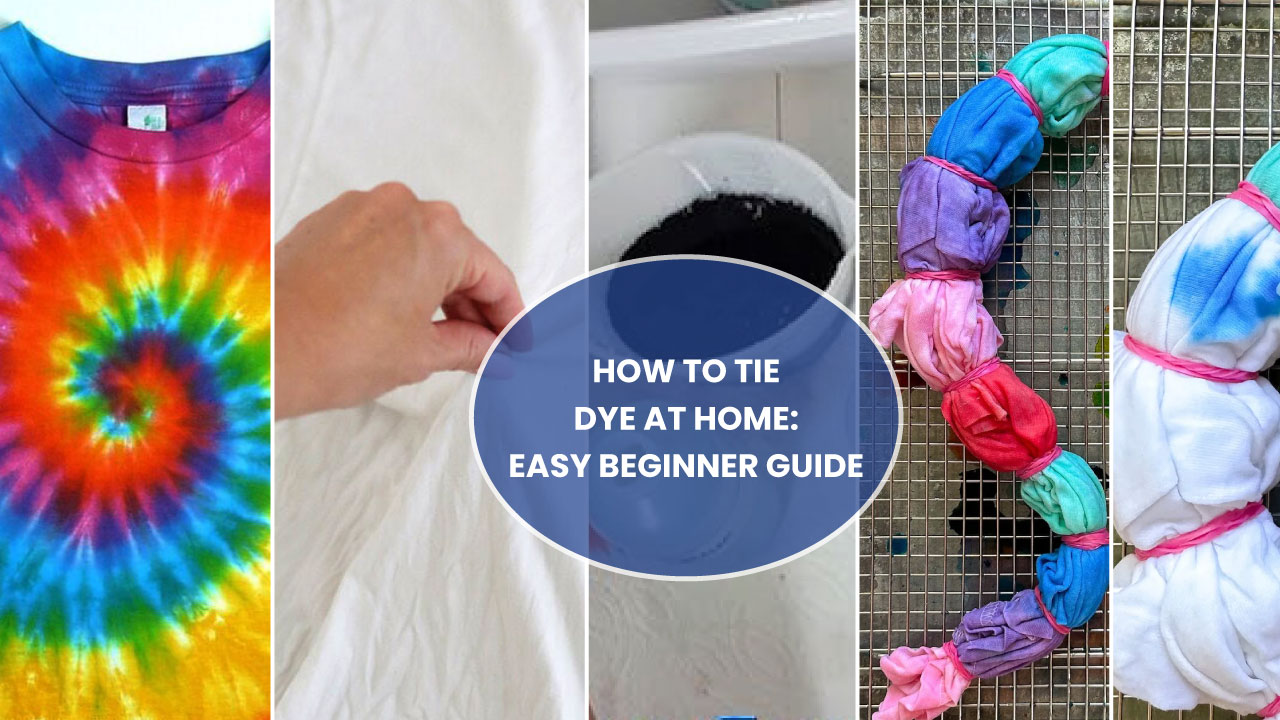
Have you ever wanted to make colorful, swirly designs on a shirt without using squeeze bottles? Then try out ice tie dye. Ice tie dye is a tie-dye technique that uses ice cubes to create cool patterns.
To do this, you need to twist or scrunch a plain white T-shirt or any fabric. Then, secure it with rubber bands. Put ice cubes on top of the fabric and shake powdered dye over the ice. As the ice melts, the dye slowly soaks into the fabric. In this tie dye, the colors mix in unexpected ways.
Do you know what makes ice tie dye special? The way the melting ice controls the dye. Unlike regular tie-dye, you don’t have to squeeze liquid dye into ice tie dye. Just let the ice do the work. In this tie dye, you never know exactly how your design will turn out until you rinse it. Every ice tie dye project is a colorful surprise.
In This Post
- What Is Ice Tie Dye?
- What Supplies Are Needed For Ice Dyeing?
- How To Ice Tie Dye? [9 Basic Steps]
- Step-1: Prepare Your Supplies
- Step-2: Soda Ash Soak
- Step- 3: Fold, Bind, Twist, Or Tie Your Pattern
- Step-4: Set Up The Workspace For Dyeing
- Step-5: Lay The Garment On Top Of The Rack
- Step-6: Cover The Garment With Ice
- Step 7. Sprinkle the Dye Over the Ice
- Step-8: Wait For The Ice To Fully Melt
- Step-9: Rinse And Wash The Dyed Garment
- In closing
- Frequently Asked Questions About Ice Tie Dye
What Is Ice Tie Dye?
Ice tie dye is a tie-dye technique that is used to make designs using melting ice. In ice tie dye, you scrunch a shirt with rubber bands and cover it with ice. In ice tie dye, you don’t need to use a squeeze bottle or liquid dye, just sprinkle powdered dye. Wait for melting the ice, as the ice melts, the dye spreads. This makes the white shirt in unexpected colorful swirls and patterns. Each piece is unique! It’s like a surprise art project mixed with a little science.
Tie dye with ice is a simple process that lets crafters make unique and creative designs. You can do this on shirts and other fabric items that you want. For doing this you don’t need any special skill to create fun patterns.
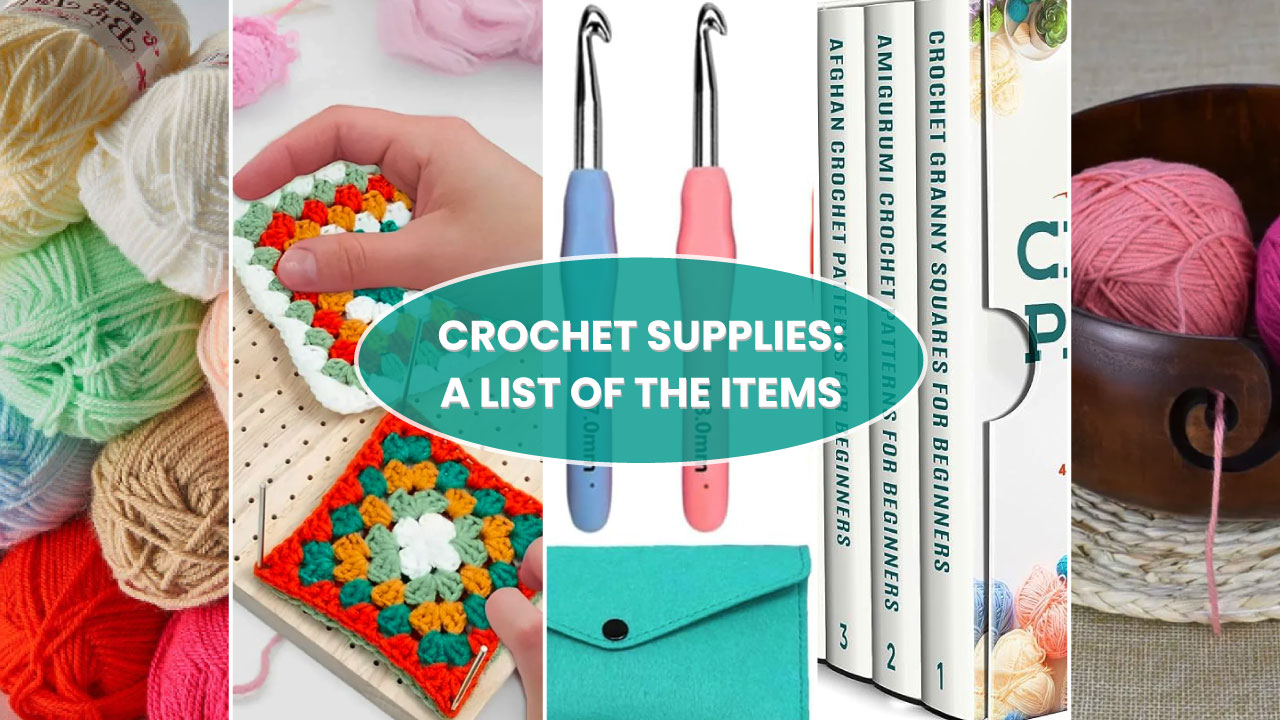
What Supplies Are Needed For Ice Dyeing?
Ice dyeing needs simple supplies to create colorful patterns. The right tools help uniquely blend colors. With just a few items, beautiful and creative designs can be made.
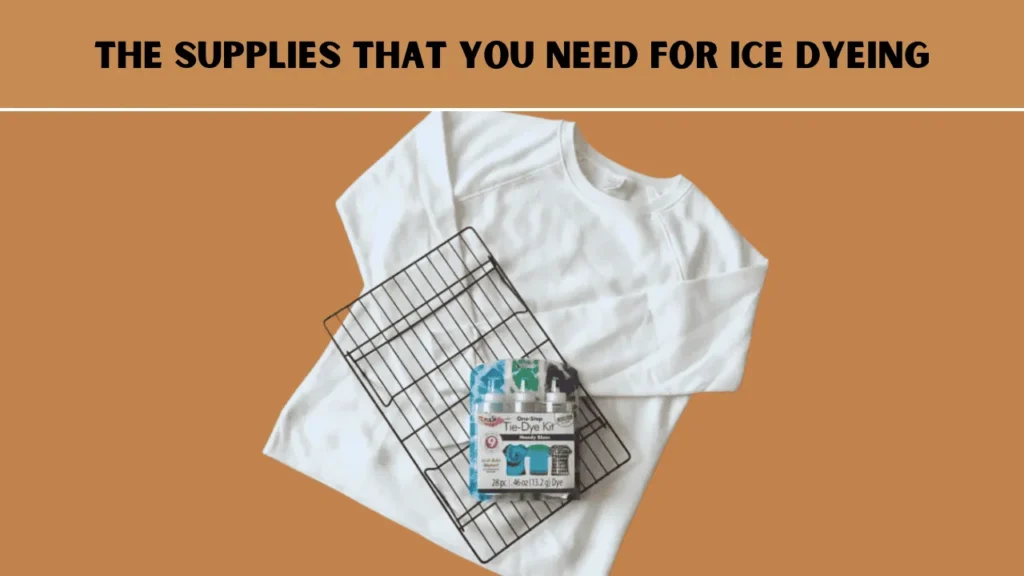
Here are the materials that you need while the Ice tie dying. Including –
White Cotton Shirt:
For ice tie-dying choose a plain white shirt made of 100% cotton. They gulp up dye like a thirsty dragon. It soaks up colors way better than scratchy polyester. White is best because it lets colors pop like neon markers on paper. Dark shirts hide the pretty colors. Wash it first to kick out any sneaky dirt that hates colors.
Tip: Use a shirt that’s a little too big. Because dye magic makes it shrink a tiny bit.
Tie-Dye Powder:
The best dye for ice tie dye is powdered dye. It dissolves easily in water and spreads well when ice melts. You can choose Tulip Kits or Dharma Trading Co. dyes. These types of dyes are easy to use and give long-lasting beautiful colors. It comes in many bright colors. Choose your favorite colors for the design. You can even consider an ice tie dye kit. In there you can get all the necessary things that are needed for ice tie dye.
Ice Cubes:
Ice cubes are the most important thing while ice dyeing. For ice tie-dye, you can use regular ice cubes from your freezer. You can even use snow for ice dying if you have. The best type of ice that you can use for dying is plain, clear ice. This type of ice melts evenly, helping the dye spread nicely across the fabric.
Wire Rack + Tray:
A wire rack and tray are another thing that you need while ice tie dyeing. In ice dyeing, a wire rack and tray work together to make your project colorful and neat. The rack lets the dye flow around the fabric. This makes swirls and lines. While the tray keeps your workspace clean and saves dye from going to waste.
Plastic Table Cover:
A plastic table cover is helpful for ice dyeing. Dye can stain tables, countertops, or floors. The plastic cover acts like a shield so your workspace stays clean.
Laundry Detergent:
Wash the shirt alone first with cold water. Use detergent to rinse out extra dye. This method keeps colors bright and stops bleeding. Then dry the fabric in the sun to make colors even brighter.
How To Ice Tie Dye? [9 Basic Steps]
Ice tie-dye is a creative way to add color to fabric. The melting ice helps blend dyes into unique patterns. This method is easy and gives surprising beautiful results. Here are the instructions for ice tie dye techniques. Including –
Step-1: Prepare Your Supplies
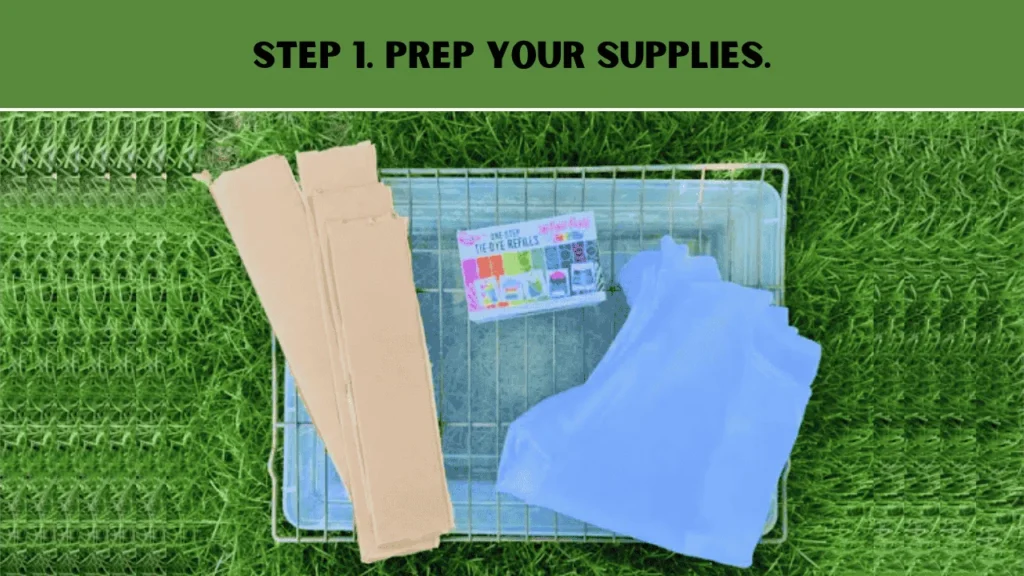
First, cut strips of cardboard that are a few inches wide. Tape the strips together to make a hoop. This hoop will help keep the shirt crumpled up. This method helps your fabric from spreading out and affecting the dying process.
Note: You should make the hoops bigger or smaller depending on the size of the item. A bigger hoop works for large items, and a smaller one is better for small items. This helps hold them in place while dyeing.
For making tie dye, use clothes made from plants. These fabrics grab onto dye colors best. Avoid things like polyester. It’s plastic-y and dye slides right off.
Before dying wash your garments first. Even if your fabric looks clean, wash it in hot water with a special soap called Synthrapol. This gets rid of invisible junk like oils, or slimy fabric softener that might block the dye.
Note: Always use hot water for washing. Hot water opens up the fabric’s tiny doors so the dye can sneak inside better. Cold water won’t work as well. It’s like locking those doors!
Step-2: Soda Ash Soak

Now, it’s time to make the soda ash soak. Soaking the fabric in soda ash helps the dye stick better. This also makes the color stay bright for a long time.
Note: If you are using Tulip One-Step Tie-Dye, then you can skip this step.
For making soda ash, pour 1 cup of soda ash powder into 1 gallon of water. It is a special powder that helps the dye stick to the fabric. Remember always add the powder to the water, not the water to the powder. If you dump water on the powder, it’ll turn into clumpy rocks.
Use a long spoon to mix it really well until the powder disappears. It’s not poison, but it can make your skin super dry or sting if you have a scratch. If you have a mask, wear it too. Don’t breathe in the dusty powder!
Now, let your fabric swim in the soda ash water for at least 5 minutes. You can even keep a few days if you forget about it. After soaking, wring the fabric like you’re squeezing out a wet sponge. Get as much water out as you can. This method helps the dye work better later.
Note: If you make too much soda ash water, you can save it in a closed bucket for next time. Just label it so no one drinks it by mistake.
Step- 3: Fold, Bind, Twist, Or Tie Your Pattern
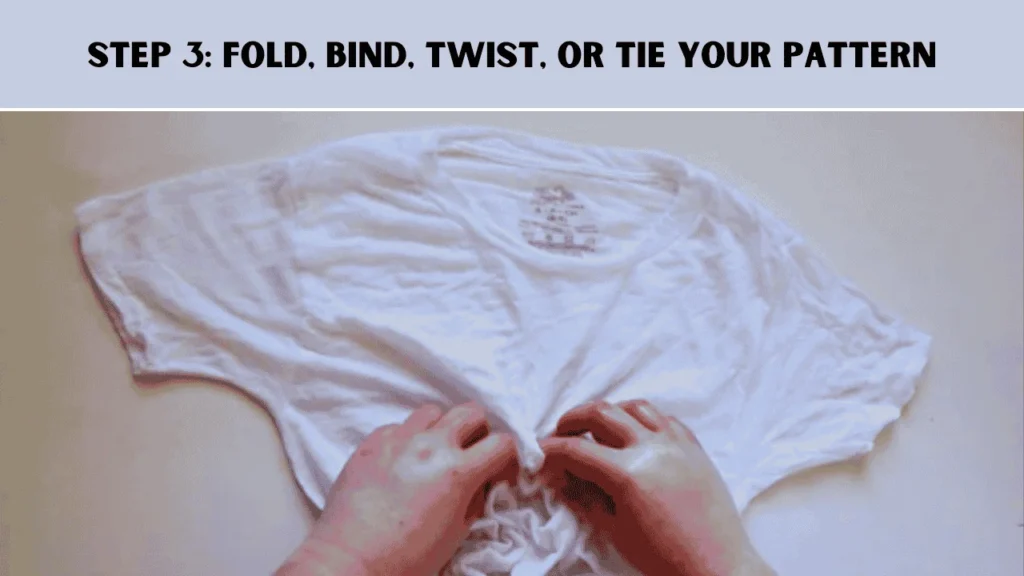
In this step, you need to fold your fabric to create a pattern. If you want to make a pattern, then you can use a hoop. There are many patterns that you can flow. If you are beginners, then you can choose a beginner-friendly pattern like a simple scrunch, or even you can choose a complicated fold.
Use rubber bands or strong string like faux sinew to tie your pattern in place. The fabric will be easier to shape because it’s damp and wrung out. Wet fabric holds patterns better than dry fabric.
Step-4: Set Up The Workspace For Dyeing
Now prepare your workspace where you want to do ice tie dying. This can be done outside or inside, whichever you want. Just make sure to cover your workspace. This will help keep spills and drips from making a mess.
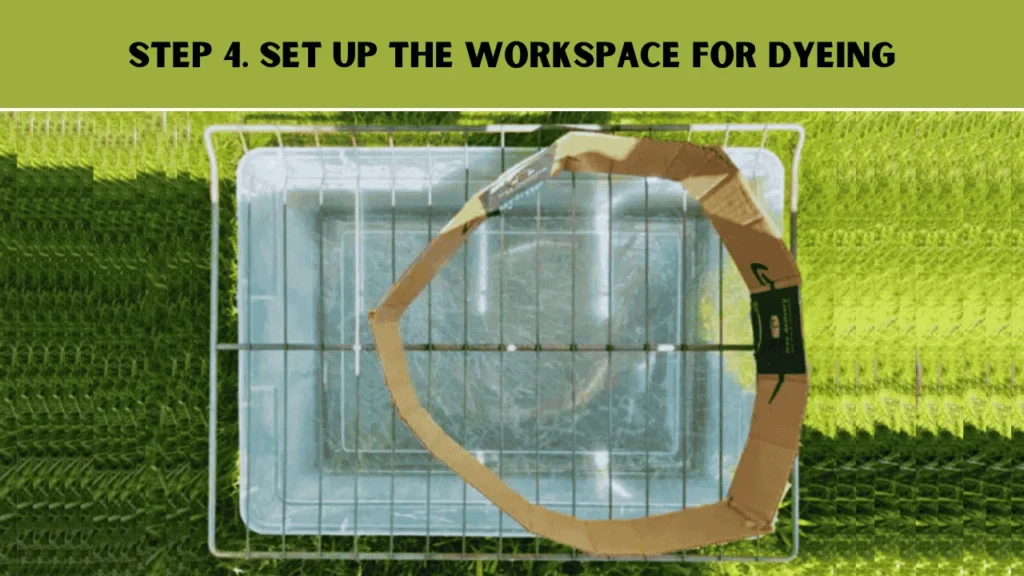
Next, put the cooling rack in or across the sides of the washtub. The rack should be raised off the bottom so extra water can drip down. If the rack is too big, you can use balls of aluminum foil under the corners to keep it up.
Note: If you want, you can use the muck in a container. The project sits there while the ice melts.
Step-5: Lay The Garment On Top Of The Rack
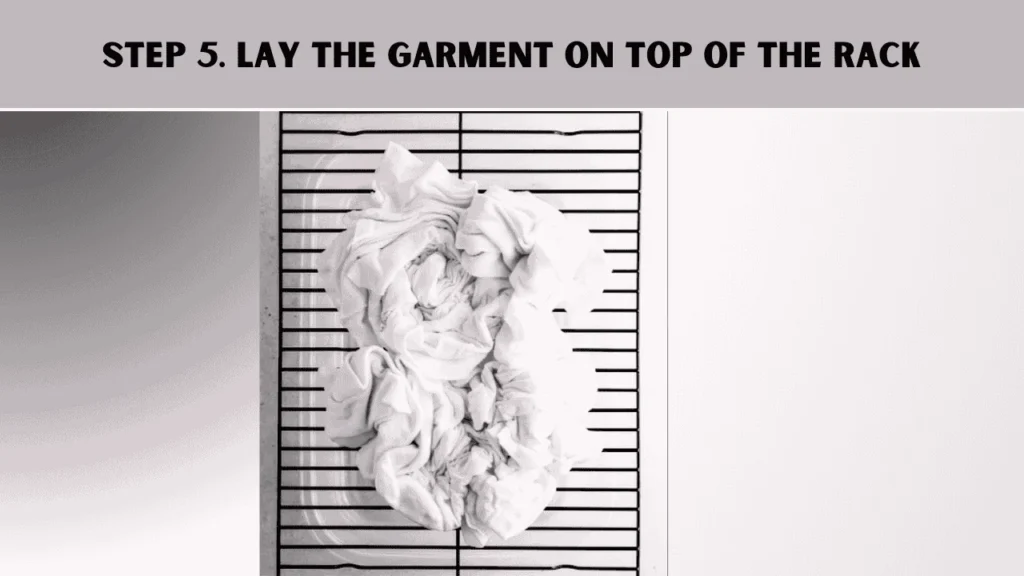
Now, place the folded fabric on the top of the rack. If you don’t make any pattern, then place the hoop on the top of the rack. You just need to crumple up the shirt and put it inside the hoop. Make sure the fabric isn’t too thick in one spot. It should be mostly a single layer.
The hoop helps keep the fabric in place while you’re making the ice tie-dye pattern. It helps hold the fabric in a certain shape, so the dye can soak in evenly and create the design you want.
Step-6: Cover The Garment With Ice
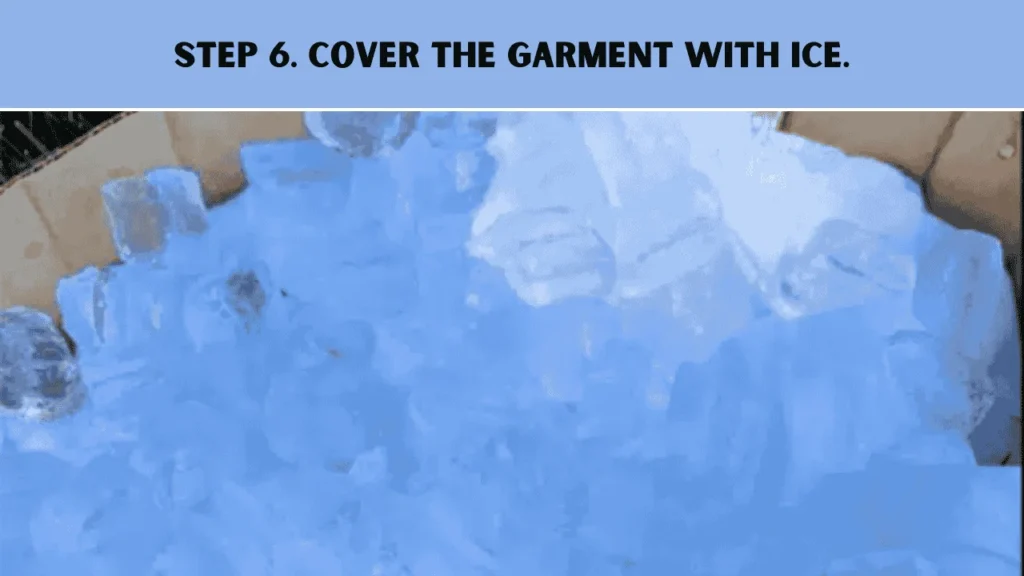
Next, cover the garment with ice. Try to cover the fabric as fully as possible. If there are areas without ice, they will probably stay white. This happens because those spots won’t get any dye when the ice melts.
Covering the whole fabric might be easier if you use crushed ice. Snow can also work if you have some. The cardboard acts like a fence, trapping melting ice so it stays on the fabric instead of dripping away. This helps the ice stay in place longer while it does its job.
Step 7. Sprinkle the Dye Over the Ice
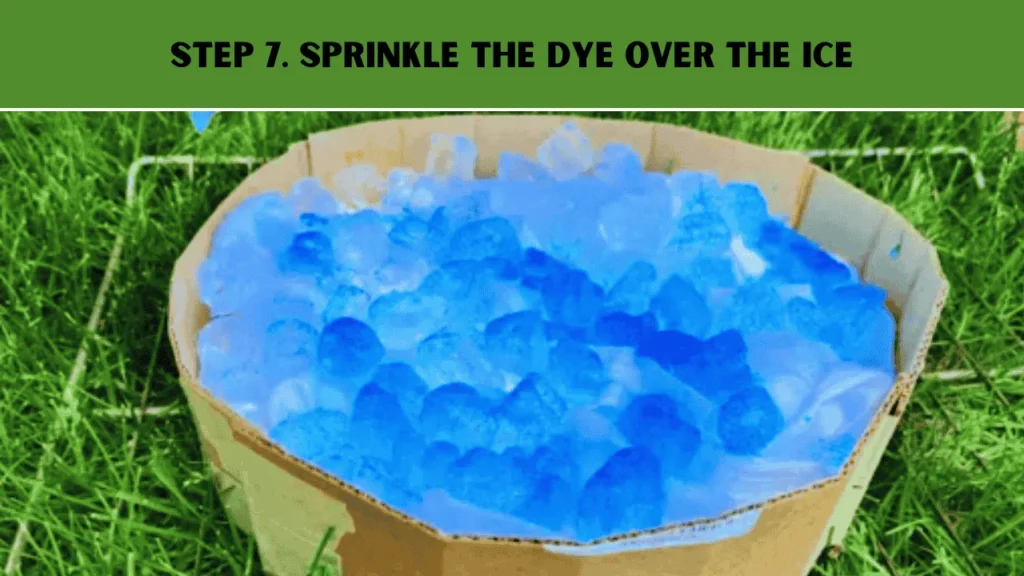
First, put on your dust mask. Then, use a spoon to shake the dye powder over the ice. You can toss the colors around freely or try to place them in neat designs. As the ice melts, the colors will spread and mix where they touch.
While choosing the color for tie dye, choose colors that look good together. You can include colors like blue and orange or purple and yellow. These are called complementary colors, and they help make the design stand out. You can even choose all warm colors or cool colors.
Powdered dye is made up of tiny bits of different colors. When the ice melts, these colors spread out in cool and unexpected ways. They mixed with water, it turns into one color. But when powder dye sprinkled over ice, the melting ice spreads the dye in different ways. Some parts of the dye look darker, and some look lighter. This is creating cool color effects on the fabric.
Step-8: Wait For The Ice To Fully Melt

After you’ve sprinkled all the colorful dye powders on the ice. Then it’s time to let the ice slowly melt. Put your tub in a quiet spot where nobody will shake or move it. Let it sit for a whole day, 24 hours.
The ice might melt quicker than that, but don’t rush it! The dye needs to soak into the fabric slowly for the colors to turn bright and awesome. If you wait the full day, your project will look way cooler.
Note: If some spots look too dark or blobby, drop more ice on them. The extra ice will help spread the color around as it melts.
Step-9: Rinse And Wash The Dyed Garment
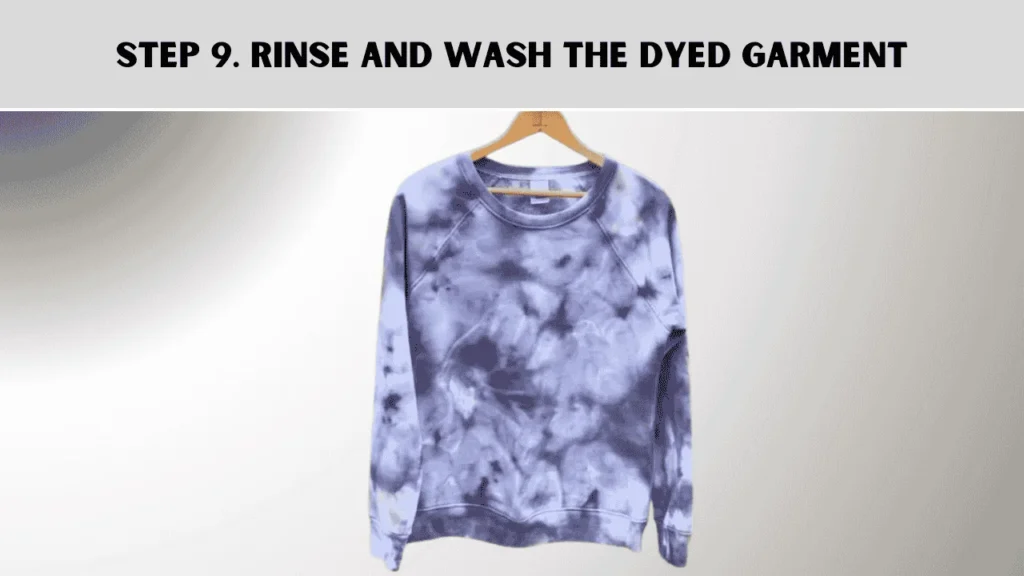
After waiting a whole day, it’s time to wash off the extra dye. In this time, the fabric might look dark or messy right now. Don’t worry about it. When you rinse it, the colors will get lighter and brighter.
Hold your fabric under cool water from the sink or hose. Keep rinsing it until the water that drips off turns clear. This washes away the leftover dye so it doesn’t stain your hands later.
Throw your dyed clothes in the washing machine. Use a special soap called Synthrapol. It is like a superhero soap that grabs any loose dye so it doesn’t stick to other clothes. Wash it on a normal cycle.
Your ice-dyed clothes are ready to wear. But wait for the first few times you wash them, do it alone. This makes sure the colors don’t leak onto your other stuff. After a few washes, they can join the rest of your laundry.
Tip: The brighter you want your colors, the longer you wait and rinse. Patience makes your creation awesome.
If you haven’t understood yet, watch this YouTube Video for better understanding.
In closing
Ice tie dye-dye is a fun and easy way to turn plain clothes into colorful masterpieces using melting ice. Instead of using liquid dye, sprinkle powder dye on the fabric. Then, pile ice cubes on top and let them melt to spread the colors. This method makes every design one of a kind. To learn how to do ice tie-dye, follow simple steps like choosing fabric, adding dye, and letting it melt.


![How to Crochet a Bag? [6 Easy Steps with Pictures]](https://crochetmind.com/wp-content/uploads/2024/10/How-to-Crochet-a-Bag.webp)