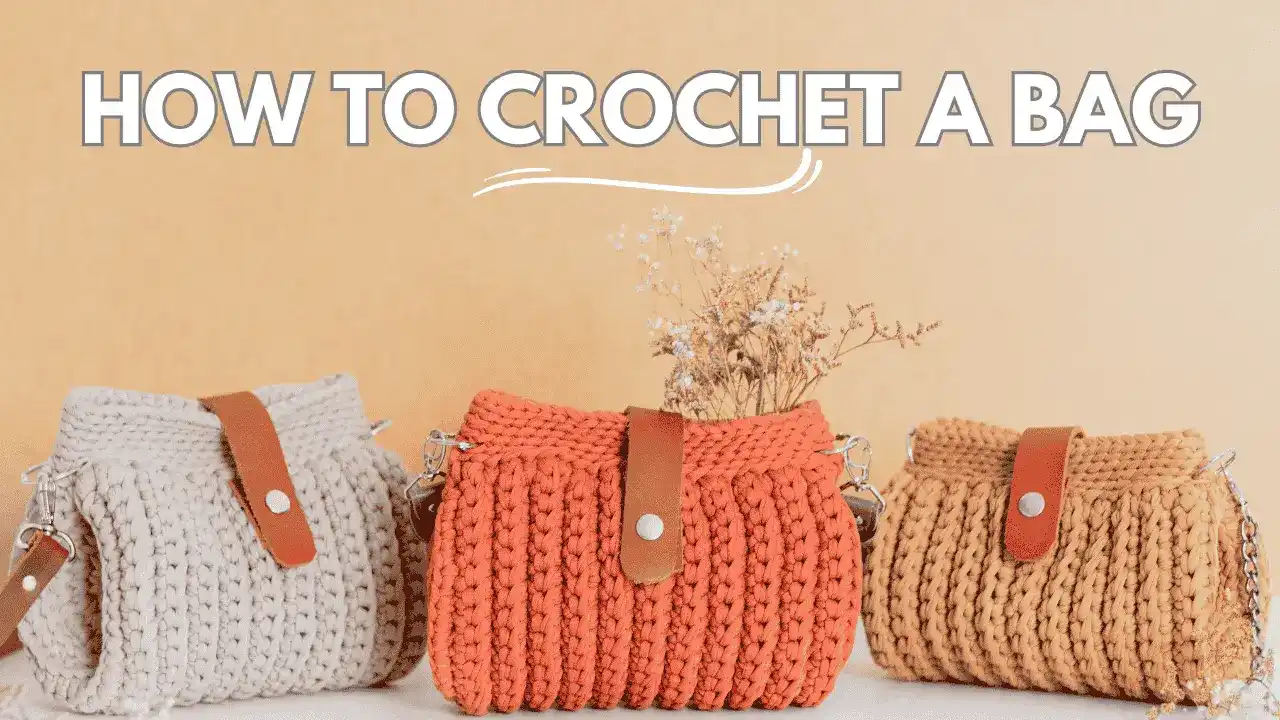
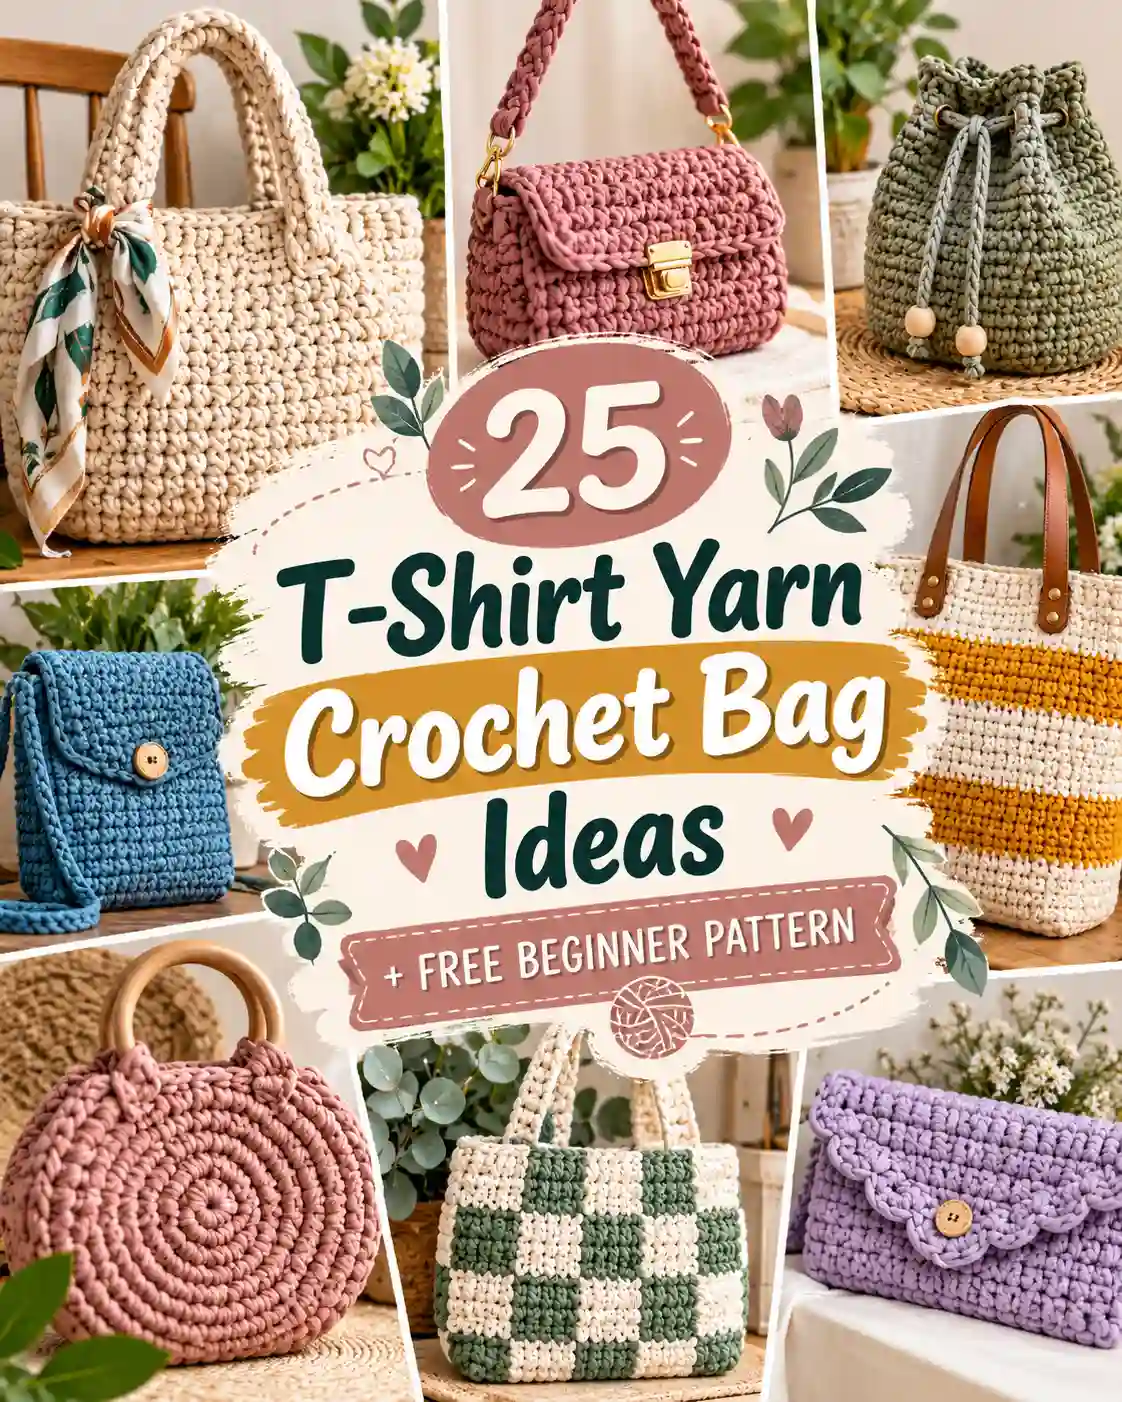
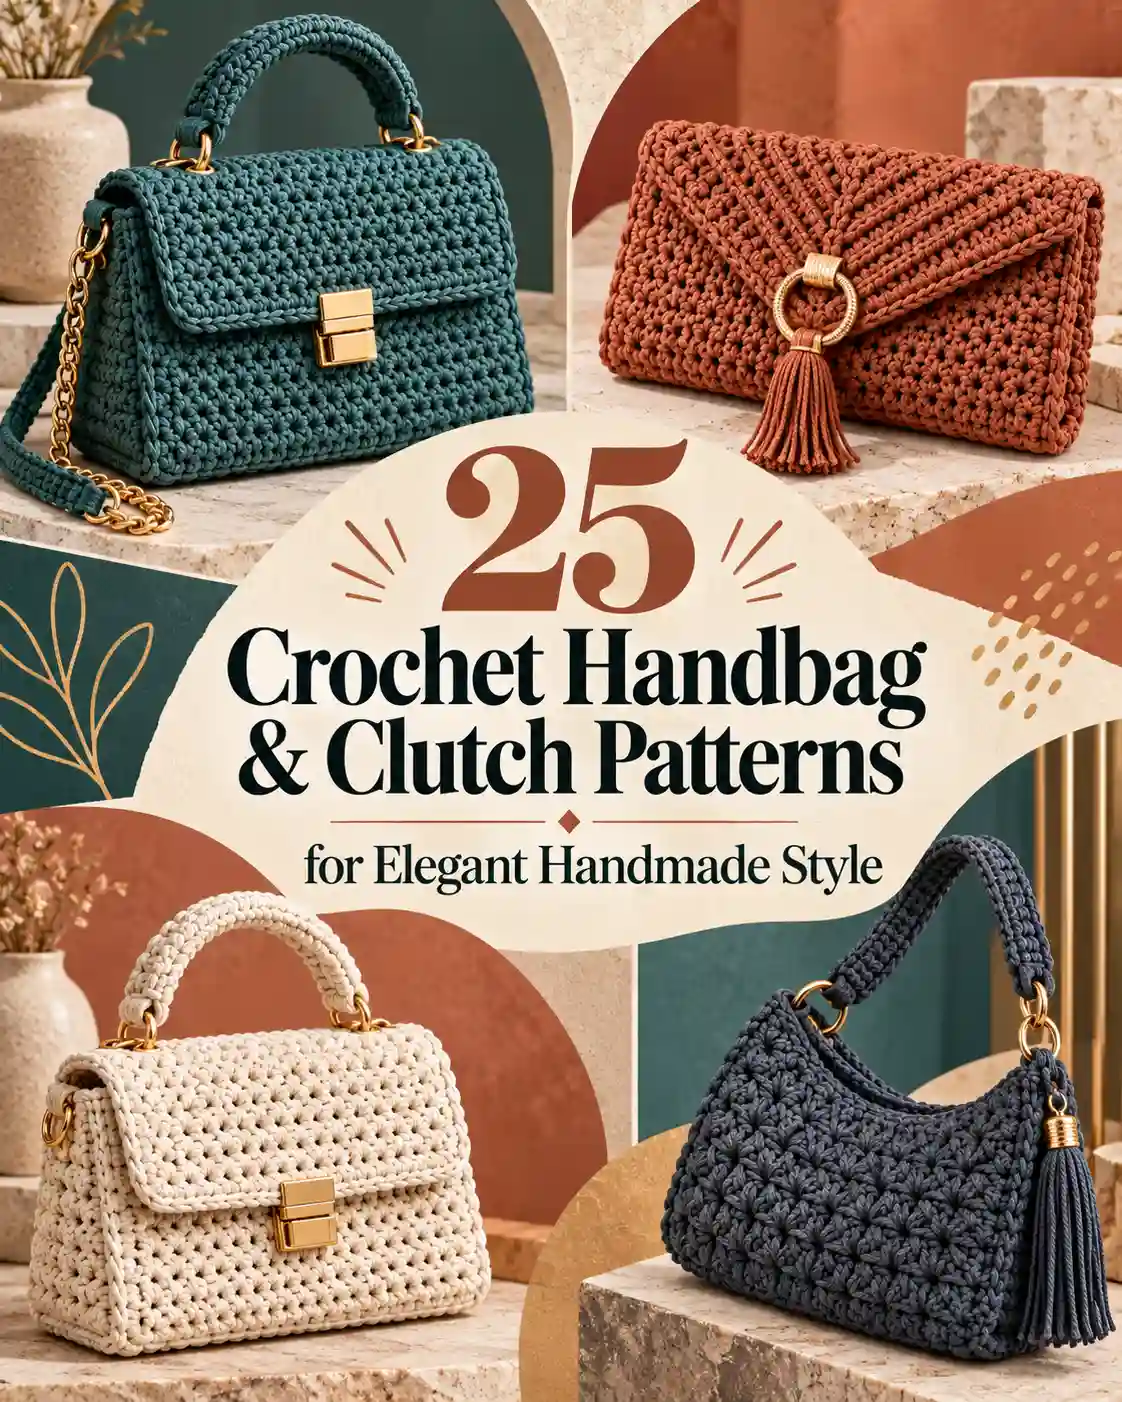
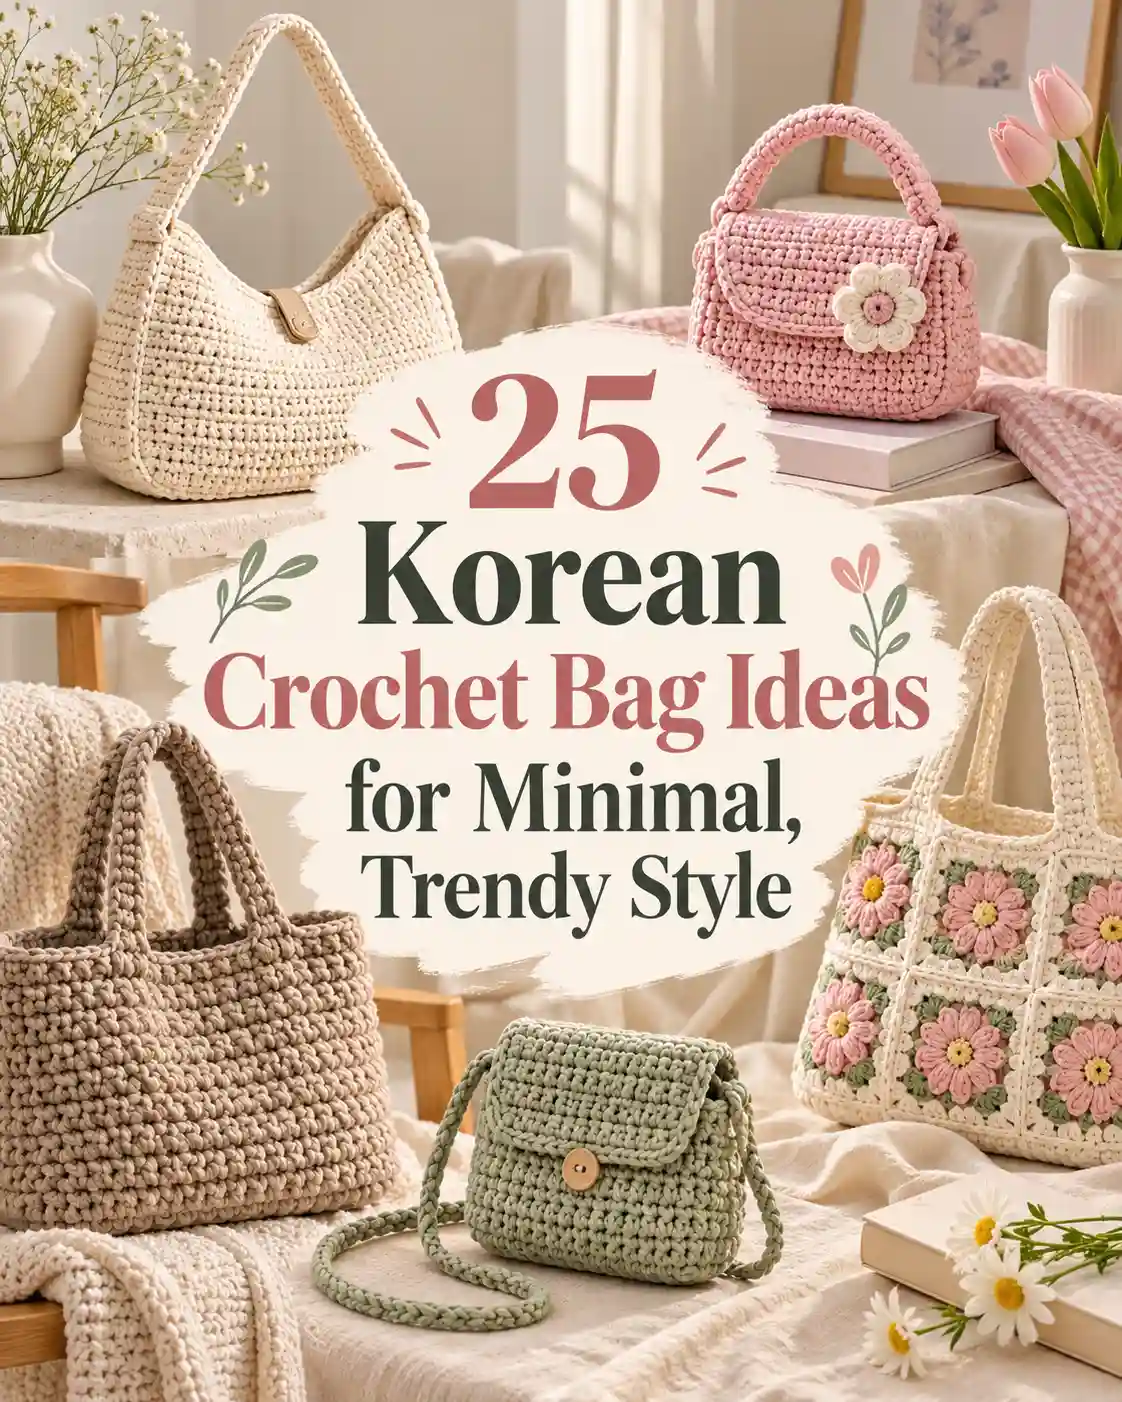
A t shirt yarn crochet bag is a handbag or tote crocheted from thick strips of jersey fabric, often using a large 8–12 mm hook. The simplest beginner version uses two single-crochet panels joined at the sides and bottom, then finished with sturdy handles. This guide gives you 25 adaptable bag designs, a complete free tote pattern, and more guidance on how to crochet a bag in different shapes.
There is something satisfying about watching a bag take shape from just a few chunky stitches. You can keep it simple, play with bright colors, or add the kind of handles that make a homemade bag look beautifully finished.
Before choosing a design, think about what you will actually carry and whether you prefer a firm tote or a softer little purse. If this is your first time using fabric-strip yarn, the two-panel project below is a comfortable starting point because you can check the shape as you go. You will also see how color changes, textured stitches, and different handles can transform the same basic shape. Use the 25 ideas to find a style that matches your needs, then follow the instructions for a bag you can make your own.
Key Takeaways
- Start with a small, sturdy single-crochet bag.
- Follow the T-shirt yarn crochet bag tutorial for beginners below.
- Match hook size to your yarn and gauge.
- Reinforce handles and seams before using your bag.
- Explore T shirt yarn crochet bag patterns in different shapes.
- Add a lining when the stitch fabric has gaps.
What Makes a T Shirt Yarn Crochet Bag Different?
T-shirt yarn makes bold, fabric-like crochet stitches that suit sturdy bags, but weight and stretch depend on the yarn and construction.
At a Glance
- Fabric-strip yarn creates prominent, chunky stitches.
- Dense single crochet is a practical starting stitch.
- Smaller bags can be easier to carry.
- Reinforced handles help support everyday use.
T-shirt yarn is usually made from strips of knitted fabric rather than strands spun like ordinary yarn. It creates bold, visible stitches and a substantial bag, but it can also feel heavy. Choose a compact shape for your first project, and remember that handles must support the weight of the finished bag as well as what you carry.
Manufacturer Hoooked recommends 8–12 mm hooks for its Zpagetti T-shirt yarn and explains that recycled fabric strips can vary from bobbin to bobbin. The Craft Yarn Council likewise describes hook-size ranges as guidelines, not substitutes for checking your gauge.
| Your question | Quick answer |
|---|---|
| Best first design? | Flat-panel tote with single crochet |
| Hook size to try? | 8–12 mm for many thick T-shirt yarns; check the label |
| Which stitch feels firm? | Single crochet, worked at a comfortable tight gauge |
| Which bag uses less yarn? | Mini purse, phone bag, or clutch |
| How many bobbins? | Depends on yarn length, thickness, tension, and bag size; plan from a swatch |
| What needs reinforcement? | Handles, seams, and any closure |
What Supplies Do You Need for T-Shirt Yarn Crochet Bag Patterns?
Begin with T-shirt yarn, a suitable large hook, scissors, a yarn needle, and stitch markers; add handles or reinforcement as your design requires.
At a Glance
- Check the yarn label before choosing a hook.
- Swatch to test stitch firmness and hand comfort.
- Prepare matching yarn for panels and straps.
- Keep optional lining and handle materials nearby.
For a beginner bag, gather T-shirt yarn in your chosen color, a hook that suits its thickness, stitch markers, scissors, and a large blunt yarn needle. You can also review these essential crochet supplies before starting. For the tutorial below, you will also need yarn for two handles or a pair of purchased bag handles; a small piece of strong fabric for reinforcing handle attachments is optional.
Start with a 10 mm hook if your yarn label supports it, then make a small swatch. If your stitches are painfully tight, go up a hook size. If the fabric is too loose to hold small belongings, try a smaller hook or add a lining. The Craft Yarn Council’s yarn-label guide explains where to find fiber, weight, and recommended tool information.
Which of These 25 T-Shirt Yarn Crochet Bag Patterns Should You Try?
For a first project, choose the classic tote or mini purse; try round bases, texture, or decorative handles once you know the basic stitches.
At a Glance
- Start simple with flat-panel bags.
- Choose a mini design to keep the project manageable.
- Add stripes or color blocks for easy variation.
- Explore the linked published patterns for independent instructions.
If you have been searching for T-shirt yarn crochet bag patterns free to follow, remember that the 25 options below are design variations; the full original beginner tutorial appears later in this guide, with additional published patterns linked where available.
25 T Shirt Yarn Crochet Bag Ideas + Free Beginner Pattern
The following are design ideas and construction variations, not 25 separately tested, full-length patterns. Make the beginner tote below first, then use the variation notes to change its shape or details. Where another designer offers an independently published free pattern, I link to it.
1. Classic Everyday Tote — Why Start Here?
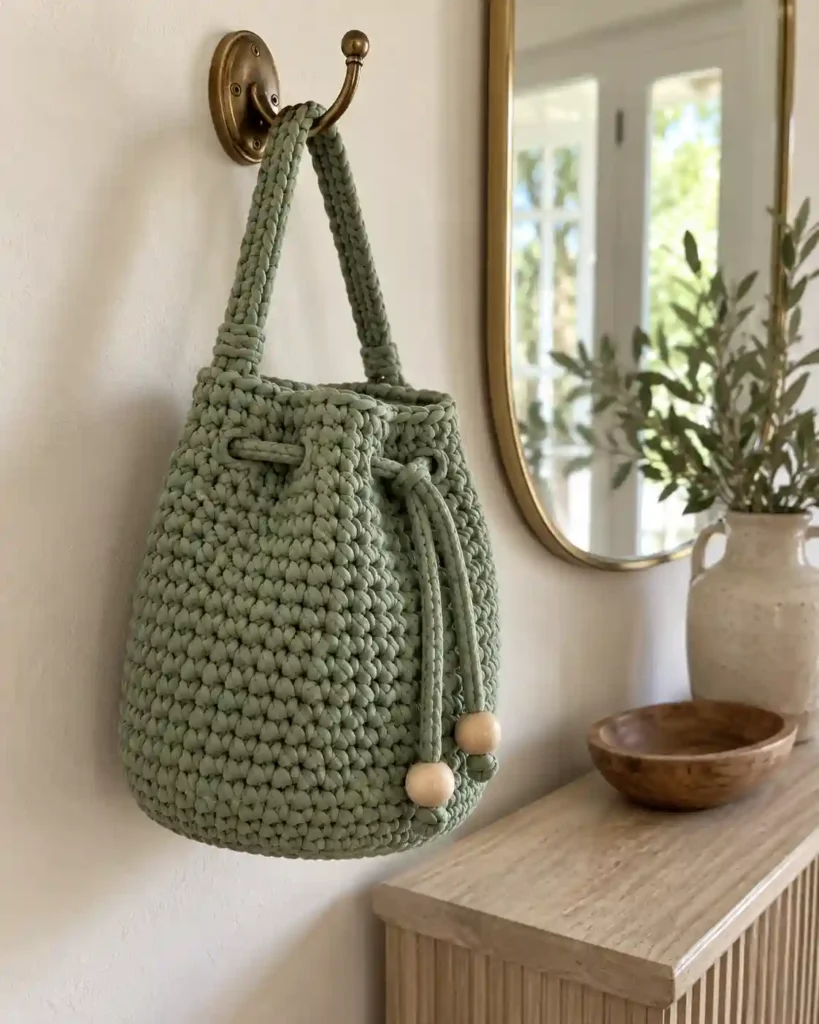
A classic T-shirt yarn tote turns simple stitches into a bag you can use for books, a water bottle, or a quick outing. Unlike a lacy shopper, its solid sides help stop small things slipping through. I like this shape for learning how your yarn behaves because there is no complicated shaping to track. Choose it when you want an unfussy first bag with lots of room for a personal touch.
Make it: Follow the complete two-panel pattern below. Work more rows for a taller tote, and reinforce both handle attachments.
2. Two-Tone Colorblock Handbag
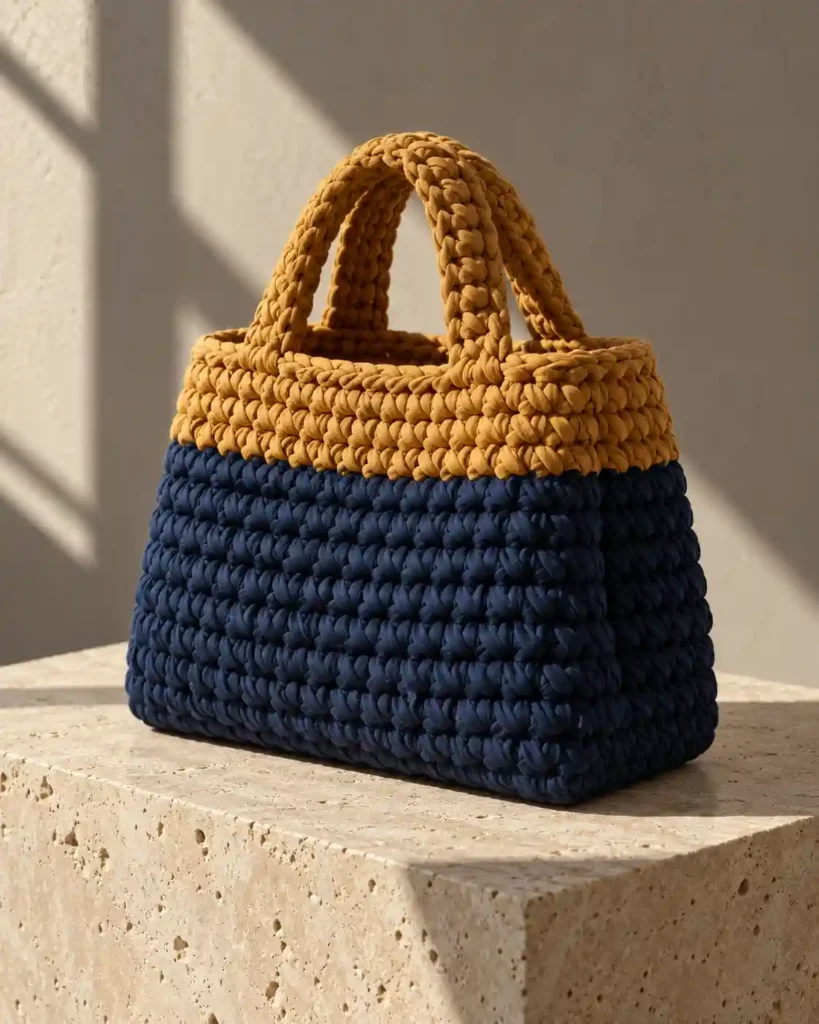
A bold band of contrasting color can make a basic handbag look surprisingly polished. Rather than learning a new stitch, you simply switch yarn when the first color has reached the height you like. Picture cream along the bottom and olive green across the upper half for an everyday bag. This is a lovely pick if you want a noticeable change without adding difficult techniques.
Make it: Crochet the lower half of each panel in color A and the upper half in color B; change shades at matching rows. For an existing free example with two colors and faux-leather handles, see The Craft Patch.
3. Mini Boxy Handbag — Can Beginners Make One?
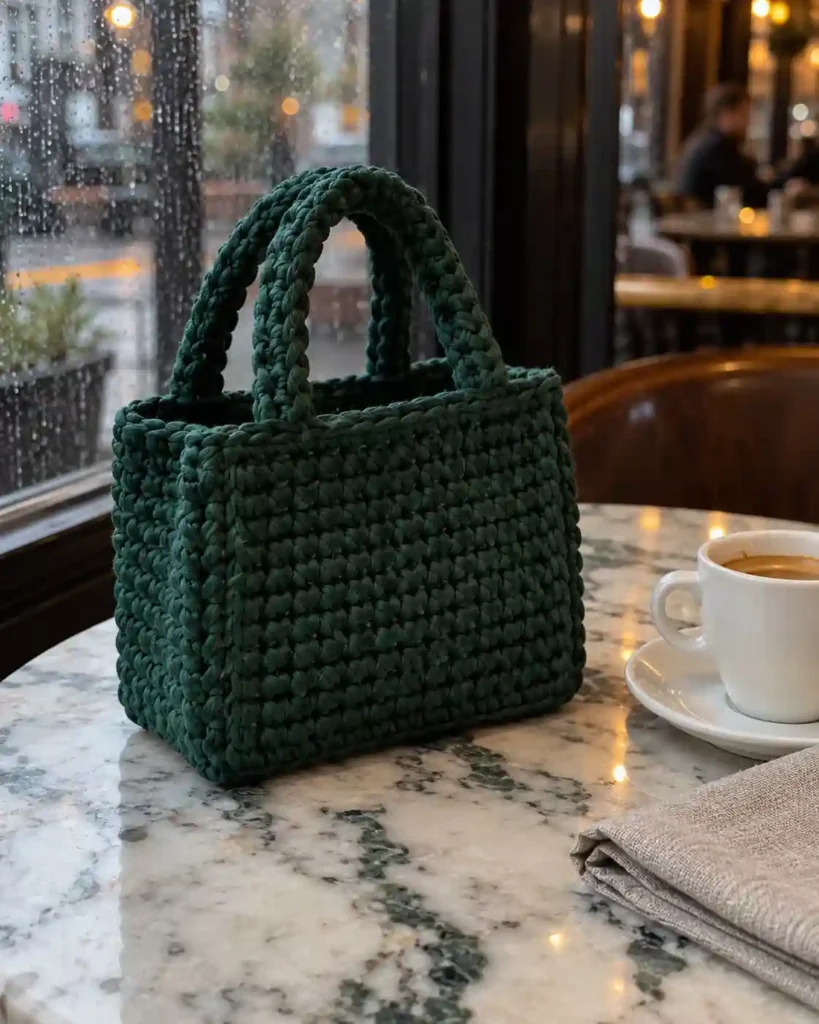
The mini boxy handbag gives thick T-shirt yarn a neat, compact silhouette. A smaller version is easier to manage than a full tote, especially if your yarn feels heavy. It is the bag I would reach for when I only need my phone, cards, and keys. Keep the sides firm and the handles short for a tidy little accessory.
Make it: Begin each panel with 13 chains and work 12 single crochets across for roughly 12–14 rows; join the panels and add short handles. For a different bottom-up mini design, see Swool Nordic Design’s free pattern.
4. Slouchy Hobo Bag — How Do You Get That Soft Shape?
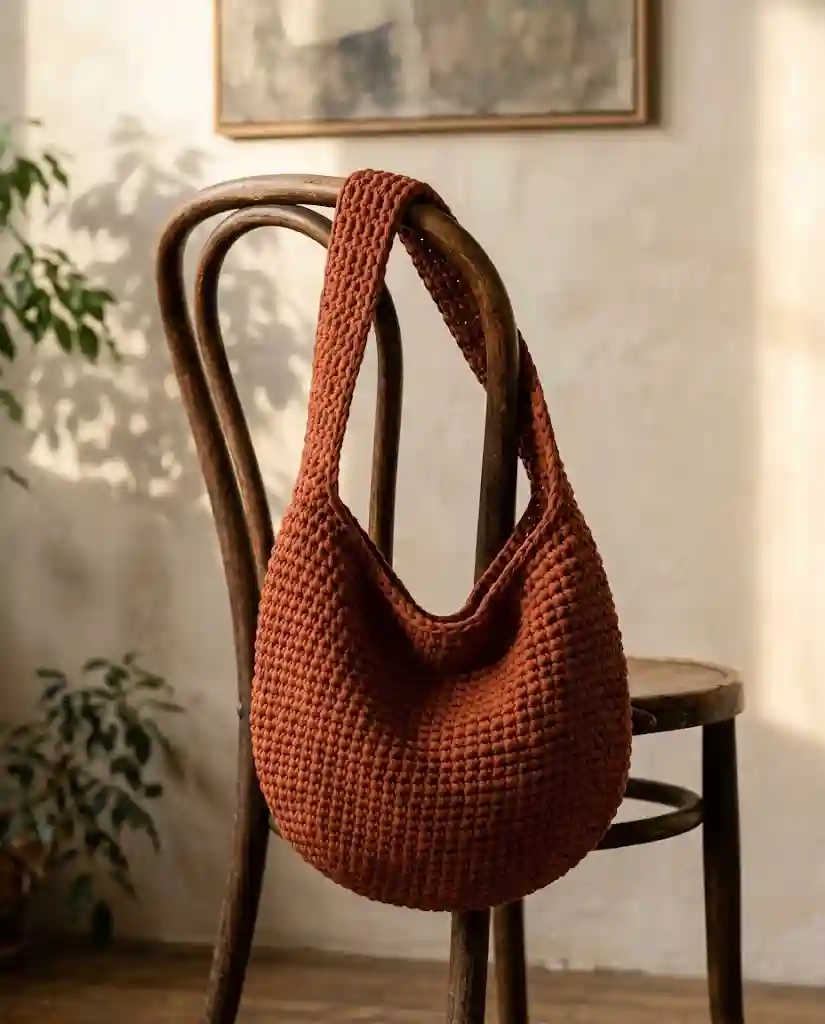
A hobo bag feels relaxed because its top curves and the body hangs softly from one strap. Thick T-shirt yarn gives it texture, while a slightly looser stitch keeps it from looking too rigid. Imagine pairing one with jeans and a plain linen shirt for a casual weekend. It suits anyone who prefers a softer outline to a square tote.
Make it: Make wider-than-tall panels, round off the lower corners with your seams, and attach one broad strap between the upper sides. Swatch first so the fabric drapes without opening large gaps.
5. Wide-Strap Shoulder Bag
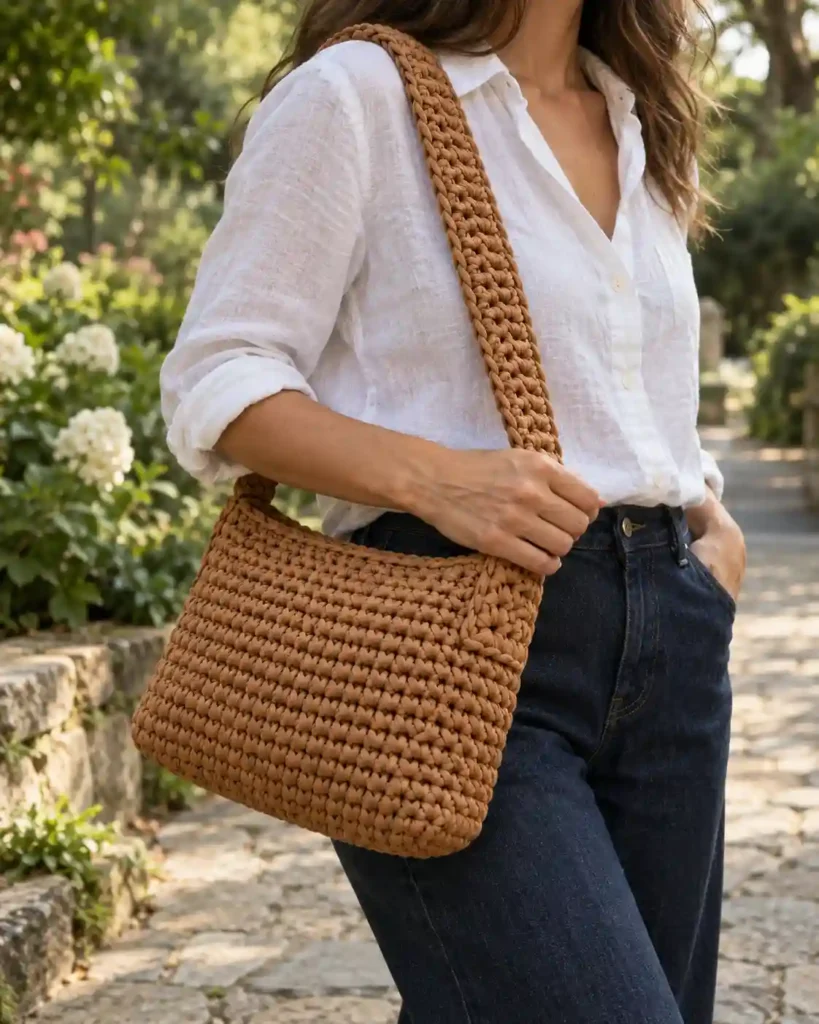
A shoulder bag with a generous strap distributes weight more comfortably than a narrow cord. It has a simple, modern profile, especially in one solid color. I would use this design for a café visit or a short shopping trip rather than a heavy grocery load. Pick it if comfort is more important than decorative details.
Make it: Make a smaller tote body and crochet a strap at least three or four stitches wide, or sew on a strong fabric strap. Swool Nordic Design also provides a free bottom-up shoulder-bag pattern.
6. Flat Crossbody Phone Bag — What Is the Simplest Version?
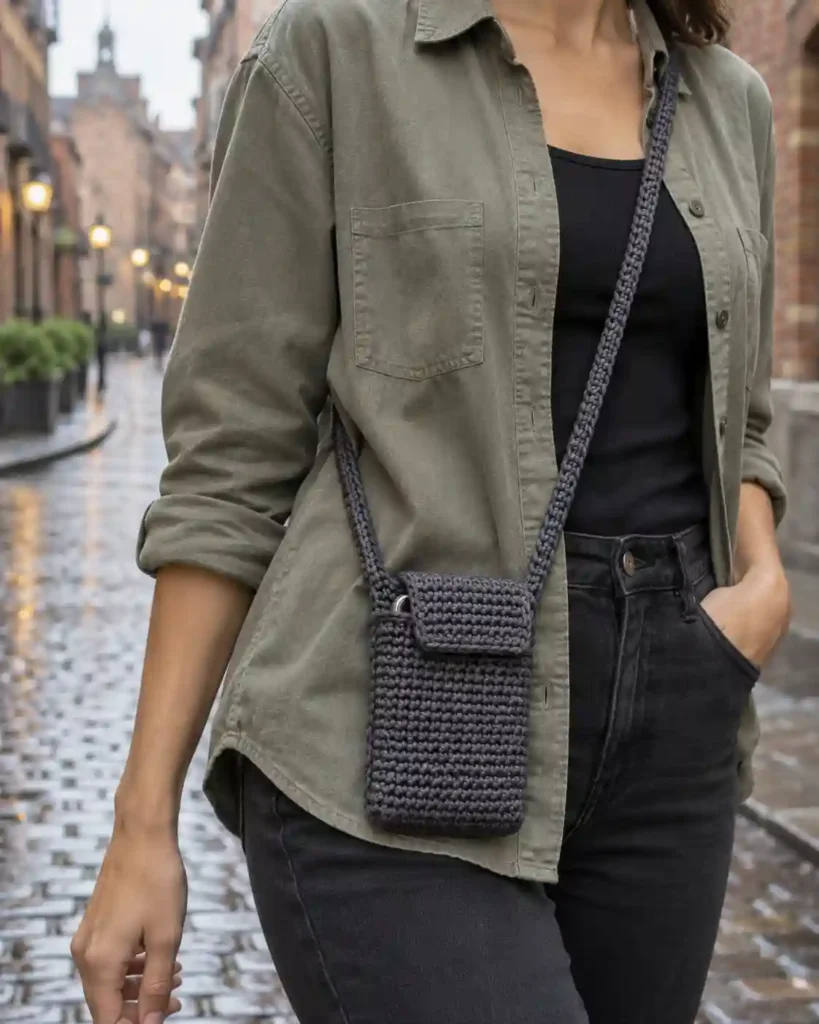
A slim crossbody phone bag is useful when a full handbag feels unnecessary. Its straight-sided construction makes the shape easy to understand, and the finished bag can stay close to your body. Choose a deep burgundy or charcoal yarn and it becomes an everyday accessory rather than just a practice piece. Beginners who enjoy small, finishable projects will appreciate this one.
Make it: Crochet two narrow rectangles slightly larger than your phone, seam three sides, and add a securely sewn fabric or crocheted crossbody strap. Check the phone fits before you join the panels.
7. Drawstring Bucket Bag
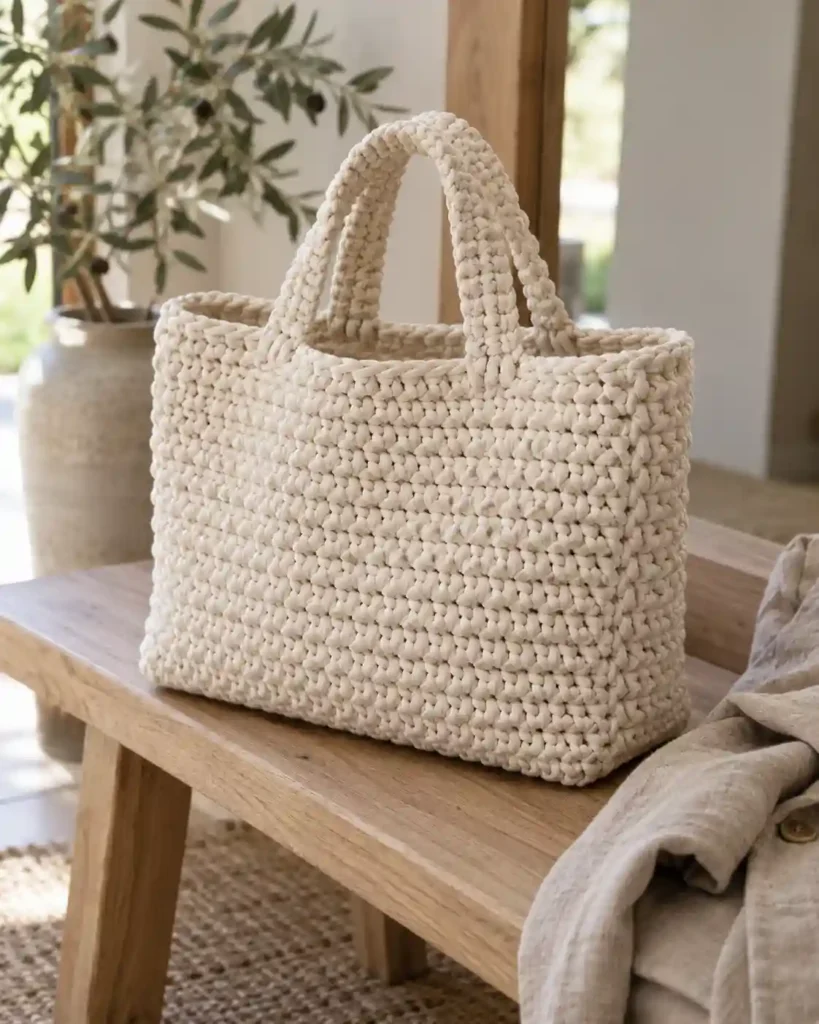
The bucket bag stands out because it opens wide but can be cinched shut in seconds. Its round bottom feels different from a flat tote, making it a fun next step once you know single crochet. A soft sage version would look great with simple summer clothes. This is for makers ready to practice increases and rounds without tackling complex decoration.
Make it: Start with six single crochets in a magic ring, increasing evenly by six stitches per round until the base is wide enough. Work straight sides, then alternate single crochet and chain-one openings near the top; thread a sturdy cord through the holes.
8. Round Wristlet — Can a Circle Become a Bag?
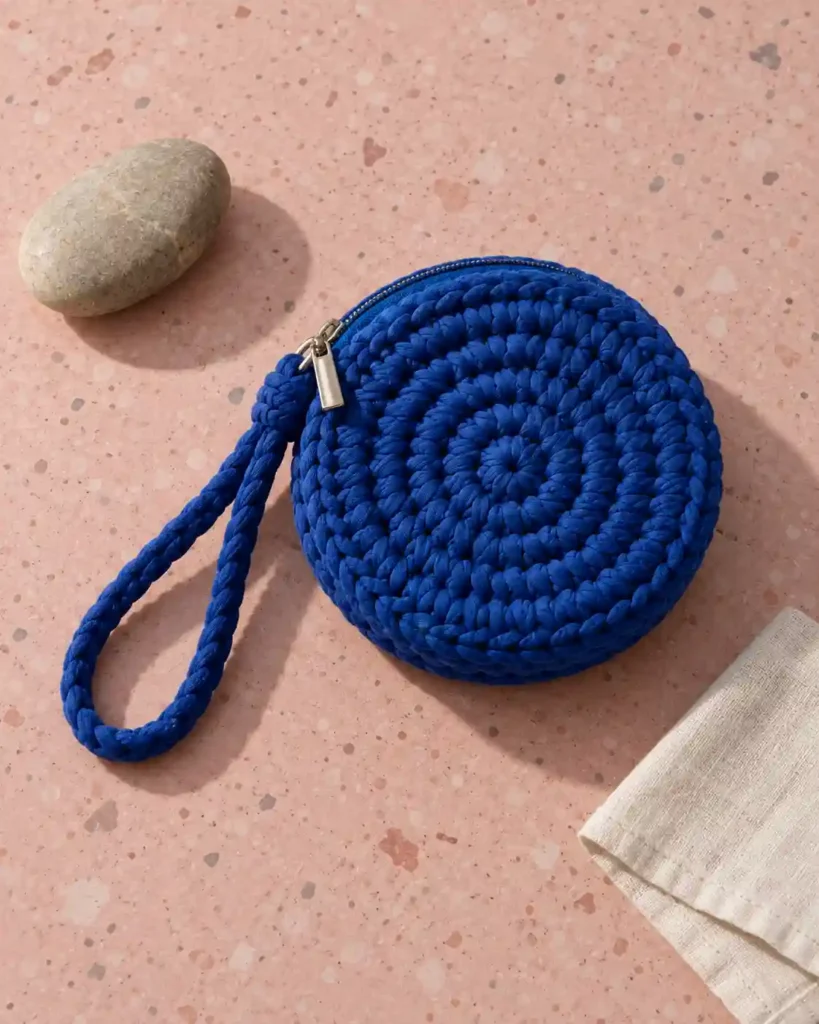
Two chunky crocheted circles can become a surprisingly cute little wristlet. The round outline feels more playful than a rectangular pouch, especially in a bright pop of color. It is ideal for a quick outing when you only want the essentials. Make this if circular increases are already familiar and you want a change from straight rows.
Make it: Crochet two matching flat circles, seam most of their edges together, and leave an opening. Add a short wrist loop and a secure snap or zipper if needed.
9. Envelope Clutch
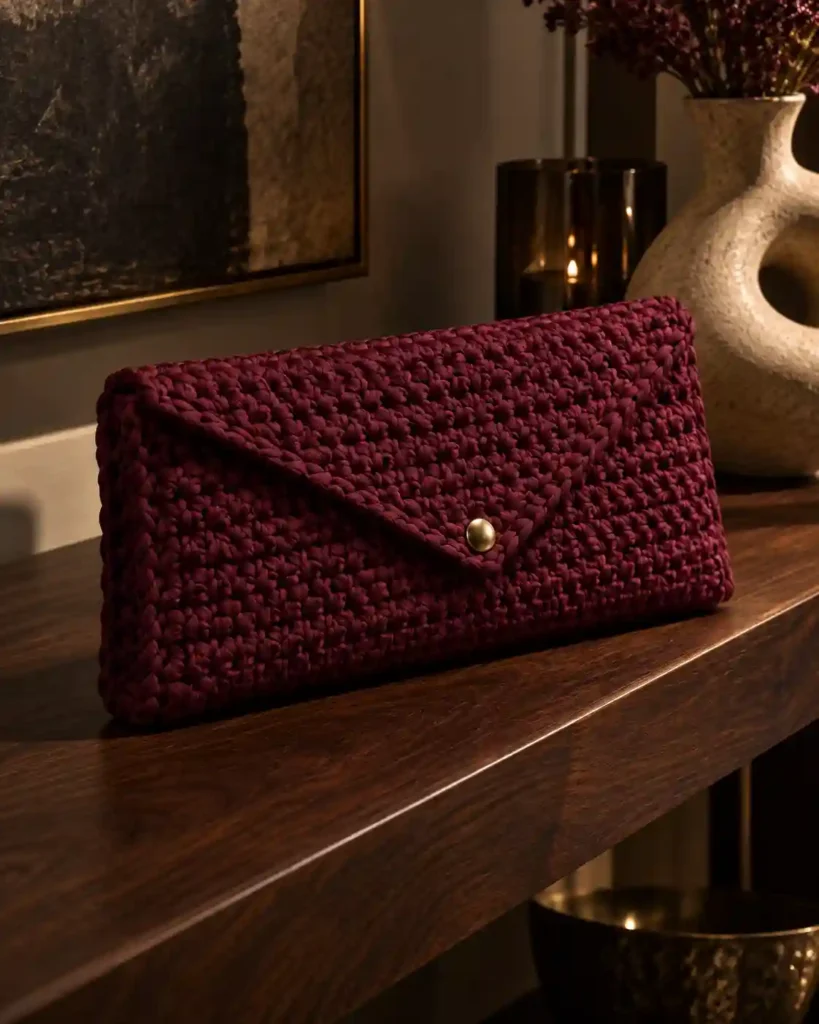
An envelope clutch looks sleek because the closing flap becomes part of the design. Rather than hanging from long straps, it tucks neatly under your arm. I would choose a muted sand or black shade so the folded front stays the focus. This version is a good option when you want a dressier bag with very few extra materials.
Make it: Crochet a long rectangle, fold the lower portion upward to form a pocket, and seam its sides. Fold the remaining fabric over as a flap, then add a snap; soften the flap corners if desired.
10. Simple Striped Market Tote — How Many Colors Are Enough?
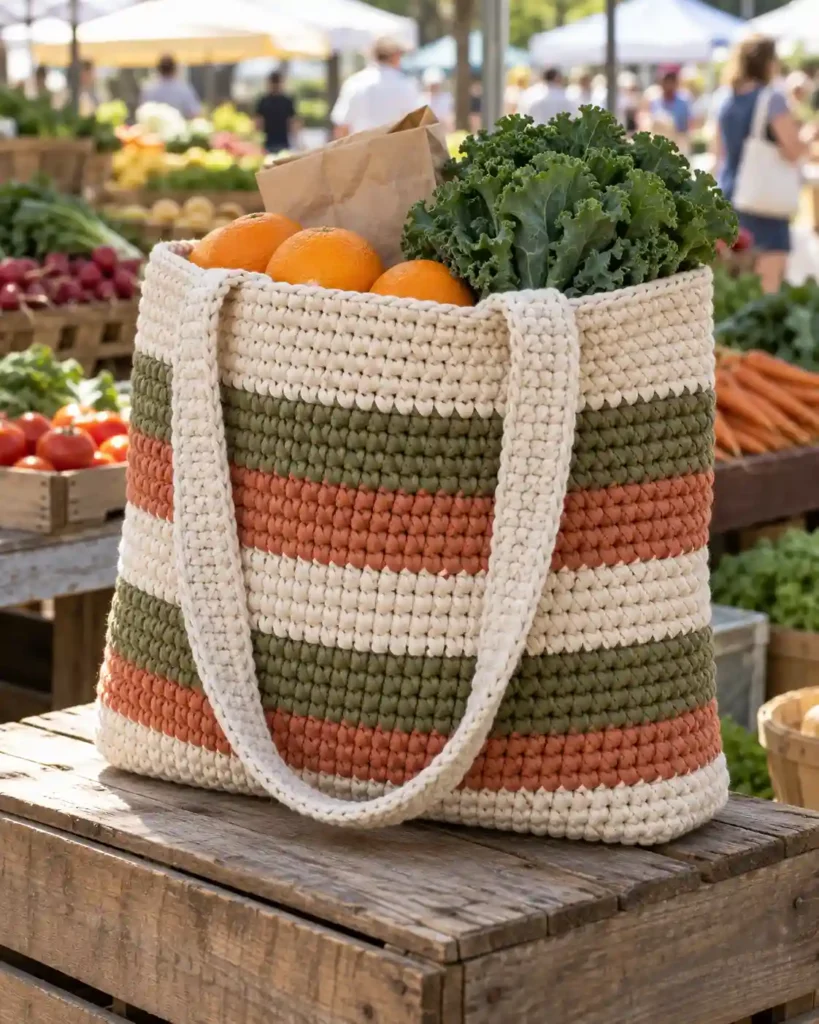
A striped market tote lets leftover yarn become a deliberate part of the design. Two colors are enough for a crisp look, although three muted shades can be lovely too. I especially like a neutral body with one unexpected coral stripe near the rim. Choose this variation if you want an easy way to use shorter yarn lengths.
Make it: Follow the flat-panel pattern and change colors every three to five rows, repeating the sequence on both panels. Weave each end securely so the seams do not loosen.
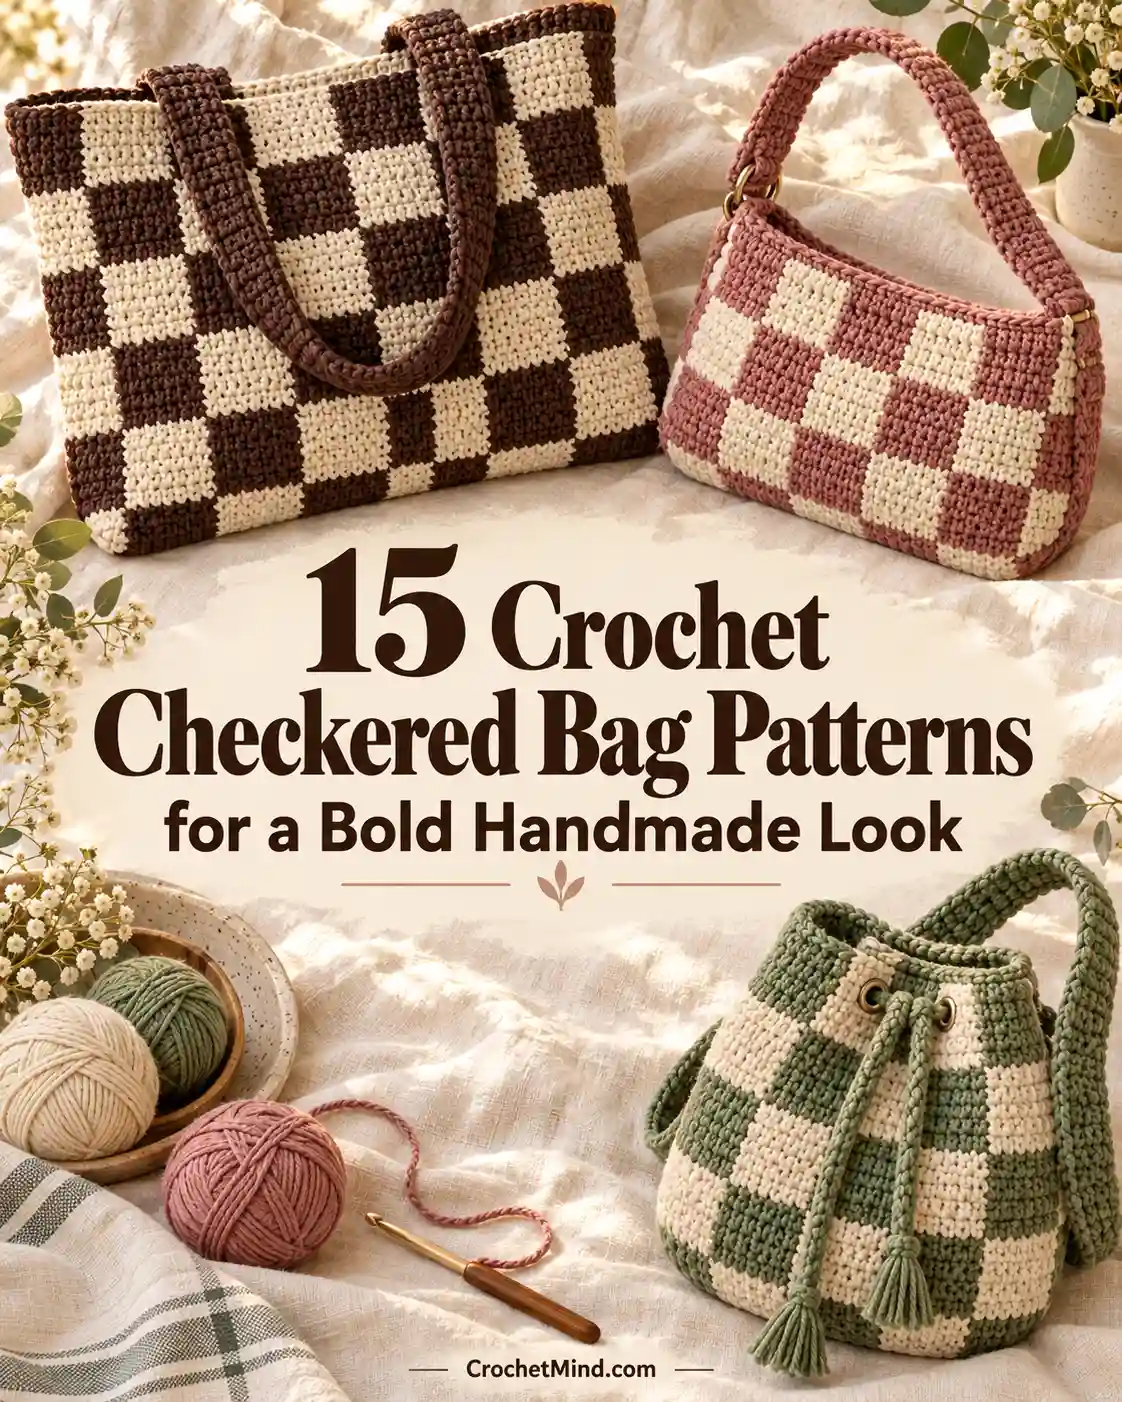
11. Checkerboard Mini Purse
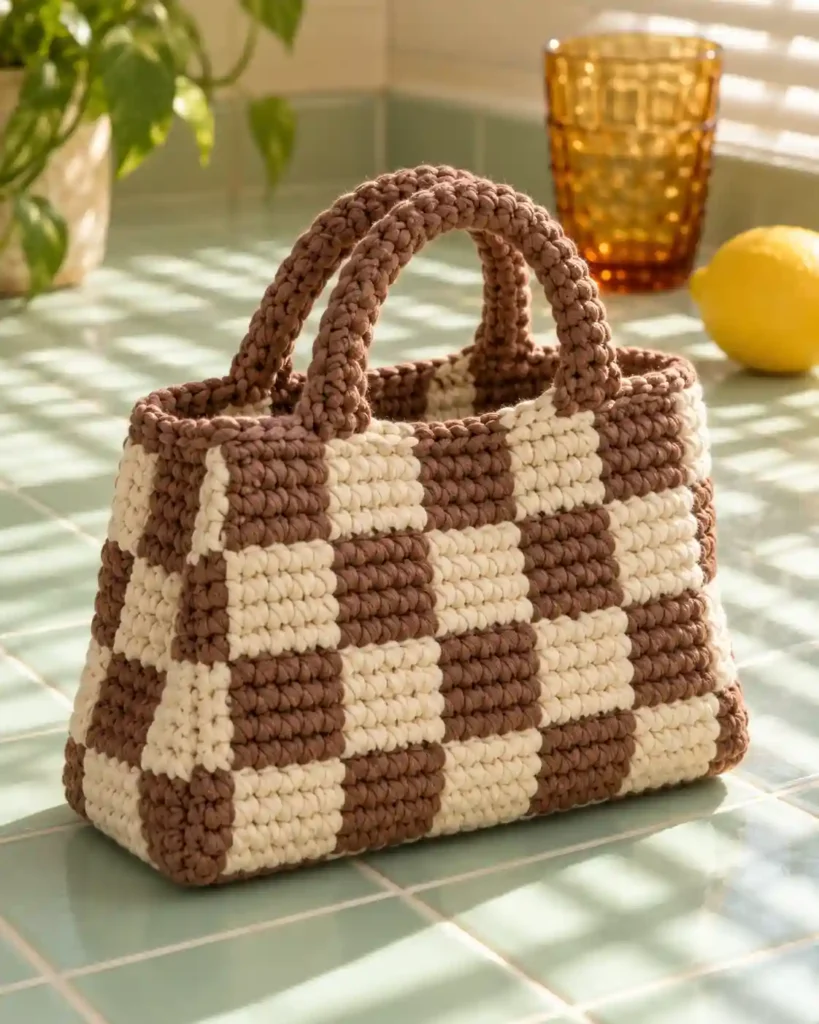
The checkerboard mini purse has all the charm of a graphic accessory without needing beads or hardware. Its alternating squares are more eye-catching than plain rows, though changing colors takes patience. A cream-and-chocolate combination makes the pattern easy to see. This one rewards crocheters who are ready to concentrate on tidy color transitions.
Make it: Work small color blocks across each row using tapestry crochet, changing colors at consistent stitch counts. Practice on a swatch first and keep the carried yarn from pulling the fabric inward.
12. Oversized Granny-Square Tote — Does Chunky Yarn Work?
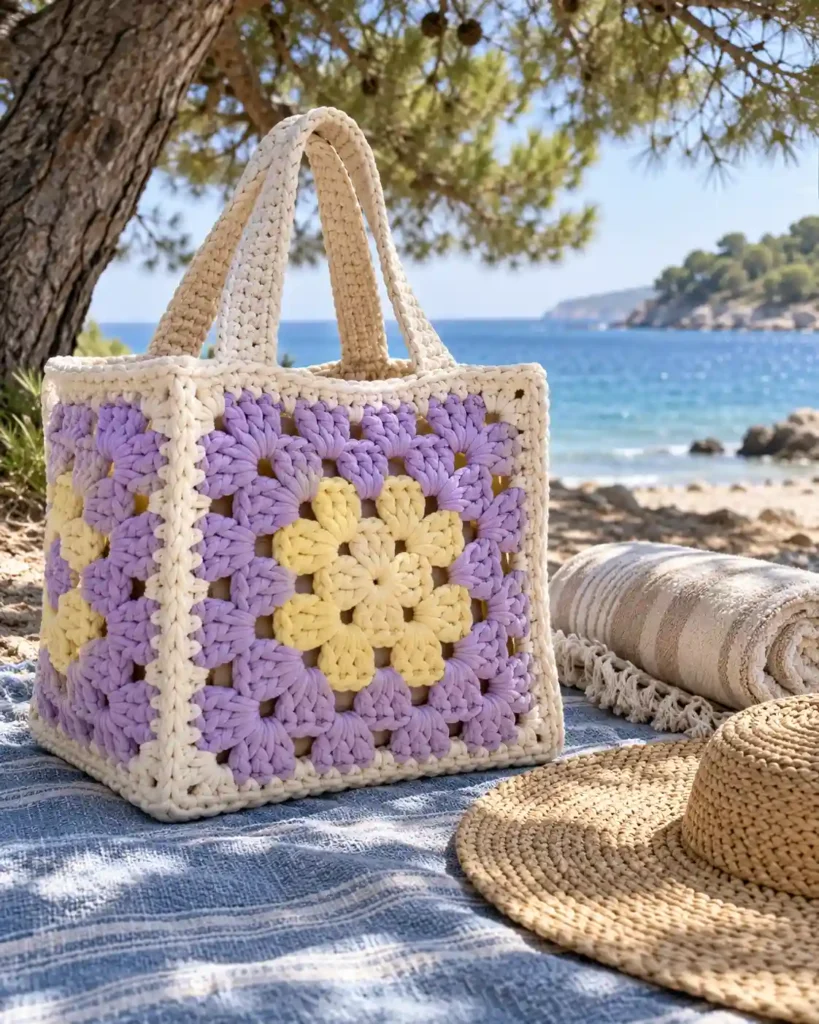
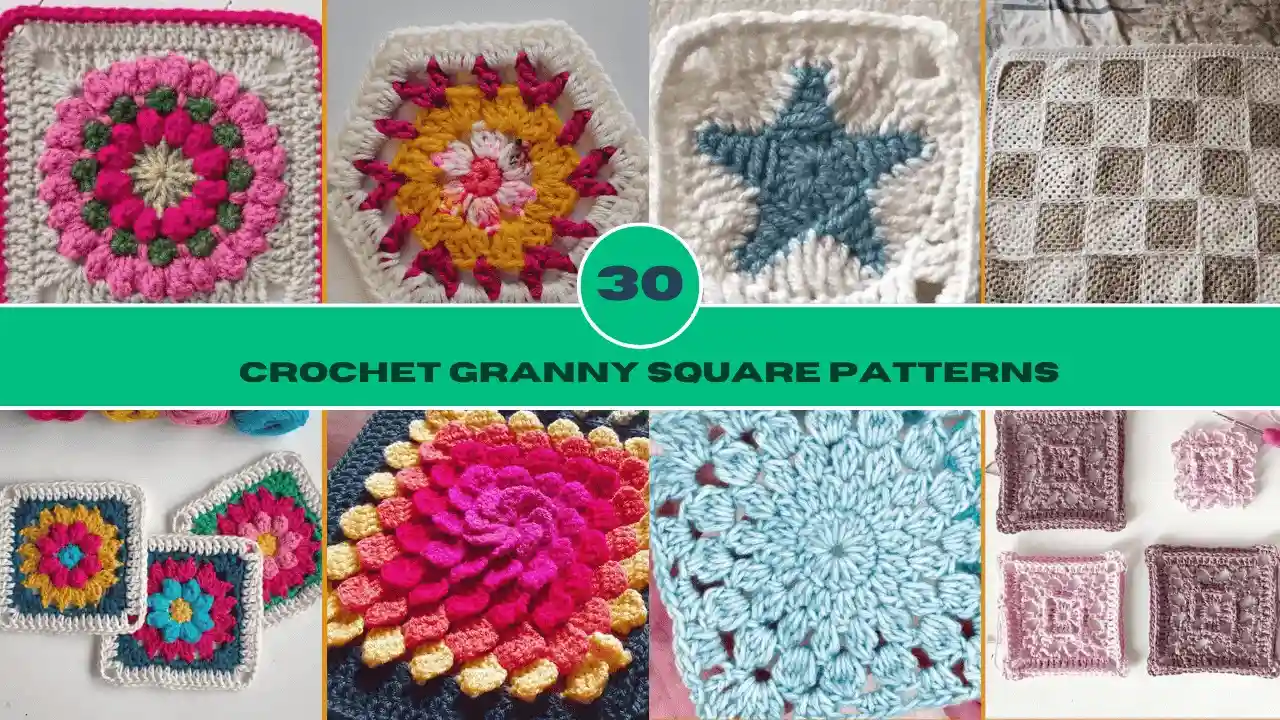
A granny-square tote celebrates the big, open texture of chunky yarn. If you want to explore more motifs before assembling your bag, browse these crochet granny square patterns for additional design inspiration. The familiar clusters look especially bold when enlarged with T-shirt yarn, but the gaps can make the bag less suitable for tiny loose items. Try a single large square for each face of a relaxed beach bag. Choose it when you love traditional crochet motifs with a modern scale.
Make it: Crochet two matching granny squares to your desired size, join three edges, and add handles. Use a removable lining or inner pouch if small belongings could escape through the spaces.
13. Mesh-Panel Market Bag
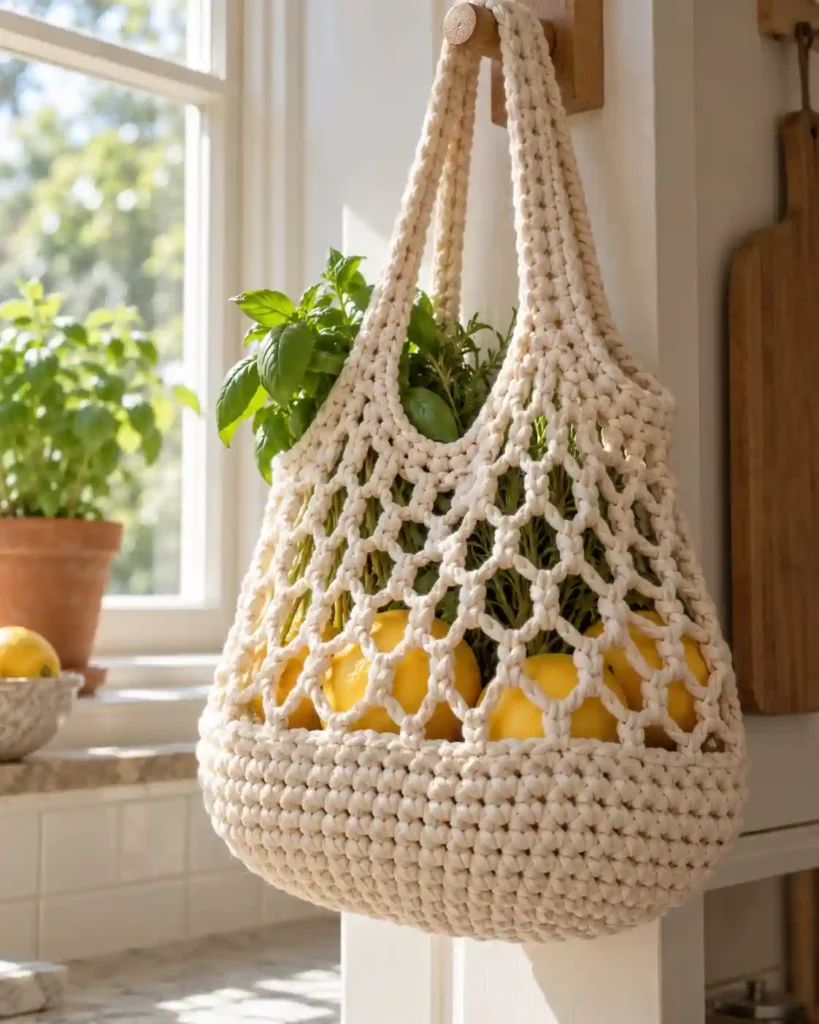
Mesh panels bring welcome breathing room to a fabric that can otherwise feel quite dense. A solid bottom gives you support while the open upper section creates a lightweight-looking finish. This is a useful design for carrying bulky, non-fragile items at a market. If you like practical bags and do not mind learning chain spaces, it is worth trying.
Make it: Work a dense base and lower section, then alternate taller stitches with chain spaces for the upper section. Reinforce the handles and consider a lining for anything small.
14. Beach Tote With an Openwork Band — How Do You Keep It Sturdy?
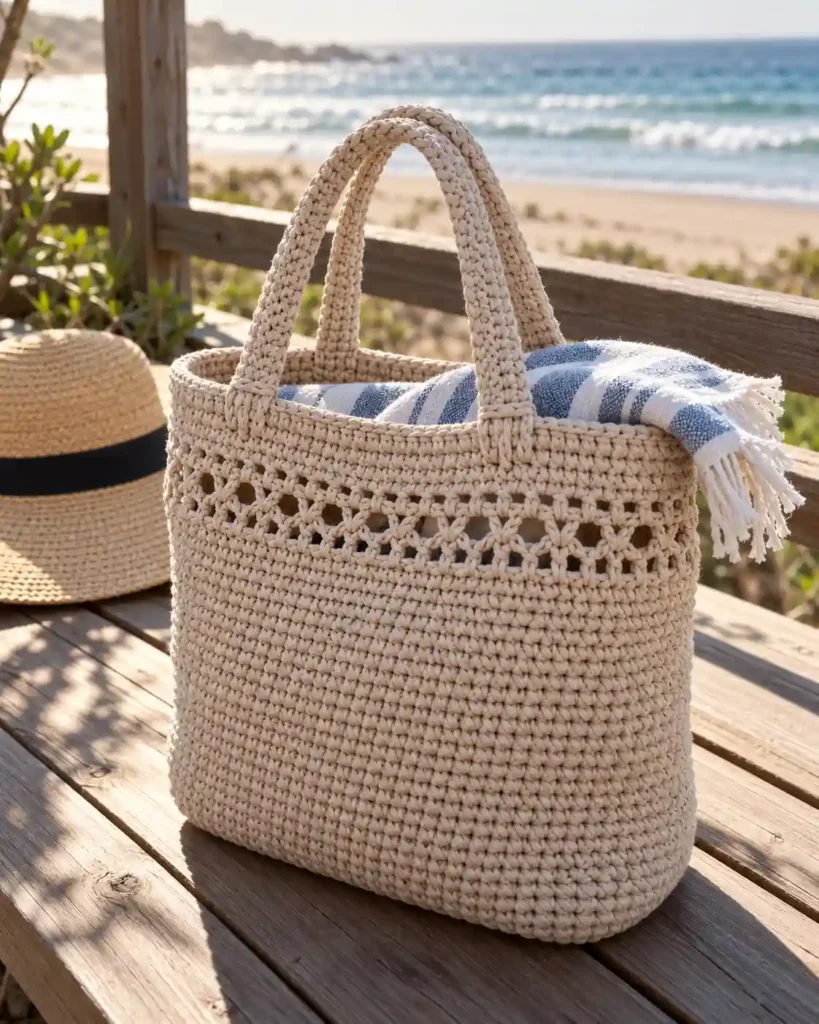
A beach tote looks breezy with a narrow openwork stripe near the top. Keeping most of the body solid means the decorative band does not carry the whole weight of your belongings. It is the sort of bag I would pair with a towel and sunscreen for a short trip to the shore. Make it if you want one visible detail without crocheting an entirely open bag.
Make it: Add two or three openwork rounds or rows above a solid body, then finish with several firm single-crochet rows before attaching handles. Test the top edge under a light load.
15. Ribbed Rectangle Shoulder Bag
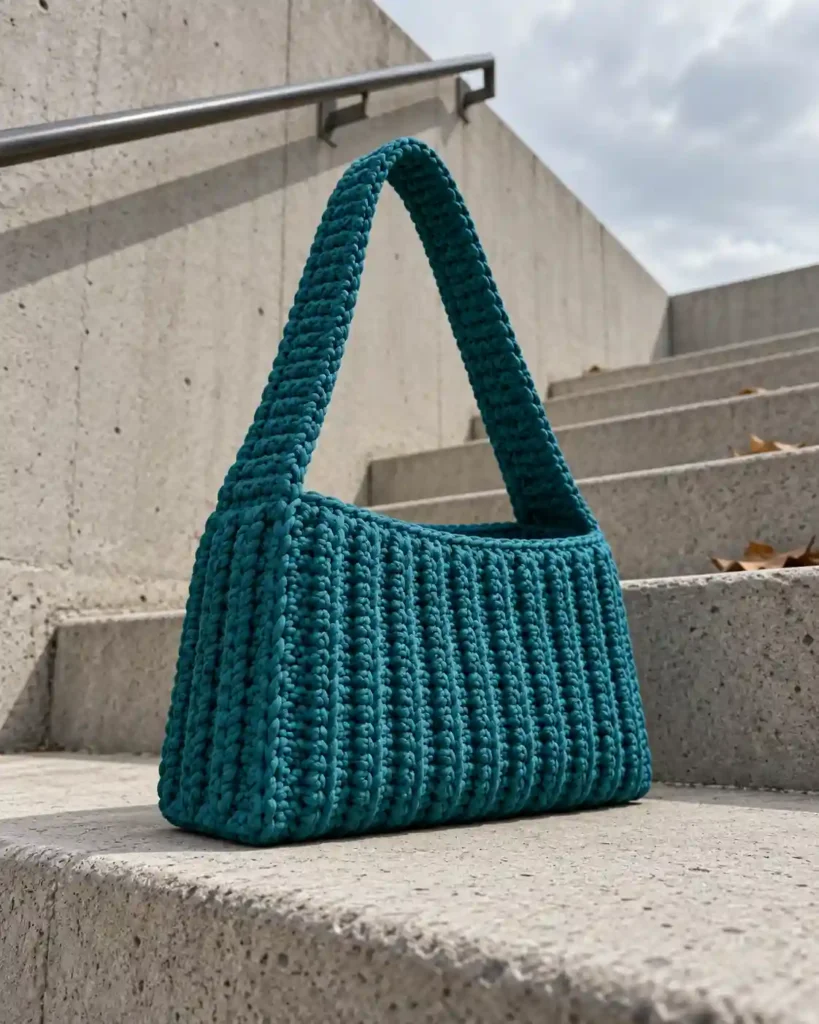
Raised ribs make a plain rectangle look beautifully textured. For more surface designs to experiment with, explore these most trendy crochet stitches before choosing the texture for your next bag. Back-loop-only single crochet creates ridges without introducing an unfamiliar stitch. Imagine this shape in warm terracotta, hanging from a matching broad strap. It is excellent for makers who want interesting texture while staying with basic techniques.
Make it: Work each body panel in single crochet through the back loop only, then assemble as a shoulder bag. Leave a firmer, ordinary single-crochet band where the strap will attach.
16. Textured Waffle-Style Handbag — Is It Worth the Extra Yarn?
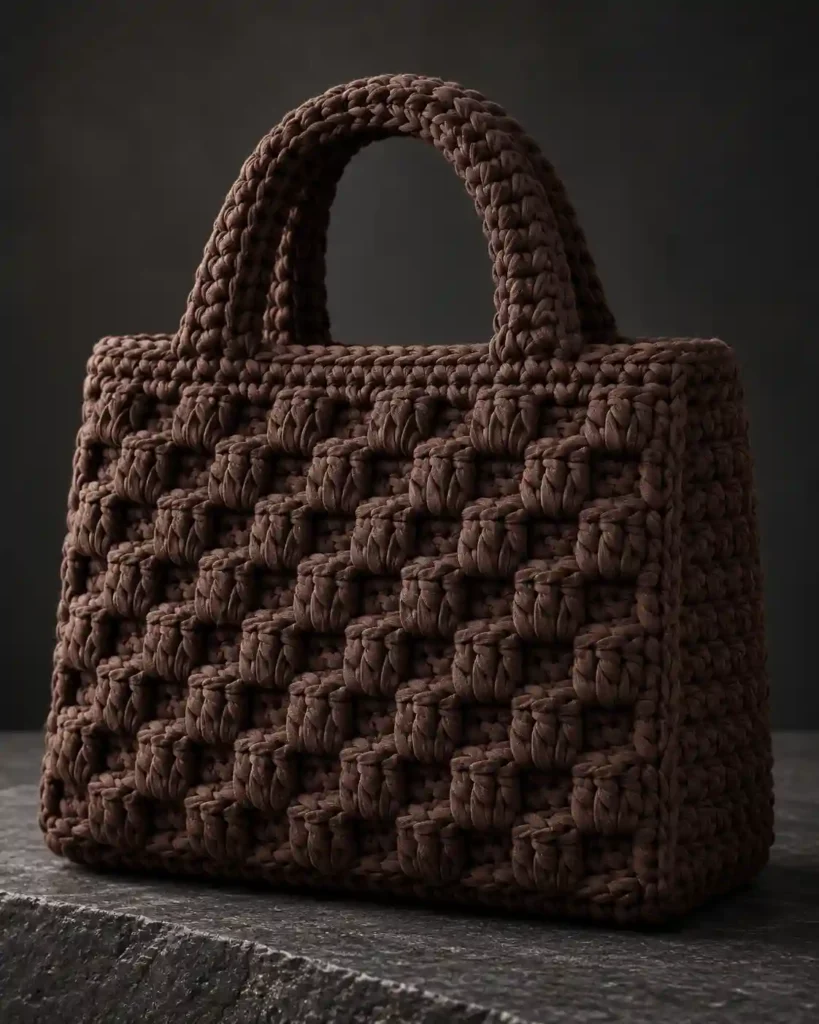
A waffle-style bag gets its character from small raised blocks that catch the light. It has a more structured, tactile look than a smooth tote, but the stitch pattern can use noticeably more yarn. I would keep the shape compact so the finished bag remains manageable. Try this after you feel comfortable with taller stitches and reading row repeats.
Make it: Swatch a waffle-stitch combination of double crochet and front-post stitches, then use it for two equal panels. Add a plain single-crochet rim to strengthen the opening.
17. Puff-Stitch Accent Purse
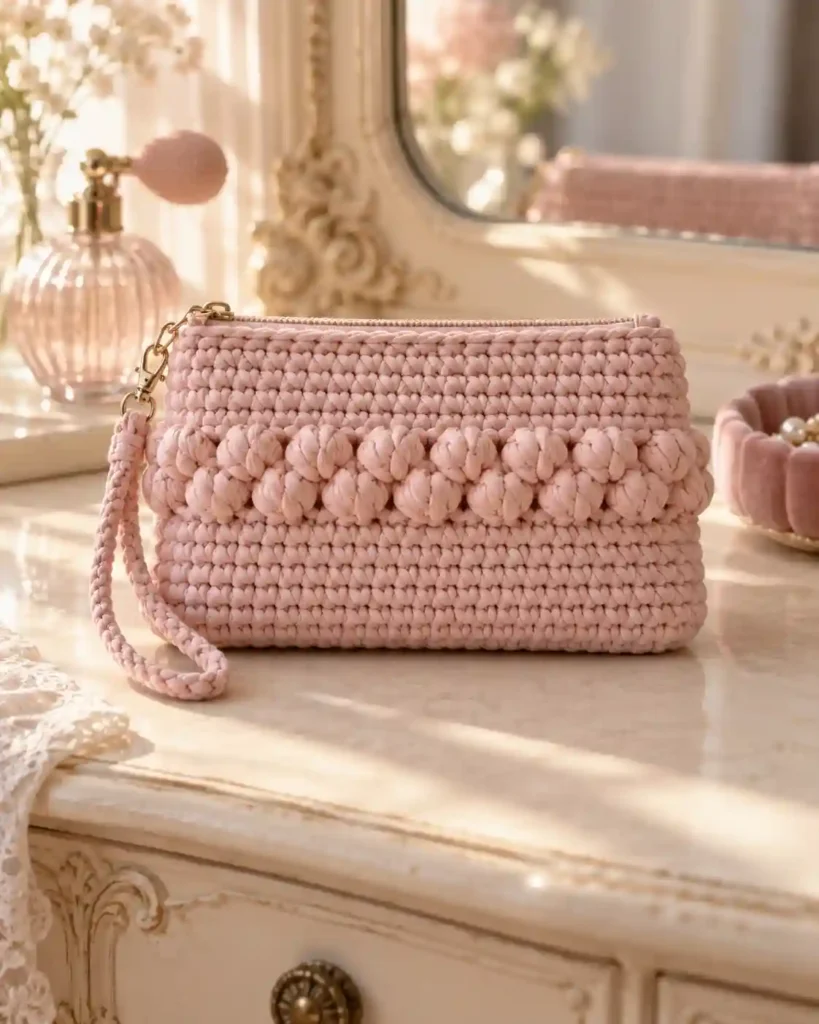
A few puff stitches can turn a simple purse into something soft and sculptural. Covering the entire bag in puffs may make it bulky, so a small accent band often looks more balanced. Picture a blush-pink clutch with just one textured stripe across the front. This is for crocheters who enjoy decorative stitches but still want a wearable bag.
Make it: Work a basic rectangular purse and replace one or two central rows with a puff-stitch repeat. Keep the back panel plain and confirm both panels have matching finished dimensions.
18. Moss-Stitch Everyday Bag — Why Try This Stitch?
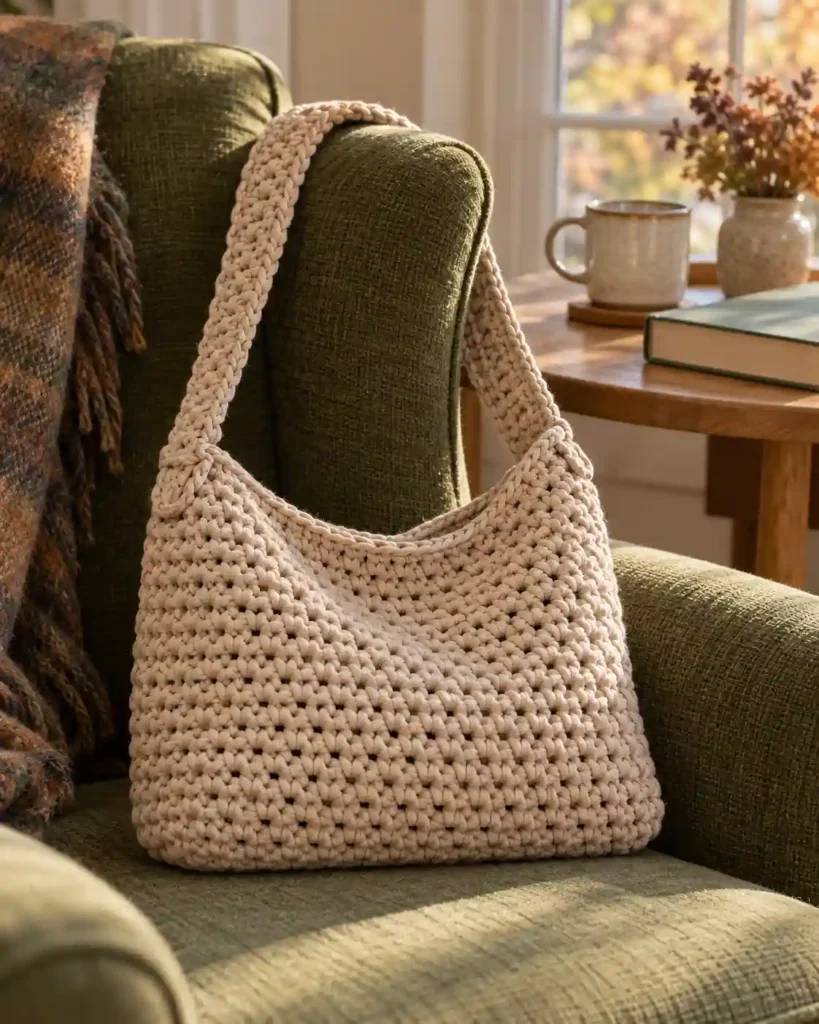
Moss stitch has a lovely woven look that is quieter than prominent ribbing. Alternating single crochets and chain spaces creates texture without making a bag look too busy. In an oatmeal shade, it is an easy match for everyday clothes. Choose this stitch when you want a slightly different surface but a straightforward repeat.
Make it: Alternate single crochet and chain one, skipping the next stitch as required by your chosen moss-stitch repeat. Make two matching panels and consider lining the bag if the fabric has openings.
19. Braided-Handle Tote
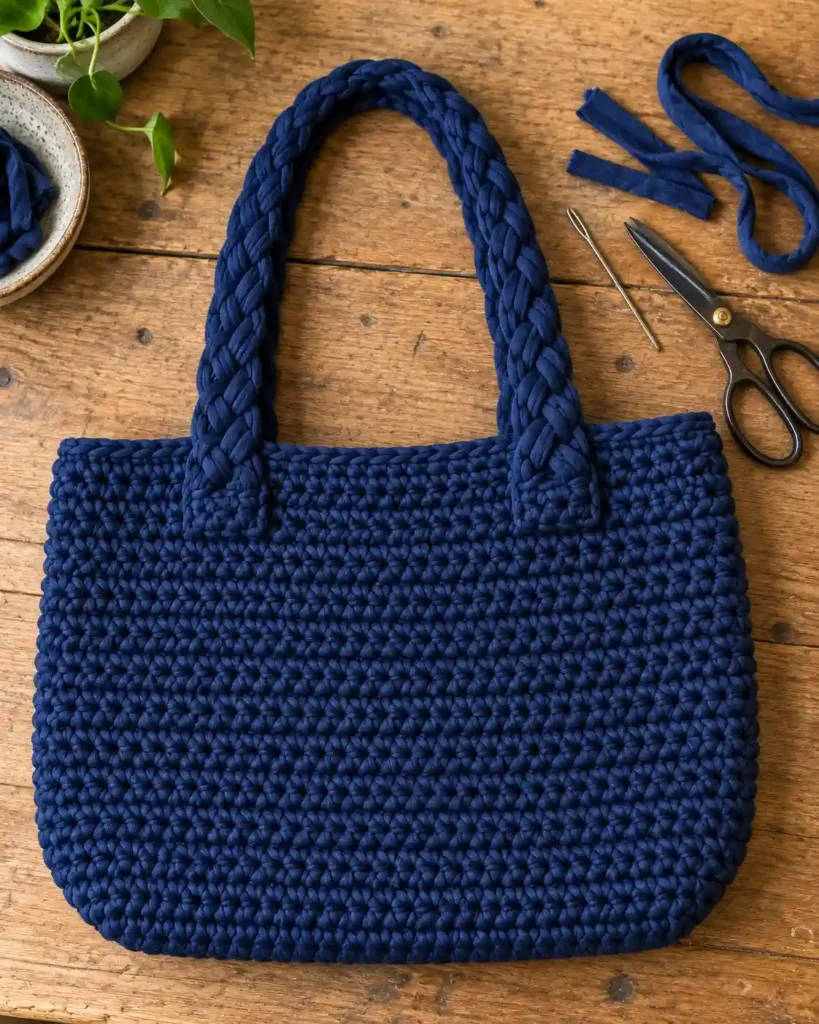
A braided handle adds a handmade detail that looks especially good against smooth single-crochet sides. It can also make a plain one-color tote feel thoughtfully designed. I would keep the bag itself simple so the strap remains the feature. Use this idea if you enjoy finishing work as much as crocheting the body.
Make it: Braid several equal lengths of T-shirt yarn and stitch the ends firmly to reinforced attachment points. Check stretch and strength before carrying anything heavy.
20. Wooden-Handle Handbag — How Do You Attach the Rings?
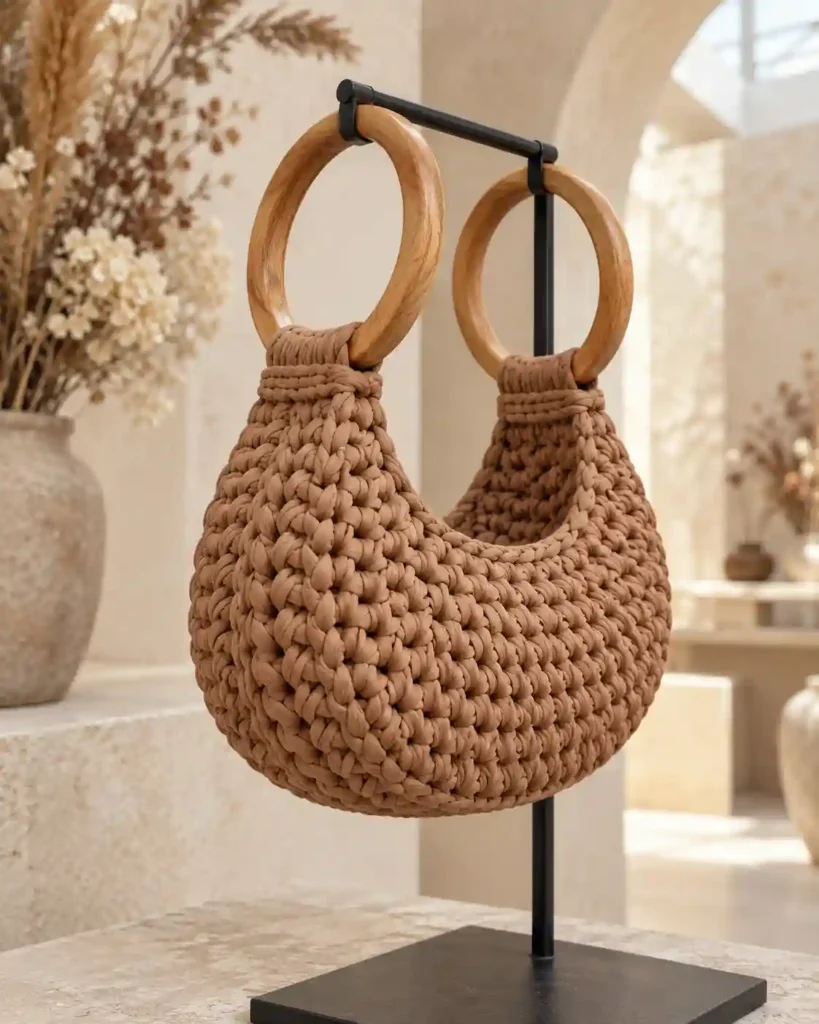
Wooden handles give a chunky crochet bag a more tailored appearance. Their firm shape contrasts nicely with the softer fabric, so even a small handbag looks finished. I can picture a caramel-colored bag with pale wood handles for a warm, natural look. This is an appealing choice if you would rather not crochet the straps.
Make it: Crochet a flat body and fold its top edges around suitable wooden handles, then sew securely through the folded fabric. Use strong thread and check that the stitches cannot slide off.
21. Faux-Leather Handle Shopper
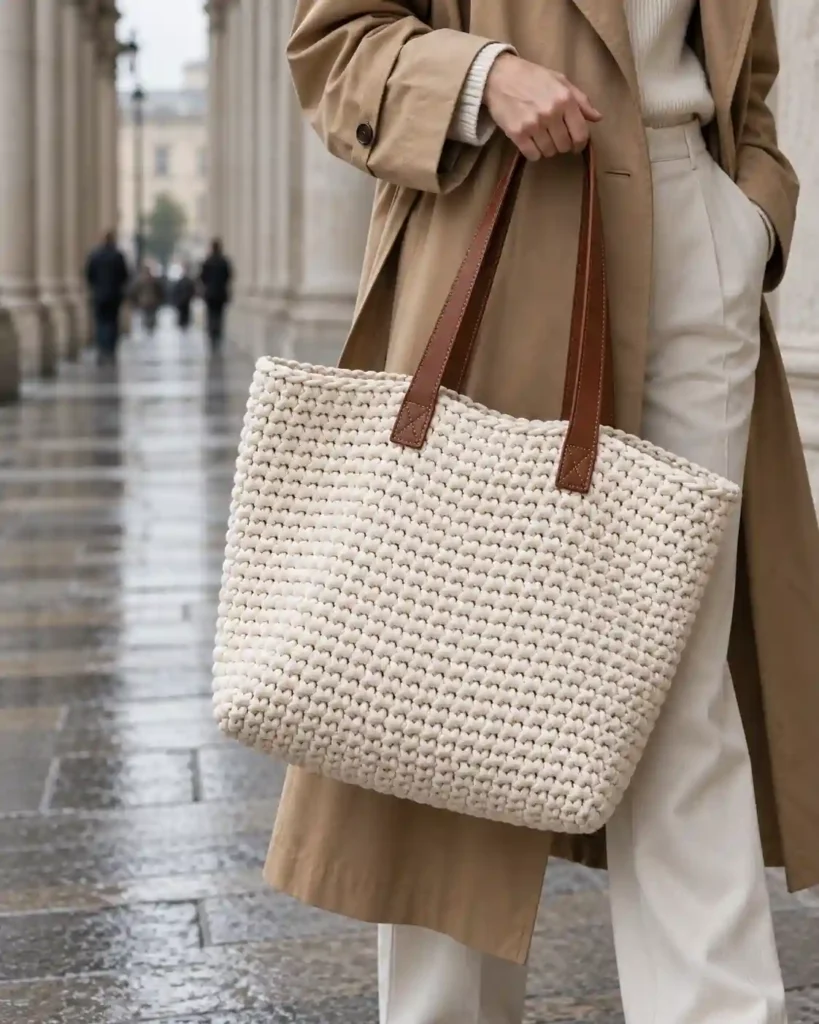
Faux-leather handles bring a polished detail to a simple everyday shopper. The smooth material balances out the chunky texture of recycled yarn. Dark handles on an ivory bag make an easy combination for daily errands. Try this style if you want the crocheted body to look more like a finished accessory.
Make it: Sew pre-punched handles firmly to a single-crochet tote, adding fabric reinforcement behind the stitching. For independently published examples, see The Craft Patch and Crochet Society.
22. Scalloped-Edge Mini Purse — Can You Add a Pretty Finish?
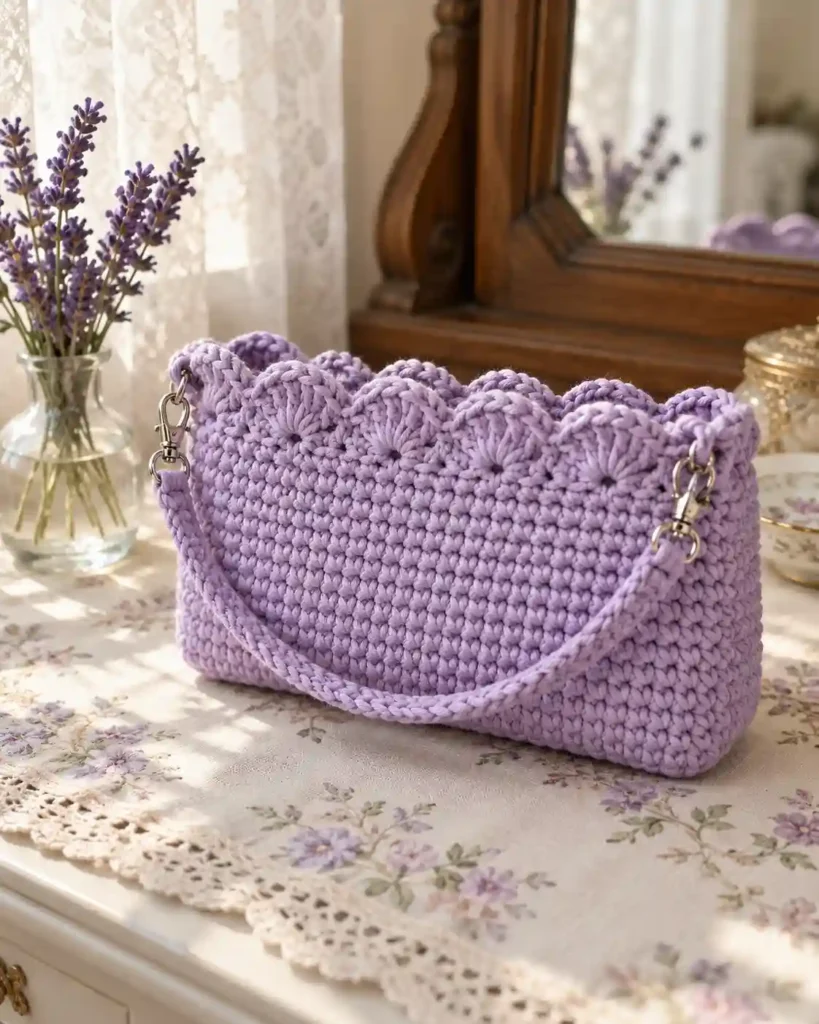
Scallops soften the top of a little purse without changing the main shape. They make a solid, chunky fabric feel a bit more playful. A pale lilac mini bag with a scalloped rim would be a sweet handmade gift. Pick this detail if your bag already fits well and you want to try one decorative edging.
Make it: Finish a simple mini purse, then add evenly spaced small shell stitches around the opening. Swatch the edging first so it does not flare out or make the bag difficult to close.
23. Basket-Style Structured Bag
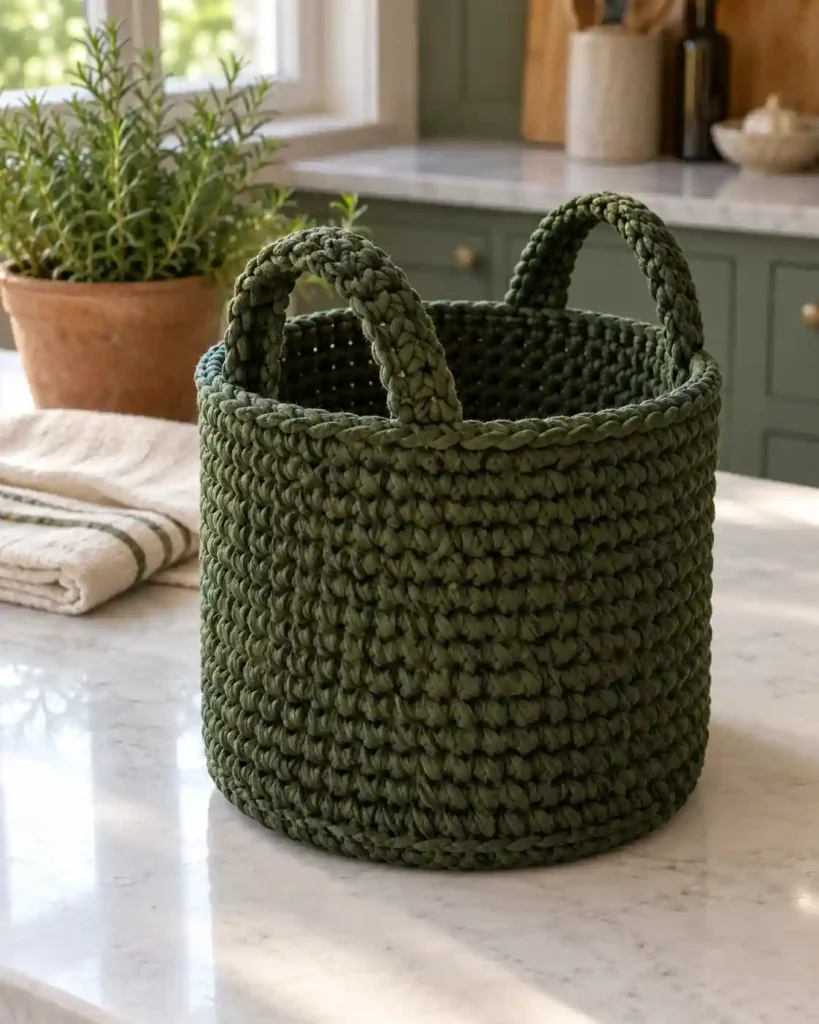
A basket-style bag stands upright and keeps a pleasing, rounded profile. Dense crochet gives it more shape than a slouchy shopper, especially with a well-supported base. It would be handy for holding a small wallet, glasses case, and other daily essentials. Make this after practicing circular increases, or use a ready-made bag base with suitable holes.
Make it: Create a flat round or oval bottom, work a back-loop-only transition round, and crochet firm sides upward without increases. Add short handles and a base insert if extra stability is needed.
24. Drawstring Mini Backpack — Is It Practical for Beginners?
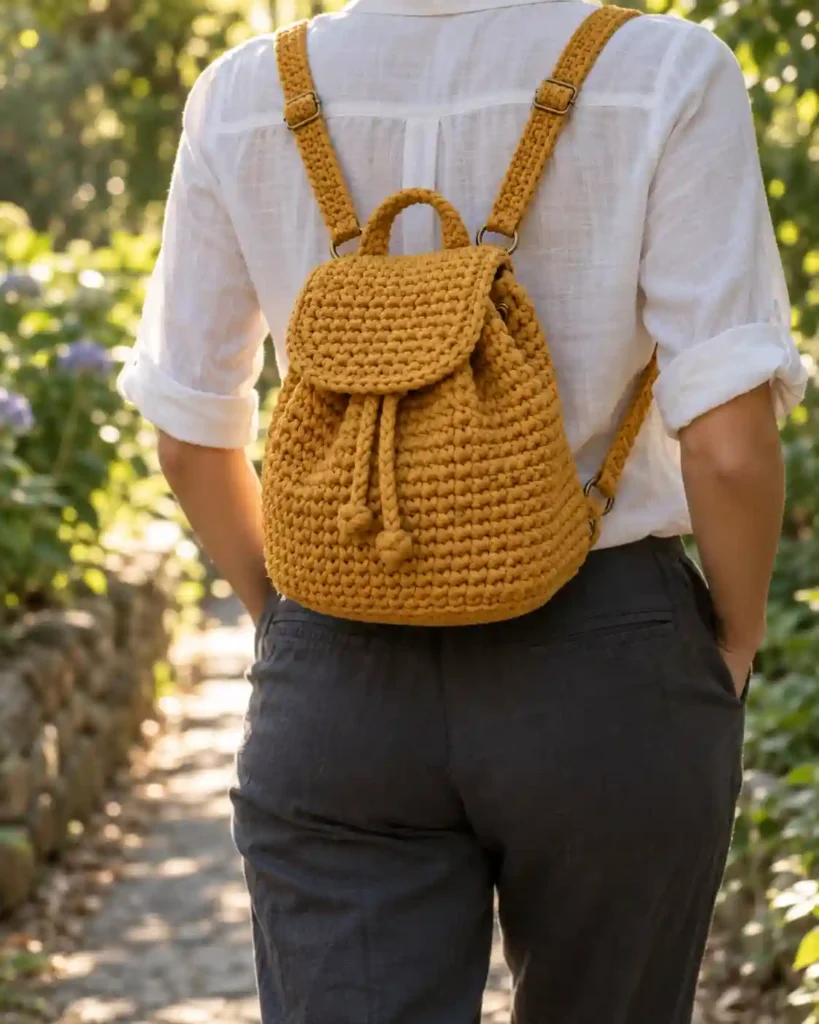
A mini backpack turns the familiar bucket-bag body into a hands-free accessory. The drawstring opening is uncomplicated, although attaching two reliable shoulder straps takes extra care. It is a fun option for a short outing when you do not want to carry a handbag. Choose it as a second or third project rather than your very first one.
Make it: Build a deep bucket-shaped body, add a drawstring channel, and attach two sturdy adjustable straps to reinforced top and bottom points. Keep the load light and test the seams.
25. Scrap-Yarn Patchwork Tote
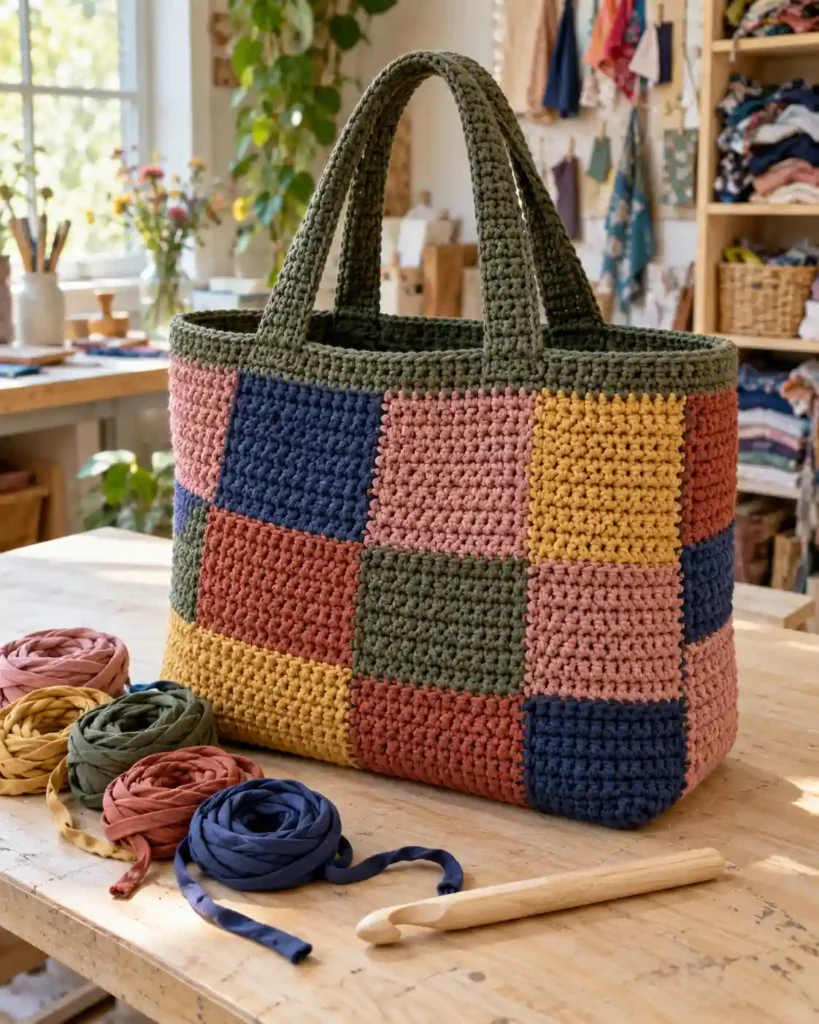
A patchwork tote is perfect when your leftover yarn lengths refuse to match. Small blocks of different shades give the bag a cheerful, collected-over-time feeling. I love the idea of pairing olive, cream, dusty rose, and rust instead of buying another whole bobbin. It is most rewarding for makers who enjoy piecing together a design one section at a time.
Make it: Crochet equal-sized rectangular blocks, seam them into two panels, then join the panels and add a solid-color rim. Match the block dimensions before joining and reinforce every seam.
How Do You Crochet a T-Shirt Yarn Bag? Free Beginner Tutorial
Crochet two identical single-crochet rectangles, join their sides and bottom, then attach two securely reinforced straps to finish a simple tote.
At a Glance
- Make two panels with 18 stitches across and 22 rows.
- Join three edges and leave the top open.
- Crochet two straps of equal length.
- Secure each strap and test the finished bag gently.
Here is a complete T-shirt yarn crochet bag pattern free for beginners, written in US crochet terms. For another project to compare with this design, see the crochet tote bag pattern and instructions guide. It uses straight rows, simple seams, and two optional crocheted handles. Think of it as the starting point for many of the designs above.
Skill level: Beginner. Finished size: Adjustable; measure your swatch because fabric-strip yarn varies. Abbreviations: ch = chain; sc = single crochet; st = stitch; sl st = slip stitch. These follow the Craft Yarn Council’s US abbreviation guide. Note that many UK patterns use dc for what US patterns call sc.
Materials: Thick T-shirt yarn (buy enough for both panels and handles, based on a swatch), a suitable hook (10 mm is one possible starting point), yarn needle, scissors, and two stitch markers.
- Make panel one. Chain 19. Starting in the second chain from the hook, work 18 sc across. Chain 1 and turn; this turning chain does not count as a stitch.
- Build the rectangle. For rows 2–22, work 18 sc, chain 1, and turn after each row except the final row. You now have 22 rows, with 18 sc in every row.
- Make panel two. Repeat the same 22-row panel using the same hook and tension. Lay the panels together and check that their edges align.
- Join three sides. Place the panels with the sides you want outside facing each other. Sew or slip-stitch along both sides and the bottom, leaving the top open. Turn the bag right side out.
- Crochet the handles. For each of two straps, chain 30; work 29 sc from the second chain. Chain 1, turn, and work a second row of 29 sc. Fasten off with long tails. Make the second strap the same length.
- Attach and secure. Sew one strap to the front and one to the back, positioning each end about three stitches inward from the side seams. Stitch through several adjacent rows at each attachment point, optionally adding backing fabric inside. Weave in ends and gently test the handles with a light load before use.
Easy size change: Add chains for a wider bag, or add rows to both panels for more height. For a smaller purse, reduce both equally. Work a test swatch before buying yarn for a large project; there is no dependable universal bobbin count.
How Can You Keep a Chunky Crochet Bag From Stretching?
Work a firm but comfortable gauge and choose dense stitches for the bottom. Reinforce straps with strong sewing stitches rather than relying on glue alone, and avoid filling the bag with very heavy items. A fabric lining can help contain small objects and improve the finish, but it should be attached without pulling the crochet out of shape. For another structured project that uses similar shaping considerations, see how to crochet a basket.
The free bag tutorials from Crochet Society and The Craft Patch both demonstrate adding separate handles; Crochet Society also provides lining instructions. These are useful references when you are ready to refine your first bag.
What Are the Most Common T-Shirt Yarn Bag Mistakes?
A hook that is too small can make your hands work harder and create an overly stiff fabric; a hook that is too large leaves visible gaps. Uneven panel measurements can twist your seams, while weak handle attachments may fail under weight. Check your stitch count regularly, compare the two panels before joining, and test the bag gently before carrying important belongings.
Frequently Asked Questions About T-Shirt Yarn Crochet Bags
Is T-shirt yarn good for crochet bags?
Yes. Its thick, fabric-like texture makes bold stitches and substantial bags, especially in simple shapes. Because it can be heavy, keep the bag size and handle design practical.
What size crochet hook should I use for a T-shirt yarn bag?
An 8–12 mm hook works for many thick T-shirt yarns, including the range recommended by Hoooked for Zpagetti. Start with the yarn label, then adjust after a small swatch.
Can I find a T-shirt yarn crochet bag pattern free for beginners?
Yes. The two-panel tote tutorial above is free and uses just chain and single crochet stitches. You can also find free, independently published bags at Swool Nordic Design and The Craft Patch.
How much T-shirt yarn do I need for one bag?
There is no reliable amount for every design: bobbin length, strip width, stitch tension, handles, and bag dimensions all matter. Make a swatch, estimate from your chosen shape, and purchase enough yarn from a matching batch when possible.
Do T-shirt yarn crochet bags need a lining?
Not always. Dense single crochet may hold everyday items on its own, but mesh or granny-square bags benefit from a lining or inner pouch for small belongings.
Final Thoughts
A T-shirt yarn crochet bag is a fun way to turn simple stitches into a stylish, practical accessory. Whether you prefer a classic tote, a colorful handbag, a compact crossbody, or a textured bucket bag, these 25 ideas offer plenty of inspiration for your next project. If you are a beginner, start with the free single-crochet tote pattern and focus on keeping your panels even, your seams secure, and your handles firmly attached. Once you feel comfortable with the basic construction, experiment with different colors, textures, shapes, and decorative details. Choose a design that fits your everyday needs, gather your supplies, and enjoy creating a handmade bag that reflects your personal style.