Learning how to knit a sweater for beginners is easy, so people should consider attempting the skill. Sweaters are versatile and comfortable; if you can knit, you can get them in precisely the fabric you want. From the basic to the advanced level, knitting a sweater is a pleasant activity that allows a lady to produce something attractive with her hands.
Knitting began in Egypt in the 5th century. The general features of sweaters include size, color, and design, and knitting enables the alteration of these features. According to the design and level of experience, knitting a sweater may take ten to forty hours. If well taken care of, homemade sweaters can last a lifetime or even many years.
This guide will teach you more about the materials required for sweater knitting. Understand the tools and techniques needed to knit sweaters. In this knitting guide, you’ll learn how to knit a sweater for beginners. So, let’s start-
In This Post
Key Takeaways:
- It is the most simplistic clothing making, requiring only a few rudimentary instruments, fabrics, and a flowchart.
- Knitting a sweater is easy for beginners; all it takes is determination, devotion, and time.
- Several knitting patterns are available, and newbies need not worry. You will find patterns for starting levels as well as complicated ones.
- This indicates that getting proper measurements and calculations for the sweaters is an essential component for producing the sweaters.
What is Knitting?
Knitting is a process of interlocking yarn with the help of needles. It produces fabric and clothing materials. Unlike weaving, knitting involves working with a sequence of loops that are worked row by row. This technique can make anything from socks to blankets to sweaters.
Knitting has two basic types of stitches:
- Knit Stitch: This is the favorite stitch of many knitters because it produces a smooth surface of the fabric-created stitch.
- Purl Stitch: It isn’t smooth on the face since it creates a striped texture.
These stitches are interlaced or woven of threads, yarns, or strands, creating interwoven patterns and designs. Having understood these three basic stitches, learning how to knit a sweater is pretty simple.
What Supplies Are Used to Knit a Sweater?
While knitting a sweater, you must gather the necessary tools and materials.
Materials
| Material | Description | Best Use |
|---|---|---|
| Wool | Warm, elastic, durable | Winter sweaters |
| Cotton | Soft, breathable, lightweight | Summer sweaters |
| Acrylic | Affordable, easy-to-clean | Everyday wear sweaters |
| Blends | Mix of fibers (wool + acrylic) | Versatile, long-lasting |
Tools
You will need the following tools to knit a sweater:
| Tool | Description |
|---|---|
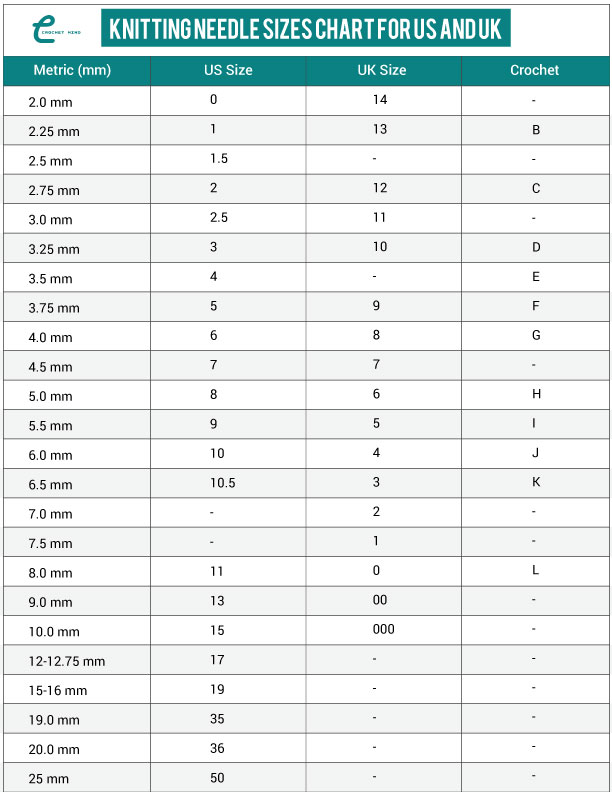
| Knitting needles | They’re also used to form loops and stitches. |
| Stitch markers | When working one treble with two chains between them, the chains are counted as stitches; you then mark where you need to increase or decrease stitches. |
| Measuring tape | Assists in getting correct body measurements. |
| Yarn needle | Applied for joining various parts of the Sweater. |
| Scissors | For cutting yarn as needed. |
Having those tools with you will simplify how you knit a sweater.
How to Knit a Sweater for Adults?
Making a sweater entails making several parts and then joining them together. Below is the easy knitting guide for turning the Sweater that anyone can easily follow with a clear and step-by-step guide.
Step 1: Measurements & Calculations

The first thing that any knitter should do before commencing the ball is to ensure they’ve taken their measurements correctly. For any garment being sewn from scratch, measurements are a key tool and a perfect start for anyone working on a sweater for oneself, a family member, or a child.
Here are the key areas you need to measure:
Chest circumference
Start by wrapping the tape around the base of your neck and bringing it over the fullest part of your chest. Be sure to wrap it tightly enough so it doesn’t lose contact but does not constrict the body. This measurement will allow you to find the width of your Sweater.
Shoulder width
It is prescribed from the externality of one shoulder to the externality of the other. This will ensure that the Sweater covers across the shoulders as it should.
Arm length
Start at the shoulder edge of the tape and stretch it down to your wrist. Depending on this choice, decide how long your sleeves will be. Make sure to add extra inches for comfort on your foot and ankle when measuring.
Sweater length
Choose the length for the Sweater. Measure your bust from the top of your shoulder to the point where you wish the Sweater to end, whether at the hip or waist.
These measurements give the next step to determining the number of stitches and rows in your Sweater. All patterns usually give a gauge swatch in the form of several stitches per inch.
For example,
With a gauge of 5 stitches per inch and a chest measurement of 40 inches, cast when 200 stitches are needed (40 x 5) 200. Always knitting a sample swatch is good practice to ensure you get the correct gauge before beginning the sweater. Completing this step will save several hours and allow for a proper fitting on your sweater.
Step 2: Gathering Materials

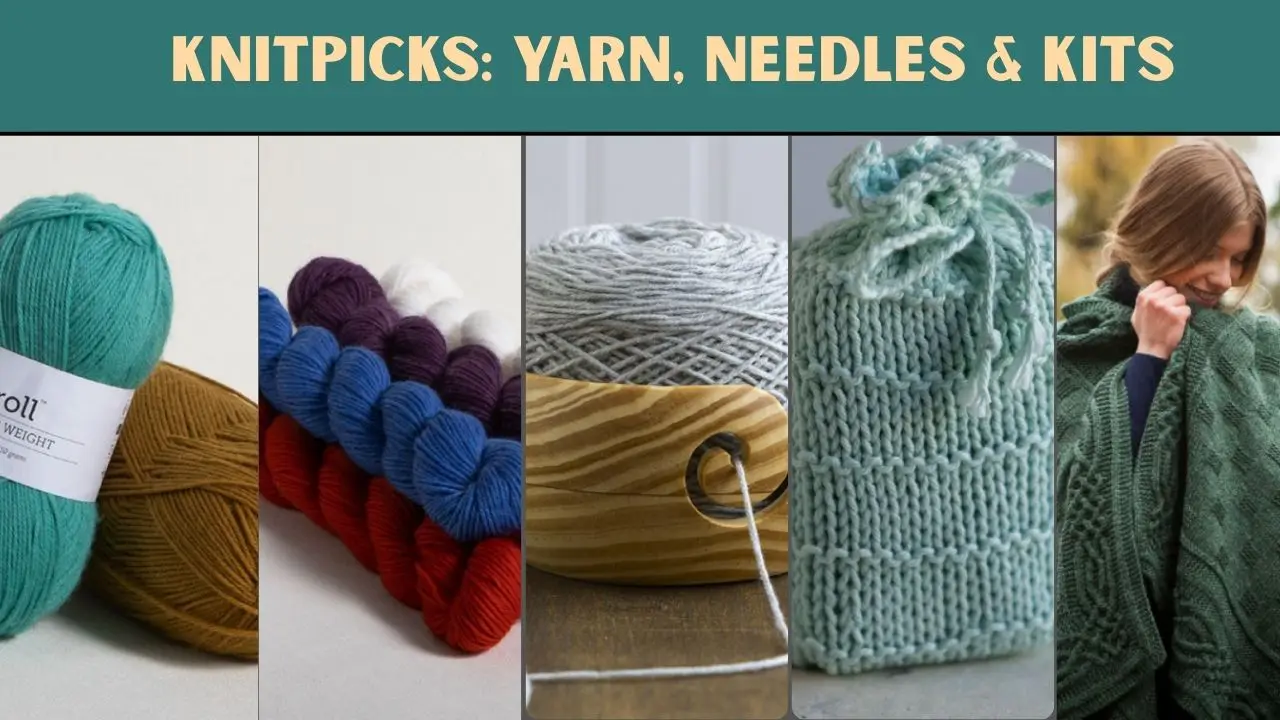
Selecting the correct fabrics is very important when learning techniques for knitting sweaters. Depending on your chosen material, you will achieve your Sweater’s desired appearance, texture, and durability. Here’s what you need:
Yarn Selection:
- Wool: Soft, stretchy, and great to use in the winter Clothing part of the Sweater. It offers excellent insulation and, at the same time, is porous.
- Cotton: Slim knitting, so it is perfect for sweaters in the summer or spring. Cotton is tricky to wear and is easy to look after; but, it is more stretchy than wool.
- Acrylic: Affordable and durable. It’s easy to maintain, suitable for casual-wearing sweaters, and ideal for children’s sweaters.
Blended yarn combines several characteristics of different forms of fiber, such as wool with acrylic, making it flexible and durable.
Always purchase the proper quantity of yarn for the knitting. Depending on the size and design of the Sweater, one may need four to six skeins of yarn.
Tools:
To increase efficiency in knitting, all knitting materials should be prepared beforehand to avoid interruptions while knitting.
Step 3: Creating the Front Piece
The front piece of a sweater is the initial part that you start knitting. Follow these steps to get started:
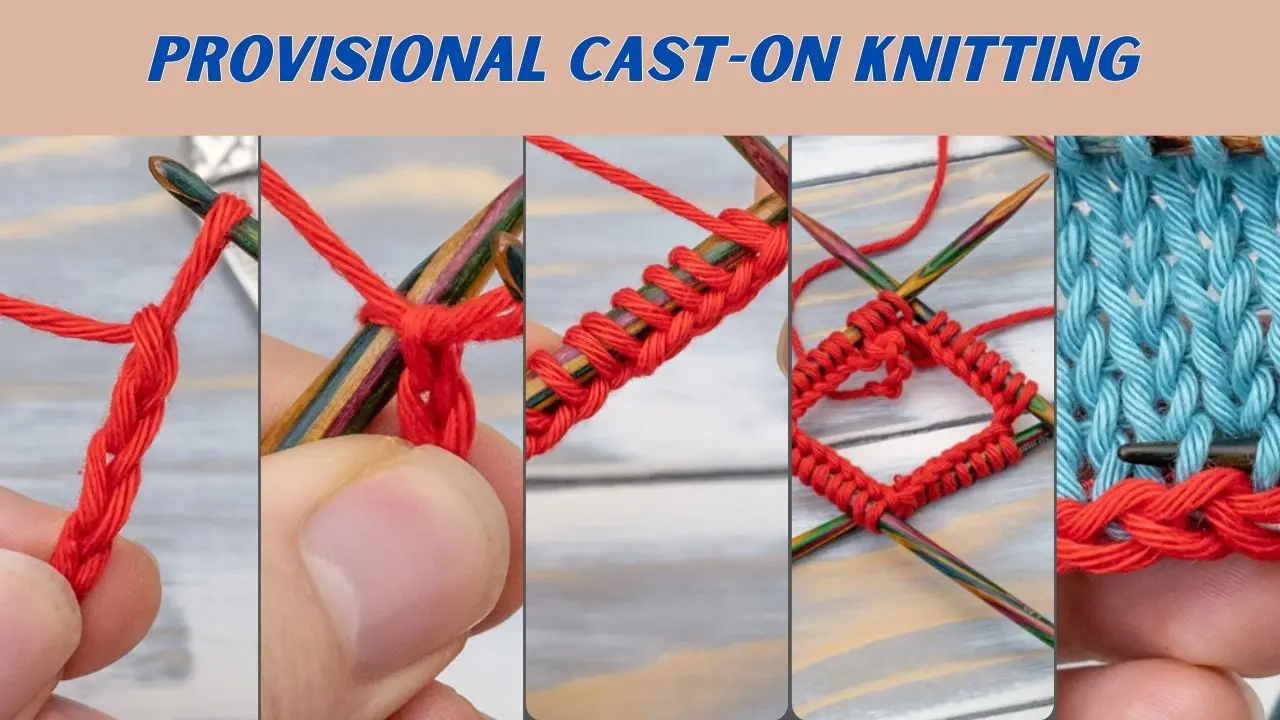
Cast-on stitches

The first step is to work your commence stitches, depending on the number needed for the pattern. The number of stitches will, therefore, vary with gauge and measurements.
Knit the body

Knit row by row in your preferred stitch pattern. Newcomers prefer working in stockinette stitch—knit one round, purl one round—or ribbing stitch—knitting and purling in turns.
Shape the Neckline

When reaching the top of the Sweater, decrease the neckline. To create a round neckline, gradually bind stitches in the center of the piece while knitting the sides of the item independently. Shave stitches at the center, front, and back for a V-neck, preparing a V shape on the shoulders.
Bind off

Once you get the length you want for your dress and the neckline is cut into shape, knit the stitches. A great beginning is a great accomplishment—the front piece is completely done.
Spend more time on this to ensure the neckline is clean and the lines are straightened.
Step 4: Creating the Back Piece

The back piece of the Sweater is similar to the front piece except that, in many cases, it is a tad more essential as it does not need the sort of work that goes into shaping the neckline. Follow these steps:
- Cast on stitches: Cast on the same number of stitches as one would cast on for the front piece so that both are alike.
- Knit the body: Row by row, sew in the same stitch you used on the front side. The accents must be regular to keep the texture in check.
- Shape the shoulders: At the top, gradually freeing or binding the stitches for the shoulders’ formation.
- Bind off: The last step is knitting all the stitches when the back piece has reached the size of the front one before casting off the stitches.
Also, ensure that both pieces fit perfectly and are the same size and shape. The knit parts are flat, making assembling the Sweater much easier later.
Step 5: Making the Sleeves

Sweatshirt sleeves are the bonus of the Sweater, and the shoes will complement and make you comfortable and trendy. Follow these steps to knit the sleeves:
- Cast on fewer stitches: Sew fewer stitches because the circumference of the sleeve is reduced compared to the biceps area at the wrist.
- Increase stitches: Insert more stitches as you knit up to the shoulder. To avoid this, the seams are created to form a taper that matches the shape of the arm.
- Knit to the desired length: Kneel as before until the sleeve is correct, depending on your arms’ measurements.
- Bind off: Finally, three stitches remain on the sleeve, which is bound off to complete it.
Create two similar sleeves. Most importantly, ensure the rows you’ve knitted are equal by counting the rows and stitches you have done to avoid the enormity of work you skipped over.
Step 6: Raising the Neck

For a sweater with a round or V-neck, this step is essential:
- Round neck: Eliminate stitches in the middle and then shape the neckline by easing stitches out in small parts.
- V-neck: The stitches are decreased in the middle and gradually toward the shoulder line, making the neck resemble a V.
Thus, controlling and molding the neckline will help achieve a comfortable, warm, exquisite line.
Step 7: Knitting the Collar

It gives your Sweater a more formal appeal with the collar. Follow these steps to knit the collar:
- Pick up stitches: Switch to a pair of size-down knitting needles, and also be sure to pick up the same number of stitches around the neckline.
- Knit in rib stitch: Puzzle the collar by the rib stitch (knit 1, purl 1) to ensure it is stretchy and comfortable around the neck.
- Knit a few rows: Keep on knitting until the collar is formed to the required standard height. This should be tighter and narrower cutting than the designs already described.
- Bind-off: End off the collar as you do the knitting by making a nice bind-off.
Step 8: Assembling Your Sweater

Once all the pieces are ready, it’s time to assemble your Sweater:
- Sew the shoulders: Neatly thread the yarn needle and sew the shoulder seams to close them.
- Attach the sleeves: Attach the sleeves to the body part, starting at the side seams by the shoulder line and going around every part.
- Sew the sides: Sew the end sides of the Sweater and the sleeves. Check that the seam is strong and aligned to the right of the material.
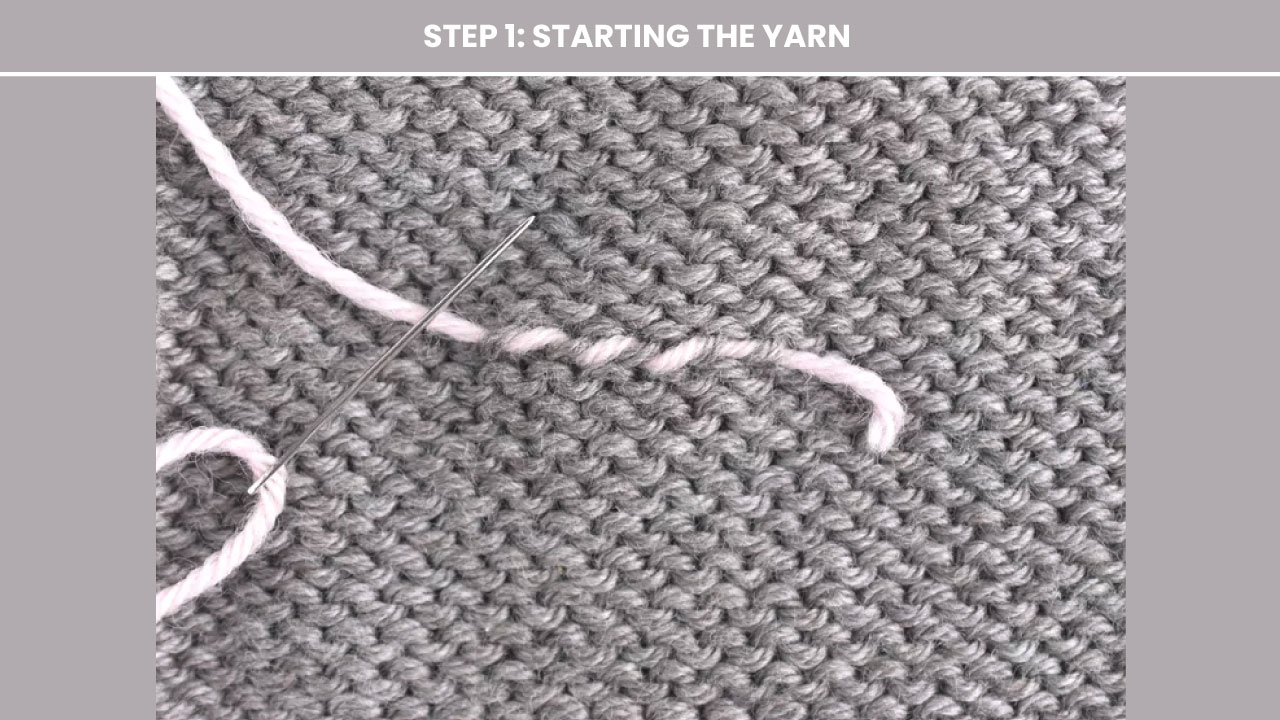
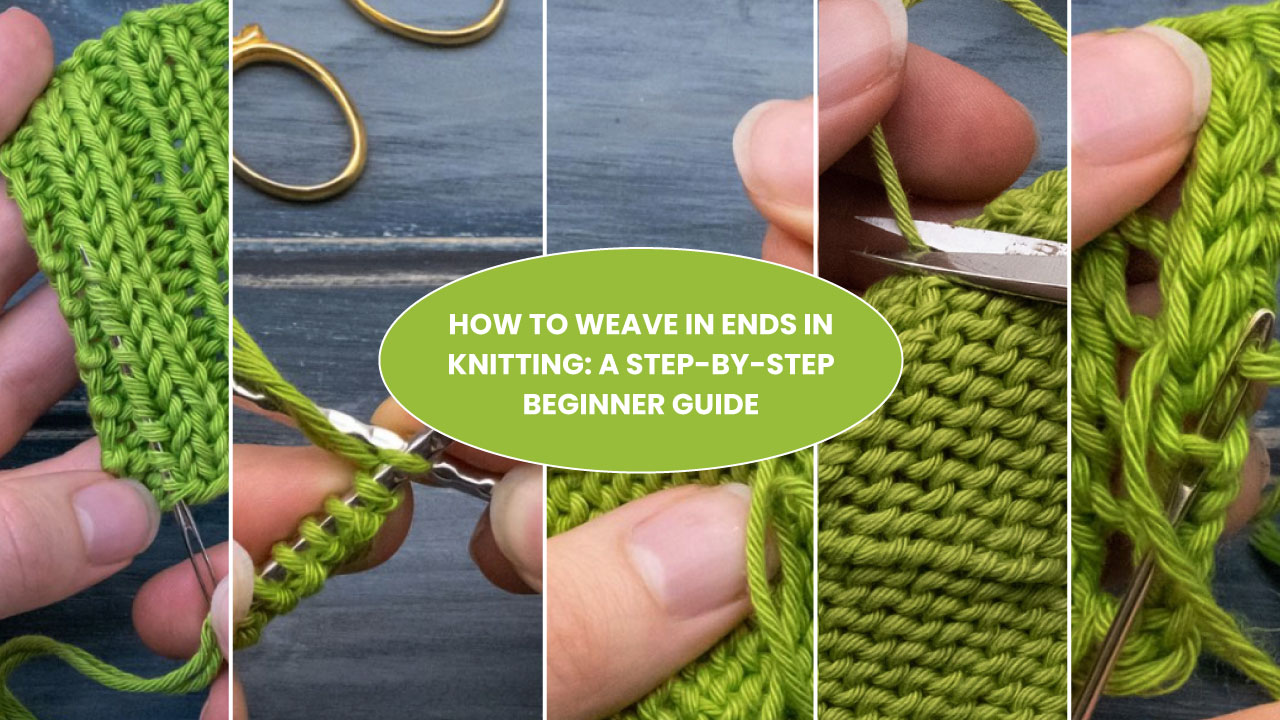
- Weave in loose ends: After knitting a garment, sew in the remaining yarn ends by folding them neatly and passing the yarn needle through the fold.
Spending time on this is essential since it will give the Sweater its final appearance and shape. Now that your Sweater is complete, it’s time to put it on and enjoy the fruits of your labor.
How to Knit a Sweater for Kids?
Like any other knitting job, the procedures are similar, but this one is for making a sweater for kids and, therefore, has different measurements. More specifically, sweaters for children are knitted quickly because children’s sweaters have fewer stitches rows than those of adults.
- When doing them, use soft yarn, such as cotton or any other blend, that will not cause discomfort.
- Insert some fun features such as stripes, patterns, and microprints.
- Ensure you measure clothes because children grow out of clothes very fast.
How long does it take to knit a sweater?
The time it takes to knit a sweater depends on:
- Skill level: Beginners take longer.
- Pattern complexity: Simple designs are faster.
- Yarn thickness: Thick yarns knit up faster.
On average,
- Beginners: 30-40 hours.
- Intermediate knitters: 15-25 hours.
- Advanced knitters: 10-15 hours.
Tips for Better Knitting
- Introduce patterns that are easy to knit. This helps build confidence and is the best way to improve without feeling overwhelmed.
- Have stitch markers to assist in counting rows, parts, or pattern cycles to minimize errands and ensure the neatness of the work in progress.
- When knitting, avoid making it a long process. Take breaks after some time, say after working on it for an hour, to give your hands a break from the stressful work.
- Always check the gauge before beginning a project to ensure that the stitches are correct for the sweater size specified in the pattern.
- It takes a lot of practice and time, but the product is a handmade sweater; therefore, learn to be patient.
Final Thoughts
Learning how to knit a sweater is fun and rewarding. Someone can make a gorgeous sweater by following instructions, gathering the proper tools, and rehearsing. For them, kids, or as a gift, a shirt sewn by hand is a true gem.
So, now you know how to knit a sweater and have been inspired by the over twenty sweater knitting patterns listed in the article, go ahead and start knitting.









![Select Crochet Clothing Ideas: [Best Crochet Fashion] Crochet Clothing Ideas](https://crochetmind.com/wp-content/uploads/2025/07/Crochet-Clothing-Ideas-Best-Crochet-Fashion-in-2025-1-1.jpg)



![The Best 30+ Free Crochet Cat Patterns [Beginner-Friendly Guide]](https://crochetmind.com/wp-content/uploads/2025/04/1-The-Best-30-Free-Crochet-Cat-Patterns-Beginner-Friendly-Guide.webp)
