


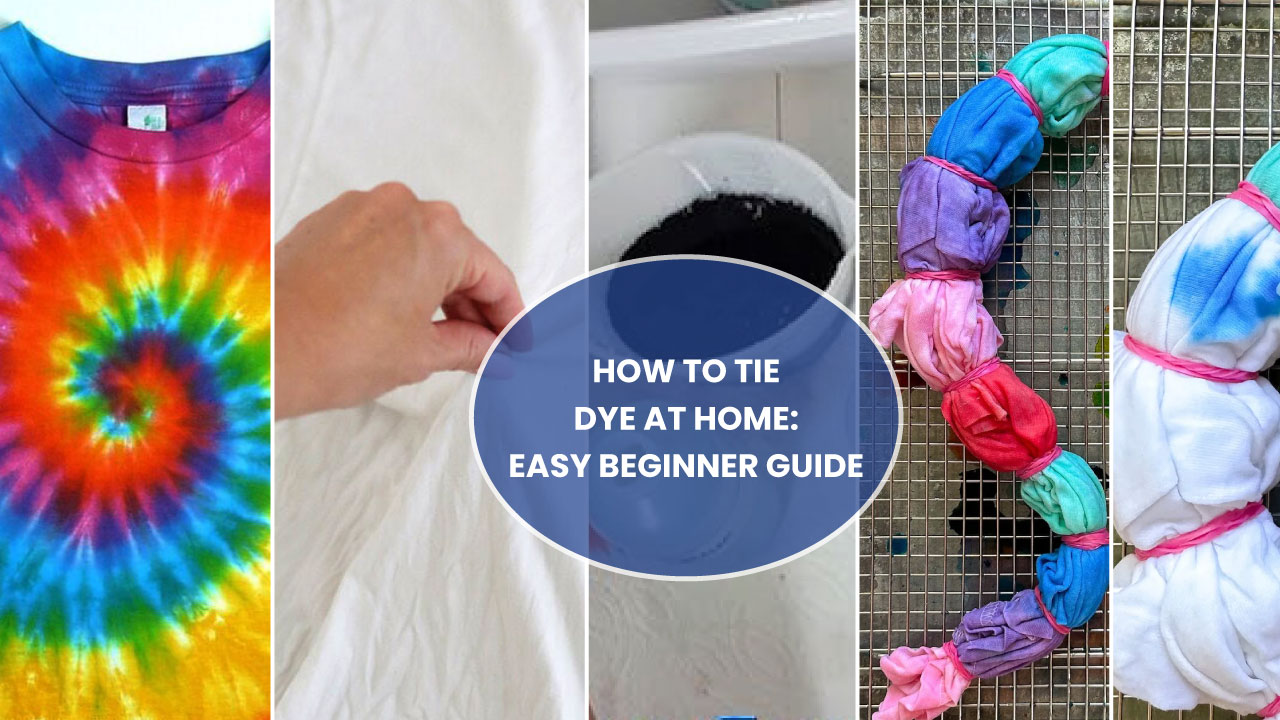
Did you ever wish that you could design your color clothes? Tie dye is an entertaining, colorful method to make ordinary shirts and other fabricated materials appear cool and one of a kind. Learning how to tie dye a shirt allows you to create your original style and provide amusing projects with your relatives or friends.
Tie dye is something you do in which you twist, fold, and color the material to come up with a design. It rocks on shirts, socks, pants, and even shoes! Once you untie the fabric, you observe distinct patterns created by the tied sides, which never received color.
Tie dye forms very scenic patterns, such as spiral, heart, and kaleidoscope designs. You do not need to have expensive equipment or be that experienced. And we shall also guide you through the steps and tips on how you can make fabulous tie-dye designs.
In This Post
- What is Meant by Tie Dye?
- Materials You’ll Need to Tie Dye
- How to Tie Dye at Home: Step-by-Step Guide
- Different Ways to Tie Dye
- Tie Dying Other Items
- FAQs
- Q1: Is it possible to use food coloring to tie-dye?
- Q2: What is the duration of tie-dye?
- Q3: Is it possible to tie-dye a black shirt?
- Q4: What can one tie-dye on?
- Q5: What is the process of tie-dyeing socks?
- Q6: Is tie-dye safe for children?
- Q7: How shall I make a spiral pattern?
- Q8: Is it okay to tie-dye polyester?
- Q9: What can I do to prevent colors from mixing?
- Final Thoughts
Key Takeaways
- Tie dye includes folding and twisting, or scrunching clothes, and thus dyeing the clothes.
- There are limitless objects to tie-dye, such as shirts, hoodies, socks, and even shoes.
- Cool patterns are made with the help of rubber bands or string.
- Varieties in colors and techniques also represent your work of art.
- You could use food coloring, bleach, or cloth dye.
- Tie dye is simple, non-toxic, and home-friendly, using normal materials.
- The step-by-step guide will have you learn to tie-dye and be a pro!
What is Meant by Tie Dye?

Tie dye is a color technique. You fold or twist the cloth and bind it with rubber bands or string. Then, you put dye on the fabric. The bound portions prevent the dye from getting into some areas. It creates patterns. Tie dye is common since it results in cool designs comprising colors. It is worn on shirts, pants, hats, and the like.
The patterns are either easy or complex. You may also twist spirals, stripes, hearts, or scrunch patterns at random. Each piece is different and special. That’s why tie-dye is so loved worldwide.
Materials You’ll Need to Tie Dye
Before you start tie-dyeing at home, you need to get some materials. Being prepared will also make your work more convenient and expedited. Among other items, you will need dye, fabric, or rubber bands. Each thing is important to make bright, cool patterns. You can use different colors, such as red, green, purple, and blue. Let’s begin!
| Item | Purpose |
|---|---|
| White shirts of cotton | Best for absorbing dye |
| Rubber bands | To tie the fabric and create patterns |
| Fabric dye or food coloring | To add color to your fabric |
| Gloves | To keep your hands clean |
| Squeeze bottles of plastic | To apply dye carefully |
| Plastic table cover | To protect your workspace |
| Plastic bags | To keep dyed fabric moist while the colors set |
| Water | To rinse and dilute the dye |
| Soda ash (optional) | Helps dye stick to fabric |
New trainees should wear white cotton shirts. Sweatshirts, hoodies, socks, pants, and shoes (can be used, provided they are made of a material) are also to be used.
How to Tie Dye at Home: Step-by-Step Guide
Tie-dyeing is a homemade, easy activity because it does not take much to come up with bright and colorful clothes. You can, thus, make your tie-dye shirt or fabric this way.
Step 1: Set up Your Fabric
First, wash your shirt or fabric because it cleans the cloth and takes away dirt or oil. Also, a clean fabric has better adhesion to the dye. However, do not use fabric softener.
To achieve bright colors, soak your cloth in a soda ash solution for approximately 20 minutes. This step is not compulsory and assists in making the dye last longer.
Wring out the cloth, then soak. Be sure that it should be wet, but should not be dripping.

Step 2: Wrap and Tie Your Fabric
Then, decide what pattern you want. The most popular methods of folding and tying up your material are as follows:
- Spiral: First, start with the centre point and then turn the cloth over into the spiral. Afterwards, rubber bands should be applied to tighten it.
- Scrunch (Crumple): Roll up the fabric at random as a ball and use rubber bands as a fastener.
- Heart: The cloth should be folded into a fabric that has the shape of a heart. Then secure rubber bands on it.
- Horizontal Stripes: Accordion fold fabric (again and then put rubber bands at that same distance along the fold.
Make sure your rubber bands are tight. The bands prevent the dye from getting into certain parts of the cloth. Thus, it produces white patterns and lines.

Step 3: Mix Your Dye
It should be fabric dye or food coloring. Food coloring applies here. Make a solution of food coloring and water, and then simply cut a gash with vinegar. The color is attached to the cloth with the help of vinegar.
Add the dye mixture into squeeze bottles. It ensures that one can apply the dye in other regions with ease.

Step 4: Use Dye on the Fabric
Put on rubber gloves so that your hands are clean. Trickle the dye on the fabric. Use contrasting colors to give a bright, colorful effect. You should not over-wet the cloth because overdyeing can cause the colors to mix and look grey. Once one side is dyed, turn the material over and dye the back of it as well.

Step 5: Fold and Wait
After finishing the dyeing process, place your fabric in a plastic bag because it keeps it wet and assists the colors to set.
Leave the fabric to stay for 6 to 8 hours. It can also be left overnight to have stronger colors.

Step 6: Wash and Drain
Remove the rubber bands carefully. Then, rinse the fabric under cold water. Continue rinsing until the water runs clear. It removes extra dye.
After that, wash your fabric separately using a mild detergent. Finally, dry your fabric. You can air dry it or put it in the dryer.

Different Ways to Tie Dye
There are many fun ways to tie-dye your clothes. Each way makes a cool design. Here are some popular styles:
- Spiral Pattern: This makes a cool swirl shape. Twist the fabric and then add colors in a circle. It looks like a spinning wheel.
- Crumple or Scrunch: This gives random color spots. You just scrunch the fabric into a ball and dye it. The colors mix messily.
- Stripes: They are lines on your clothes, and they are straight. Horizontal crossed lines are crossed, and the vertical ones are up and down. It has a simple appearance.
- Heart: This design makes patterns on the shirt like a heart. There is careful folding and tying of the fabric, then colors are added.
- Kaleidoscope: This is a more detailed and repeated pattern. It looks like many shapes are mirrored around. It can be tricky, but very pretty.
- Swirl: This is like a spiral but with bright, bold colors. It makes circles that catch the eye.
Try out different ways to tie-dye. Have fun and find your favorite style! Each design is unique and colorful.
Tie Dying Other Items
Tie dye is fun and easy. You don’t need to dye only shirts. There is practically anything that you can dye, such as pants, hats, and socks. Each item is folded and tied in different ways. You can also use the same way to learn how to tie dye pants.
- Pants
- Dresses
- Hats
- Shoes
- Socks
- Sweatshirts
- Hoodies
Each item has the same basic process.. The variations come in the way the fabric can be folded and tied.
FAQs
Q1: Is it possible to use food coloring to tie-dye?
Sure, you can. Add some vinegar and food coloring to water.
Q2: What is the duration of tie-dye?
It takes around 30 minutes to prepare, then wait 6 to 8 hours so that the colors are set.
Q3: Is it possible to tie-dye a black shirt?
Yes, stock cool patterns on a black shirt by using bleach. However, take care with bleach.
Q4: What can one tie-dye on?
The best is cotton fabric because it absorbs the colors easily and presents luminous patterns.
Q5: What is the process of tie-dyeing socks?
Roll the socks into pairs and rubber band them. Then drop in the colors of dye that you like.
Q6: Is tie-dye safe for children?
Yes, tie dye is safe when using food coloring or safe coloring. However, always use gloves to be clean.
Q7: How shall I make a spiral pattern?
Roll up the textile together with the centre into a small and dense spiral. To preserve the shape, put it into rubber bands.
Q8: Is it okay to tie-dye polyester?
Yes, but special dye should be used on polyester. Regular dye cannot be appropriate.
Q9: What can I do to prevent colors from mixing?
Use different bottles for each color. Place dye at a slow pace to prevent excessive mixing of colors.
Final Thoughts
One can have fun and learn how to tie dye shirts at home. Even with scant materials and a few steps, you can also make neat patterns on shirts, hoodies, socks, and many others. Experiment with various patterns such as a spiral pattern, crumple, or heart pattern. Depending on what you desire to use, fabric dye, bleach, or food coloring.
Tie dye also gives you an opportunity to express your creativity and produce distinctive clothes that can be different. Therefore, get your rubber bands, colors, and get started on your tie-dye project today!


![The Best 30+ Free Crochet Cat Patterns [Beginner-Friendly Guide]](https://crochetmind.com/wp-content/uploads/2025/04/1-The-Best-30-Free-Crochet-Cat-Patterns-Beginner-Friendly-Guide.webp)


