


![Select Crochet Clothing Ideas: [Best Crochet Fashion] Crochet Clothing Ideas](https://crochetmind.com/wp-content/uploads/2025/07/Crochet-Clothing-Ideas-Best-Crochet-Fashion-in-2025-1-1.jpg)
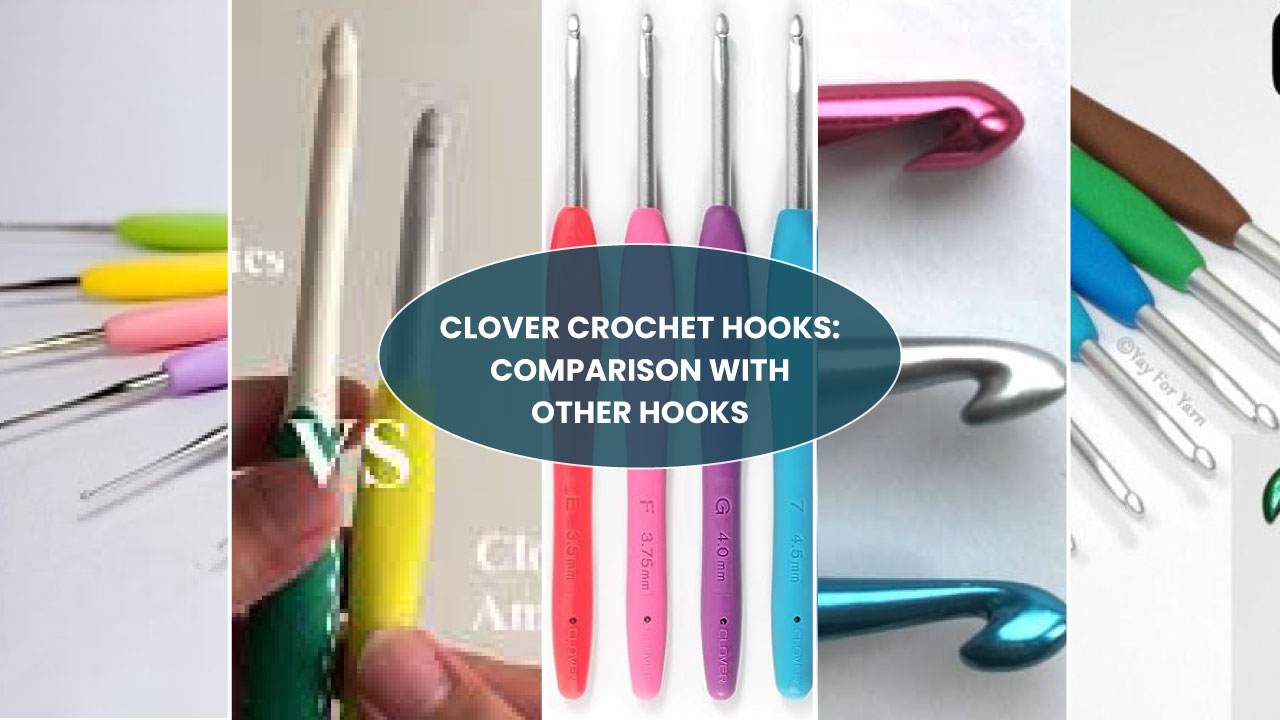
Waistcoat stitch crochet is an easy and simple stitch. It is knitting, yet you spin it with a crochet hook. Rather than inserting the top of the stitch, you insert the middle of the V. This tightens up and neats up your work. It is therefore excellent, particularly with items such as hats, baskets, and sweaters.
One of the easiest ways to make your crochet look like knitting is called waistcoat stitch crochet. You do this by having your hook in the centre of the stitch rather than on the top. It produces great, tight fabric good for a hat, a basket, or a sweater.
You may also row or circle this stitch. It implies that it handles flat and round projects. Better still, this is ideal when handling people who are new. This step-by-step guide will reveal to you how to do waistcoat stitch crochet. So let’s begin!
Key Takeaways:
- Waistcoat stitch crochet resembles knitting. You work to the centre V of the stitch, not the top.
- Very good with flat and round. Ideal for such items as hats, sweaters, scarves, and baskets.
- It must be stitched closely, and the tension should be even.
In This Post
- What is Waistcoat Stitch Crochet
- Supplies Used to Crochet Waistcoat Stitch
- How to Waistcoat Stitch Crochet [ Easy 8-Steps]
- FAQs
- What is a waistcoat stitch crochet?
- Is a waistcoat stitch crochet hard for beginners?
- Is it possible to make a hat using a waistcoat stitch crochet?
- Is it possible to crochet a waistcoat stitch in the round?
- Which type of yarn is the best?
- Does a crochet waistcoat stitch pattern exist on a sweater?
- Is it possible to apply waistcoat stitch to flat projects?
- 8. Can I find a tutorial video of a waistcoat stitch crochet?
- Final Thoughts
What is Waistcoat Stitch Crochet

The crochet knit stitch is also called the waistcoat stitch. It appears to be stitched together, knit, but it is done with a hook. A lot of people adore it, as the stitches seem to be tidy and close.
Crochet is a strong waistcoat stitch. That makes it great for things like:
- Waistcoat stitch crochet hats
- Waistcoat stitch crochet blankets
- Waistcoat stitch crochet baskets
- sweaters
- Even sturdy straps and bags
To make this stitch, you use single crochet, but you insert your hook in a different place. At the front, you go in the V shape in place of the top two loops. That’s why it’s also called the knit stitch in crochet.
This stitch works well:
- Flat (in rows)
- In the round (like hats and baskets)
You’ll see the waistcoat stitch crochet pattern in cozy items and colorful Fair Isle projects.
It is what is excellent about it: when you learn that there is a stitch like that, you can start doing a lot with it. You are going to love the look of it, whether you are making a warm crochet sweater, a soft crochet blanket, or a cute crochet basket!
Supplies Used to Crochet Waistcoat Stitch
All of this is to say that you need to prepare the correct supplies so that you can ensure proper supplies before starting a waistcoat stitch crochet tutorial. It will help you in your work, and you will enjoy it. As well, time is saved because everything is prepared. These are the elementary tools that you require.
| Item | Use |
|---|---|
| Yarn | Choose smooth, worsted-weight yarn (not fluffy) |
| Crochet hook | Use a hook that fits your yarn (try a smaller size for tight stitches) |
| Scissors | For cutting yarn |
| Yarn needle | To weave in ends |
| Stitch marker | Helpful if working in the round |
How to Waistcoat Stitch Crochet [ Easy 8-Steps]
The waistcoat stitch crochet is simpler to learn. First, you have to make a slip knot, then crochet chains. After that, insert the hook and yarn over. Repeat the process to make a beautiful crochet waistcoat.
Step 1: Create a slip knot

First, create a slip knot by tying your yarn. Put this loop on your crochet hook. It should not be a tight fit, but should also move slowly without sticking on the hook. This slip knot is significant as it becomes the beginning of your whole crochet project.
Step 2: Create a chain

Then, you are going to make a foundation chain. Chain as many stitches as you want, the width of your project. Remember, the bigger the chain, the broader your piece will appear. And also, there are the best results by keeping your chains even in tension.
Step 3: Single crochet in the second chain of the hook

Locate the second chain through the hook now. Put your hook in that chain and make a single crochet stitch. You then go on to make single crochet stitches on every chain across the row. It forms a good foundation for your waistcoat stitch rows.
Step 4: Chain one and turn

Chain one when you reach the end of the row. This short chain acts as a turning chain and gives your work the height needed for the new row. Then flip your whole piece, and you can crochet backwards down the now completed row.
Step 5: Insert the hook into the centre “V”
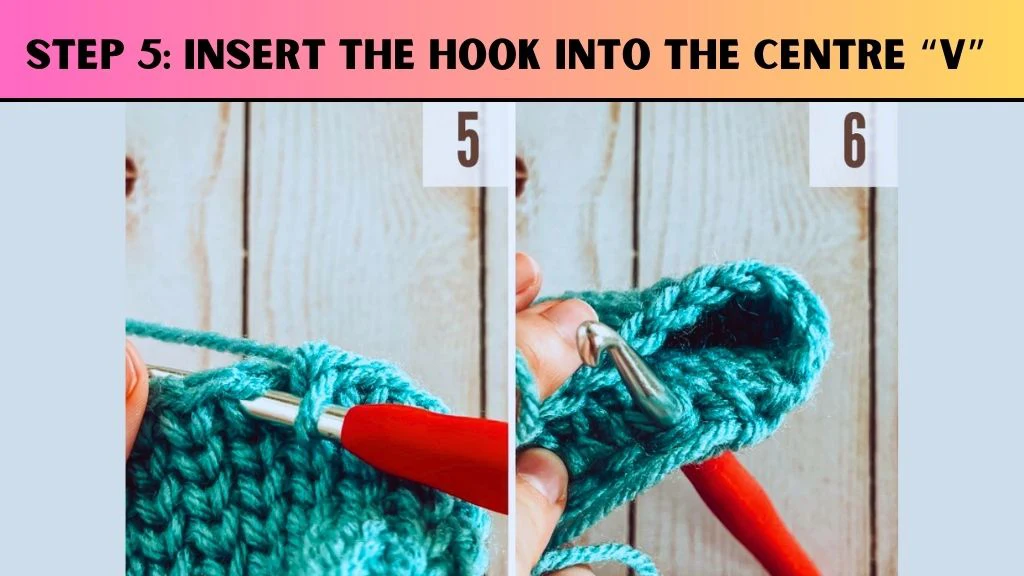
Look closely at the front of each stitch. You will see a clear “V” shape made by the yarn strands. Instead of inserting your hook under the usual top loops, put your hook right into the middle of that “V.” This is the unique feature of the waistcoat stitch.
Step 6: Yarn over and pull through

Once you have your hook in the centre of the forward-facing V, yarn over your hook. Next, take the yarn through the stitch. Now you will have two loops on your hook. Put the yarn under again and draw both the loops through to do one waistcoat stitch. Congratulations, you just made your first waistcoat stitch!
Step 7: Repetition
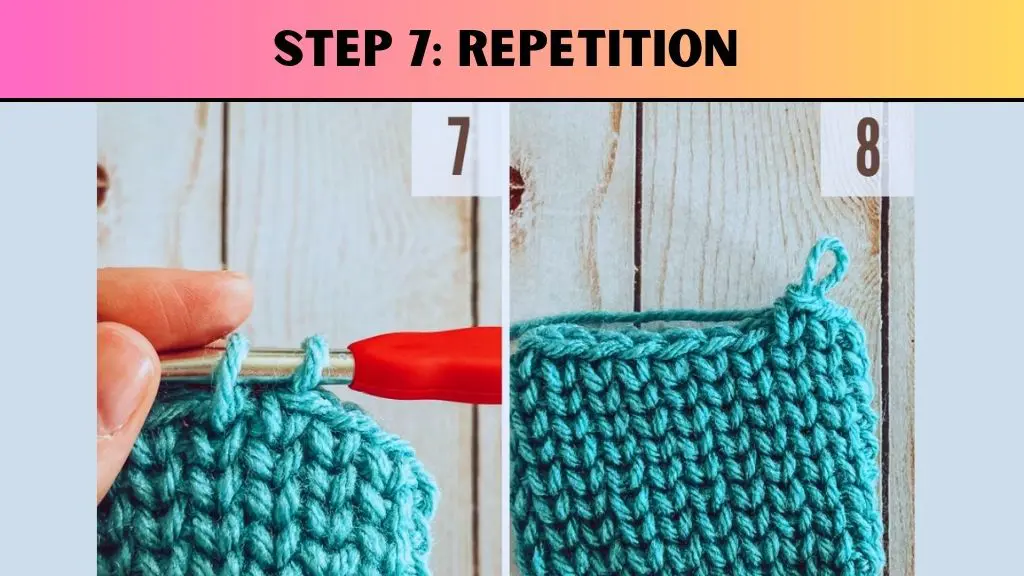
Carry on with the waistcoat stitch by putting your hook through the middle of the vees of all the stitches through the row. Sew stitch upon stitch into a steadiness, being careful not to change your tension. In doing so, you will have a well-built, beautiful fabric that looks like knitting. Continue until you have completed a row or round.
Step 8: Final Touches
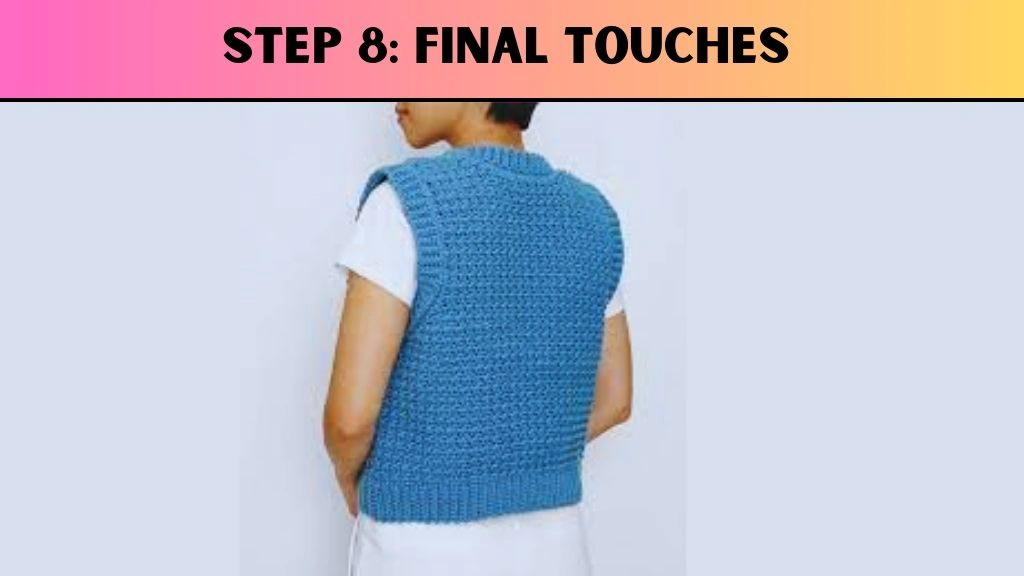
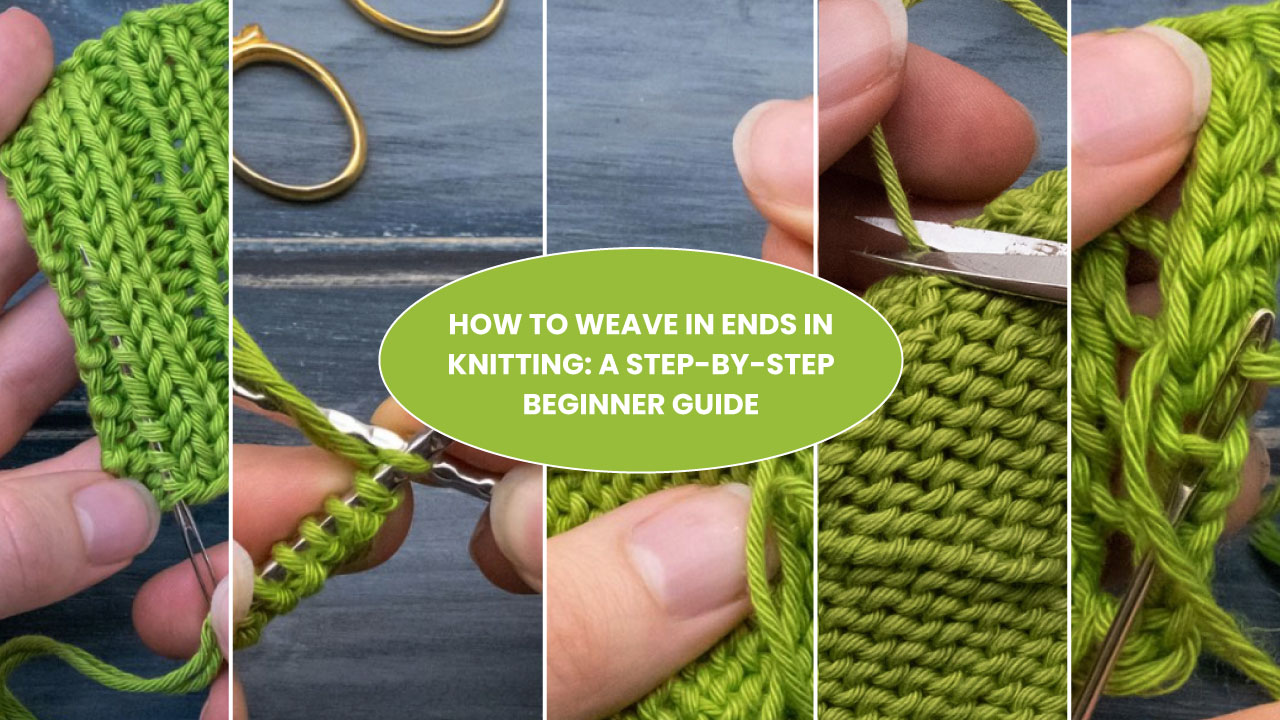
When you get your project big enough, then it is time to quit. Trim the yarn, leaving some inches of a tail. Take the yarn under the final loop and pull through to secure fast. Lastly, weave in all loose ends using a yarn needle so that your work looks finished and will not fray in the future.
Facebook – Pinterest : Youtube :
FAQs
What is a waistcoat stitch crochet?
It is a crochet stitch that looks like knitting. You insert the hook into the centre “V” of each stitch instead of the top. It makes a tight, neat fabric.
Is a waistcoat stitch crochet hard for beginners?
No! It can easily be learned. Should you know how to single crochet, then you know how to crochet the washing vest stitch. The only thing is to enter the centre of the stitch.
Is it possible to make a hat using a waistcoat stitch crochet?
You can do so, yes! A crochet hat made out of waistcoat stitch fits well, and it is a beautiful one. It does not lose its shape since the stitch is sturdy.
Is it possible to crochet a waistcoat stitch in the round?
Yes. An in-the-round Waistcoat stitch crochet is excellent when making hats, baskets, and bags. I.e., just use a stitch marker to note down where you are.
Which type of yarn is the best?
The soft yarn with medium weight is the most suitable. Dim or very dark yarn is to be avoided. Thus, you will be able to notice the V-shaped sign in every stitch.
Does a crochet waistcoat stitch pattern exist on a sweater?
Yes! Make a pattern for a crochet sweater that has a waistcoat stitch to give a nice and warm sweater. The stitch offers a knitted look.
Is it possible to apply waistcoat stitch to flat projects?
Absolutely. A good technique to use, the Waistcoat flat can be used in blankets, scarves, and even dish cloths. Crochet in rows only and turn when complete.
8. Can I find a tutorial video of a waistcoat stitch crochet?
Online, you can search for a video tutorial. The videos indicate to you where to best stick your hook, beyond the amount of yarn you should hold.
Final Thoughts
The waistcoat stitch crochet is similar to knitting, but uses a hook. You work into the V of every stitch. It applies to flat pieces or circles. And it is powerful. Therefore, it is ideal with hats, scarves, baskets, sweaters, blankets, and straps. Additionally, it is easy to learn. It requires some practice. However, as soon as you have it, you open up a lot of projects.
Choose your thread. Make your opening row. Then go to a round. In a very short time, you will have a presentable piece of work. And you will love the way your project looks like it is knitting, even though it’s all crochet!


![The Best 30+ Free Crochet Cat Patterns [Beginner-Friendly Guide]](https://crochetmind.com/wp-content/uploads/2025/04/1-The-Best-30-Free-Crochet-Cat-Patterns-Beginner-Friendly-Guide.webp)


