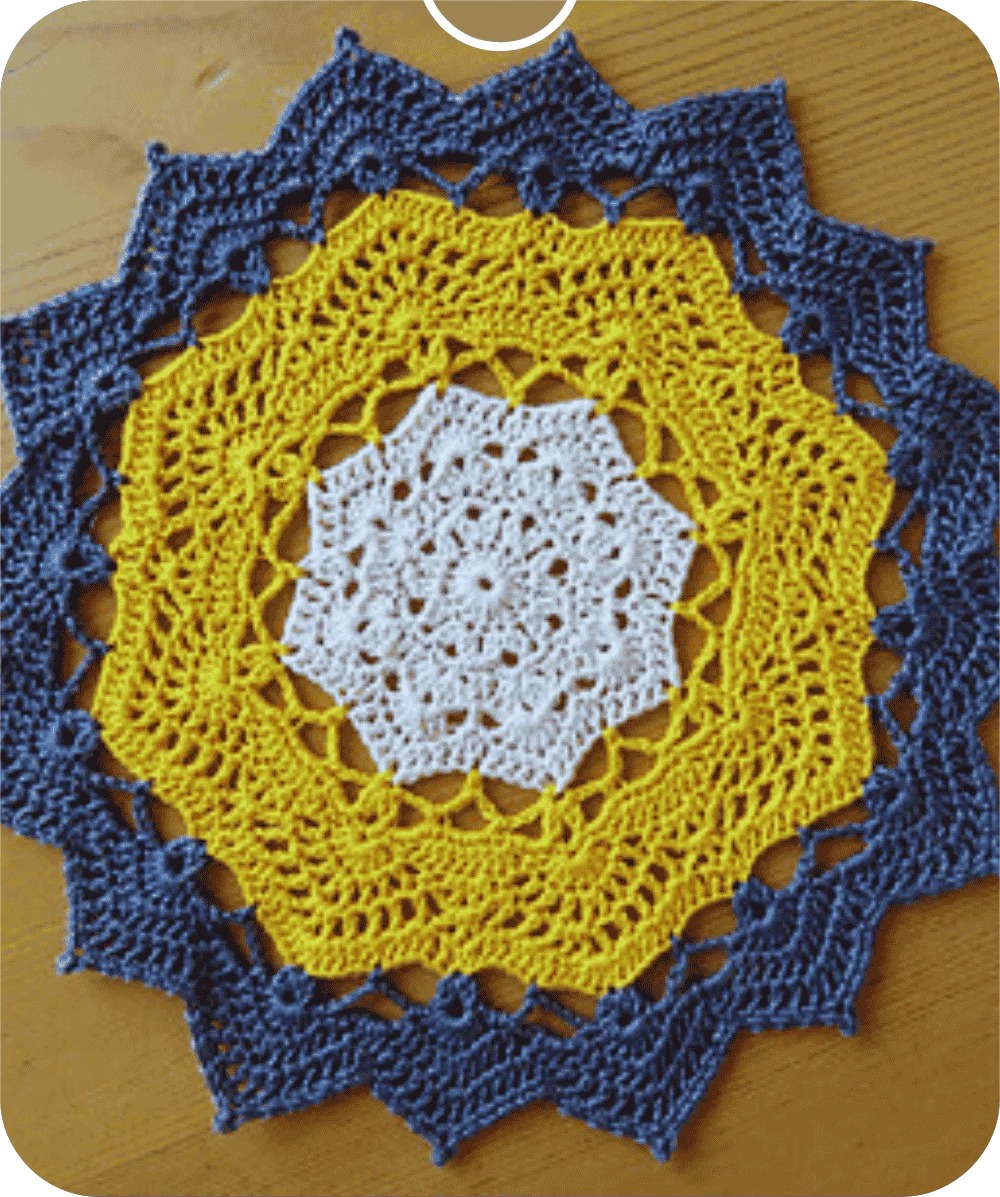
How To Knit In The Round: Are you struggling with seams when you are making projects like hats, socks, or mittens? If you have ever had trouble making your projects look smooth, you are not alone. Many knitters find it frustrating when they are dealing with seams, and that’s where knitting in the round enters.
It helps you create seamless projects that are perfect for making any of these small projects without your distractions. Don’t worry about how you will knit in the round! With the step-by-step instructions in this guide, you can make this project successful. Keep on reading to get the details.
In This Post
What is Knitting in the Round?
Knitting in the round is all about making a project where you won’t need any seams, and you can continuously knit in a circular pattern. The most notable part of this project is using circular needles or double-pointed needles instead of straight needles. This is the most popular stitch that you can use to make your dial gauge project.
It not only enhances the overall look of the project but ensures a strong base where you are using it. The best part is it’s far easier to complete the project. As a beginner, you can try this out. With simple, basic knowledge of stitches, you can make small, round items with this stitch technique easily.
Applications for Knitting in the Round
Knitting in the round is an easy project that you can apply to various projects. Have a short glimpse at all of these:
- Hat: A simple project that you can wear on a regular basis. Knit a round hat by starting at the top and continuing down to the brim.
- Socks: You can apply this knit in the socks to give them a sturdy shape. With this, you can make the most comfortable socks for yourself or as a gift for someone.
- Mittens: If you are looking for some warmth in the chilly weather, this project will be the best. And knitting in the round in this project will give you a stronger base to ensure warmth.
- Scarf: To make a scarf quickly as a beginner, knitting in the round would be a great application. You can knit it in the round and make a continuous loop. It will even warm you up in the winter.
- Cup Cozy: This is a small but quick project that protects your hands from hot drinks. With knitting in the round-in-a-cup cozy, you can make a right-fit project for you.
- Blanket: You can knit a circular blanket in the round. For instance, you can add colorful stripes or patterns and make it more special.
How To Knit In The Round For Beginners? [Step-by-step Instructions]
Needed Materials:
Before you begin, make sure you have the needed materials right at hand. Check out the list:
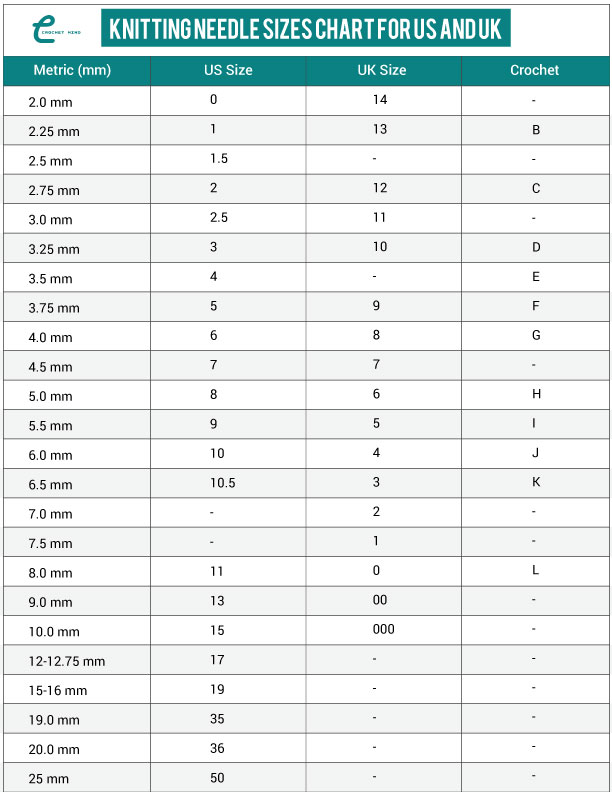
- Circular Needles: This is the main tool for knitting in the round. Typically, you will find it in various lengths and sizes.
- Double-Pointed Needles: If you are planning to make smaller projects, this is essential.
- Yarn: Choose a yarn that will perfectly fit your project. You also have the option to choose the yarn color on your own.
- Stitch Marker: You will need a stitch marker to mark the beginning of your round. It will help keep you on track.
- Yarn Needle: This is a must to weave in the yarn tails after you’ve finished your project.
- Scissors: Take scissors to cut the yarn when you’re finished or need to change colors.
- Measuring Tape: This might help you when you want to check the size of your project, like how far you have gone.
Step-by-step Guide:
It is easy to knit in the round. Follow the step-by-step guide below and complete your knitting in the round project:
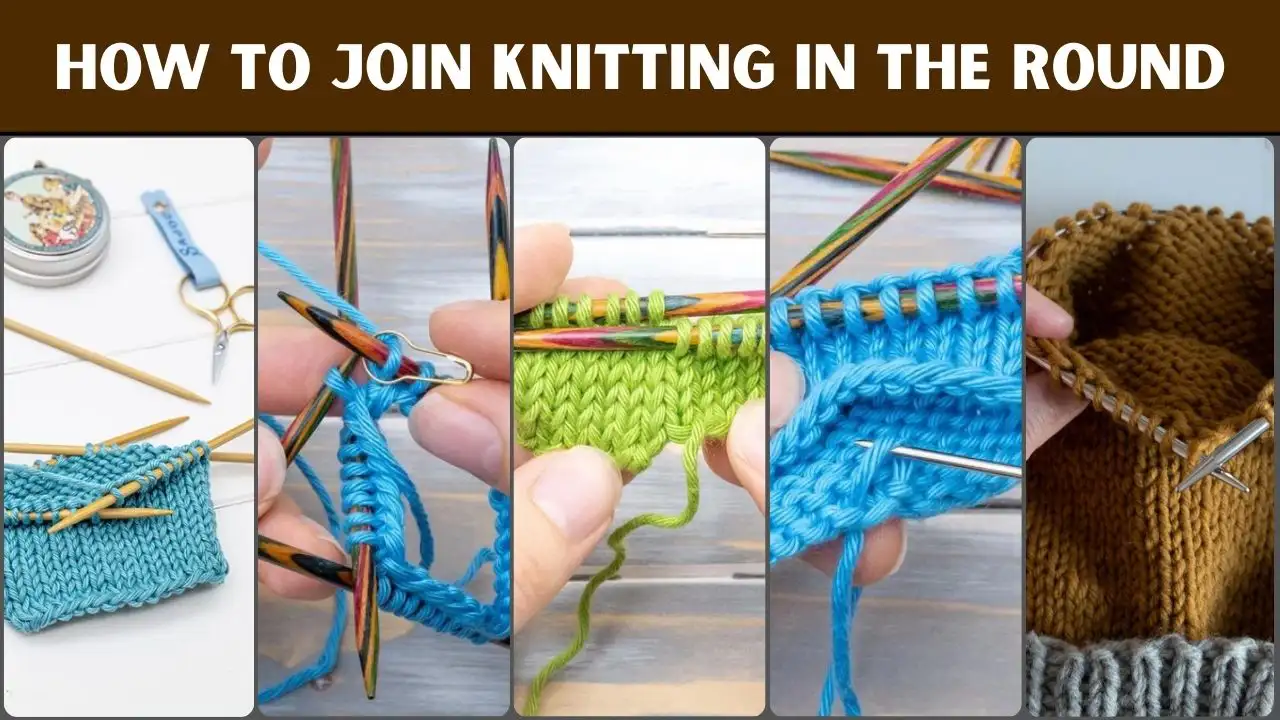
Step 1: Cast On
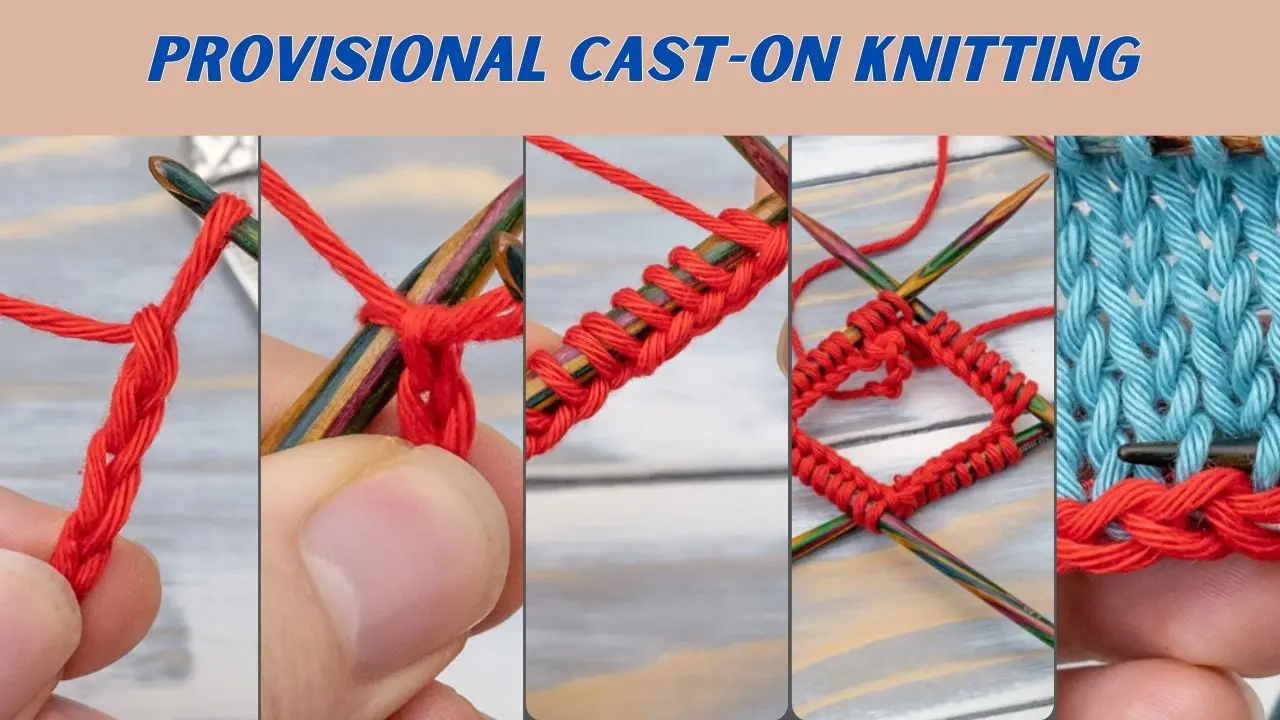
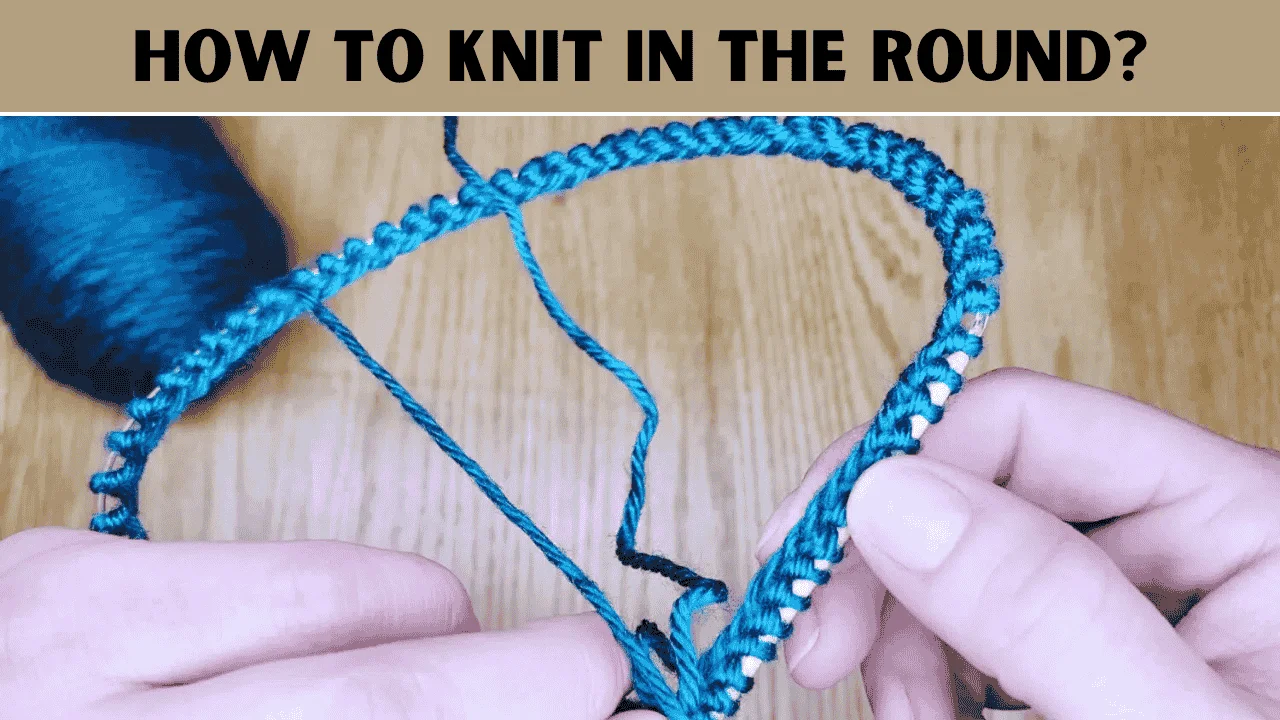
Cast on your stitches onto the circular needle. You can use any of your favorite methods in this instance. After that, you will find a braided edge along the entire cast-on.

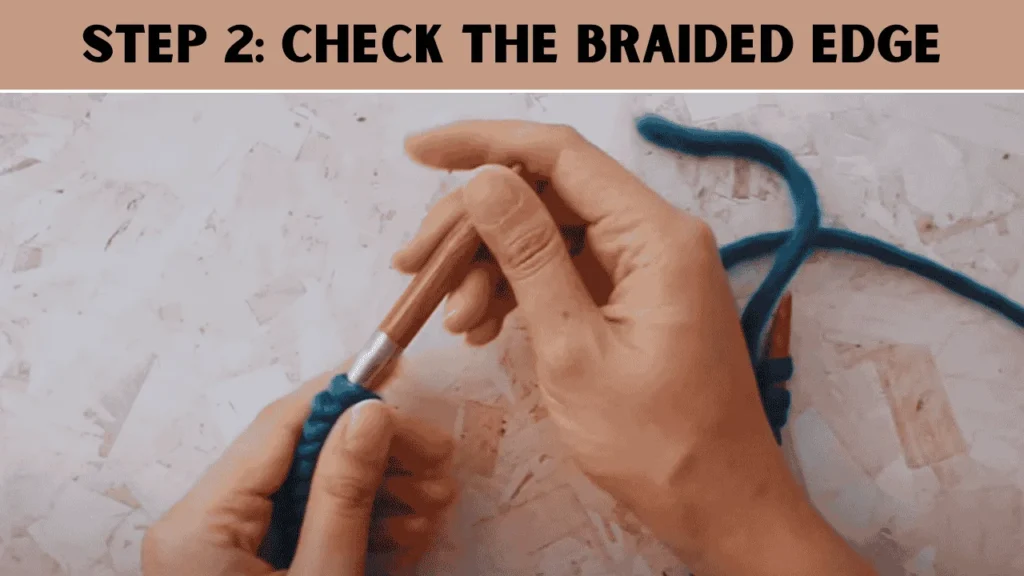
Step 2: Check the Braided Edge
When done, turn the braided edge and it should face in the same direction. This is most important as it will help you avoid twisting.
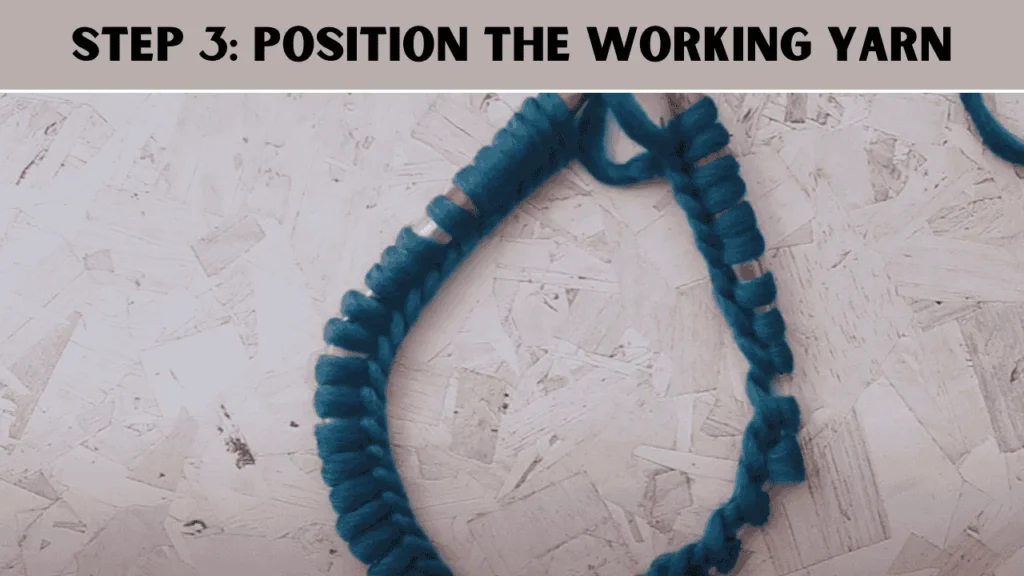
Step 3: Position the Working Yarn
Ensure your working yarn is on the right needle. Now take a stitch marker and place it on the right needle to mark the beginning of your round. Your knitting-in-the-round project will start from here.

Step 4: Push Stitches Close to the Tips
Now take your right needle and use it to knit into the first stitch of the left needle. Gently pull it tight; this will help you prevent creating any gaps between stitches.


Step 5: Continue Knitting
Don’t stop here. Knit the second stitch from the left needle. Now continue knitting all the way around the round.
Step 6: Move the Marker
When you reach the end of the round, slip your marker onto the right needle and keep knitting.
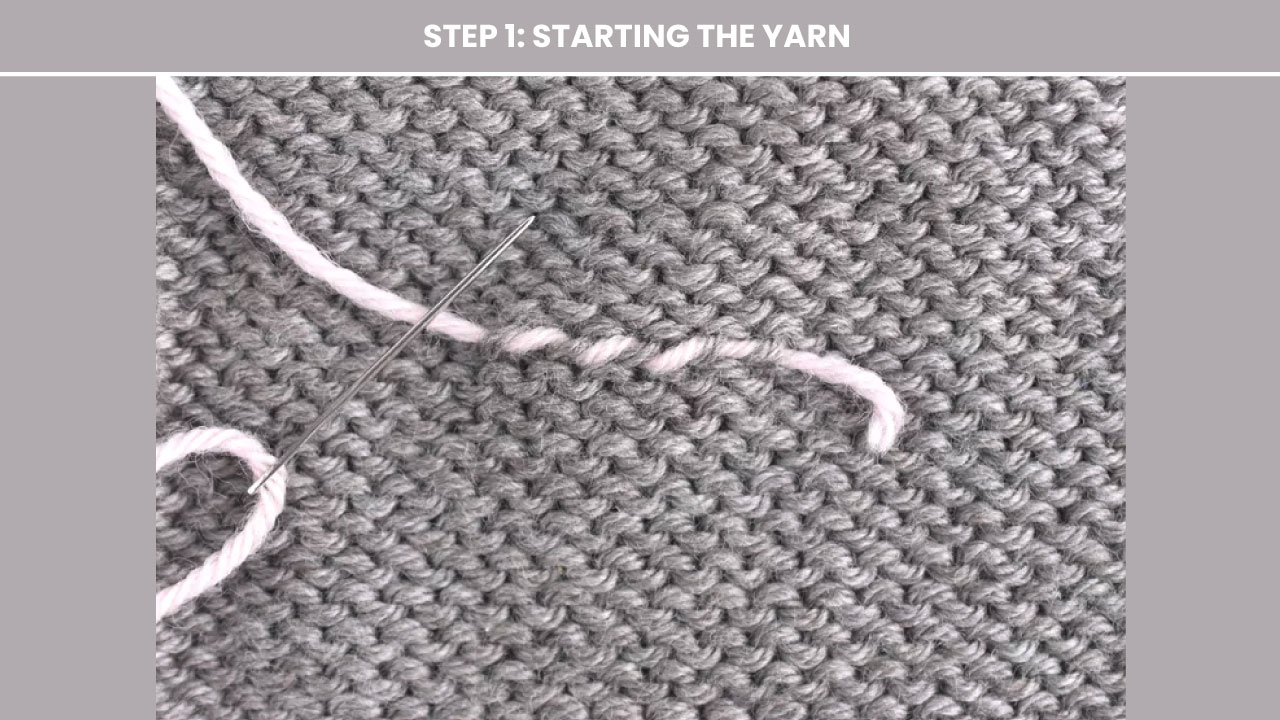
Step 7: Weave in the Tail
When you have completed your knitting, weave in the tail from your cast-on to close any gaps at the edge.
In Closing
Knitting in the round is the easiest way to make beautiful and seamless projects. When you get the tricks of joining your stitches and knitting in a circle, you’ll be able to make hats, socks, mittens, and more without worrying about seams. It is the perfect technique for both beginners and experienced knitters.
To improve your skills, you can start with a simple project like a hat or cup cozy. Remember, the more you practice, the more you will learn. Also, don’t hesitate to use different yarn and needle sizes to make exciting projects.





![Select Crochet Clothing Ideas: [Best Crochet Fashion] Crochet Clothing Ideas](https://crochetmind.com/wp-content/uploads/2025/07/Crochet-Clothing-Ideas-Best-Crochet-Fashion-in-2025-1-1.jpg)

![The Best 30+ Free Crochet Cat Patterns [Beginner-Friendly Guide]](https://crochetmind.com/wp-content/uploads/2025/04/1-The-Best-30-Free-Crochet-Cat-Patterns-Beginner-Friendly-Guide.webp)
