How To Weave In Ends Crochet: Are you struggling with your completed crochet project and found the loose yarn tails are just sticking out? We know how frustrating it is.
Those little ends can make your hard work look messy. You may be thinking that they will damage your project.
But don’t worry! There is an easy way to fix this problem, and that is to weave in ends. You can make your crochet work look professional with it. This blog post will share simple steps on how to weave in ends crochet. Let’s get started!
Key Takeaways:
- Use a tapestry needle when you are weaving in your crochet ends.
- Must do it on the wrong side of your crochet piece.
- Make sure not to make it too tight.
Table of Contents
- What Is Weave In Ends Crochet?
- When Should You Weave In Ends Crochet?
- What Are the Basic Materials You’ll Need to Weave In Ends Crochet?
- How To Weave In Ends Crochet? [Step-By-Step ]
- How to Weave In The Ends With A Crochet Hook?
- How to Weave In Ends Crochet With A Clover Snag Repair Needle?
- How To Weave In Ends Crochet Amigurumi?
- How To Weave In Ends Crochet On Open Work Stitches?
- Expert Tips For Weave In Ends Crochet
- Final Thoughts
- Frequently Asked Questions (FAQs)
What Is Weave In Ends Crochet?
Weave-in ends are a special technique in crochet where you can hide the loose yarn tails at the end of the project. After you finish your work, you may find some yarn sticking out and disturbing your work.
This can make your project look messy. This is where wave in ends comes in where you can make your project look professional without any hassle. It’s even easier to weave in the ends with a crochet needle, and even a beginner can try it out.
When Should You Weave In Ends Crochet?
There are various instances when you need to weave in the ends. Check them out:
After You Finish a Project
When you have done your project, you need to weave in the ends. If you just made a blanket project, a scarf, or a stuffed animal, when you have done your stitches, be sure to weave in ends to secure your long efforts.
When You Change Colors
If you want to switch to a new color of yarn while you are crocheting, you need to weave in the old yarn tail. This will give your work a colorful look.
After a Stitch Change
If you are using different types of stitches or changing yarn types, be sure to take this time to weave in the ends of the previous yarn. It will help prevent any loose ends from sticking out.
Before Giving or Wearing Your Project
If you plan to give your crochet item as a gift or wear it, you must weave in all the ends first. After all, you want to show your craftsmanship here.
When You Notice a Loose End
Right after you find any loose yarn tails while you’re crocheting, it’s always a good idea to weave them in right away. It not only saves you time but also keeps your work neat as you continue.
For Amigurumi Projects:
If you’re making amigurum, must weave in the ends when you are done stuffing them. This is the easiest way you can hide the yarn tails inside the toy.
What Are the Basic Materials You’ll Need to Weave In Ends Crochet?
Weaving in the ends of your crochet is an important process. Before you start, make sure you have the following tools in your hands:
- Tapestry Needle: It is a big needle with a large eye; it helps to easily thread in yarn.
- Yarn Tail: This is the loose end of your yarn that you need to weave in.
- Scissors: Scissors are a must to trim any extra yarn after you finish weaving.
How To Weave In Ends Crochet? [Step-By-Step ]
It is easy to finish your crochet project, but only when you know the right steps to weave in your crochet. Follow our simple step-by-step instructions and make your project easier:
Step 1: Get Your Crochet Ready and Thread Your Needle
All you need to first check and decide which is the “wrong side” (WS) of your crochet. This is the side where typically people won’t see your project. And this is the side where you can perfectly hide your weave-in end. When done, place your crochet piece with the wrong side facing up.
Now take your yarn and thread it through the eye of your needle. All done! You are now ready for weaving. Continue with us.
Step 2: Start Weaving the Yarn Tail
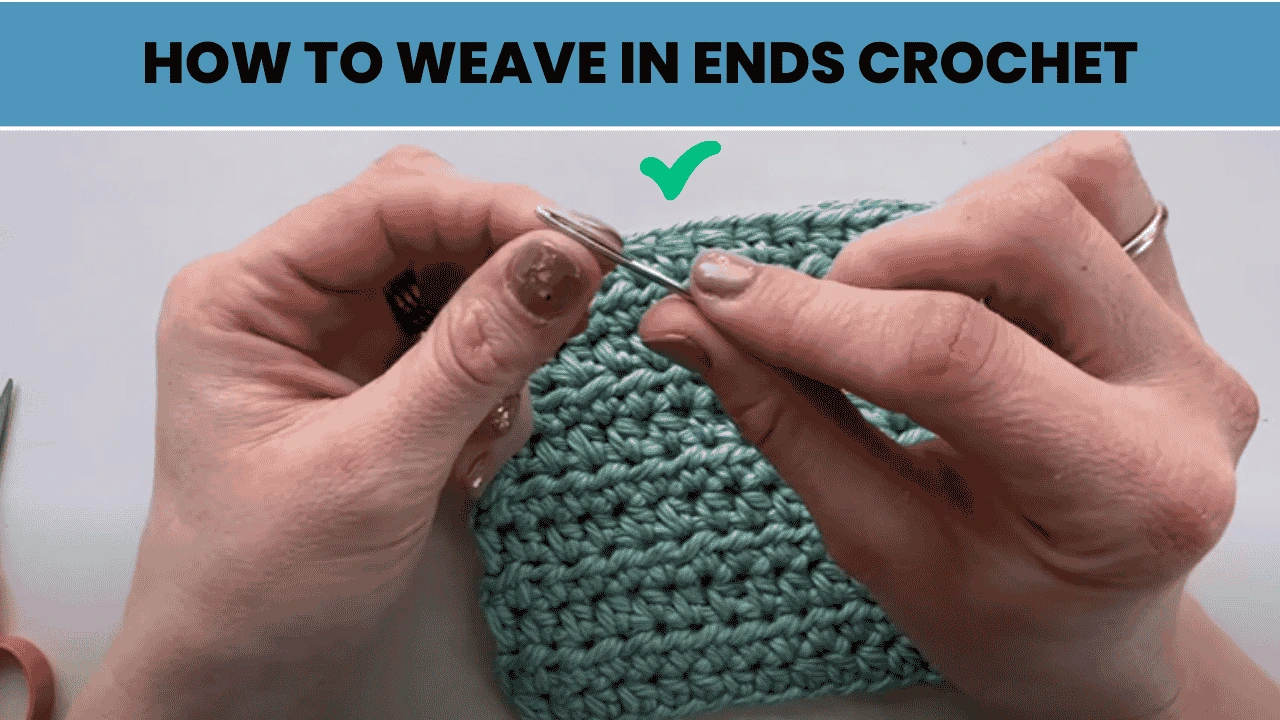
Keep concentration. First, you have to find the first stitch near the end of your yarn. If that is so, just push your needle through this stitch. Be careful in each of your steps. Then find the next stitch and push your needle through that one also.
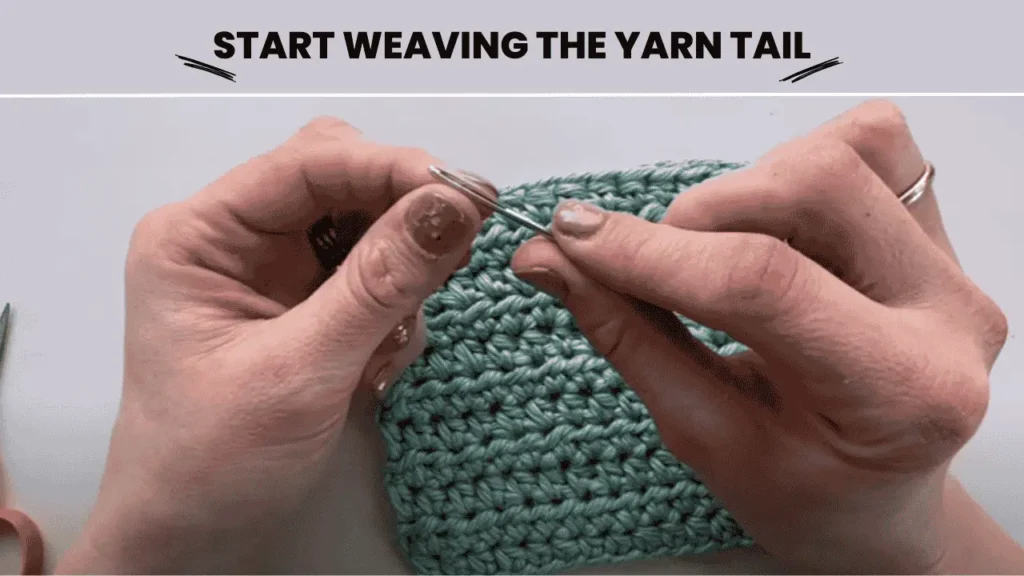
Wait! In case you are working with a half double crochet, you will find some extra loops which you can use to help keep the yarn in place. But if you are finding your stitch is not tight enough, don’t hurry. Just gently wiggle the needle into them. Don’t stretch or pull as it can damage your long effort in minutes.
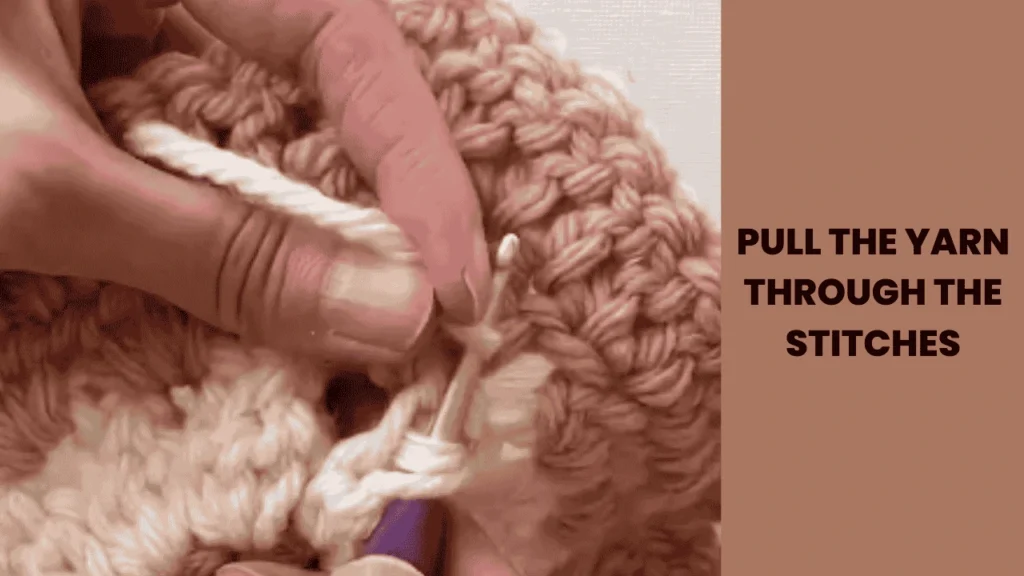
Step 3: Pull the Yarn Through the Stitches
Now, gently pull the yarn through the stitches. All you’re targeting would be to keep the yarn snug but not too tight.
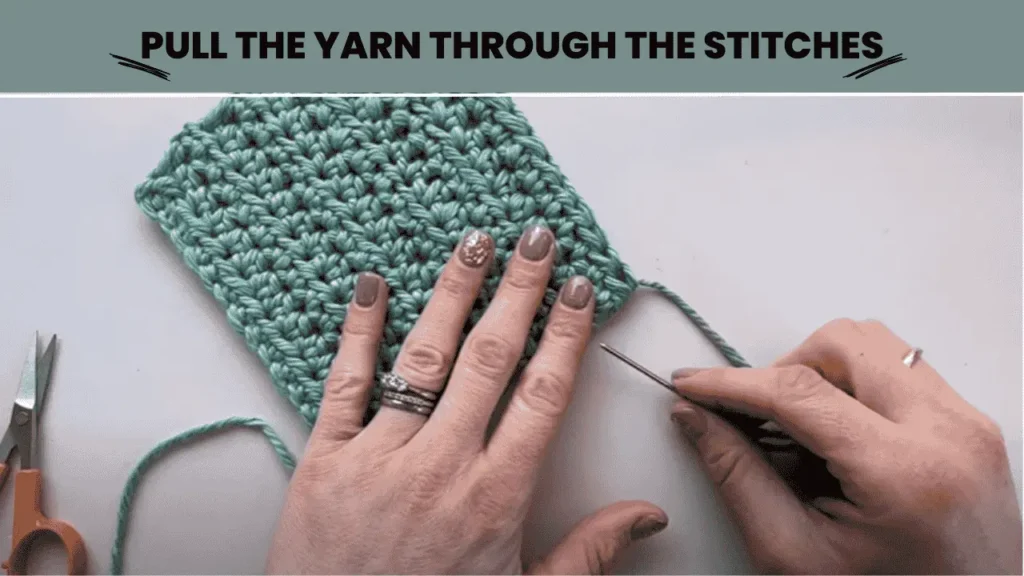
This way, you will find that your crochet doesn’t bunch up. Let us make this task far easier for you. Just hold the first stitch you went through between your thumb and finger. This is a small task that will help you keep it from moving around too much.
Step 4: Make a Secure Loop by Going Back Through the Stitches
The end is not here, consider this carefully! Push your needle back through the last stitch you used. Now you have to go through two or three more stitches.
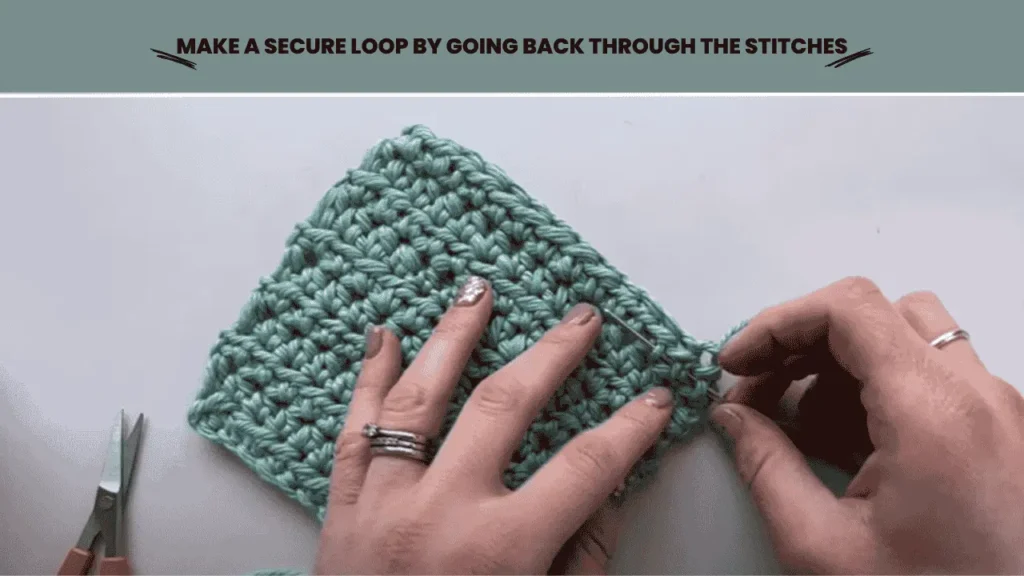
Don’t make a mistake; this step is important as it will help you make a secure loop that holds the yarn in place. In case you find your yarn is too loose, you have to use only one stitch at a time. This will help you get a cleaner look.
Step 5: Weave Back and Forth to Keep it Secure
This is the step where you have to pull the yarn through the stitches again. Are you want to make your stitches even more secure?
You need to weave back and forth a few times. This will help you to keep the end from coming loose later on.
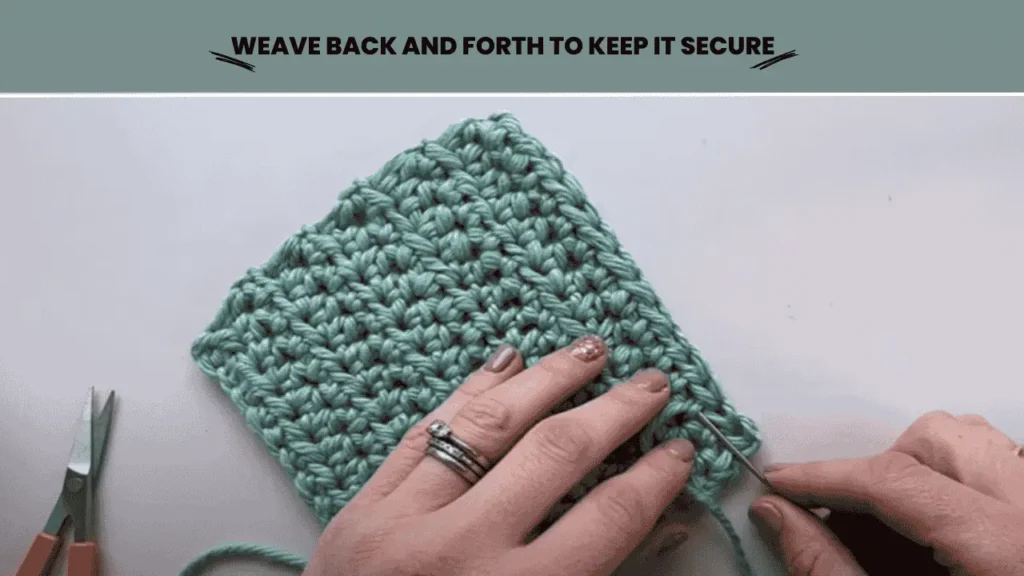
Let me share a secret! You can even change directions as you go. But here you need to be more careful not to pull your stitch too much as it changes the shape.
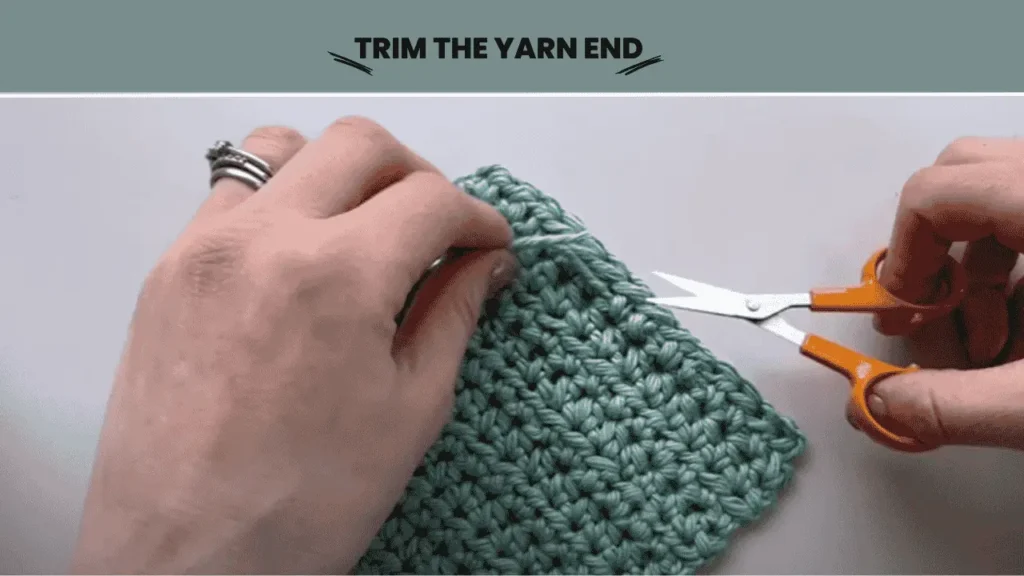
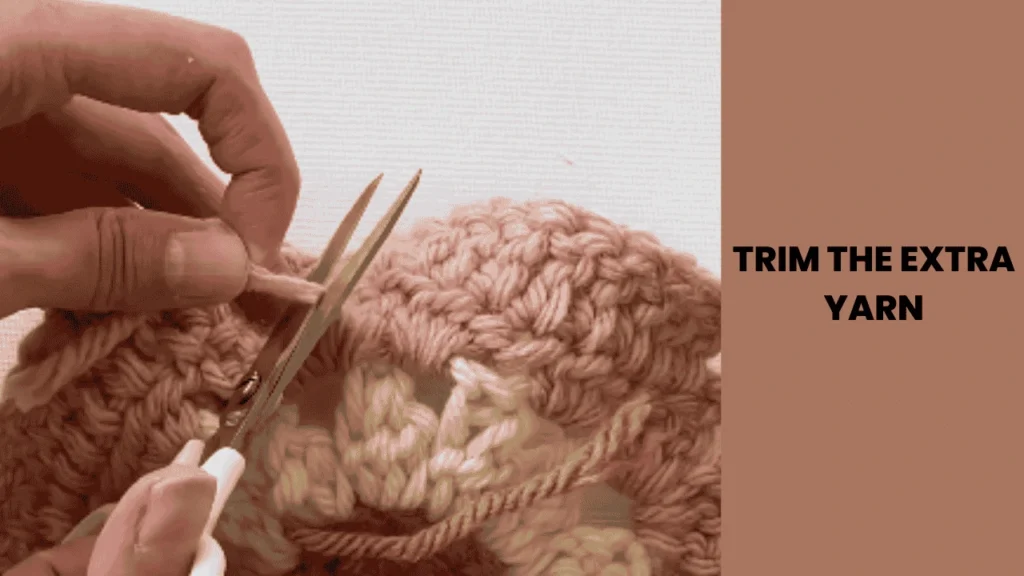
Step 6: Trim the Yarn End
When you are done, this is the time to trim the end of the yarn. But also be careful not to cut the yarn too close to the stitches. Instead, you can leave a small tail to keep it secure. In case you pull the yarn before you cut it, it will pop back under the stitches and hide better.
Congratulations, you did it!
How to Weave In The Ends With A Crochet Hook?
If you don’t have a needle, no problem! You can easily use a crochet hook to weave in ends. Follow the steps below:
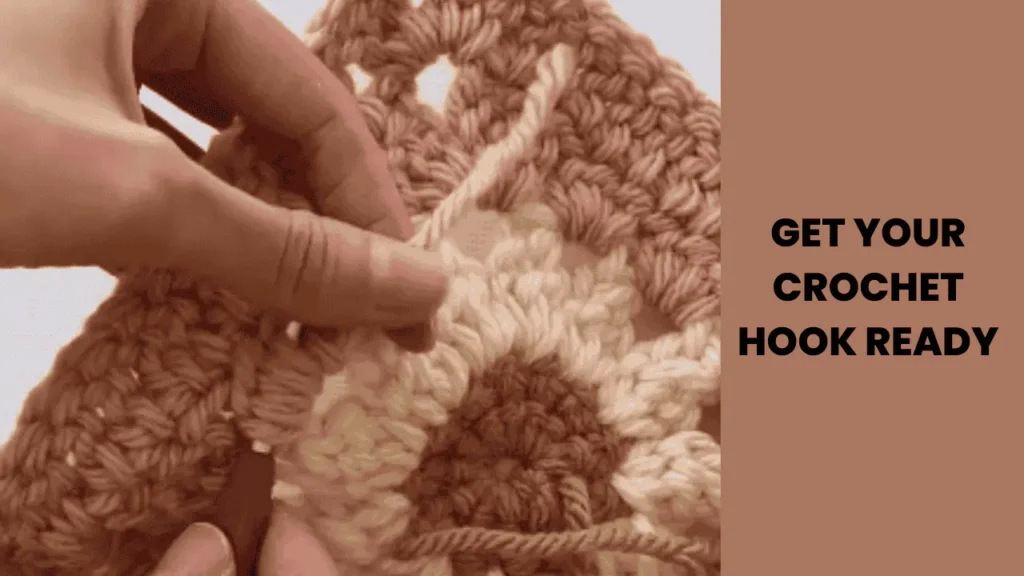
Step 1: Get Your Crochet Hook Ready
First, you have to find a crochet hook that is small enough and perfectly fits your crochet stitches but not so much smaller that you can’t hold the yarn with it. You will weave this hook through your crochet fabric and hide the yarn end.
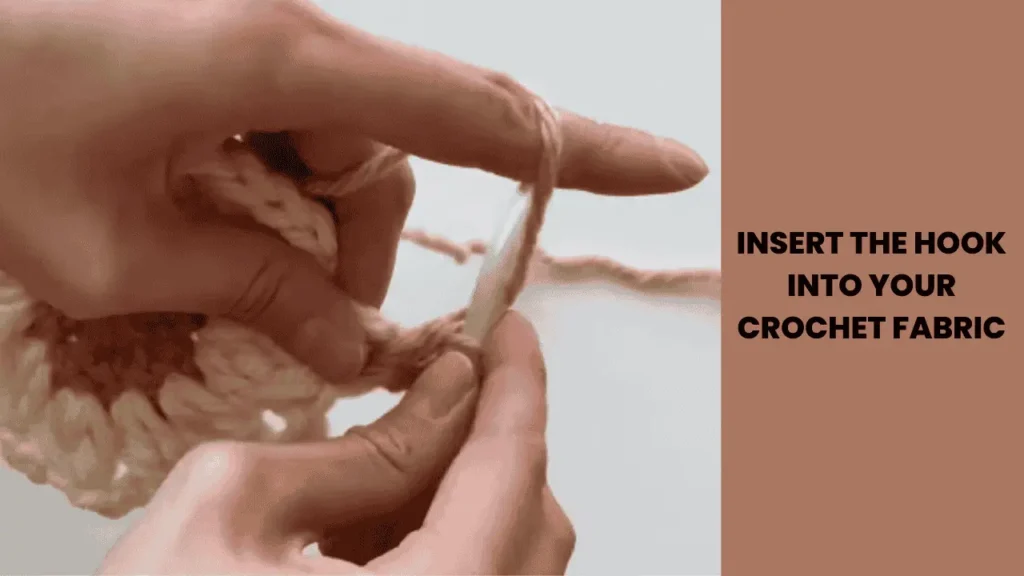
Step 2: Insert the Hook into Your Crochet Fabric
As before, you need to find the wrong side of your crochet piece. This is the place where you will hide the yarn end. When you find it, insert your crochet hook into a stitch near the end of the yarn. Now, gently slide the hook through the stitches the same way you would with the needle.
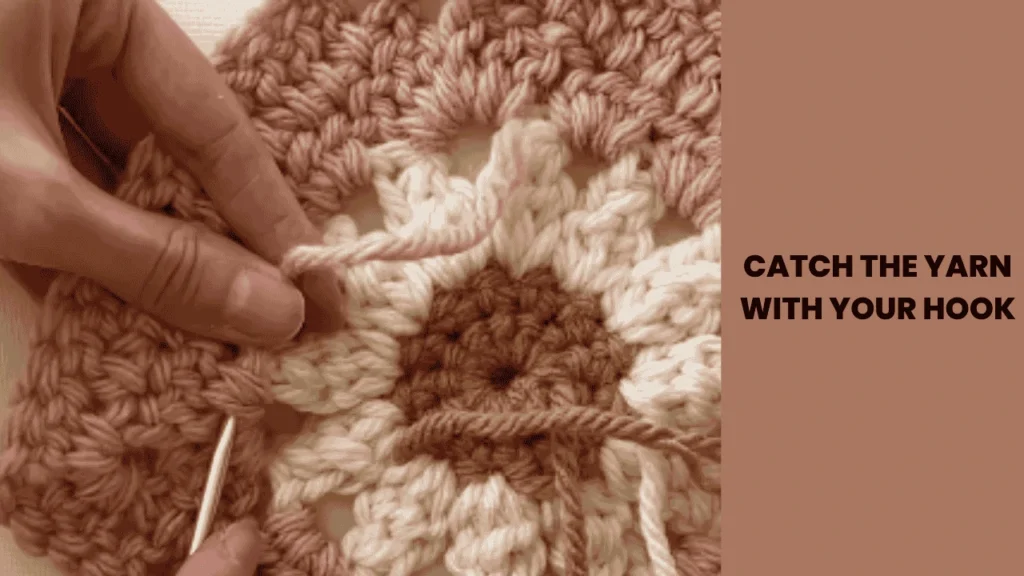
Step 3: Catch the Yarn with Your Hook
Once you find that your crochet hook is in place, just grab the end of the yarn. Hook the yarn securely so that it can’t slip off easily. Make sure you have a good hold on it!
Step 4: Pull the Yarn Through the Stitches
Now, this is the step where you gently pull the yarn end through the stitches with your hook. You need to make it snug but not so tight that it changes the shape of your crochet. Don’t skip steps—just keep moving it along the row of stitches, and it will weave in neatly as you go, like magic!
Step 5: Repeat Until Secure
If you want to make your work more secure, you can weave back and forth a few times. You can even change directions to ensure your work won’t become loose later.
Step 6: Trim the Extra Yarn
When you are done and have securely woven in, trim off any extra yarn. But, as always, be careful not to cut too close to the stitches. You need to leave a little bit underneath for a neat finish. And that’s it!
How to Weave In Ends Crochet With A Clover Snag Repair Needle?
Start by holding the snag repair needle. As always mentioned, it will have a hook on the end to catch yarn easily.
- Now find the wrong side of your crochet. Now slowly insert the needle through a few stitches near the yarn end. This is almost the same as you have done with the regular needle.
- The difference is where you need to use the needle to catch the yarn end. The hook will also help you keep the yarn from slipping off.
- Now, gently pull the needle and yarn through the stitches. It will help you to weave in the ends without loosening.
- For more security, you can weave back and forth a few times. Lastly, trim off any extra yarn and get a better finish.
How To Weave In Ends Crochet Amigurumi?
When you finish with an amigurumi project, typically you will want to hide your yarn ends securely. Don’t worry! It is simple, just with the easiest steps:
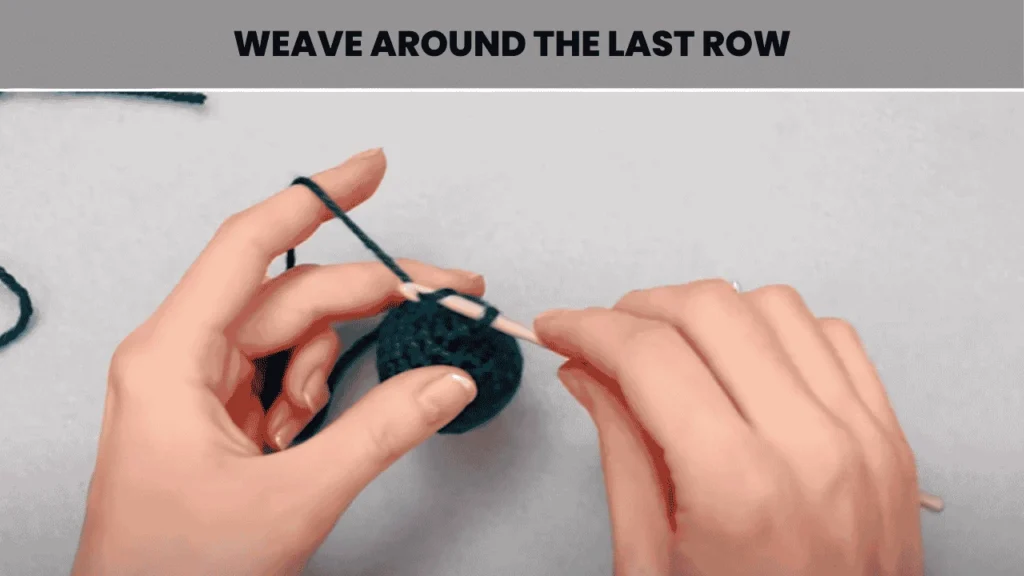
Step 1: Weave Around the Last Row
When you’ve tied off your yarn, weave your needle around the stitches in your last row. This will help you to pull them close together and give your amigurumi project a neat and clean look. If you want to make it more secure, weave around the stitches a second time.
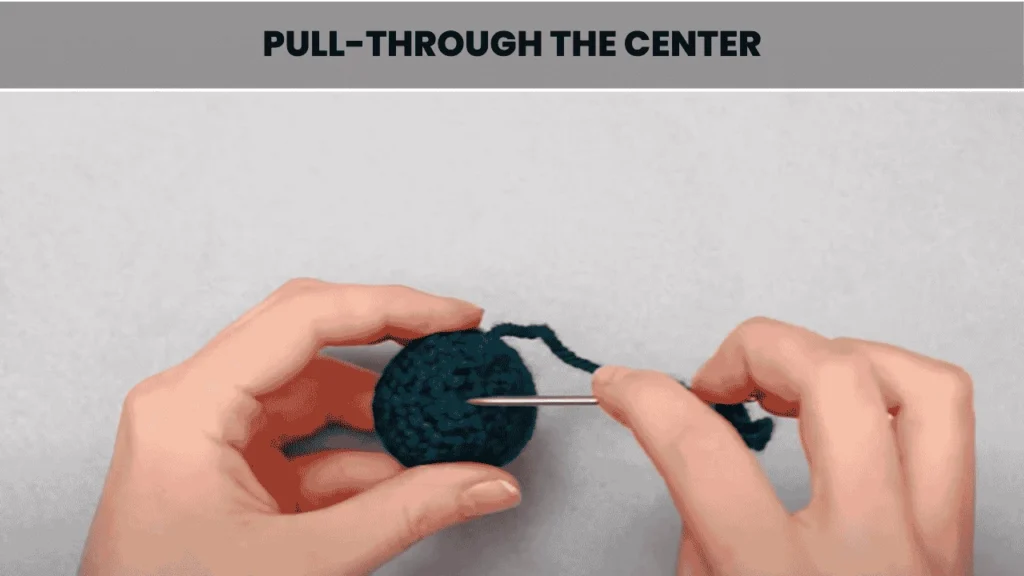
Step 2: Pull-Through the Center
Now, push your needle through the center hole of the piece. Wait! You can bring it out in a random spot on your amigurumi. Now gently pull the yarn tail firmly. It should not be too tight, as it may change shape.
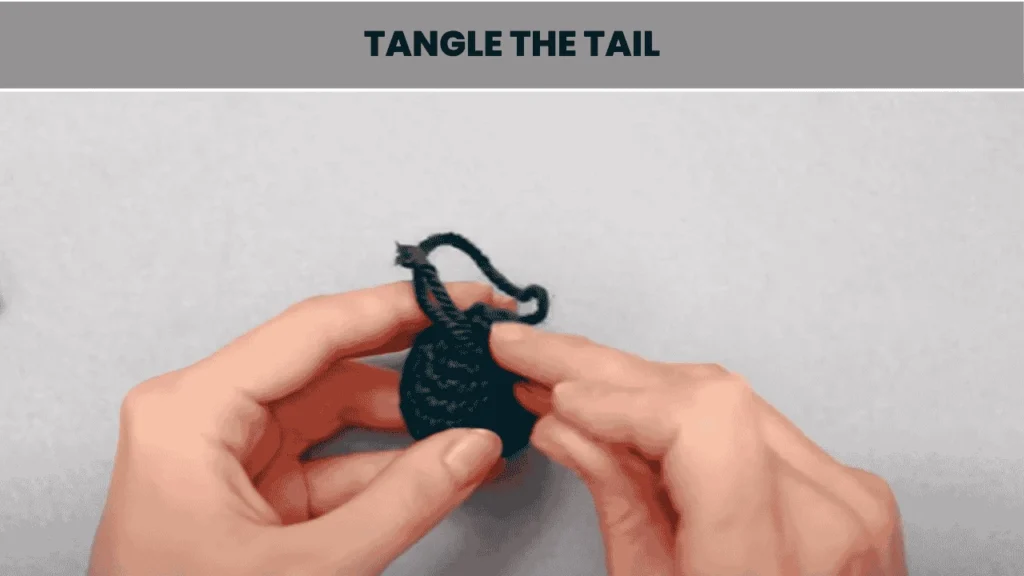
Step 3: Tangle the Tail
This is the step when you push the needle back through the same hole it came from and then place it in a different hole. This tangles the yarn end inside the stuffing and helps you hold the end securely. You need to repeat this simple step a few more times to make it so it won’t come out ever.
How To Weave In Ends Crochet On Open Work Stitches?
When you’re working with open stitches, sometimes it seems tricky for you to hide the yarn tails as there is less fabric to secure them in. Follow the step-by-step guide to weaving in ends on open work stitches:
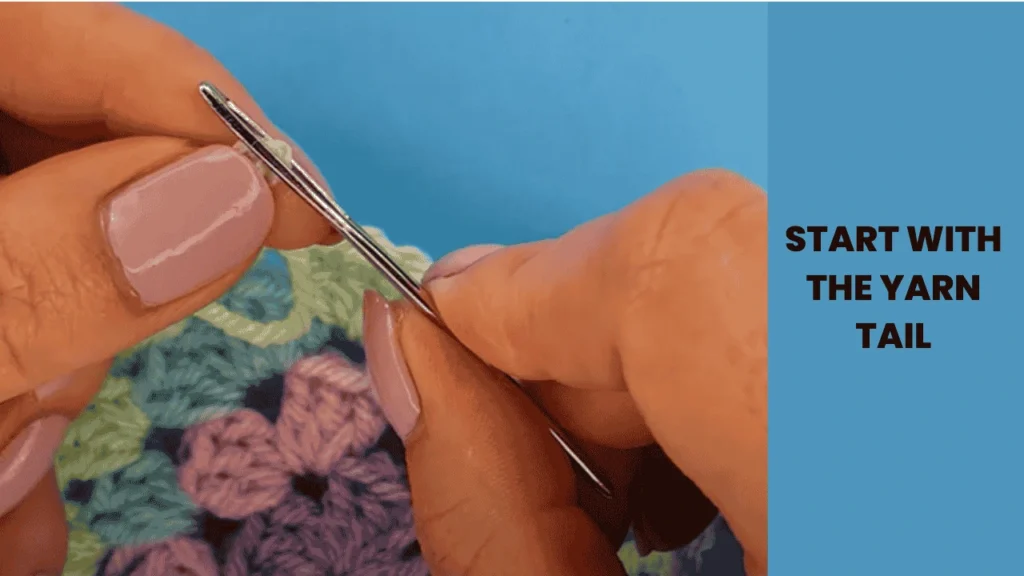
Step 1: Start with the Yarn Tail
When you are done tying off the end, thread your needle with the yarn tail. When done, insert your needle into the crochet fabric close to the tail. You need to go at least one row deep. You need to make sure the needle isn’t showing off on both sides of the open work.
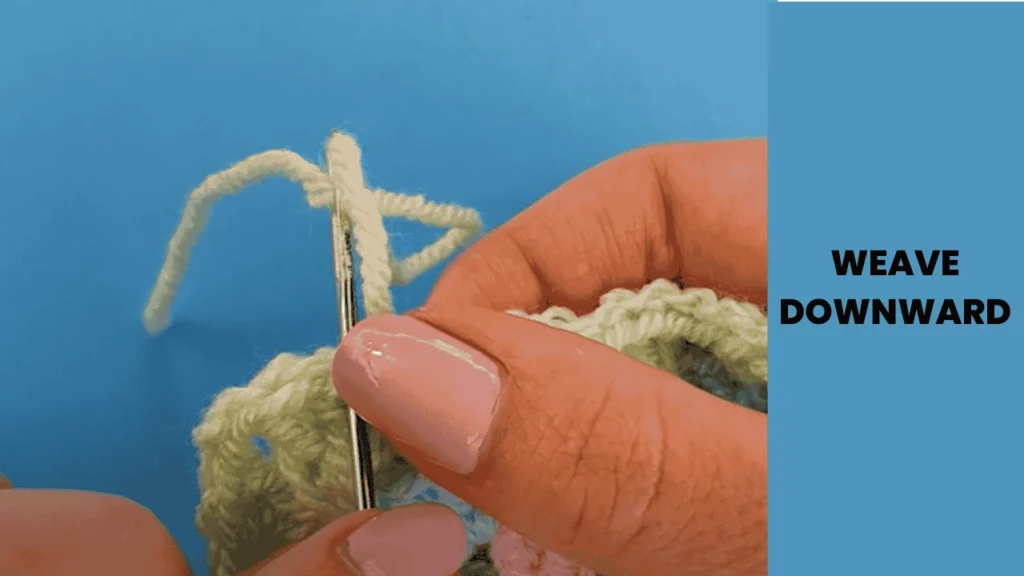
Step 2: Weave Downward
Now you have to push your needle down through at least one row of stitches. This way you can easily hide your ends.
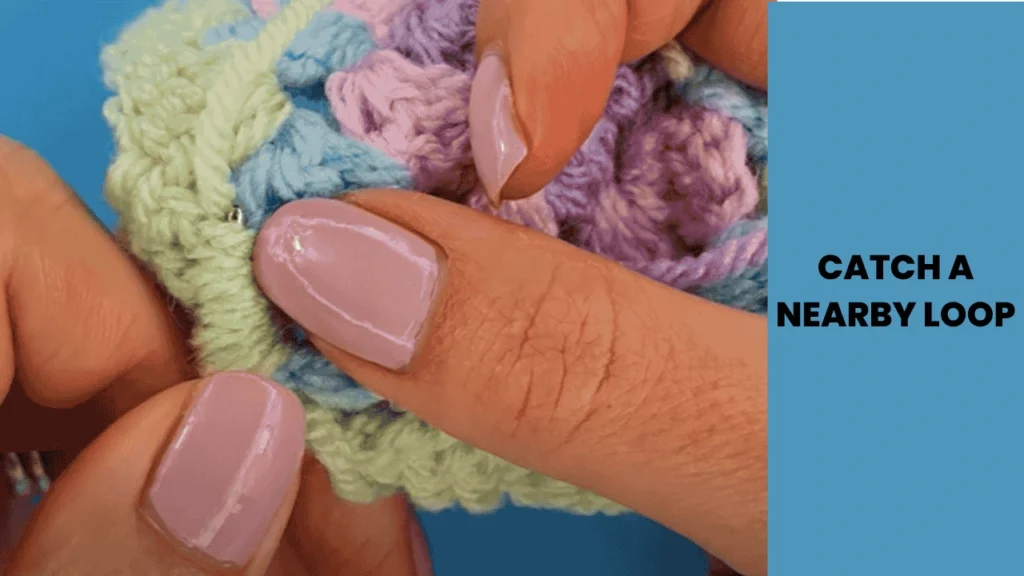
Step 3: Catch a Nearby Loop
Then find a loop where your needle came out. Now insert your needle under that loop. Make sure to weave the needle back down in a different direction.
Step 4: Weave Upward
Just go back now and catch another loop. Make sure you are not pulling it too tight. You have to be careful and blend it with the open stitches.
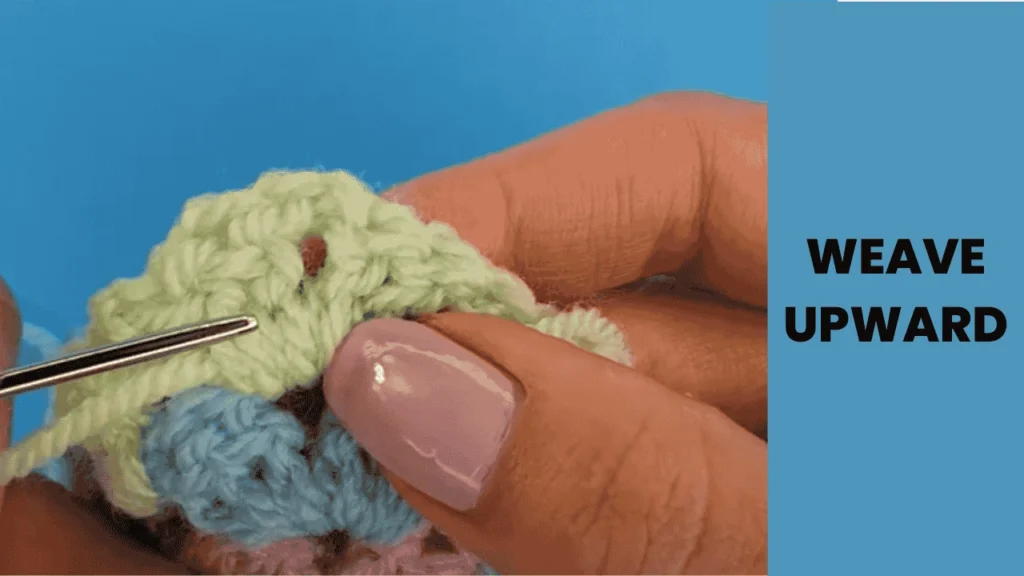
Haven’t you cleared yet? Watch this YouTube Video for your easy understanding. Hope you will get cleared.
Step 5: Repeat If Needed
Repeat steps 3 and 4 if you want to make your ends more secure. Be careful not to overdo it, as there are chances of making your crochet stitches are bulky, and you will not want that.
Expert Tips For Weave In Ends Crochet
Weaving in ends can be tricky, but with the right tips, you can make it not only easier for you but also give it a professional look. Here, we have added some pro tips you can follow while weaving in the ends.
- Always weave in your ends on the wrong side of your work. This will give you a finished look. A tapestry needle has a large eye that makes it easier to thread thicker yarns. The best part is that you will also get a blunt end that helps you avoid splitting your stitches.
- To add extra security, it is best to weave the yarn tail in different directions. This helps keep the tail secure so it doesn’t come out.
- Make sure you pull the yarn snugly but not too tight. It can make your work look fluffy, which seems unprofessional. After you’re done, look at both sides of your project. If you find the yarn tail, you might need to weave it more.
- Make sure to trim the yarn close to your work but not too close to your work.
Final Thoughts
Well, that’s all about how to weave in ends crochet. Don’t skip this step by thinking it’s just a random part of the craft. We will say it’s even the most important step in crochet, and without it, your long effort will just go in vain in seconds.
Follow the tips in our guide and make your crochet items look professional and beautiful. When you do, you’ll be proud of your work! You can enjoy your crochet without worrying about messy ends.

