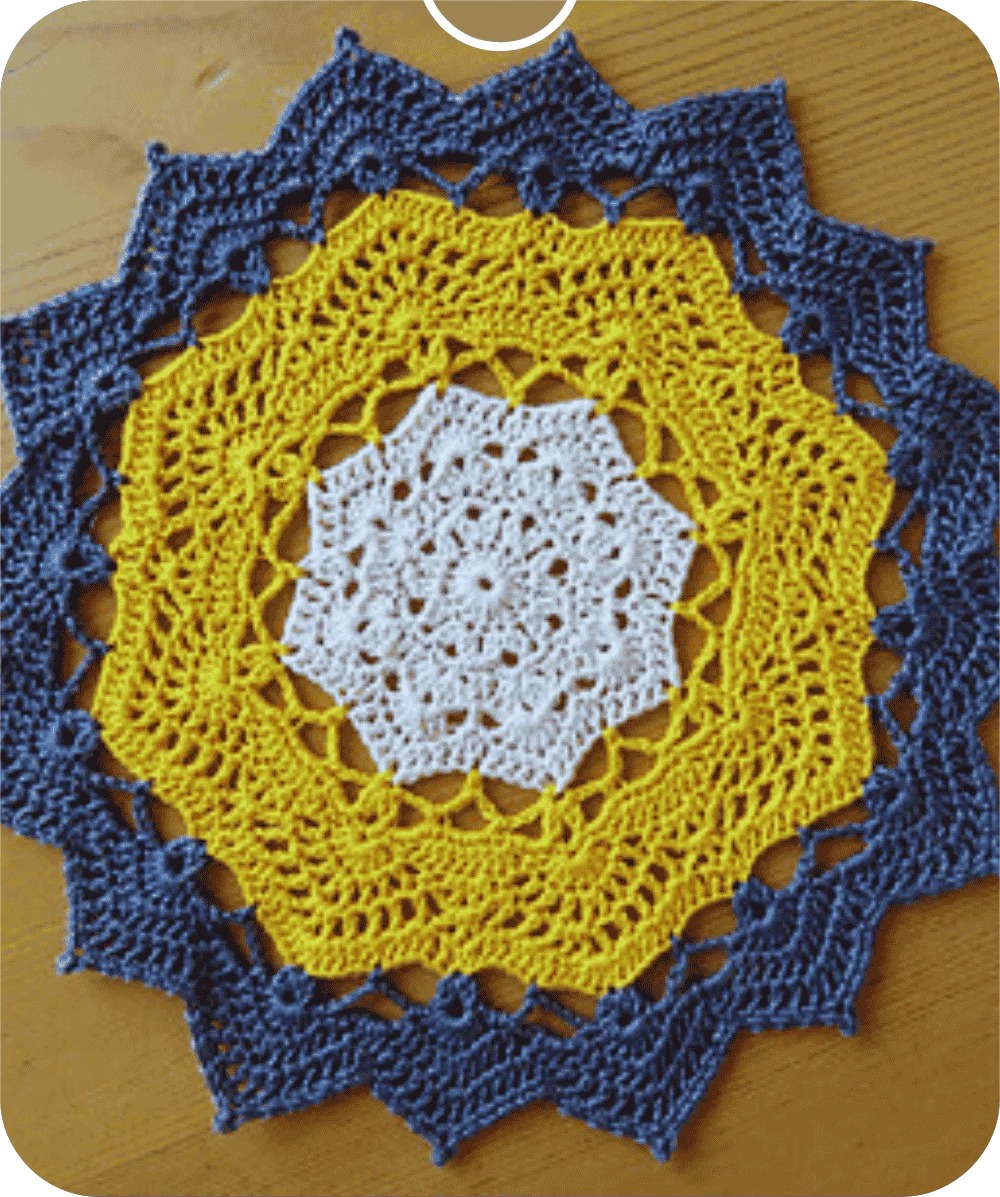
Do you want to know how to read a crochet pattern? Are you a beginner? Don’t be frustrated! It is very easy to read. You can easily start your first pattern if you have a clear knowledge of the basic stitches, common terms, action words, and pattern notes.
But, don’t know about these, right? Don’t worry!
Throughout this article, we will cover all the matters with the different aspects of reading a crochet pattern, why you should learn crochet patterns, and how to start learning the crocheting language.
It doesn’t matter if you are new to this or have done quite a lot of crocheting work; this guide will open up new perspectives to help you throughout this journey. So, let’s start-
Key Takeaways:
- Choose beginner-friendly patterns to get used to the terms and symbols.
- Understand the common terms like ch (chain), sc (single crochet), and dc (double crochet).
- The more patterns you try, the easier it becomes to read and follow them.
- Once you’re comfortable, start experimenting by adding your customizations to the patterns.
In This Post
- Why learn How to read a crochet pattern?
- Basic Crochet Terminology
- How To Understand Crochet Patterns?
- How to Read a Crochet Symbol?
- Basics of How to Read a Crochet Pattern
- Understanding Crochet Stitch Counts
- How to Read a Crochet Diagram?
- Tips on How to Read a Crochet Pattern?
- Common Issues with Reading a Crochet Pattern
- Final Words
- Frequently Asked Questions (FAQs)
Why learn How to read a crochet pattern?
You might wonder, “With all those great videos on YouTube, why should you go through this hassle of learning how to read a crochet pattern?” Everyone feels the same way at first. But listen, picking up this skill will change how you crochet forever. So grab the yarn and let me break down some reasons why:
Unlimited Potential Crochet Projects
Picture it: You found a stunning vintage book with crochet patterns at a flea market. There is no video there, only written patterns.
Without knowing how to read them, those beautiful projects are locked behind. But if you do know? That book becomes a treasure chest of new ideas waiting to be read and unleash the mysteries.
At Your Own Pace
Sure, video tutorials can be significant. But sometimes, they move so fast through tricky parts of crochet design. With a written pattern, you take your own time no rush and no need to rewind again and again. Just learn how to read a crochet pattern, practice, leave it, and return it whenever you want.
Customization Options
You can add extra length to a scarf or make a hat bigger. Once you get the hang of reading patterns, doing this will feel easy. Make a few variations and discover even more ways to design a crochet. With the written materials, all this is easy.
Creativity Inducing
Learning to read a crochet pattern isn’t only about following someone else’s design – it’s a way to help you start making your own. Once you know how patterns are written, you can transform your creative ideas into patterns you can share with the world.
Learn Ancient Methods
Some of the most beautiful, incredible crochet designs have been around for years or even centuries. By understanding written patterns, you can recreate those timeless designs and feel connected to the history of crochet.
Fix Mistakes
Sometimes, things go wrong, like you made the wrong stitch ten rows back but don’t know where. Without a pattern, it’s hard to track mistakes. But with written instructions, you can look back at the pattern and figure out where things went off track.
Also, find beginner crochet patterns to follow along.
Basic Crochet Terminology
Crochet patterns are usually written in either US (United States) or UK (United Kingdom) terminology. While both styles use the same stitch names. The actual stitches they refer to are not the same. This can be confusing for beginners, especially when switching between international patterns.
Before starting any pattern, always check which terminology is being used. It’s usually mentioned at the beginning of the pattern under “notes” or “about this pattern.”
| US Terminology | UK Terminology |
|---|---|
| Slip Stitch (sl st) | Slip Stitch (sl st) |
| Chain (ch) | Chain (ch) |
| Single Crochet (sc) | Double Crochet (dc) |
| Half Double Crochet (hdc) | Half Treble Crochet (htr) |
| Double Crochet (dc) | Treble Crochet (tr) |
| Treble Crochet (tr) | Double Treble Crochet (dtr) |
| Double Treble Crochet (dtr) | Triple Treble Crochet (ttr) |
When you first come across a crochet pattern and try to read it, you’ll notice that so many phrases and small chunks of words have no meaning in the first place. So, here’s a crochet terminology glossary.
But understanding these terms and abbreviations of the crocheting world will unlock hidden secrets of designs and crochets. Here are some common ones with explanation:
Stitches:
- Chain (ch): Chains are the first and most crucial part of a crochet design. They are like the opening curtain to the whole show.
- Single Crochet (sc): It’s a basic and simple crochet. It’s excellent for beginners.
- Double Crochet (hdc): It is taller than a single crochet. It’s like overachieving in basic stitches.
- Half Double Crochet (DC): The Goldilocks of the stitches – not too short or tall.
- Treble Crochet (tr): The skyscraper stitch is suitable for crocheting fast and over a large area.
Action:
- Slip stitch (sl st): This is the ninja stitch; it moves you places without adding height.
- Increase (inc): Make your project bigger! Work on the yarn to make it bigger. Scaling up the whole design.
- Decrease (dec): The opposite of growth. It’s like putting the crochet on a quick diet.
- Turn: Change the crochet design as you should, flip it or turn it around. It’s like turning a page in a book but with yarn.
Pattern Words:
- Round: Going around with the stitches to make a circular crochet design. Think balls, hats, etc.
- Row: Back-and-forth movements like waves. Think blankets, scarves, etc.
- Repeat: Just repeat the whole process with some added customization if needed.
Materials:
- Hook: Your magic wand of crochet. Comes in all sizes, from alphabet letters and numbers.
- Yarn Weight: It is the thickness of the yarn. It ranges from superfine (lace delicate) to super chunky and bulky!
- Gauge: How many stitches and rows will fit a place? It’s like a GPS of yarn to keep you in line!
How To Understand Crochet Patterns?
So, you’ve got yourself a crochet pattern in front of you. Don’t panic! Think of it as a recipe – once you learn what each part means, you’ll make a crochet masterpiece in no time. Let’s learn more about them:
Skill Levels:
Have you ever seen those small sheep symbols on the pattern? They aren’t just cute – they’re showing you how challenging the project is:
- One sheep: Beginner. Perfect for your first rodeos.
- Two sheep: Easy. Got the basics down? This one is for you.
- Three sheep: Intermediate. Time to flex some crochet muscles!
- Four sheep: Advanced. When you’re ready to be a crochet master.
Another suggestion is to keep the more complex skill level manageable. Keep practicing to learn the proper crochet pattern key.
Finished Size:
This part tells you how big or small your project will be when you’re done. It’s essential info, especially if you’re making clothes or decor:
- For clothes, you’ll see stuff like “32-inch bust” or “M (L, XL)”.
- For a blanket scarf, think “40 x 60 inch”.
Materials and Tools:
This part is your best friend at the yarn store. It tells:
- Yarn: Type, weight, and number of skeins or yards needed.
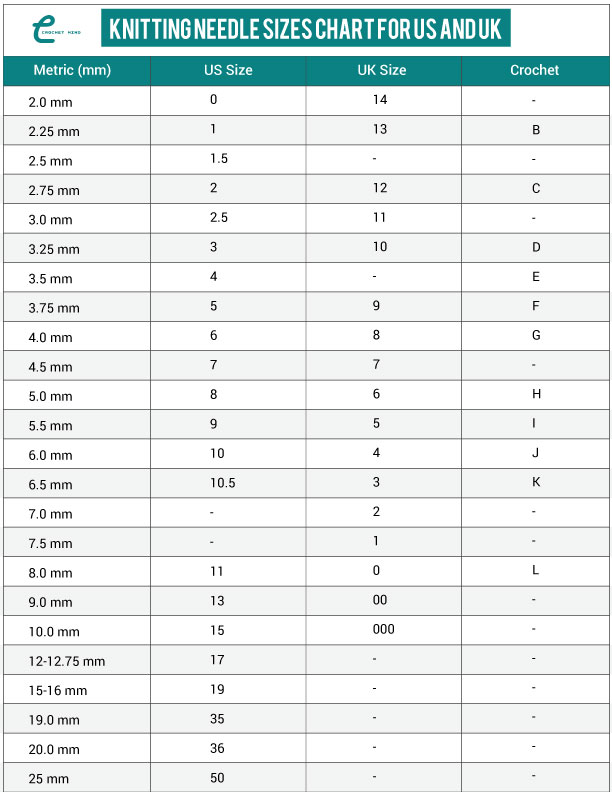
- Hook size: Usually in mm and letter/number combo.
- Notions: Things like stitch markers, tapestry needles, or buttons.
Secrets: Try always to buy an extra skein. It’s better to be safe than sorry; you can always return it if you don’t use it.
How to Check Your Gauge?
- Crochet a small square using the recommended hook and stitches.
- Measure it. Too small? Go up a hook size. Too big? Size down the hook.
- Repeat until your square matches the gauge in the pattern.
Yes, it takes time, and yes, it isn’t enjoyable. But trust me, everyone makes crochet pattern mistakes at some stage. Understanding Crochet Abbreviations
Think of these like the text speaks of the crochet world. Once you know them, you can read rare and awesome crochet designs with the knowledge of abbreviations. And learn how to interpret crochet patterns.
- ch – chain
- sc – single crochet
- hdc – half double crochet
- dc – double crochet
- tr – treble (or triple) crochet
- sl st – slip stitch
- st(s) – stitch(es)
- rep – repeat
- sk – skip
- inc – increase
- dec – decrease
- yo – yarn over
- and – round
- RS – right side
- WS – wrong side
Pro Tip: Keep a cheatsheet close by. Whenever you get stuck, use the cheat sheet to learn more without any headaches.
How to Read a Crochet Symbol?
Some patterns come with symbol charts. Don’t panic! Once you catch on, these visual guides can be super helpful. Our website also offers crochet pattern reading tips.
- Each symbol stands for a specific stitch or action.
- Charts are read from bottom to top for rows and counterclockwise for rounds.
- Symbols usually look like the stitches they represent:
- A dot (•) or cross (+) usually means chain stitch.
- A T shape (⊥) means single crochet.
- A T with one cross (╪) means double crochet.
Remember: Symbol charts are like crochet hieroglyphs. Using crochet charts will elevate your experience even more.
Stitch Key:
The stitch key is like a map legend—it explains the meaning of all the weird symbols and abbreviations.
- You usually find this at the beginning of the pattern or next to the symbol chart.
- It links abbreviations or symbols to full names and sometimes even little instruction.
Example:
- sc = single crochet
- dc = double crochet
- * = Repeat instruction between the asterisks
Insider Tips: When you come across a new symbol or abbreviation, add it to your crochet dictionary. Your future self will thank you!

Basics of How to Read a Crochet Pattern
You got your abbreviations down, you got the basics, and now you’re facing off with the pattern instruction. Don’t sweat it! Let’s break this step-by-step to Read a Crochet Pattern:
Row-by-Row Format:
Most patterns are written row by row, like a crafty GPS leading you through. Follow crochet row-by-row instructions to make your crochet designing easier.
- Each row usually starts with a number: “Row 1“, “Row 2“, etc.
- Follow each row’s exact instructions, then move on to the next.
Example:
- Row 1: Ch 20, sc in 2nd ch from hook and in each ch across. (19 sc).
- Row 2: Ch 1 (don’t count as st), turn, and sc in each sc across. (19 sc).
Pro Tip: Mark the row ending with stitch markers or a random piece of yarn. It’s like leaving breadcrumbs in a crochet wood!

Repeated Sections:
Patterns often use stars (*) or brackets [ ] to show where you’ve got to repeat. It’s like patterns saying, “Hey, do this cool part a bunch of times!”
- Asterisks: Repeat everything between those stars.
- Example: 2 dc, ch 1 repeat from * to * across
- Brackets: Usually, a number showing how many times to repeat.
- Example: [2 dc, ch 1] 3 times
Real Life Example,
- Row 3: Ch 3 (counts like first dc), *2 dc in next st, dc in next 2 st; repeat from * to last three sts, two dc in next st, dc in last 2 st.
- Translation: In chain 3, keep repeating that bit between the stars until you only have three stitches left. Then, do whatever the final instructions say for those last stitches.

Special Stitches:
Sometimes, patterns include special stitches that are different from your usual sc or DC. Don’t worry—the pattern usually explains these at the start.
Example of special stitch,
Cluster Stitch (CL): [Yo, insert hook in next st, yo and pull up a loop, yo and draw through 2 loops] 3 times in the same stitch, yo and draw through all four loops on hook.
Now, whenever you see “CL” in the pattern, you’ll know how to do this whole dance routine.
Understanding Crochet Stitch Counts
Stitch counts are like the headcounts in a crochet class – you need to know how many stitches you should have at the end of each row or round. They’re essential because your project might not turn out as expected if your counts are off. You’ll also find common crochet stitches.
End-of-Row Counts
At the end of some rows or rounds, you might see a number in parenthesis like this: (19 sc). That number tries to tell you how many stitches you should have when you’re done with that row.
Example:
Row 1: Ch 20, sc in 2nd ch from hook and in each ch across. (19 sc). So, (19 sc) means you should have 19 single crochet stitches.
Pro Tip: Count your stitches at the end of each row! It’s like taking a roll call; make sure nobody goes missing.

Increases and Decreases
Increases (inc) and decreases (dec) are about changing how wide or narrow your crochet is. Increasing adds more stitches to make the work wider while decreasing it will make it skinnier by taking stitches away.
Increases:
To increase, you add two or more stitches to the same stitch. It’s like adding another person to a tiny seat. Example,
Row 2: Inc in next st (2 sc in same stitch), sc in next st. Repeat across the row. So, you’ll make two single crochets in one stitch, then one single crochet in the next one.

Decreases:
Decreasing is about removing stitches by working two or more stitches together—it’s like squishing two kids into one desk at school. Example,
Row 3: Sc2tog (single crochet two together), sc in next st. Repeat across the row.
Translation: You’ll take two stitches and crochet them into one, then make one single crochet in the next stitch.

Pro Tip: Be super careful with the increase and decrease part. If you don’t pay close attention, your project might be all wonky and lop-sided.
How to Read a Crochet Diagram?
Diagrams are like a secret map of where your stitches go, but they can be confusing if you need to know what you’re looking at! But don’t worry; it’s easier once you know how to do it. It might look effortful. But it is not rocket science. Here is how to keep track when reading a crochet pattern:
Reading Direction:
When working on rows, most diagrams are read left to right and then the next row right to left. If it’s in rounds, though, you’re reading counterclockwise. Start at the bottom and work your way upwards.
Pro Tip: Look at the key first because patterns may have different directions.
Symbol Interpretation:
Every symbol you see represents a stitch, like a secret crochet alphabet! A dot or a cross (+) usually means chain stitch, while a T (⊥) means a single crochet. The tricky part is matching the symbol with the right action, but soon, it’ll be like reading words. Follow the crochet pattern instructions thoroughly.
Tips on How to Read a Crochet Pattern?
There you go! You have learned the basics of how to read a crochet pattern. But here are more tips on reading the crochet patterns:
Marking or Highlighting
Crochet patterns can get long, and it’s easy to get lost! Use highlighters, sticky notes, or stitch markers to track where you are. It’s beneficial for repeats – when you have to do the same steps multiple times. This way, you won’t constantly wonder, “Where was I again?”
Taking Notes
Sometimes, you change a stitch or make an adjustment that wasn’t part of the pattern, and when that happens, make sure to write it down. Notes help you keep track of any changes or jot down tricky parts that give you problems.
Use these tips to read crochet patterns and learn more quickly and effectively.
Common Issues with Reading a Crochet Pattern
Even the best crocheters run into problems sometimes. Here’s how to fix some of the most common crochet disasters:
Missing Stitches
You probably skipped one somewhere along the row if you still need stitches. The best way to fix this is to slowly retrace your steps by counting each stitch. If that doesn’t work, sometimes you must undo a row or two and start over. Missing stitches can mess up the whole pattern, so follow through correctly.
Unclear Instructions
Sometimes, a pattern is written in a way that could be clearer. If you’re stuck on something that doesn’t make sense, check YouTube or crochet forums for a video tutorial or explanation. Someone out there has probably been stuck on the same step before.
Final Words
Learning how to read a crochet pattern is a journey; learning patterns takes some time. At first, reading patterns might seem like you’re trying to read an alien language but keep learning, and you’ll soon adjust to it.
You’ll improve with each project, and soon, you’ll learn how to read crochet patterns without sweating. You can also find crochet pattern examples to get ideas about your next design.
You might make some mistakes, but don’t let that discourage you from progressing your crochet design journey.






![Select Crochet Clothing Ideas: [Best Crochet Fashion] Crochet Clothing Ideas](https://crochetmind.com/wp-content/uploads/2025/07/Crochet-Clothing-Ideas-Best-Crochet-Fashion-in-2025-1-1.jpg)

![The Best 30+ Free Crochet Cat Patterns [Beginner-Friendly Guide]](https://crochetmind.com/wp-content/uploads/2025/04/1-The-Best-30-Free-Crochet-Cat-Patterns-Beginner-Friendly-Guide.webp)
