Have you ever dreamed of making your own crochet dress? But then you are dismayed when wondering how to start. If that is so, then you are reading the right article! The idea of crocheting a dress can seem very complicated. However, with proper guidance, it can be a fun experience.
This guide will teach you every step of how to crochet a dress. You can learn even if you are a beginner. So, let’s just get started and learn how to bring your crochet dress vision into reality.
In This Post
- What is a Crochet Dress?
- What Skill Levels Are Required to Crochet a Dress?
- What Materials & Tools Are Required?
- Stitches Used for Crocheting a Dress
- How to Crochet a Dress?
- Some Ideas to Style A Crochet Dress
- Is it Easy to Learn Dress Crocheting?
- Tips for Better Dress Crocheting
- Final Thoughts
- Frequently Asked Questions (FAQs)
What is a Crochet Dress?
A crochet dress is a handmade garment created while using a hook to loop yarn into patterns and shapes. So a crochet dress, unlike a machine-made dress, is therefore made stitch by stitch which makes each pattern unique and unique. Be it light summer dresses or cozy winter outfits, crocheting makes you choose your style. You can select the color and texture of your choice.

Once you learn to crochet a dress, it allows you to crochet many other simply gorgeous one-of-a-kind dresses.
What Skill Levels Are Required to Crochet a Dress?
When you decide to learn how to crochet a dress, consider your skill level and the skills you have. You are not a bad crocheter if you are an amateur. You could begin with simple dress patterns using basic stitches and then progress to advanced designs. Let’s see in details:
Beginner
If you are a beginner, you will love a simple crochet dress. The single crochet and double crochet are all basic stitches. You can adapt easy crochet dress patterns that do not require much shaping and complicated designs.
Intermediate
After mastering the basic stitches, you can proceed to the intermediate stage. There you will begin working more on the complex patterns. You can learn how to shape your crochet dress by working to increase and decrease stitches, using different techniques for sleeves, necklines, and so much more.
Advanced
For advanced crocheters, the possibilities will be unlimited! You may create intricate lace patterns, work with different yarns, and even design your dresses.
Crocheting a dress is about practice and patience, for all skill levels. As you continue to work on each project you finish, you improve and get more confident!
What Materials & Tools Are Required?
Before we go into how to crochet a dress, let’s speak of the materials and tools you’ll need. The correct supplies just come in handy for a smooth crocheting experience. Let’s see which is most preferable for you:
Basic Tools
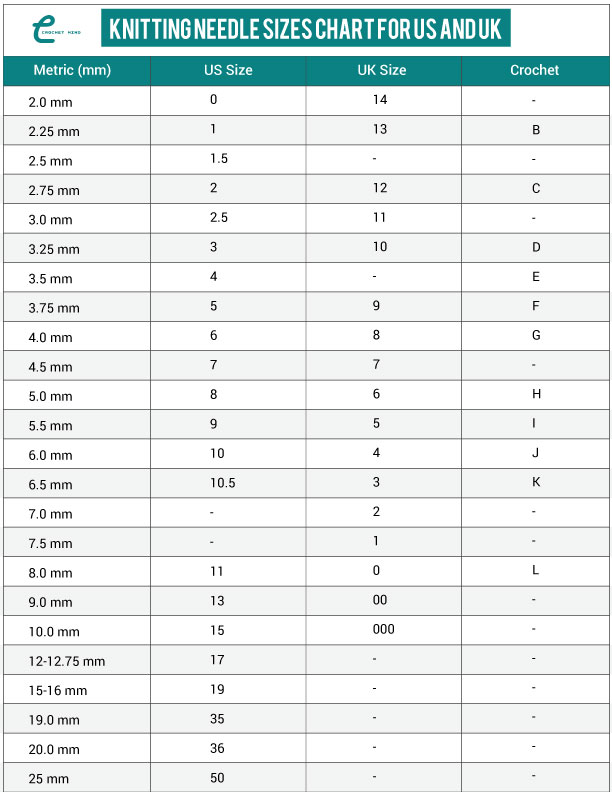
- Crochet Hook: Which size you will use depends on your yarn. In general, 4mm to 6mm size is quite standard for dresses.
- Yarn: Choose for your dress. Cotton, bamboo, and blends work, depending on season and design.
- Scissors: Cut your yarn neatly
- Measuring Tape: Measure your dress while working on it, so you get the right fit.
- Stitch Markers: Keep track of your stitches, mainly while shaping parts like the waist or neckline
- Tapestry Needle: It weaves in your yarn ends
- Blocking Board: You shape your dress after completing it.
Yarn Selection Table:
| Yarn Type | Best For | Texture | Durability |
|---|---|---|---|
| Cotton Yarn | Summer Dresses | Lightweight, breathable | Long-lasting, easy to wash |
| Bamboo Yarn | Lightweight, soft designs | Smooth, silky texture | Strong, sustainable |
| Blended Yarn | Versatile patterns | Soft, varied textures | Sturdy, easy-care |
| Wool Yarn | Winter and cozy dresses | Warm, plush | Durable, heat-retentive |
Stitches Used for Crocheting a Dress
The challenge of extra stitches to use in learning how to crochet a dress is one’s greatest obstacle. Some most popular stitches for crochet dresses include:
- Single Crochet (SC): It is one of the easiest stitches and is often used specifically for beginners.
- Double Crochet (DC): This stitch will produce an open, lacy look that would be good for covers and linings.
- Shell Stitch: This is one way of making a flair that can be added at the end of the stitch or throughout the middle of the dress, it is good for edging.
- V-Stitch: It produces a light and airy design great for summer dresses.
- Picot Stitch: Suitable for delicate decorative borders.
How to Crochet a Dress?
Crocheting your dream dress is the fun part. Here’s a simple guide for beginners. You will learn the basic process of making a crochet dress. This is a complete guide. So, here we go!
Step 1: Select Your Pattern and Measure Yourself
Find a crochet pattern that is the appropriate match to your skill level, whether it be for the easy styles of beginners or more intricate ones for the more advanced.
Take measurements carefully of your bust, waist, and hips. It’s essential in getting the perfect fit. It’ll be your guide in choosing the right size of the dress and getting the most comfortable flattery.

Step 2: Create a Foundation Chain

Stitches Used: Chain (ch)
Start by making a foundation chain the same width as your dress. This is where your dress will begin.
- Place the hook on the yarn and create a loop. Take one strand through the loop, pull it close to your hand, and secure the loop around the hook. A slip knot should fit snugly so that it doesn’t slide off the hook freely, but you do want to loosen the tension of the chain a bit.
- Chain stitches by yarn over and yarn through the loop on your hook. For a smaller-size dress, 100 chain stitches could do, but for sure it depends upon the pattern of your dress and the size of it.
- Chain it in large sizes or loose fits, but if it’s fitted it might be less.
- The chain shouldn’t be too tight or looser.
Once your chain is complete and counted through to be accurate, you can begin crocheting stitches. The foundation chain will be where you are starting the body of the dress so it needs to be neat and fairly uniform so all the stitches that will come after will look nice.
Step 3: Create the First Row

Used Stitches: Single Crochet (sc)
After you made the chain foundation, you are now ready to begin your first row. Ensure your foundation chain is even and not twisted to provide a sturdy base for the rest of your work. A twisted chain will cause uneven stitches when worked on and will make your work untowardly difficult to manage.
- Insert the hook into the second chain from the hook
- Yarn over and pull through the loop.
- Again yarn over, and draw through both loops on your hook. Do it across the row.
Now, when you reach the end of the row, count how many stitches you have to check if you have the same number of stitches as were in the foundation chain except for that one skipped. In this way, your project will be shaped right from the very start.
Step 4: Create the Body of the Dress

Used Stitches: Double Crochet (dc), Half Double Crochet (hdc)
You can begin dress crocheting after the first row.
- Alternate between double crochet and half-double crochet stitches. This builds up the fabric and gives it enough texture and interest. The alternation between DC and HDC will provide a well-balanced, smooth fabric suitable for dresses.
- Continue with row upon row of crochet stitches until you obtain your preferred length for the dress.
- If you’re making a simple style of dress, you can crochet in a straight line with no shaping. This is perfectly okay for shift dresses or loose comfortable designs.
- Make sure that the tension in each row is even so that it’s not uneven.
You can crochet straight in for a basic dress. If you want to have a fitted dress, then you will need to decrease the stitches around the waist area and then do an increase again around the hips.
Step 5: Shape the Sleeves

Stitches Used: Slip Stitch (sl st), Single Crochet (sc)
Those with sleeve patterns have to take proper openings and have it worked in a structured fashion. To do that:
- When you reach the armhole, the chain number of stitches is enough for your desired measurement, about 20 ch, to form the sleeve opening.
- Then continue to work in rows to shape the sleeve.
- Slip Stitch (sl st) or Single Crochet (sc) Continue to close the sleeve
- If you have both sides of your garment with sleeves attached, remember to do, on the second side exactly what you did on the first side.
- Check your count and measurements. Make sure both sleeves are the same height, width, and opening.
Step 6: Create the Neckline

Stitches Used: Chain (ch), Slip Stitch (sl st). To shape the neckline, follow these steps:
- Gauge It determines how wide you want the neckline.
- Skip stitches to create the opening and slip stitches around the neckline to close.
- Try the cardigan on to determine if the neckline needs to be wider for your liking. If so use either decreasing or increasing stitches.
To add another creative flair to it, you can include edging at the neckline, which can be a simple shell stitch or picot stitch; this will make your neckline distinct and custom to you.
Step 7: Add Edging and Finishing Touches
To add a fashionable finish to your cardigan, you just need to put decorative edges on the hem, sleeves, and neckline. The shell stitch creates a scalloped texture, while the picot stitch produces a lacy, delicate effect.
You can choose the one that would fit perfectly with your design. These finishing touches add not just beauty to your sweater but also to the style-putting, uniform look that does justice to your handmade cardigan.
Step 8: Block and Weave in Ends

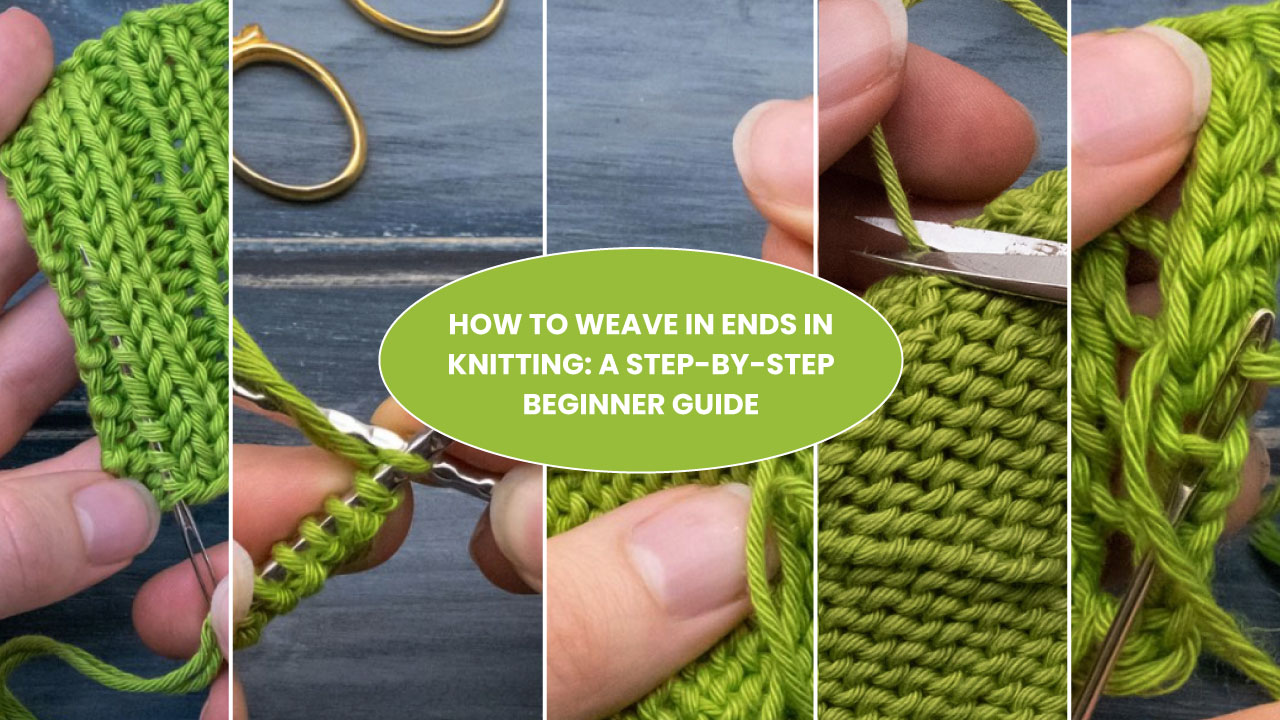
Once the cardigan is finished, use a tapestry needle to weave in loose yarn ends to clean up the work. At this point, you block the cardigan by either soaking it or misting it with steam, laying it out to the size that it’s supposed to be.
This allows you to even up the stitches and freshen the overall shape of your finished cardigan for a great, professional finish. Blocking ensures that your cardigan maintains its shape and fits.
Some Ideas to Style A Crochet Dress
A crochet dress is a versatile garment that can be styled very many ways. Here are a few ideas:
Casual Day Look
Worn with a wide-brimmed hat and comfortable sandals, this crochet dress will give the impression of a very laid-back, flowing sense for summer days outdoors, beach activities, or casual walks through the park. Add light bags and sunglasses, and you’ll have a very effortless yet easy-chic look that’s both fashionable and relaxing.
Boho Chic
Add a statement belt around the waist to create a shape. Pair the chunky, earthy jewellery – bangles or a long necklace – with ankle boots or strappy sandals for an effortlessly cool, free-spirited style that’s festival-ready.
Night Glam
Make over this crochet dress to a sophisticated evening gown paired with high heels and a smooth clutch for a chic look. You can add more glamour by pairing it with some sparkly accessories, which include dangle earrings or wearing a statement piece or necklace. Add a touch of glamour to this ensemble with bold lip color or by giving that beautiful smokey eye makeup.
Winter Cozy
Make it winter-ready by layering it over a fitted long-sleeve top or turtleneck. Tuck tights or leggings under it and top it all off with ankle boots to keep warm. A cozy scarf and stylish coat will finish the outfit for cooler months in style.
Is it Easy to Learn Dress Crocheting?
The answer is yes. It becomes more easy if you practice simple patterns. You will feel a bit overwhelmed at first if you are new to this. But then, after some practice, it becomes quite easy.
Crocheting requires lots of patience, but if you finish your dress, you will surely feel so proud and that it was all worthwhile!
Tips for Better Dress Crocheting
- Practice Your Stitches: Before you start a dress project, get some practice in on a small swatch of the stitches you will be using.
- Follow the Pattern: This process is much easier for followers of a pattern, especially beginners.
- Take Your Time: Crocheting a dress does take time; do not rush it though, but be merry in doing the task.
- Check Your Gauge: Be sure your stitches equal the gauge given in your pattern so that the fit of your garment can be correct.
- Use Stitch Markers: They come in handy for marking a place, like when working in rounds or shaping sections such as sleeves.
30+ Free Hexagon Crochet Cardigan Pattern
The Best 30+ Free Crochet Cat Patterns [Beginner-Friendly Guide]
Handmade Crochet Designs: 55+ Unique & Stylish Creations
Free 27+ Crochet Headbands for Winter, Summer & Gift Ideas
Final Thoughts
Learning how to crochet a dress is perhaps one of the most exciting journeys that can be traveled in an endless sea of creativity. How amazing and stylish it can be for people starting from beginners to the more seasoned crocheters. With the right tools, materials, and a step-by-step guide, you will succeed in crocheting a dress to suit your style and hard-earned skills.

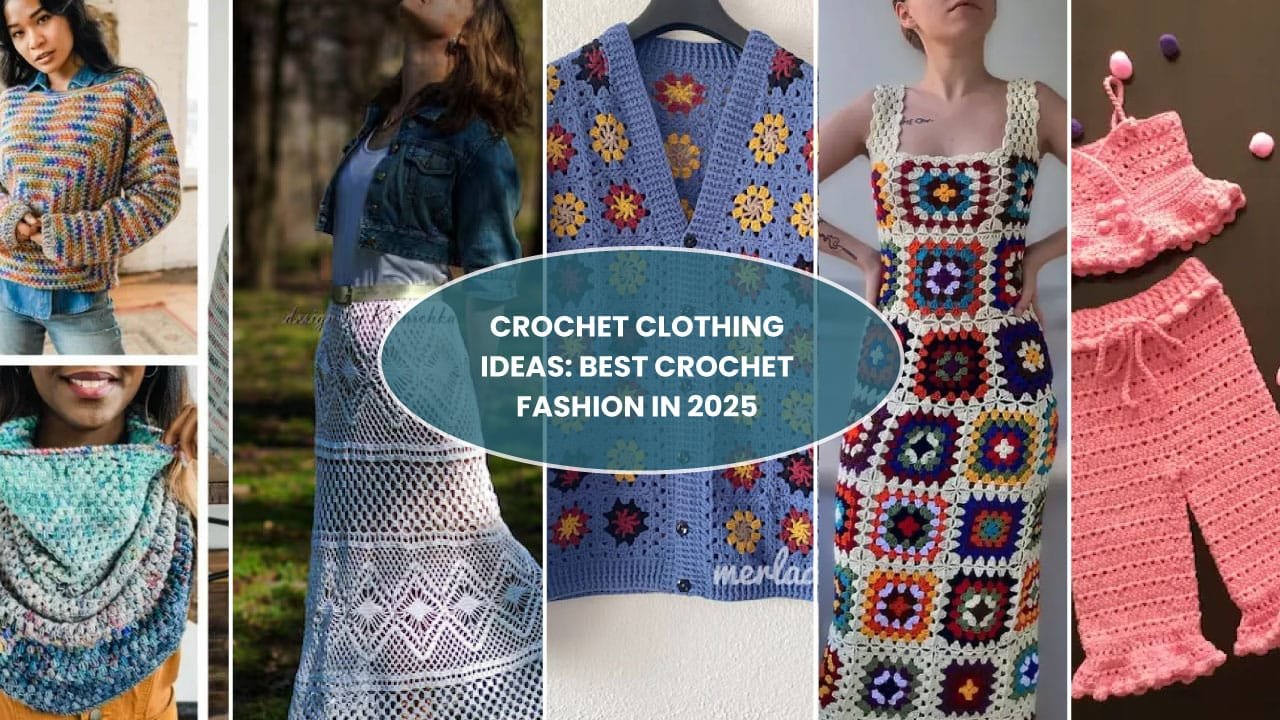

![Select Crochet Clothing Ideas: [Best Crochet Fashion] Crochet Clothing Ideas](https://crochetmind.com/wp-content/uploads/2025/07/Crochet-Clothing-Ideas-Best-Crochet-Fashion-in-2025-1-1.jpg)


![The Best 30+ Free Crochet Cat Patterns [Beginner-Friendly Guide]](https://crochetmind.com/wp-content/uploads/2025/04/1-The-Best-30-Free-Crochet-Cat-Patterns-Beginner-Friendly-Guide.webp)
