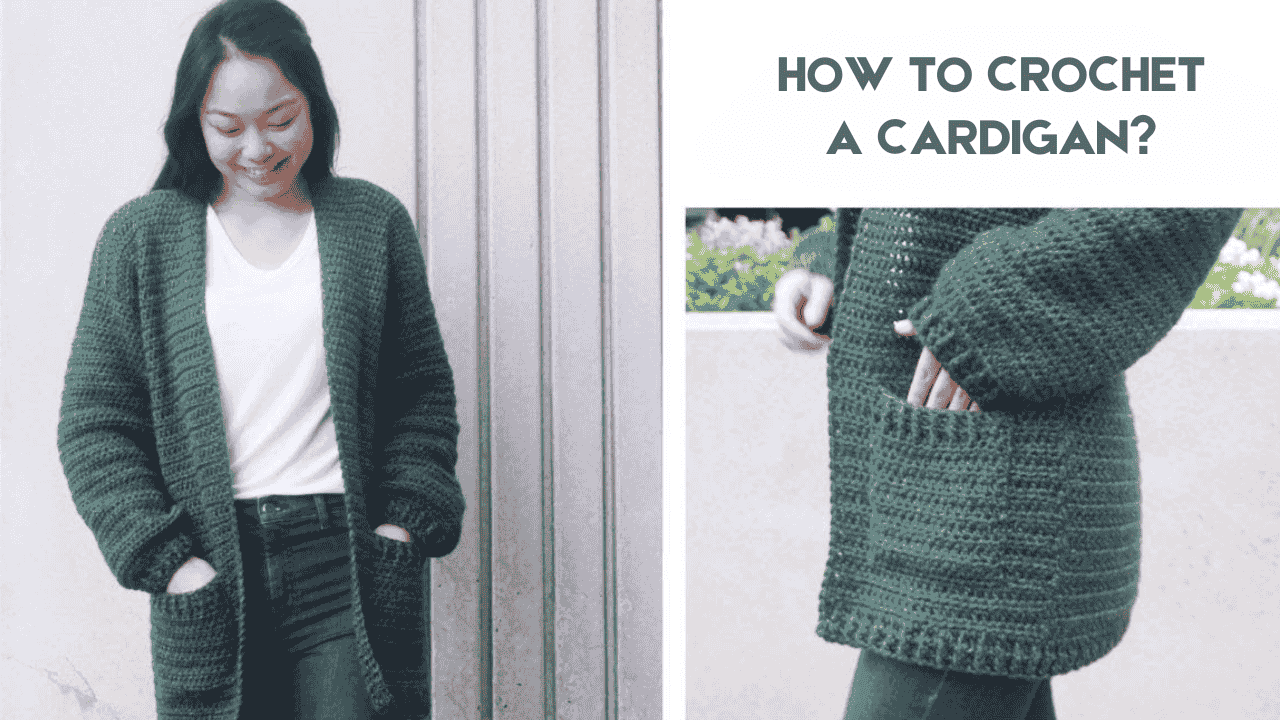
Have you ever wondered how to crochet a cardigan? Crochet your cardigan is fun especially when you’re a beginner. Due to its coziness, comfy, and high versatility, it is very popular among crocheters. In this article, we will guide you through step-by-step instructions on how to crochet a cardigan in easy terms.
Don’t worry! From exactly what a cardigan is to the perfect choice of best yarn and stitches to usable patterns, everything will be addressed. Let’s start our romp into the land of crochet.
In This Post
- What Is a Cardigan?
- What Materials Are Needed to Crochet a Cardigan?
- Which Is the Best Stitch for a Crochet Cardigan
- How Much Yarn Is Required to Make a Cardigan?
- How to Crochet a Cardigan? Step-By-Step Beginners Guide
- Patterns for Cardigan Crocheting
- Best Size of a Crochet Cardigan
- Is It Easier To Make A Cardigan When Crocheting?
- How to Crochet a Cardigan with Chunky Yarn?
- Special Tips for Beginners
- Precautions to Crochet a Cardigan
- Conclusion
- Frequently Asked Questions (FAQs)
What Is a Cardigan?
A cardigan is an open-front sweater. It may have buttons, or zippers, or be left open with no closures. Cardigans are very cozy and stylish. They come in many designs and you can put them on cool days in spring, and fall, or even chillied evenings in summer.

Practice making a cardigan, and you will know how to crochet one so that you can make your own or give it to someone special to wear!
What Materials Are Needed to Crochet a Cardigan?
Before you start learning how to crochet a cardigan, get all of the materials that you will need beforehand. This way, your project will be easier and even more fun.
- Yarn: It should be soft on the skin. How thick your yarn is will decide how warm your cardigan will be. For beginners, a good choice of yarn will be chunky, when learning how to crochet a cardigan.
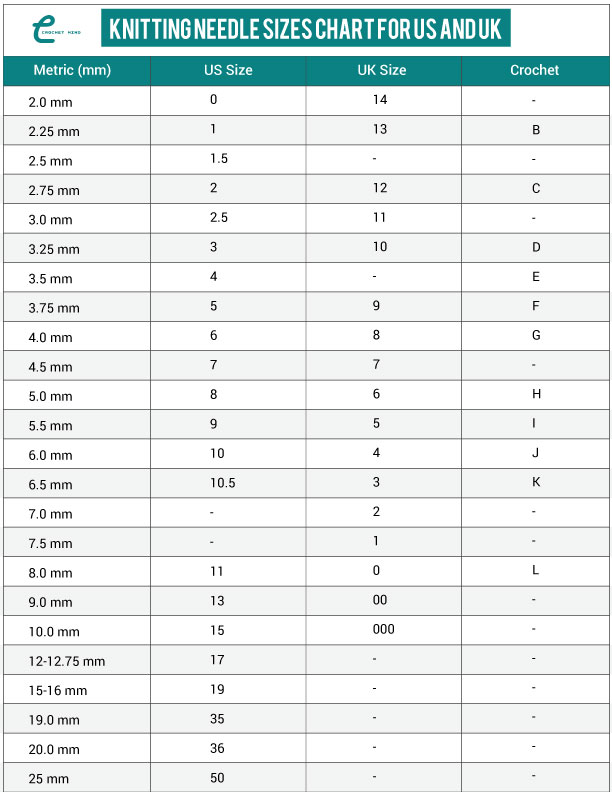
- Crochet Hook: You may need any hook, depending upon the type of yarn you choose. A 5mm or 6mm hook is good for beginners.
- Scissors: To cut your yarn neatly.
- Tapestry Needle: Used to keep yarn ends in place once you have crocheted a piece.
- Measuring tape; measure your work and ensure it is the appropriate size.
- Buttons; in case you wish to add them on the cardigan.
Which Is the Best Stitch for a Crochet Cardigan
The choice of stitch depends on how thick and warm you want it to be. Mostly, single and double crochet stitches are used in making. Double crochet is used to make the cardigan thick and warm. Using a single crochet is ideal if you want a less heavy cardigan.
How Much Yarn Is Required to Make a Cardigan?
An amount of approximately 800-1000 yards of yarn will be required. This requirement is for a small or medium-sized cardigan. More size will demand as high as 1500 yards. When learning how to crochet a cardigan, always buy extras in case the yarn runs out before finishing your cardigan.
How to Crochet a Cardigan? Step-By-Step Beginners Guide
Now, onward with the tutorial on how to crochet a cardigan. Take your time, and be good to yourself. Remember the saying: Practice makes the perfect! It is all about learning at your own pace, so don’t worry if your stitches look nice at first-they’ll look fantastic as you go along.
Step 1: Chain up

- Create the foundation chain to begin your cardigan. For this cardigan, the chained part will be at its base. The length of the chain will, of course, depend on the width and the type of fit that your cardigan is going to have.
- For newbies, starting their cardigan using the crochet method, 50 to 60 should suffice. This will give you a solid width for the back piece of the cardigan. For a looser or wider fit, you can add more chain stitches.
So, do take some time to get it right as the foundation chain forms the overall structure of your cardigan. Then, once you have your chain completed, make sure that the stitches are even, not too tight or too loose.
Step 2: Make the Back Panel

- Now, you will make the back panel. It is one of the most important things in learning how to crochet a cardigan because the back panel, rather happens to be a main piece of the whole garment.
- After you crocheted several rows of single or double crochet stitches depending on how dense or open you want to have it, you are ready to go.
- Continue working in rows, making sure the edges stay straight and even.
- The back panel should be long enough to cover from about the shoulders down to the hips or wherever you’d like the cardigan to finish.
- Measure as you go along, the panel will correspond to your desired length. It takes a while to do this step, but don’t hurry.
- Now, for uneven rows don’t worry since you can undo them and redo these rows to give your cardigan a smooth professional finish.
Step 3: Make the Front Panels

- Having the back panel complete comes the step of making two small front panels that will give shape to the front of the cardigan. And deciding how it will be open.
- Front panels, on the other hand, should be half of the size of the back panel; however, you can narrow it a little in case you want your cardigan to be more fitted.
- In this part just as it’s followed in the case of the back panel, single or double crochet stitches are used. And they must have symmetry because this is what will ensure your cardigan is balanced.
These panels will open at the front and can be fastened with buttons, left open, or even tied at the waist with a belt for a modern look. Take your time making the front panels because, of course, they’re some of the most visible parts of this cardigan.
Step 4: Crochet the Sleeves

- Sleeves are part and parcel of how to crochet a cardigan because this will add comfort and warmth to the garment.
- Begin a chain of stitches long enough for you to match your upper arm circumference. Then, according to your desired fitted or loose aspect of the sleeves, you can either give it more or fewer stitches.
- After making the chain, crochet rows just as you have done in your back and front panels. The sleeves are meant to be broad enough to fit your arm comfortably and a length that reaches the wrist or less than that.
- Depending on how comfortable you feel short of that, you can do either.
- If you want to make a flared sleeve or one tapered then you can decrease or increase stitches while crocheting.
- Remember, the sleeves can be fitted to your fashion taste; therefore, do not shy away from trial and error on the length and width.
Step 5: Sew it All Together

At this juncture, you have all your panels and sleeves prepared.
Now you can sew these together. Joining is where your cardigan starts to take shape! Use tapestry needles or crochet slip stitches to close the sides of the cardigan. It is an important step in how to crochet a cardigan.
- Allow openings on each side to make armholes.
- To join the panels from the front and back so that the cardigan looks neat, make sure that the stitching is neat when you are closing the sides of the garment.
- Attach the sleeves to the armholes after closing the sides by sewing the sleeve onto the cardigan using neat stitching.
- Make sure to take your time when doing this, because correct winding gives a great, fitted appearance to the garment.
- Make sure attachments are tight and the seams well-smoothed. Where parts appear too tight or too loose can be adjusted first before doing the seams.
Step 6: Finishing Touches

Once you have completed the main building of your cardigan, you’re ready to add finishing touches that will make it uniquely yours. The last stage of this learning process is to add details, including the crochet of a cardigan. That’s where you get to customize the garment according to your whims.
- Sew on buttons, add pockets, or even stitch along edges for a decorative look.
- If you want a collar or cuffs, now is the time to crochet those and attach them to the cardigan.
- Finally, you can add a belt or crochet loops to close the buttons. These little details can take your cardigan from basic to fashion-forward. So don’t be shy and try all kinds of finishes.
Once satisfied with how it should look, you can weave in the ends of the yarn using your tapestry needle. Adding these final touches is an exciting part of learning how to crochet a cardigan.
Patterns for Cardigan Crocheting
When you get accustomed to the basic moves, you can try different patterns. Here are some fascinating patterns that you may try as you learn how to crochet a cardigan.
| Pattern Name | Description |
|---|---|
| Uses the classic granny square design for a traditional, colorful look. | Light and breezy, perfect for spring. |
| Fall Crochet Cardigan | A cozy, chunky cardigan ideal for fall weather. |
| Verano Longline Cardigan | A stylish, long cardigan for a dressed-up wardrobe. |
| Square Cardigan | Patchwork-style squares sewn together to form a cardigan. |
| Granny Square Cardigan | Uses the classic granny square design for a traditional, colourful look. |
| One-Piece Crochet Cardigan | A simple cardigan crocheted in one piece, great for beginners. |
Best Size of a Crochet Cardigan
Choosing the appropriate size is important when learning how to crochet a cardigan. You find that cardigans, like any other garment, come in sizes. Have your chest, waist, and arms measured before starting your crochet work. This is how you will know that your finished cardigan will fit well. When making a cardigan for someone else, take their measurements.
Is It Easier To Make A Cardigan When Crocheting?
You will then ask if it is challenging to crochet a cardigan. The fact is that after getting the basic stitches properly understood, you are not very difficult to crochet a cardigan. Cardigans are simple for they are comprised basically of squares and rectangles. Even the beginner will find it easy enough to follow with steps on how to crochet a cardigan.
30+ Free Hexagon Crochet Cardigan Pattern
20+ Easy Crochet Cardigan Pattern Ideas [Step-By-Step Guide!]
Crochet Clothing Ideas: Best Crochet Fashion in 2025
Free Crochet Pullover Sweater Patterns & Tutorials
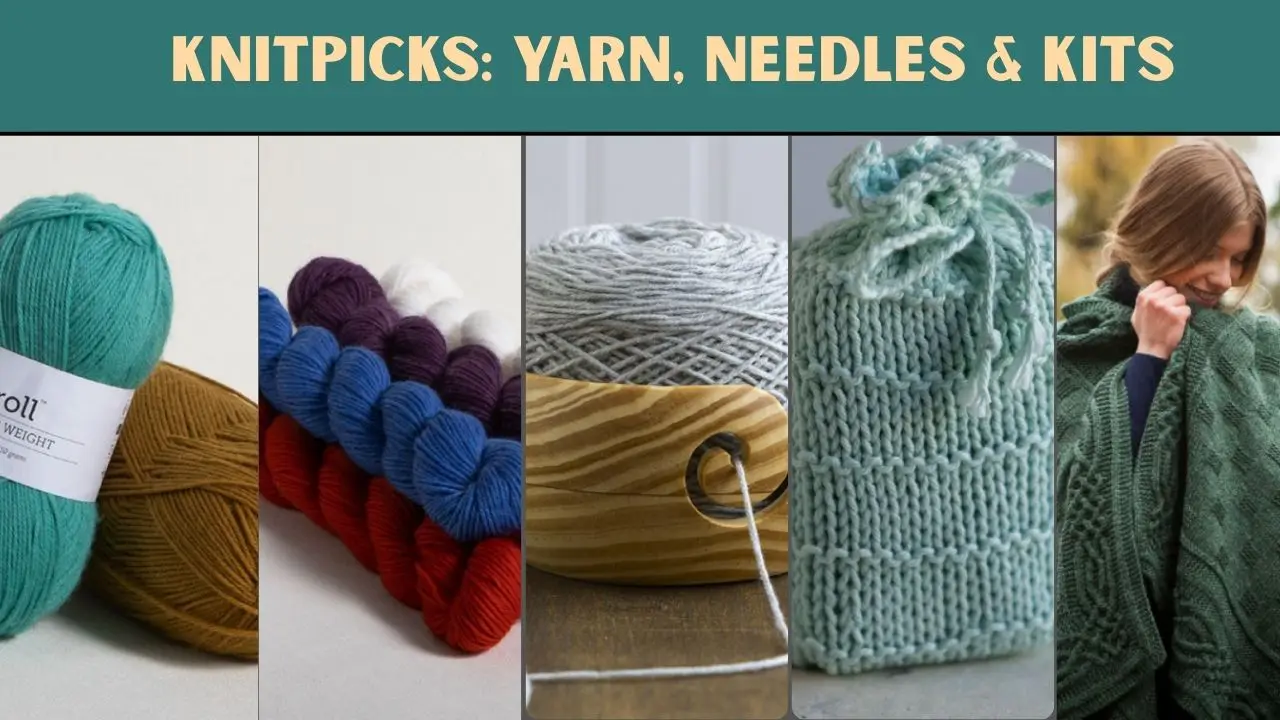
The Best KnitPicks Yarn for Crochet and Knitting
How to Crochet a Cardigan with Chunky Yarn?
Another good choice would be chunky yarn if you like a warm chunky cardigan. How to crochet a cardigan with chunky yarn: Use the exact steps from above, but with a bigger hook (6mm-9mm). It would work up so very fast that you would finish your cardigan much sooner.
Special Tips for Beginners
Let’s see some special tips from the pro crocheter:
Start with simple patterns
For beginners who would crochet a cardigan, simple and basic stitches like single or double crochet are essential. Choosing a simple cardigan pattern with clear instructions will also avoid using complex designs. Which may be too complicated for beginners.
A simple project would help to build confidence as well as proficiency in how to crochet a cardigan, without one ever feeling frustrated at any time.
Remember, the basics are critical to making projects easier to work on. So don’t rush through the basics. Take your time in understanding what you’re doing. Don’t get in a hurry to make all of the nice patterns.
Use Stitch Markers
There are many stitches involved in crocheting, and it’s very easy to lose your place of course. Especially if you’re a beginner and working to make a cardigan. Using stitch markers will help keep you in place in the pattern. Mostly, you’ll use them at the end or start of rows.
Even though sometimes you might find using them in the middle of bigger parts of work for self-organization. Your cardigan pieces will then be perfectly symmetrical, and you won’t add or miss stitches. Markers come in extremely handy when you are working on sleeves or any kind of section that requires too much counting.
Take Breaks
Crocheting can be a fun pastime, but it can also take an awful amount of time if a pattern is being made, such as a cardigan. So always take breaks to avoid hand strain eye fatigue or stiffness in your muscles.
Stretch your hands and fingers, move around, and let your eyes rest from focusing on the yarn. Not only do breaks prevent discomfort, but you also get to come back to your project refreshed and with a clear mind. No rush, by the way, to learn how to crochet a cardigan!
Practice Makes Perfect
When learning a new skill, practice is always the key. And when it comes to knitting or crocheting a cardigan, there is loads and loads of practice in play. And highly unlikely that it will turn out perfect on the very first attempt.
The beauty of crocheting is that it only gets better with each project, and mistakes are part of the learning curve. The more you practice, the better your tension, stitches, and overall technique. You will eventually see the polish in your cardigans, like those that professionals wear. Continue practicing and be patient, and pretty soon, you’ll be proud of the beautiful cardigans you made.
Precautions to Crochet a Cardigan
- Tight Stitches Avoid: Keep your stitches loose so as not to make them stiff.
- Check Your Gauge: This is how many stitches fit in one area. Checking your gauge will ensure that it fits right.
- Watch for Yarn Splitting: Do not let your yarn split because of the inconvenience while crocheting. These will ruin your work.
Conclusion
The art of learning how to crochet a cardigan is very fun and rewarding. This step-by-step guide will help you make yourself a warm and fashionable cardigan from scratch soon. Whether you are looking to expand your crochet skills or are just starting, all the tools you need to get started how to crochet a cardigan, are right here. Happy crocheting!








![Select Crochet Clothing Ideas: [Best Crochet Fashion] Crochet Clothing Ideas](https://crochetmind.com/wp-content/uploads/2025/07/Crochet-Clothing-Ideas-Best-Crochet-Fashion-in-2025-1-1.jpg)


![The Best 30+ Free Crochet Cat Patterns [Beginner-Friendly Guide]](https://crochetmind.com/wp-content/uploads/2025/04/1-The-Best-30-Free-Crochet-Cat-Patterns-Beginner-Friendly-Guide.webp)

2 thoughts on “How to Crochet a Cardigan? Step-by-Step Guide for Beginners”
Great post! I have been crocheting for many years and I still haven’t made an adult-sized cardigan. I’m going to try it soon.
Thanks for your support.