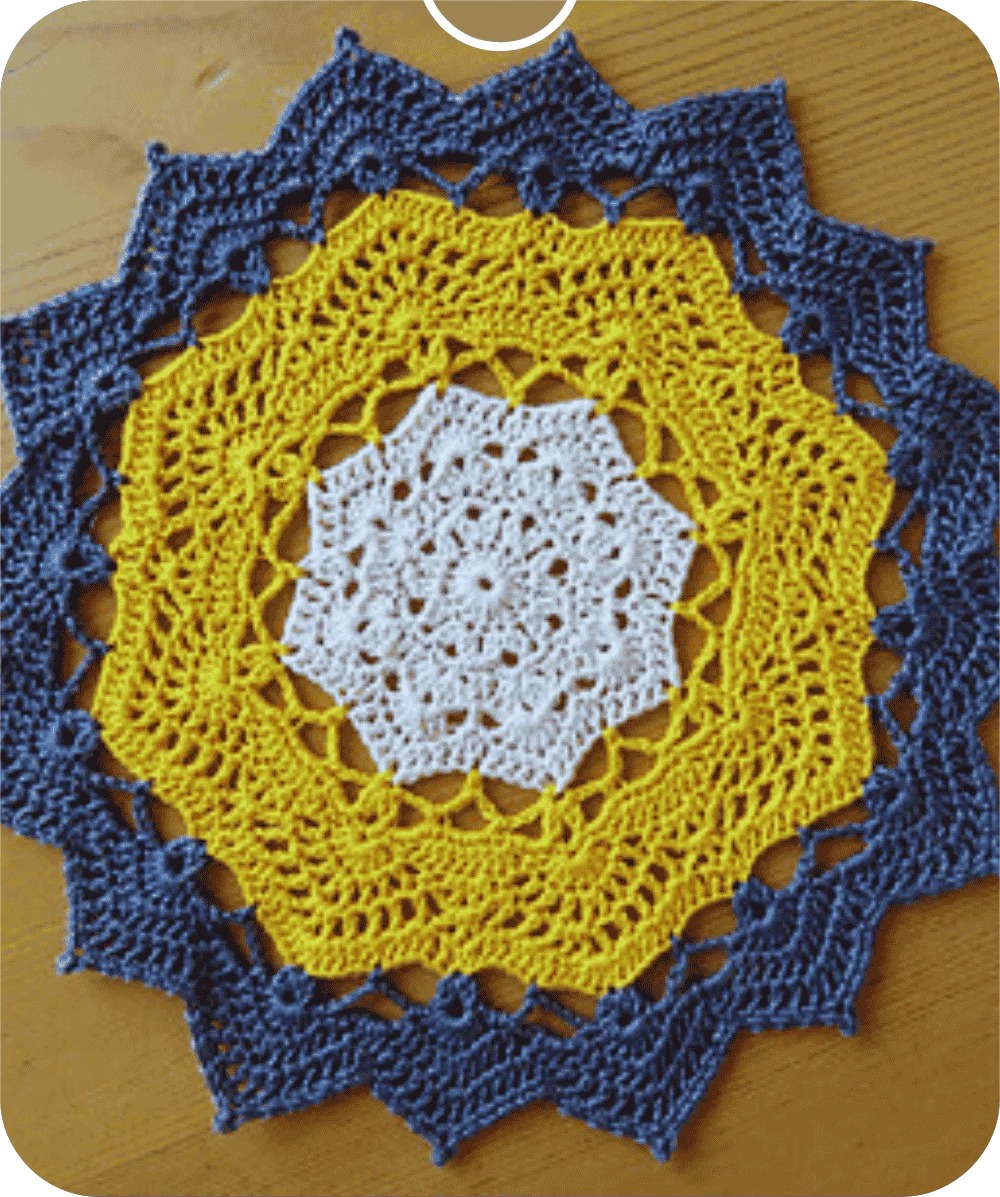
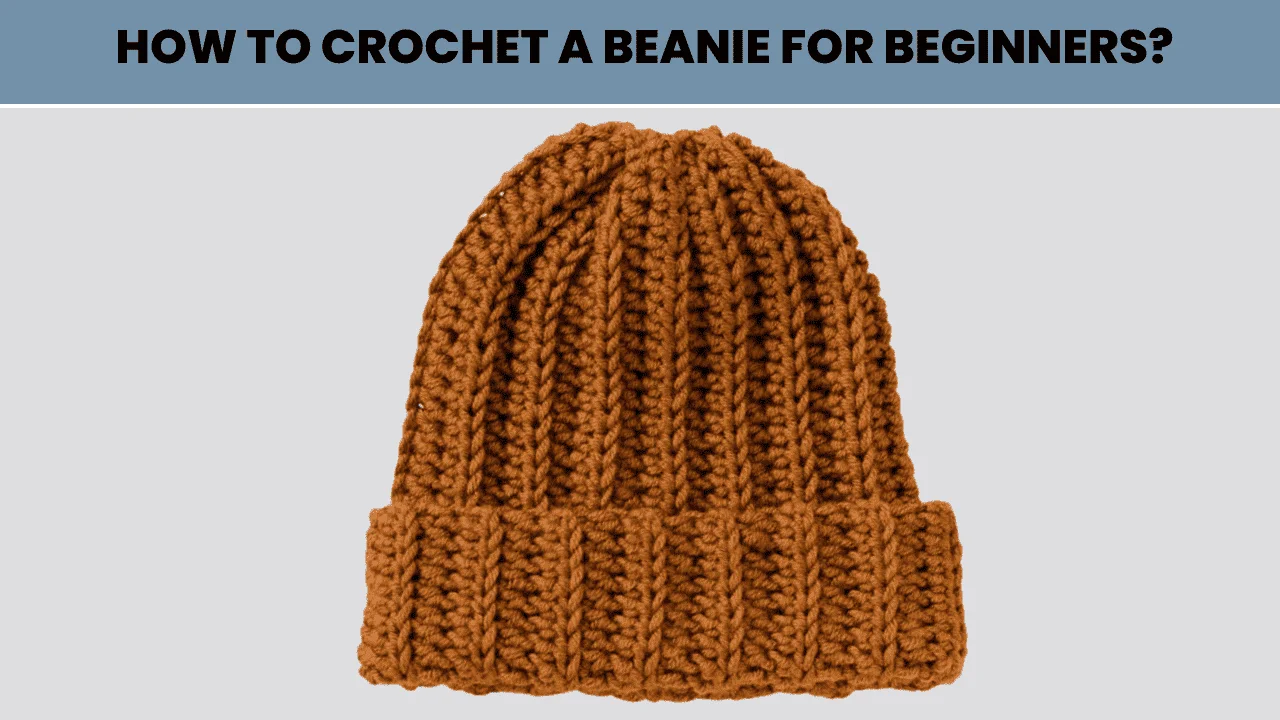
How to Crochet a Beanie for Beginners? Crocheting is such a lovely and soothing pastime. It enables you to make things useful using your hands, such as a beanie. If one has recently begun crocheting and is asking how to crochet a beanie, then it will guide through each step. Even though one has never even held a crochet hook before, by following each of these steps slowly, one will soon have his very own handmade beanie.
Key Takeaways:
- A beanie is a close-fitting hat. It keeps your head warm on cold days.
- To crochet a beanie, it is essential to determine your beanie size to fit you perfectly.
- Medium-weight yarns are great for crocheting a beanie.
In This Post
What is a Beanie?
A beanie is a close-fitting hat. It keeps your head warm on cold days. It is generally knitted or crocheted. A beanie suits many people. It is because of its simplicity and comfort.
Beanies come in all shapes. They may be of different sizes. Moreover, these are available in all colors. This is best for learning how to crochet a beanie for beginners. It is because it is fun and functional.
Is it Easy to Crochet a Beanie?
It’s pretty easy to crochet a beanie. And, it becomes easiest with this guide on how to crochet a beanie for beginners. It is an excellent beginner project. Because beanies are usually crocheted in the round (rather than working in rows), it’s a perfect vehicle for practicing simple stitches. As long as you’re prepared to take the steps along carefully and practice, you’ll be holding a finished beanie in no time.
What Things You Will Need to Crochet a Beanie?

Well, before you begin with the how to crochet a beanie for beginners steps, let’s gather all the materials you will need:
- Yarn: You can use almost any yarn. However, medium-weight yarn is recommended for beginners.
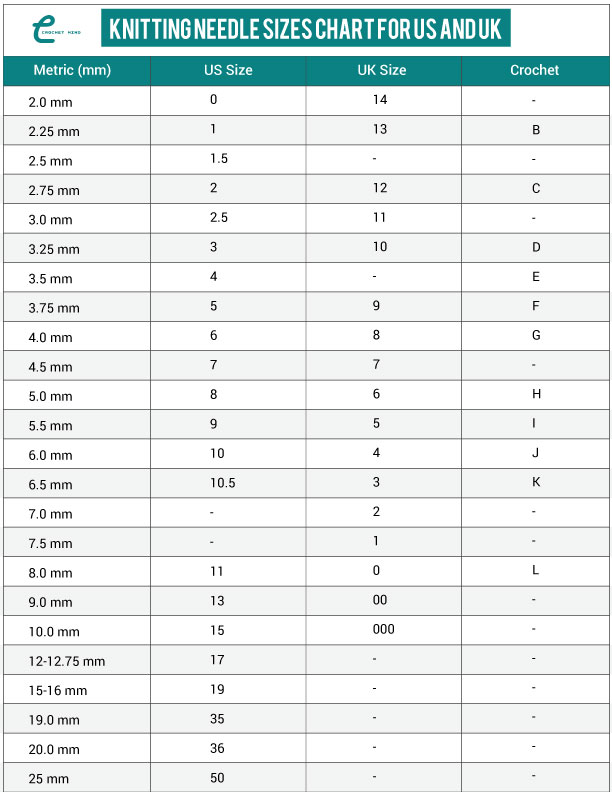
- Crochet Hook: Use the right size of hook. It is usually a 5mm or 6mm hook for medium-weight yarn.
- Scissors: You will find it necessary to cut your yarn.
- Measuring Tape: For the measurement of your beanie size
- Stitch Marker: Not essential but comes in handy for noting the starting point
- Yarn Needle: To weave in all the loose ends. It is used when you are done making your beanie.
How to Crochet a Beanie for Beginners? [Step-By-Step Process]
With all those tools, let’s get into how to crochet a beanie for beginners:
Step 1: Determine the Beanie Size

Size is the first of the steps on how to crochet a beanie for beginners. Beanies are available in various sizes. First, you will have to measure your head. Use a measuring tape that you will wrap around your head, directly above your ears. Write down the measurement because this will help guide how many stitches you’ll have to crochet.
Step 2: Choose Your Hook and Tie a Slipknot

The next thing in how to crochet a beanie for beginners is selecting your crochet hook. Be sure to pick a suitable size. It should match the thickness of the yarn. Once you have this, it is time to tie a slipknot at the end of your yarn. Then put it onto the hook. That’s basically how you start most of the crochet projects.
Step 3: Mark the Starting Point and Count Your Stitches

In this step, use a stitch marker to mark where you are starting. That is why marking where each round will be started is quite important, especially because beanies are usually worked in continuous rounds.
To start, chain the number of stitches needed for the size of your beanie. It will be between 60-80 stitches for an adult size.
Step 4: Make a Base Chain

Now we are going to the base chain; it is one of the important parts of the process of how to crochet a beanie for beginners. The base chain is the foundation of your beanie. Count your stitches. Then connect the last chain to the first one by slip stitch to form a circle. Make sure that you do not twist the chain.
Step 5: Crochet in the Round

In this step, starting from the first chain, hook into it. Then, pull the yarn through and you will complete a single crochet stitch. Now do this all around the base chain. Since we are crocheting in rounds, you won’t turn in your work. You just go round and round.
Step 6: Crochet the 2nd Row

- Now that the single crochet stitches are complete in the first row. So, it is time for the second row on how to crochet a beanie for dummies.
- In the second row, increasing stitches will enlarge the beanie. There are a couple of ways to do this.
- First, by crocheting two single stitches in one stitch, at regular intervals.
- Second, by crocheting three or four stitches in the space between stitches. In either case, the effect is an increasingly larger beanie.
Step 7: Alternate the Stitch Pattern

What do you do for the first few rows of increase? It’s time for a change in the stitch pattern. Here is part of that easy beanie crochet guide at hand.
You have to change your stitch pattern, or there will be no variation added. Most simple crochet beanie designs use single crochet and half double crochet stitches, but you may go wild by switching to using double crochet for texture.
Step 8: Keep Crocheting and Finish

You’re almost done! Now, just crochet round on the pattern set. At this final how-to of instructing a beginner on how to crochet a beanie, you will begin to reduce your stitches to give your head an exclusive shape for your top beanie.
Keep crocheting in two stitches together and also decrease at evenly regular intervals. When you have reached the height you desire, cut your yarn. Sew in the loose ends through the yarn needle.
Haven’t you understood? Watch this YouTube video for your easy understanding.
Which Is the Best Yarn for Beanie?
Selecting the best yarn is the first step to a perfect beanie in terms of beauty and touch. For starters, medium-weight yarns are just great since they hook well with them and may be bought in many colors. For beginners on learning how to crochet a beanie, soft, stretchy yarn that goes well with the wearer’s head is recommended.
Special Tips to Crochet a Beanie
Here are some useful tips for mastering how to crochet a beanie for beginners. By learning these tips, you can be sure of having a smooth project and ending up with a really beautiful well-made beanie.
Practice Your Stitches
Before you start the full beanie project, it’s a good idea to practice with the basic stitches. You can do single crochet and double crochet. Half-double crochet stitch is also good for practice. These are foundation stitches in crochet. So, if you don’t know them inside and out, the rest of the process will be even harder. Work some small swatches until you feel confident about tension and stitch consistency.
Use a Stitch Marker
One of the most commonly used stitches, when you are learning how to crochet a beanie for beginners, involves the accomplishment of continuous rounds without turning your work. Thus, it may easily lose track of where each round begins and ends, so a stitch marker is an essential tool. Your work will go a long way by putting a stitch marker at the beginning of your round and moving it up as you complete each round. It will keep you organized and confusion-free while crocheting the beanie.
Maintain Even Tension
The main thing in crocheting is not to keep varying tension while doing the project. If the stitches are too tight, the beanie might appear stiff and a bit rigid to work with. On the other hand, if your stitches are too loose, then the beanie may lose its shape. Thus, it will not give you the warmth you want. It takes practice to learn how tight or loose the tension should be, so please be kind to yourself as you learn to crochet a beanie for beginners.
Use a Pattern
As a beginner, you may want to dive right into creating something without a pattern. However, following a clear, well-written pattern will make all the difference, especially when you do special projects like beanies. Patterns give you stitch counts and rows that matter, so you can make the perfect beanie. Even if you’re eager to create your design, a simple pattern will have all the skills you need to modify and personalize your beanies later.
Start with a Simple Design
At this stage, you are going to learn how to crochet the beginner beanie. For that, you can start with the simplest type of design which requires fewer types of stitch. The single crochet or half-double crochet patterns for simple designs are perfectly suited. Then, you may go advanced with intricate designs with new stitches, textures, or color changes afterward.
Select the Right Yarn and Hook Size
Amongst other significant things that need to be determined in any crochet project are the yarn and hook size. In making a beginner beanie, choose a yarn that is not too heavy or too light for thick material, medium weight will do. Make sure you check your yarn label that has the recommended size for your crochet hook. Wrong hook size can influence your final size or shape of the beanie you are making so make sure to check before getting started.
Do it in a Quiet Place
Crocheting is very focused, particularly when you’re a novice learning how to create a beanie for first-timers. Doing it in a quiet place with no distractions will enable you to concentrate on your stitches, thereby reducing the possibility of errors in the stitches. Counting stitches or following complex instructions will be easier in a quiet environment.
Be Patient
Crocheting is an art that will only get better with time and practice. Be patient with yourself, especially if it is your very first time. Do not rush. Take your time to enjoy every move as you crochet. Remember, practice is perfect; the more you crochet the better you become.
Caution for Crocheting a Beanie
While one learns the art of making a beanie while starting, one must know what are some common mistakes one can make. Only with extra caution, you can save yourself from many frustrations and your final product will turn just the way you wanted.
Avoid Twisting the Base Chain
One of the most frequent beginner mistakes when crocheting a beanie. When joining the base chain into a circle, you may find it easy to twist when working in a round. A twisted chain will give you a lopsided or unusable beanie.
So lay your chain flat on the table before joining it and, if working in a circular pattern, carefully check that none of the loops have been twisted. It gives you enough time, so you don’t have to start all over again.
Keep Checking Your Count of Stitches Frequently
Counting. Oh yeah, yet another thing many beginners, who crochet a beanie for beginners, fail to understand how it works. Mistreating stitches leads beanies to lose their shape or fit wrongly due to extra stitches or misinterpretation of the number of stitches at the end of each round/row. Count your stitches at the end of each round/row and avoid such mishaps. If you come to know later that it is not the correct count, you are still in time to make the mistake right and move ahead.
Take rest
Although crocheting resembles any other repetitive motion, it can stress up your hands, wrists, and shoulders if worked on for quite a long time without a break. So avoid discomfort or worse, injury by taking short breaks while you work on your beanie. Stretch your fingers and hands and relax your muscles. This is not only to prevent strain but also to stay fresh and focused as you go about learning how to crochet a beanie for beginners.
Avoid Using Yarns that Are too Hard to Work with
Many yarns can be beautiful, but some are more difficult for a beginner to work with. Over-textured, fuzzy, or stretchy yarns become ache points, as they can distort your stitches and cause tension out of your control. Use smooth, medium-weight yarn to practice making a beginner’s beanie. All kinds of yarn come into play as you gain more experience.
Don’t be Afraid to Unravel and Start Again
Mistakes are part of the learning process and ripping out your work if it looks wrong is not ever wrong. If you keep seeing that your beanie is coming out uneven or misshaped, don’t hesitate to rip out some rows and do it again. Fortunately, crocheting is forgiving-you can always undo the stitches and correct your mistakes. It’s all part of mastering how to crochet a beanie for beginners.
Be Mindful of the Yarn Tension
Yarn tension refers to how tight or loose you pull the yarn when crocheting. Such inconsistency can result in a beanie being too stretched out or too tight. To avoid this, make sure to have a smooth flow of yarn through your fingers at work. If your result has an odd look, attempt to check your tension and fix it, if necessary.
Don’t Pull the Yarn too Tight When Weaving in Ends
When you are done crocheting your beanie, it is time to weave in the ends. The most common mistake that students make is pulling the yarn very tight when weaving which most often distorts the shape of the beanie. Weave the ends in gently, following the natural flow of the stitches, so that your finished beanie keeps its shape.
Use a Large Enough Crochet Hook
A common error beginners make is using a small crochet hook. This sometimes makes the stitches too tight to easily work with. One must always refer to the recommended hook size for the yarn and make sure the hook does not cause any sort of discomfort in the hands. The right size will make crocheting much more enjoyable and may even result in a beanie that fits well.
Follow these precautions, and you will avoid the most common pitfalls associated with learning how to crochet a beanie for beginners. Crocheting is such a fun and soothing hobby; therefore, preparing the right way will mean you can be proud of the created beanie.
Final Thoughts
So, how to crochet a beanie for beginners is a great learning experience, as it allows the crafter to produce an endearing cozy piece of clothing. It’s such a great feeling when you go ahead and step through the instructions of this article with your stitches to create beanies for yourself as well as for your family or friends. Take your time, enjoy yourself, and enjoy the process of making something special by hand.





![Select Crochet Clothing Ideas: [Best Crochet Fashion] Crochet Clothing Ideas](https://crochetmind.com/wp-content/uploads/2025/07/Crochet-Clothing-Ideas-Best-Crochet-Fashion-in-2025-1-1.jpg)



![The Best 30+ Free Crochet Cat Patterns [Beginner-Friendly Guide]](https://crochetmind.com/wp-content/uploads/2025/04/1-The-Best-30-Free-Crochet-Cat-Patterns-Beginner-Friendly-Guide.webp)
