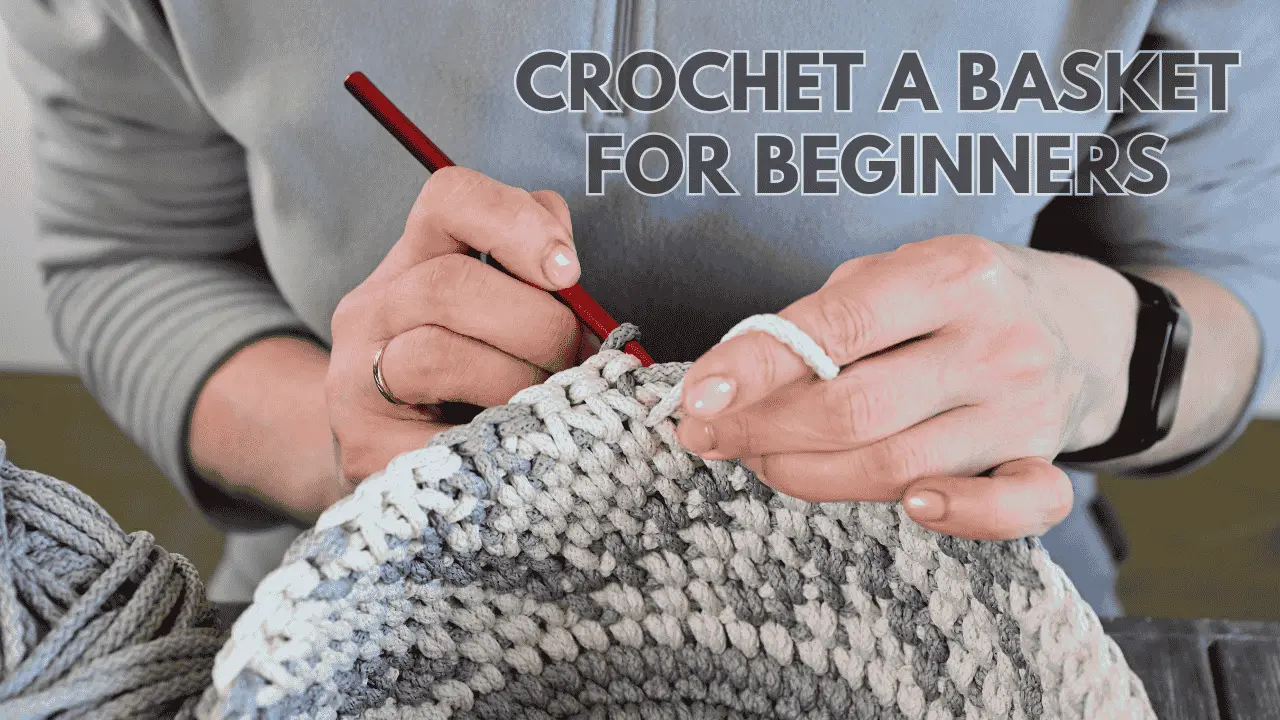
How to crochet a basket: Tired of clutter taking over your space? Crocheting a basket can help you tidy up while adding a personal touch to your home decoration. Crocheting is not an easy task that anyone can access. That’s why we are here to discuss how to make your own beautiful basket in just a few simple steps!
First, gather all the necessary materials you need for this project, such as yarn and a crochet hook. Now, choose a stitch and start crocheting your basket. Crochet your basket base first and keep going to give it the perfect length. You can choose different shapes and colors to match your style!
So, are you ready to explore your creative side? Keep on reading and learn how to crochet a basket in an easy way.
Table of Contents
- What is Crocheting a Basket?
- What Materials Do I Need To Crochet A Basket?
- What Kind Of Yarn Should I Choose To Crochet A Basket?
- How To Crochet A Basket? [Step-by-Step]
- Crocheting Baskets In Other Shapes
- How Do I Make My Crochet Basket Sturdy? [Get Pro Tips]
- How Long Does It Take Crocheting A Basket For Beginners?
- Is Crocheting A Basket Beginner-Friendly?
- Final Thoughts
- Frequently Asked Questions (FAQs)
Key Takeaways:
- Crocheting a basket is not all about making something useful but also an opportunity to express your creativity.
- With the thick yarn and small hook size, you can ensure to crochet a sturdy basket for everyday use.
- You can add a touch of personalization with different colors, patterns, and decorative elements.
What is Crocheting a Basket?
Crocheting a basket is one of the creative processes when you want to make a useful item for your home. The complete process involves a hook and a special kind of yarn that will help you create the design you like.
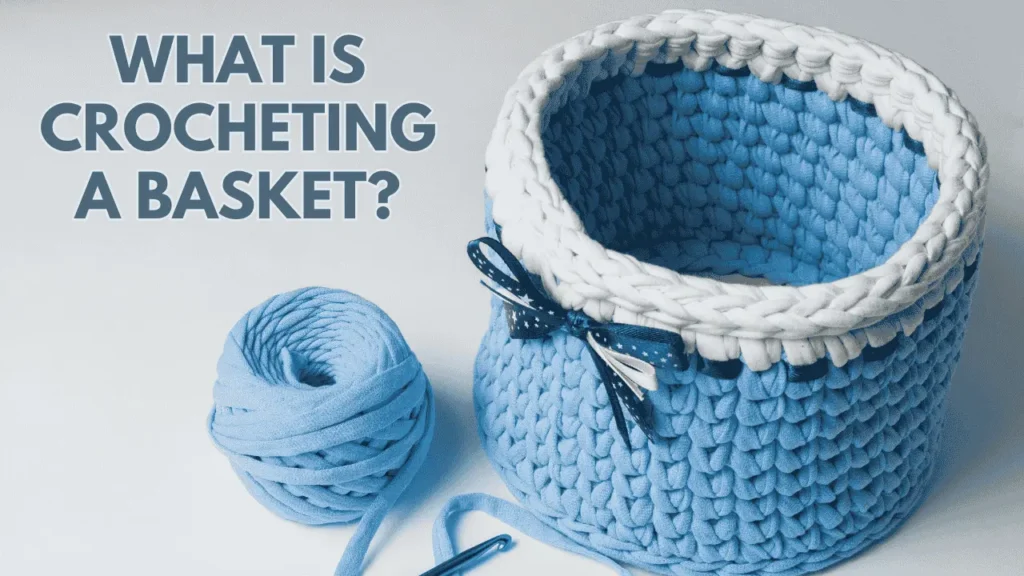
Crocheting a basket starts by making a circle at the base, and you will build the sides of the basket as the body. Though it seems easier to watch, it needs enough patience and creativity to get the best results from your efforts. To make it more beautiful, you can add more stitches and give it a unique design.
The best part is you will have the full flexibility to use different colors of yarn and make your basket bright and colorful. Just with a little crochet knowledge, you can make such a useful item where you can hold items like toys, clothes, or even snacks.
This is not just about convenience but also about adding design as a part of your home decoration. No worries if you are just a beginner; the project is perfect for newbies, where you can express your creativity.
What Materials Do I Need To Crochet A Basket?
Before you start crocheting, make sure you have all the listed materials right in your hand. Have a look and check on your own:
| Material | Description |
|---|---|
| Yarn | A medium-sized yarn will be perfect to crochet your basket. Choose sturdy yarn as you want to hold your necessary items in the basket. |
| Crochet Hook | You have to choose a crochet hook depending on the thickness of the yarn. A 5.0 mm or 5.5 mm hook can work well. |
| Scissors | Keep scissors near you to cut the yarn. |
| Tape Measure | A tap measure will help you check the size of your basket as you crochet. |
| Tapestry Needle | You need a needle to weave at the end of the yarn. |
| Stitch Markers | Must keep a marker while crocheting to keep track of your rounds. It is likely to be essential for the beginners. |
What Kind Of Yarn Should I Choose To Crochet A Basket?
You need to choose a strong yarn for the stitches you will apply in the process. However, here we have listed some of the best yarn suggestions you can choose for crocheting your basket:
Cotton Yarn
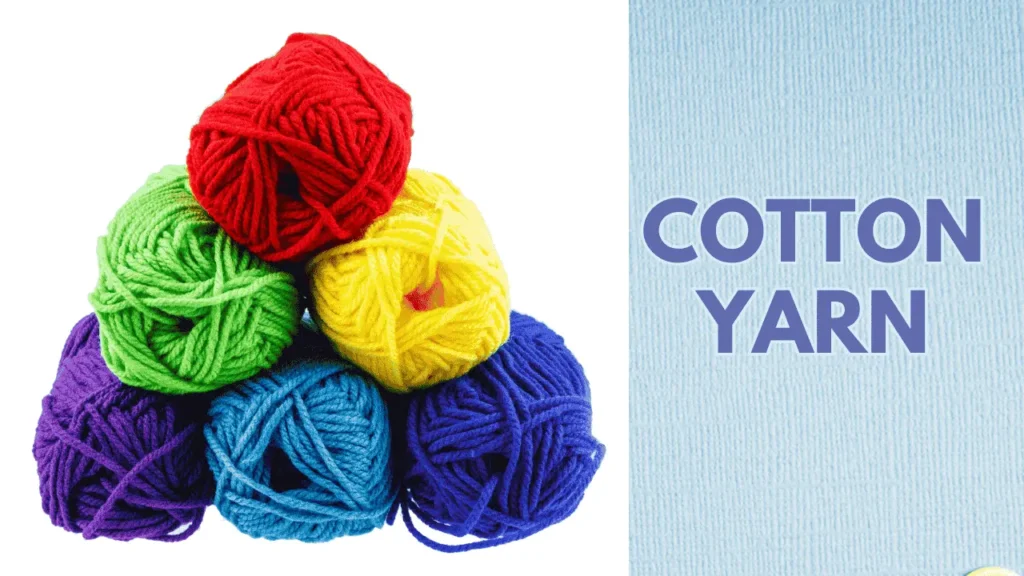
Cotton yarn is a great choice for crocheting a basket. It is strong enough and helps you hold the shape well. The best part is you will find the yarn in bright colors, which you can use to make a stunning basket for you.
Acrylic Yarn
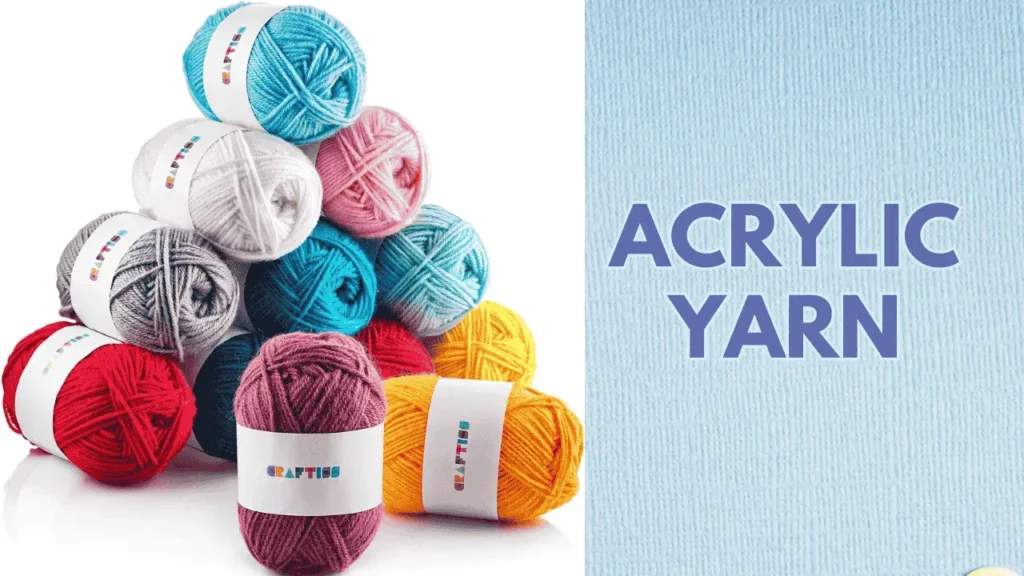
It is soft, lightweight, and can be found in different colors. So, there will be options for you to choose your favorite one. It is affordable and gives the sturdiness you want to make your basket strong.
Jute Yarn
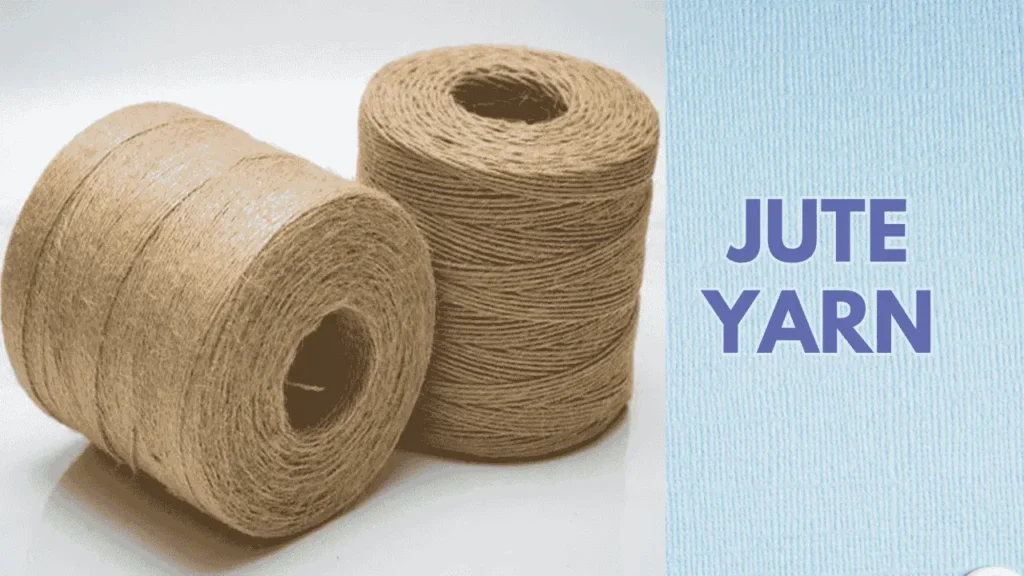
If you want to bring a rustic appearance to your basket, jute yarn would be a perfect choice for you. It’s thick and strong and great for decorative baskets. It is durable and has high tensile strength.
Wool Yarn
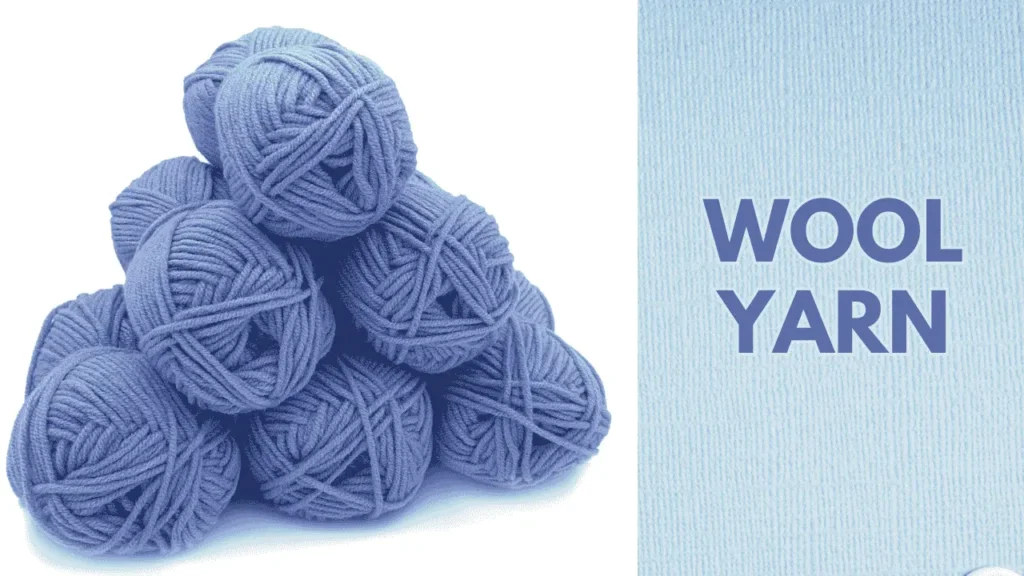
The wool yarn feels warm and cozy. It is soft and gives your basket a nice appearance. The only thing to consider is the washing process. The best advice is it might shrink easily if you wash it wrong. So it is best to use it for a light basket, not for heavy use.
T-shirt Yarn
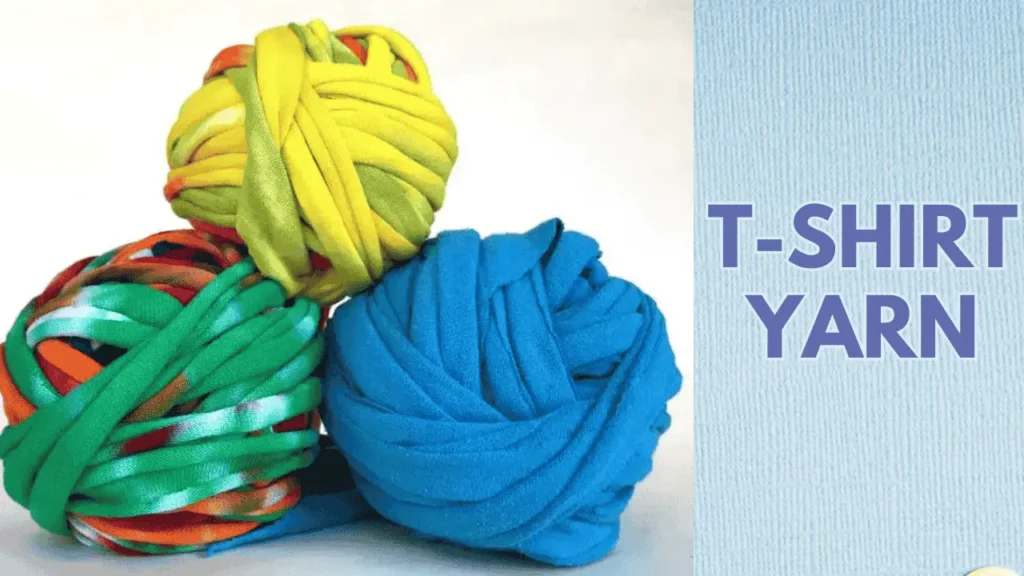
The yarn is thick and helps you make chunky baskets quicker. You can find it in many colors and patterns. Plus, it is soft and comfortable to use.
How To Crochet A Basket? [Step-by-Step]
Wondering how to crochet a basket? Stop right here as we are going to share the detailed guide on creating a basket. Just follow our instructions accordingly, and you will be able to make the pieces that you ever imagined:
There are two basic parts to crochet a basket. One is the basket bottom, and the other is the basket sides. You can have basket handles as an option, the choice is yours:
Part 1: Basket Bottom
Well, the first step is to make the bottom. It is likely the bottom of your basket. This part is really important because it gives your basket a sturdy base.
To begin with:
Step 1: First, make a circle using two methods. You can chain a few stitches and slip-stitch them together. Instead, you can use the magic circle technique.
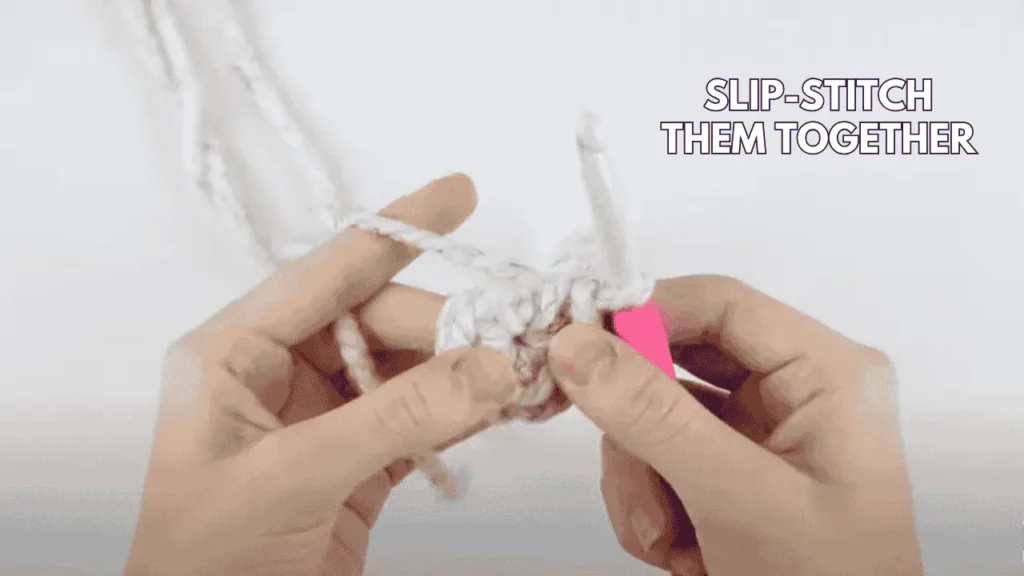
N.B: If you are new to crocheting circles, don’t worry! It might take a little practice. But you need to focus on making circles before you start your basket.
Step 2: After making the circle, go ahead to crochet the bottom. You can use single crochet stitches, which is simple enough and effective.
Step 3: However, you can be more creative here. For instance, try using two or more strands of yarn together. This technique is useful to make your basket stronger.
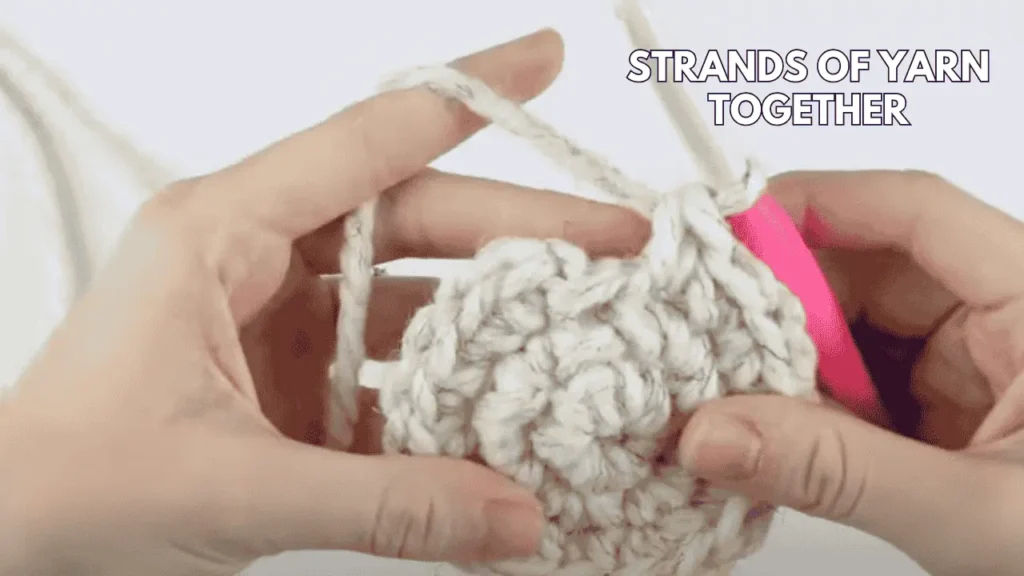
Step 4: Crochet around the rope at the base of your basket to make it stronger. Here you can use colorful yarn and give it a vibrant look.
If you want your basket to last, make sure to make your basket base tight, and for instance, choosing strong yarn is the best option. Remember, a solid bottom will help your basket stay in shape.
Part 2: Basket Sides
Once your basket bottom is done, it’s time to make the sides of the basket. The height of the basket will depend on how many items you want to hold. Fix the measurements first, and then start the project. Follow the simplest instructions below. There are two methods you can try out.
Method 1: First, you can continue your basket base without adding any increases. After a few rows, you will find that you are starting to make a form. Even this method is great if you want a strong bottom and give your basket a consistent shape.
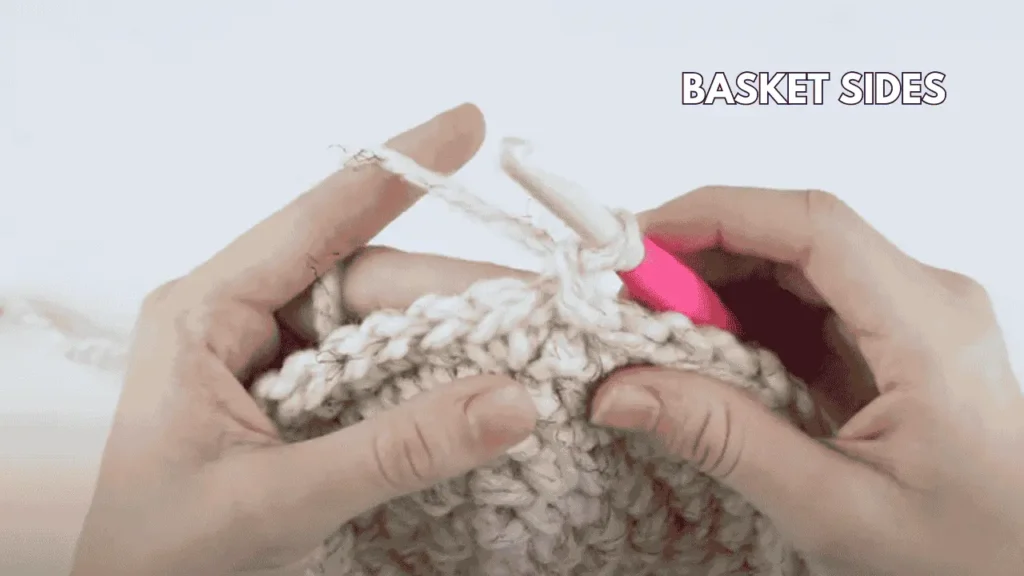
Method 2: This method is great if you want to create a different transition from the bottom to the sides. Here’s how to do it:
- Start with the transition round. Choose either the front or back loop of the stitches from the previous round.
- Crochet into the front loop of each stitch if you are working from the inside of your basket. On the other hand, go with the back loop of each stitch if you are working from the outside of the basket. By using just one loop, your new stitches will stand up at a 90-degree angle from the bottom. You’ll see a distinct ridge around the bottom of your basket. It will give your basket a nice look.
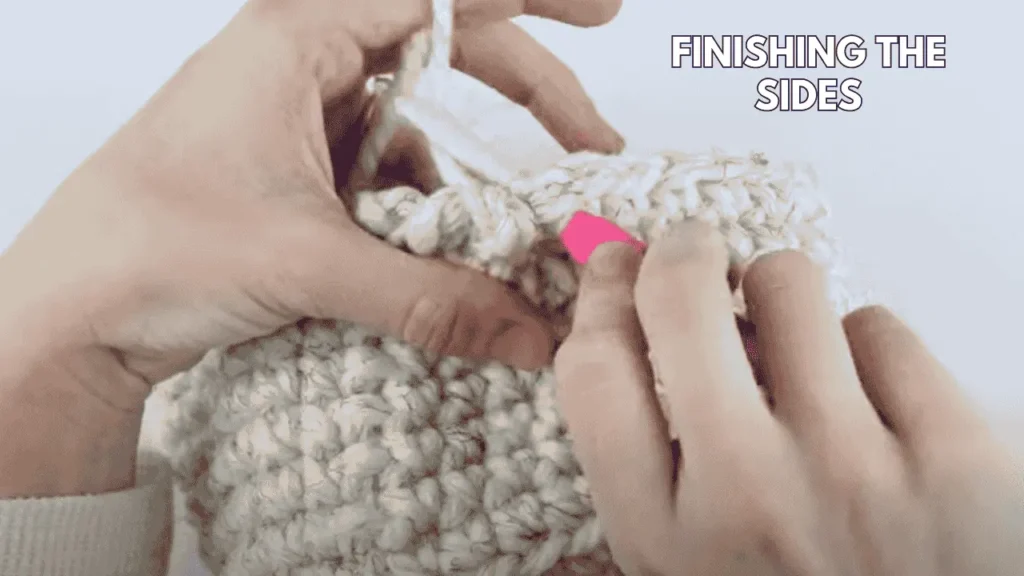
Finishing the Sides:
Once you are done making the sides of your basket, crocheting the sides is super easy. Just keep making rounds and make your basket as tall as you want. Here you can experiment with different stitches.
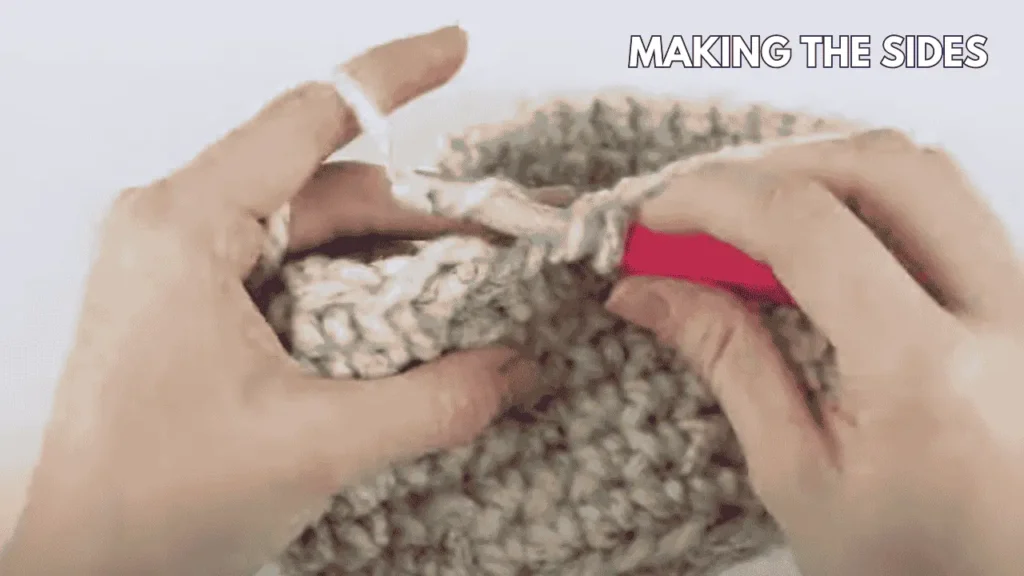
For example, you can use a slip stitch to complete the basket neatly. Try different ways and see what looks best for your basket.
Part 3: Optional Handles
Adding handles to your crochet basket is an effective process to make it even more useful! Handles will help you carry your basket easily and also look great. Here are the step-by-step instructions you may follow to make handles for your basket:
Decide Where to Place the Handles:
First, look at the top of your basket and decide where you want to add the handles for your convenience. A good suggestion here is to divide the number of stitches in your round by two. This way, you will get the placement for the handles easily.
Plan the Size of Your Handles:
This is the time you need to fix how long your handles should be. Start by chaining a few stitches. Use a measuring tape and ensure the right measurement as you will make the chain to match the length.
Crochet the Handle Round:
Follow the steps below and nail your handle:
- Chain 15 stitches.
- Skip 15 stitches in the round.
- Single crochet 10 stitches in the next set of stitches.
- Repeat this for the other half of the basket.
- Once you’ve done this, slip stitch to close the round.
Add More Rounds:
Well, your handle is ready, but you can make one or two more rounds. It is simple to do that, just add one stitch into each of your handle chains and make them stronger. Now, based on the yarn you have chosen, your handles might twist or bend inward. But it’s okay! If you like how your basket looks, don’t worry about the twists.
Congratulations, now your basket is ready to carry your favorite things! If you aren’t cleared yet, watch this YouTube Video Tutorial:
Crocheting Baskets In Other Shapes
Crocheting isn’t just for round baskets! You can make baskets in different shapes to match your styles. Here are some common shapes you can try:
i) Round Crochet Basket
You can crochet a basket in another best option to ensure versatility of using a crocheted item. Here are simple steps to create this round basket:
Start with a magic circle and a few chains to make a round base. Increase the stitches evenly for each of the rounds and make the bottom longer.
Keep crocheting in the round and give your basket a perfect length.
ii) Square Baskets:
To make a square basket,
- Start with a square base instead of a circle. Now crochet the bottom with straight lines. Make sure each side is the same length.
- Once the bottom is complete, now start vertical sides. Whatever you do, you need to keep the edges straight. These types of baskets are great for storing books or toys!
iii) Oval
Oval baskets are stylish, and can easily fit in tight spaces! The good news is that it is almost the same as crocheting an oval-shaped basket. You’ll need to adjust your stitches a bit. First, you have to start with a chain that’s longer than a circle base. Now just simply crochet back and forth and shape your bottom. A chain that’s longer than a circle base will make your basket sides.(how to crochet a doll)
How Do I Make My Crochet Basket Sturdy? [Get Pro Tips]
Does your crochet basket feel floppy? You can easily make it studier with the right techniques. Get the pro tips below to ensure the durability of your crochet basket.
Choose a thick yarn
First off you should choose thick and bulky yarn to make a sturdy crochet basket. The best option is to go for the T-shirt yarn. Of course that is also quite a good reason.
- T-shirt yarns are thicker than most other bulky yarns.
- It helps to maintain the shape of the basket, especially for the larger baskets.
- The t-shirt yarn does not get fuzzy. It looks the same just like the first you crochet the basket even after years.
- Moreover, you can find t-shirt yarn in different colors and patterns available on the market.
Use Smaller Hook
Crochet your basket with a smaller hook for your yarn. It helps you tighten the stitches and these tightened stitches lead to firmer and less flexible fabric. It will hold the shape of your basket better.
Double up the Yarn
Go for double up the yarn at once while crocheting your basket to make it sturdy. It thickens your stitches and also provides strength to your overall fabric. Your basket will be able to hold up heavier items even without losing its shape.
Keep Your Tension Tight.
Maintain a tight tension throughout the crocheting to make a sturdy basket. Pay attention to your tension as you work as the loose stitches make the floppy and unstructured basket. You have to ensure that it stays consistent for the even strength in the basket.
Stiffen it with Spray or Glue.
You can also use fabric stiffeners or spray water to stiffen the basket. Apply it on the outside of the basket when your basket is complete. It will help the basket to hold its shape.
How Long Does It Take Crocheting A Basket For Beginners?
You may need 1 or 2 hours depending on your skill level and the size of the basket. Where you can complete quickly a small basket, it may take a few hours to full a day to finish more complex and larger baskets.
However, there are a few more things that are more likely to decide how long will it take for you to crochet a basket. Such as:
- The size of your basket: Smaller baskets naturally take less time than larger ones. You may complete it in 3 to 4 hours whereas the last baskets may need 5 to 6 hours or more.
- The complexity of the stitches: If you are using basic stitches for crocheting your basket, it will be quicker to finish your basket. However complicated stich and patterns will take longer to complete the basket.
- Yarn type and hook size: You can speed up your basket crocheting process by using thicker yarn and larger hooks. However, if you use thin yarn or a smaller hook, you may need more hours to complete crocheting your basket.
- Your crochet speed: As you are a beginner, it is normal you may need to take your time in figuring out the stitches.
However, your speed will grow as you keep going practice. You may take longer in your first projects. But with the experience, you will be able to complete the basket faster.
Is Crocheting A Basket Beginner-Friendly?
Definitely! It is beginner-friendly crocheting a basket. Most of the basket patterns typically use simple stitches which is easy to learn. Stitches single crochet, half double crochet, or double crochet are very simple and easy to master.
Moreover, you need to use repetitive patterns to crochet the basket. It makes crocheting baskets a great way to practice your skills. Basket patterns usually follow less complicated circular or rectangular patterns. You just need to start with the base and work your way up using the same stitches!
Additionally, you can adjust the size of the basket however you want. You can start with a small basket to build your confidence. More notably, there is always room for mistakes in crocheting a basket. Your small mistakes will not ruin your all efforts. It can often be hidden in the design of the basket!
Final Thoughts
Crocheting a basket can be an enjoyable project perfect for any skill level. With the right yarn and suitable hook size, you can easily create a sturdy and stylish basket. You can complete the basket all by following simple techniques like single and double crochet stitches.
You can let your creativity shine by choosing creative colors and sizes that fit your needs. Enjoy the journey while crocheting, and take pride in your finished!

