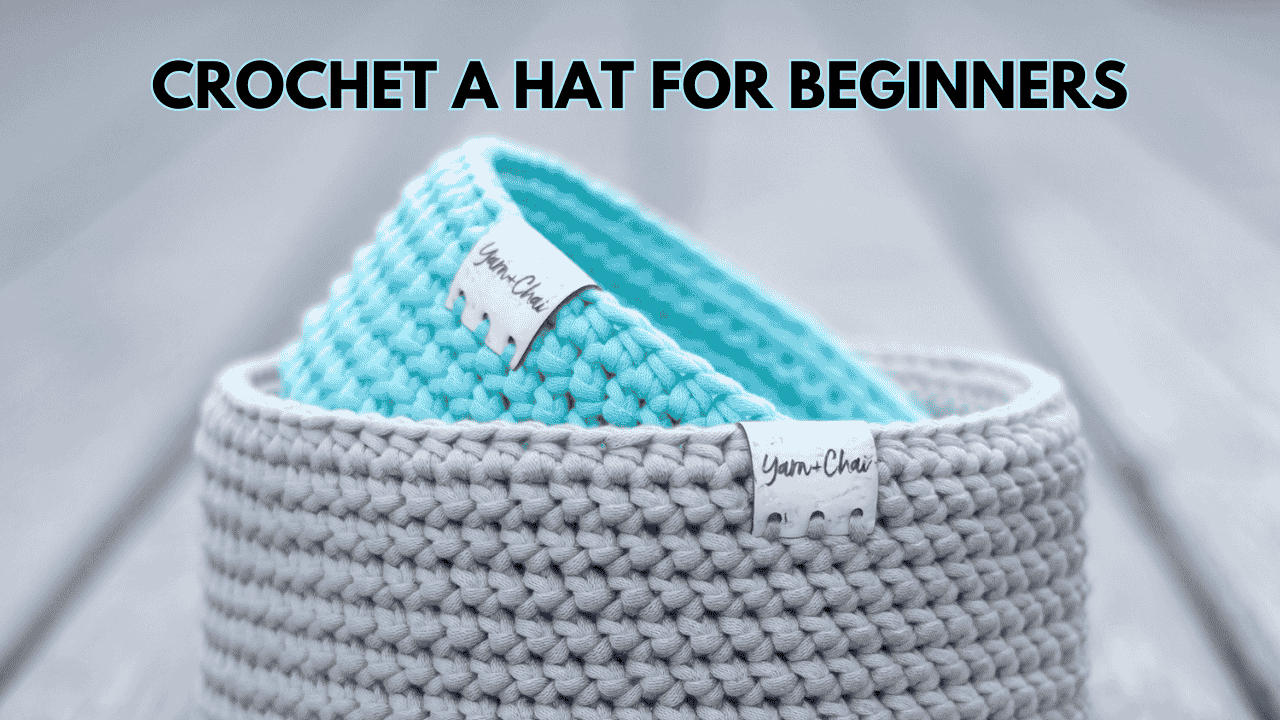
How to Crochet A Hat for Beginners: Crochet a hat is a great project if you are new to the crochet technique as this is both enjoyable and you can hone your crafting skill. Though, crocheting a hat is a perfect project for the new crocheter, do you think it is easy to master the skill? Surely not! So, how can you crochet a hat easily and efficiently?
Choose a medium-weighted yarn like worsted yarn of category 4 and a yearning hook of size between 5 mm to 6 mm. Measure the height and circumference of your head. Make a magic ring or a foundation chain and start to crochet in round from the foundation. Using single or double-stitch, crochet the hat according to the measured size. Make sure to increase the length of the chain as you proceed.
That’s not the all! In the below part, I will explain the procedure briefly of how to crochet a hat with you. So, let’s keep reading!
Key Takeaways:
- Use single stitch to crochet a hat and use slip-stitch to connect the yarned piece.
- Use handmade pompoms or faux balls to decorate the crochet hat.
- Follow the right measurement to crochet a hat based on the age group
In This Post
What Does Crochet A Hat Mean?
A Crochet hat is a part of the crafting skill using yarn and crocheting techniques to make a beautiful hat that not only showcases your skills but is also a great practical object. As the crochet hat is a custom-made product, it bears your taste and uniqueness. Also, you can choose the material and avoid any toxic or harmful yarn.
A crochet hat always stays in trend and is pretty useful to keep you warm on a cold winter day or breezy weather.
The method used to crochet a hat is somewhat easy and with a little practice, you can master it. And, if you crochet a hat, it will surely make you happy and joyful as the making process is fun itself. Also, want to showcase your creativity? Then, add some designs or accessories to the crochet hat.
What Materials Do I Need To Crochet A Hat?
You will need common materials like scissors, darning needles, stitch markers, etc. to crochet a hat. Also, want to add some accessories to give your hat a better look? Then, do not forget to add them to the supply list!
I have made a list below including the main materials you will need to crochet a hat. So, let’s check them out!
| Name Of The Materials | Functions |
|---|---|
| Yarn | Yarn is the main and most basic material to crochet a hat. If you are a beginner, choose the worsted yarn as it has the right amount of stretchy nature and is also great for providing warmth. However, if it is too cold in your living area, go with heavier yarn wool. Also, if you wish to use the hat during a warm time, use lightweight yarn like cotton. |
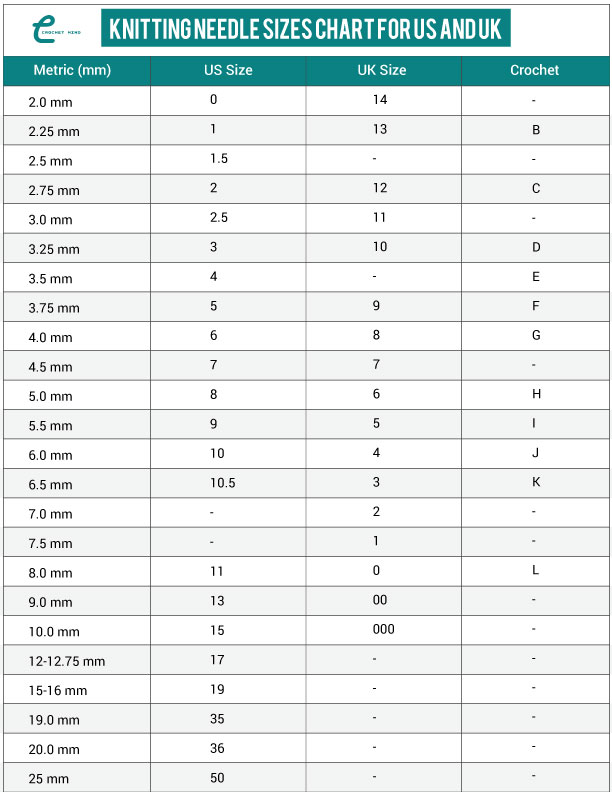
| Crochet Hook | Use a crochet hook of size 5 mm. If you are more comfortable with a larger hook, go with the 6 mm size. |
| Tapestry Needle | To sew the yarns when you finish the crocheting the hat, you have to use the tapestry needle. Though these needles come in various sizes, you can choose anything you are comfortable with between 13 to 18 sizes to crochet a hat. |
| Scissors | To cut the yarn after you crochet a hat, you will need a pair of scissors. So, choose any sharp scissors to cut the yarn when needed. |
| Measuring tape | If you wish to take the measurement of your head, arrange a measuring tape. However, you can always go with the standard size as it is more convenient. |
| Stitch Markers | In case you struggle to keep track of the circles while crocheting a hat, use the stitch markers. |
| Additional Accessories | Want to make your crochet hat look better? Just add some accessories like pom poms, different shape appliques like flowers, cute animals, etc. |
What Are The Best Yarns To Crochet A Hat?
Surely, yarns are the main material for any crochet project including crocheting a hat. So, you need to have proper knowledge about different yarns and their uses before starting to crochet a hat.
Below, I discussed the yarns and their functions that you can use to crochet a hat. So, let’s check them out!
The Most Popular Wool Yarn
Want to go out on a freezing day and play with the snow? Then you must wrap yourself from head to toe with warm clothes. And, for such a day, a woolen hat is the best choice to keep your head warm and save yourself from catching the cold.
In fact, the wool yarn is comfy as it offers good breathability. Also, this yarn has a moderate stretchy quality. So, even if you are new to yarning and face issues with the shape of the hat, using the wool yarn will help you to solve this.
Also, if you feel itchy using the normal wool yarn, you can use the merino wool yarn as it is more soft and less itchy.
Acrylic Yarn
Are you worrying about budget but still want to maintain the good quality of your crochet hat? Then you should use the acrylic yarn. As this yarn is a synthetic one, you will find almost all colors in this yarn. Also, it is pretty available in any brand.
This yarn is lightweight and soft while does not require meticulous care like natural yarn. Thus, you can toss the crochet hat into the washing machine.
The only downside of this yarn is that it is not as breathable as natural yarns. Hence, I will not recommend you use the acrylic yarn if your crochet project is for summer or warm times.
Cotton Yarn
Do you want to wear a hat during the summer to look both trendy and protect yourself from direct sunlight? Then crochet a hat with this cotton yarn.
Also, if you have sensitive skin, crochet a hat with cotton yarn. It is great for breathability and has almost no elasticity. So, the hat you will crochet will maintain its shape for a long time.
Blended Yarns
We use blended yarns widely for crochet projects. Want to know an interesting fact about yarns? You can buy blended yarns almost from all yarn brands and these yarns are less expensive than pure yarns. Also, these yarns require less maintenance and you can machine wash them
So, are you interested in using the blended yarn to crochet a hat? Then, go with a wool-blended yarn. Usually, the wool blend yarns are a mixture of acrylic yarn and wool yarn. Also, these yarns last longer.
How to Crochet A Hat?
You can crochet a hat in various ways. However, I will explain an easy method that requires mainly the most basic crochet stitch, the single crochet. So, let’s make a beanie hat with this easy stitch.
Step 1: Take The Right Measurement
You can use a measurement tape to measure your head or choose the measurement listed below based on the age group.

| Age | Head Circumference | Hat Height |
|---|---|---|
| Kids (3 – 10 years) | 20″ (51 cm) | 8.5″ (22 cm) |
| Pre-teens and Teens | 21″ (53 cm) | 10″ (25 cm) |
| Adult Woman | 22.5″ (57 cm) | 11″ (28 cm) |
| Adult Man | 24″ (61 cm) | 11.5″ (29 cm) |
Step 2: Arrange The Necessary Materials
To crochet this hat, you will need yarn (acrylic and any color you prefer), a tapestry needle, scissors, a yarning hook ( 5 mm), and some stitch markers.

Step 3: Make the Foundation
- Make a slip knot and insert your hook inside the loop. Now, we will make a chain.
- Yarn over and pull the yarn through the loop with the hook.
- Keep making the chain until it is about 12 inches long. You will need 40 to 50 chains to make this long chain rope.

Step 4: Make The Loops
- After your first rope of chains is 12 inches long,ch-1.
- Then, in the second chain from the hook, insert the hook in the back loop.
- Yarn over and pull the yarn using the hook through the back loop. It will leave you with two loops on the hook.
- Yarn over again and pull through both of the two loops.
- Now mark the top two loops with a stitch marker. This is a single crochet in the second chain.
Step 5: Turn The Chain
- Now, for the second chain, you need to turn to the back loop again.
- Insert the hook into the second chain, yarn over, and pull through the loop.
- Again, insert your hook into the next chain, pull up a loop, yarn over, and pull through the loops.
- Continue doing this till you reach one stitch left of the first rope of the chain.

Step 6: Make The Others Rows
- One single crochet in the last chai of the first row. Then ch-1 and turn.
- Again insert the hook in the back loop, make a single crochet, and mark it with the stitch markers.
- Now continue working single crochet till you reach the first stitch you marked on the first row. Turn over and start working the single crochet from the first stitch.
- Mark the first loop of the 3rd row of the chain as well.
- Keep working the chains till the height reaches the circumference of the head.

Step 7: Slip Stich the Rectangle
- After you have done making the rectangle piece, now slip stitch it, and connect the piece. To do this, insert your hook into the first stitch of both loops of one side and do the same for the other side.
- Work the slip-stitch for a total of 10 times and then turn it inside out.
- Then again start to join the crocheted piece from the next stitch.
- Make sure you don’t miss any stitches.
- Keep doing the slip stitches til you reach the end of the rectangular piece.
- Do not cut the yarn after you have finished stitching the piece together. Instead, keep a log yarn for closing the top.

Step 8: Making The Top and Wrapping Up
- Keep a 20-inch long tail and then cut the yarn.
- Turn the piece inside out and with the help of a darning needle start to stitch the top of the hat.
- Remember not to keep any big gaps between the stitches so that the hat will have a proper shape.
- After you have stitched up the whole top, tighten up the yarn and tie it. However, even if you tighten it completely, you will see a gap.
- So, turn the wrong side of the hat and start to stitch the top around the gap and after finishing turn it to the right side. You will the gap is filled and voila! You crochet a hat for yourself!
Crocheting a hat is a very easy process. If you aren’t clear about the procedure, watch this YouTube Video Tutorial for easy understanding.
What Stitches Are Best To Crochet A Hat As A Beginner?
If you are new to crocheting, you will not be as skilled as the old crocheters. So, at this stage, you should use only the single crochet stitch and double crochet stitch to crochet a hat.
If you become comfortable with these two stitches, then you can try the half double, whip and mattress stitches. Also, you need to use the slip stitch to connect any crochet piece together.
Final Thoughts
Okay, finally we have reached the end of this discussion on how to crochet a hat. So far, we talked about the yarns, different patterns of crochet hats, some common inquiries, etc.
Remember, you can crochet a simple hat just by using a single crochet stitch. Hopefully, after finishing this article, you will be successful in crochet a hat. I am also looking forward to hearing about your experience with how to crochet a hat.
Also, do not forget to reach out if you have any inquiries.

![Select Crochet Clothing Ideas: [Best Crochet Fashion] Crochet Clothing Ideas](https://crochetmind.com/wp-content/uploads/2025/07/Crochet-Clothing-Ideas-Best-Crochet-Fashion-in-2025-1-1.jpg)

![The Best 30+ Free Crochet Cat Patterns [Beginner-Friendly Guide]](https://crochetmind.com/wp-content/uploads/2025/04/1-The-Best-30-Free-Crochet-Cat-Patterns-Beginner-Friendly-Guide.webp)
