


Do you need to insert a stitch? No issue! The simplest method is the “knit front and back” (KFB) technique. Knit a stitch as usual, but before slipping it off, knit into the back loop—this way, you have two stitches instead of one. Another easy technique is the “make one” (M1): Simply lift the loose strand between stitches and knit into it. Make sure not to tug too hard, or it will gather together. Test these out on a scrap piece initially to become familiar with them.
Keep reading to master these techniques. In this guide, we’ll walk you through each step so you can add stitches smoothly to any project
In This Post
What Does It Mean to Add a Stitch?
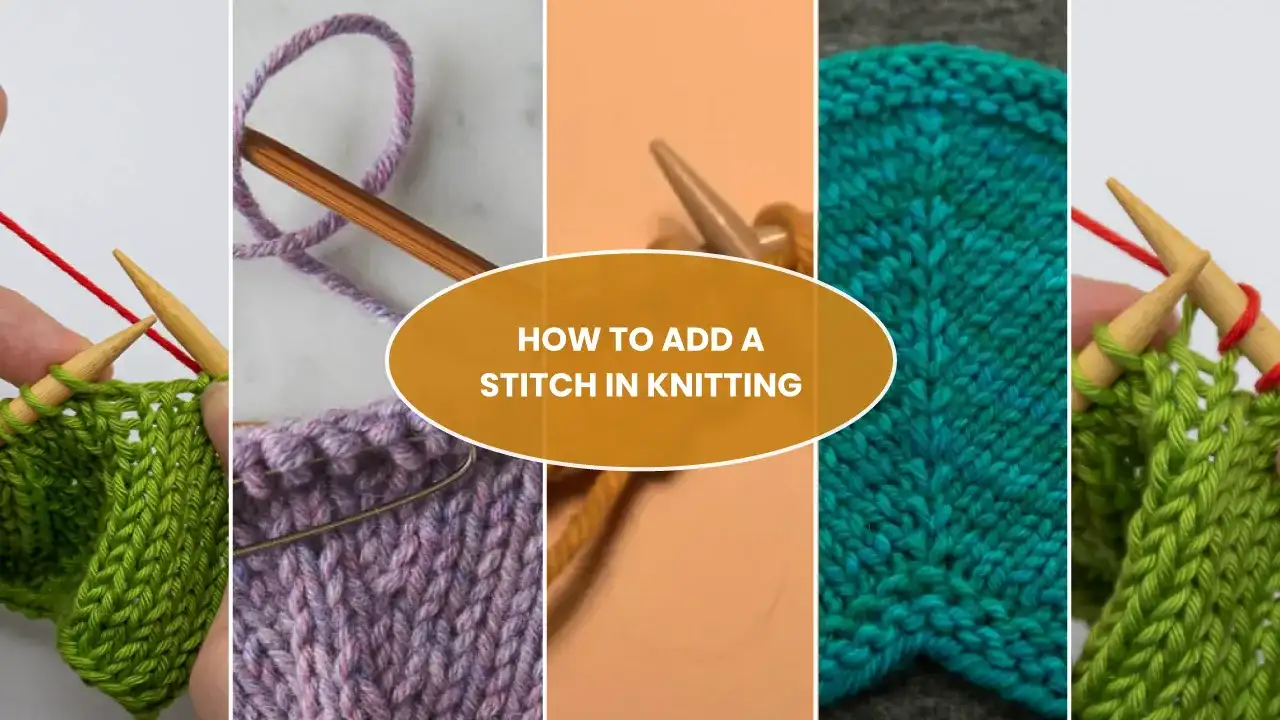
To add a stitch means to increase the number of stitches on your needle. This is often called an increase in knitting. It helps shape garments, build texture, or fix a mistake if a stitch was accidentally dropped. There are many ways to do it, and each gives a slightly different look.
Common Ways to Add a Stitch
Here are a few popular and beginner-friendly ways to add a stitch in knitting:
| Method | Name | Best For |
|---|---|---|
| KFB | Knit Front and Back | Easy increases, slight bump |
| YO | Yarn Over | Lacework, open texture |
| M1 | Make One | Seamless shaping |
| Backward Loop | Simple Add | Quick fixes, edges |
Method 1: YO (Yarn Over)
The Yarn Over (YO) method is one of the easiest ways to add a stitch and is commonly used in lace knitting. It creates a decorative hole in the fabric, adding both beauty and breathability. This increase is made by simply wrapping the yarn over the needle, forming a new stitch for the next row.
Here are the step-by-step instructions on how to add a stitch with yarn over in knitting. Including –
Step 1: Get into Position

Begin with your working yarn positioned at the rear of your project (with the knit side towards you). You’re set to knit the next stitch, but we’ll add a yarn over first.
Step 2: Bring the Yarn Forward

Move your working yarn from the back to the front of your work, passing it over the right needle. Let it drape naturally—don’t pull too tight!
Step 3: Wrap It Around

Loop the yarn over the top of the right needle and back to the back of your work. This creates the yarn over, forming a new loop on your needle. It should feel like you’re making a little swing with the yarn.
Step 4: Knit the Next Stitch

Now, knit the next stitch as usual. Insert your right needle into the next stitch on the left needle, wrap the yarn around, and pull through. The yarn over stays on the right needle as an extra stitch.
Method 2: Knit in the Front and Back
The Knit in the Front and Back (KFB) method is a beginner-friendly way to add a stitch and is often used in simple patterns. It works by knitting the same stitch twice—once through the front loop and once through the back. This creates a visible little bump and a sturdy increase that’s great for shaping.
Here are the step-by-step instructions on how to add a stitch with knit in the front and back in knitting. Including –
Step 1: Knit the First Stitch

To start a knit front and back (KFB) increase, knit a stitch but keep it on the left needle. Then you’ll knit into the back of that same stitch next.
Step 2: Knit the Second Stitch

You’ve got a new stitch on your right needle, but the original stitch is still hanging out on the left. To wrap up the KFB increase, knit into the back loop of that left needle stitch and slide it off.
Step 3: Finishing the stitch

Now you’ve got two stitches sitting on your right needle. Just slide the old stitch off the left needle,
Method 3: Backwards Loop
This method is one of the simplest ways to add a stitch, often used at the beginning of a row or when casting on extra stitches mid-project. The Backward Loop Increase forms a new stitch by wrapping the yarn into a loop and placing it directly onto the needle. It’s quick and easy, though it can be a bit loose if not tightened properly.
Here are the step-by-step instructions on how to add a stitch with the Backward Loop in knitting. Including –
Step 1: Create the Loop

Take your working yarn and make a loop so the tail end crosses over the part attached to the ball.
Step 2: Insert the Needle

Slide your right needle through the loop from the front side to the back.
Step 3: Tighten the Stitch

Pull the yarn a bit to tighten the loop on your right needle, and you’ve got a new stitch in your knit.
Method 4: M1 (Make One)

This method uses the horizontal strand (yarn bar) between two stitches to create a new one. There are two versions—Make One Left (M1L) and Make One Right (M1R)—which slant in opposite directions. Use them to shape your knitting symmetrically.

To m1L (make one left):
Here are the step-by-step instructions on how to add a stitch in m1l. Including –
Step 1: Lift the Yarn Bar

Pop your left needle from front to back under the yarn bar between the stitches.
Step 2: Knit Through the Back Loop

Knit that yarn bar through its back loop to twist it into a neat loop. This is your one stitch in m1l.
To m1R (make one right):
Here are the step-by-step instructions on how to add a stitch in m1R. Including –
Step 1: Pick Up the Yarn Bar

Slip your left needle from back to front under the yarn bar between the stitches.
Step 2: Knit Through the Front Loop

Knit that yarn bar through its front loop to twist it into a tidy, tight little loop.
Frequently Asked Questions
What is the easiest way to add a stitch?
The easiest method is KFB (knit front and back). It only requires one regular stitch and adds another by knitting into both the front and back of it. It’s beginner-friendly and perfect for projects that don’t need invisible increases or decorative designs.
Where should I place the added stitch in my row?
The placement depends on your pattern. Some increases happen at the beginning or end of a row for shaping, while others occur in the middle to create design elements. Always follow your pattern or keep increases symmetrical when working without specific instructions.
Will adding a stitch change how my knitting looks?
Yes, different increase methods create different effects. KFB leaves a small bump, M1 is nearly invisible, and yarn overs leave holes. Choose a method that fits your design—decorative or seamless—so the added stitch blends naturally into your project.
In closing
Adding a stitch in knitting is a simple but essential skill that helps shape your projects and bring patterns to life. Whether using KFB, M1, or yarn overs, each method has its purpose and style. With practice, these increases become second nature.
Mastering how to add a stitch gives more control and creativity, allowing for everything from structured garments to flowing accessories. Keep exploring and enjoy every new stitch added!


![The Best 30+ Free Crochet Cat Patterns [Beginner-Friendly Guide]](https://crochetmind.com/wp-content/uploads/2025/04/1-The-Best-30-Free-Crochet-Cat-Patterns-Beginner-Friendly-Guide.webp)


