


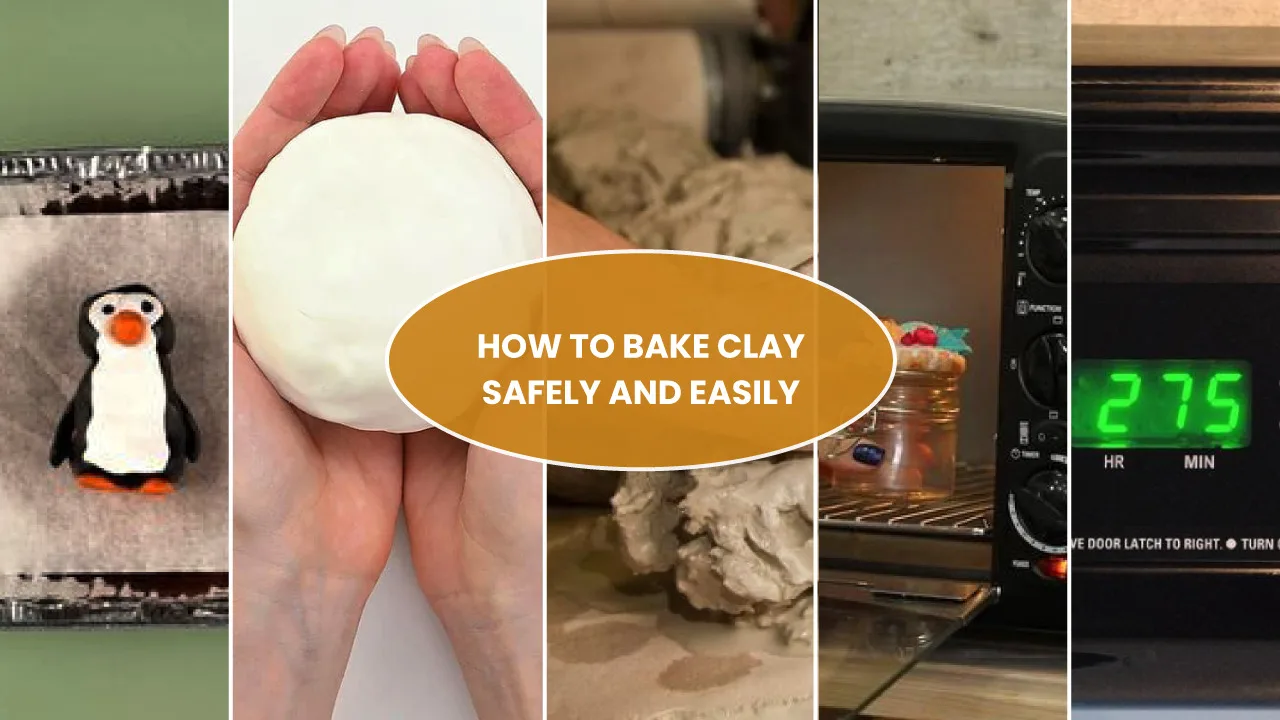
How to bake clay is one of the most useful and fun skills for anyone who enjoys crafting. When we want to make small figures, jewellery, or creative clay magnets, baking clay the right way helps us in projects to stay strong and last longer. We don’t need fancy tools or a kiln. It is easy to make with simple materials like polymer clay, a home oven, and a little time, which can make beautiful items that feel smooth and firm after baking. So, you can think about how to bake clay?
To bake clay,
- First, preheat the Oven Properly
- Prepare Your Clay Piece
- Place the Clay on a Safe Baking Surface
- Bake the Clay According to Type and Size
- Let It Cool.
This is perfect for beginners. You just shape the clay, place it on a safe surface, and bake it at the right temperature. After cooling, your clay project is ready to decorate, paint, or gift.
That’s not all! In this guide, we have discussed the method with image tutorial. We will show you what kind of clay to use, how to prepare and bake it, and what to do after baking. This way, your crafts not only look great but also stay strong for a long time. So, lets dive into deep-
In This Post
- What is Clay Baking?
- Types of Clay You Can Bake
- Supplies You Will Need to Bake Clay
- How to Bake Clay in the Oven: [Step-by-Step Instructions]
- Alternative Clay Baking Methods
- Creative Clay Ideas to Try After Mastering Baking
- Safety Tips for Baking Clay at Home
- FAQs
- How to Bake Clay at Home If I’ve Never Done It Before?
- Can I Learn How to Bake Clay Earrings at Home Safely?
- How to Bake Clay Without a Kiln or Traditional Oven?
- What’s the Best Way to Bake Clay to Harden it Properly?
- How to Bake Clay Figures at Home?
- Can I Bake Clay Jewellery in a Toaster Oven?
- How to Bake Clay Pottery or Bowls at Home?
- Final Thoughts
Key Takeaways:
- Baking clay is an easy and helpful step that makes your clay projects strong and long-lasting. You only need a few basic things like an oven, some clay, and a safe surface to place it on.
- You can use many types of clay, such as polymer clay or even homemade clay, depending on your craft.
- Always follow the correct temperature and time so the clay does not burn or stay soft. Clay baking is a great activity for beginners, kids, or anyone who loves to create with their hands.
What is Clay Baking?

Clay baking is the process of hardening soft clay using heat. Instead of drying in the air, some types of clay need to be baked in an oven to become firm. This is especially true for polymer clay, which stays soft until it is heated.
When you bake clay, it turns from a bendable, shapeable material into a solid form that holds its shape. That’s why clay baking is an important step in making jewellery, mini figures, and other fun projects. Many crafters enjoy baking clay because it’s easy to do at home, and it lets them keep their creations for a long time without them breaking or falling apart.
Types of Clay You Can Bake
Different kinds of clay can be baked depending on your project needs and tools. Some clays are designed to harden in the oven, while others can be made at home with simple ingredients. Each type has its feel, use, and baking method. Below are the main types of clay used in baking crafts, including polymer clay, homemade clay, and a bonus type—air-dry clay.
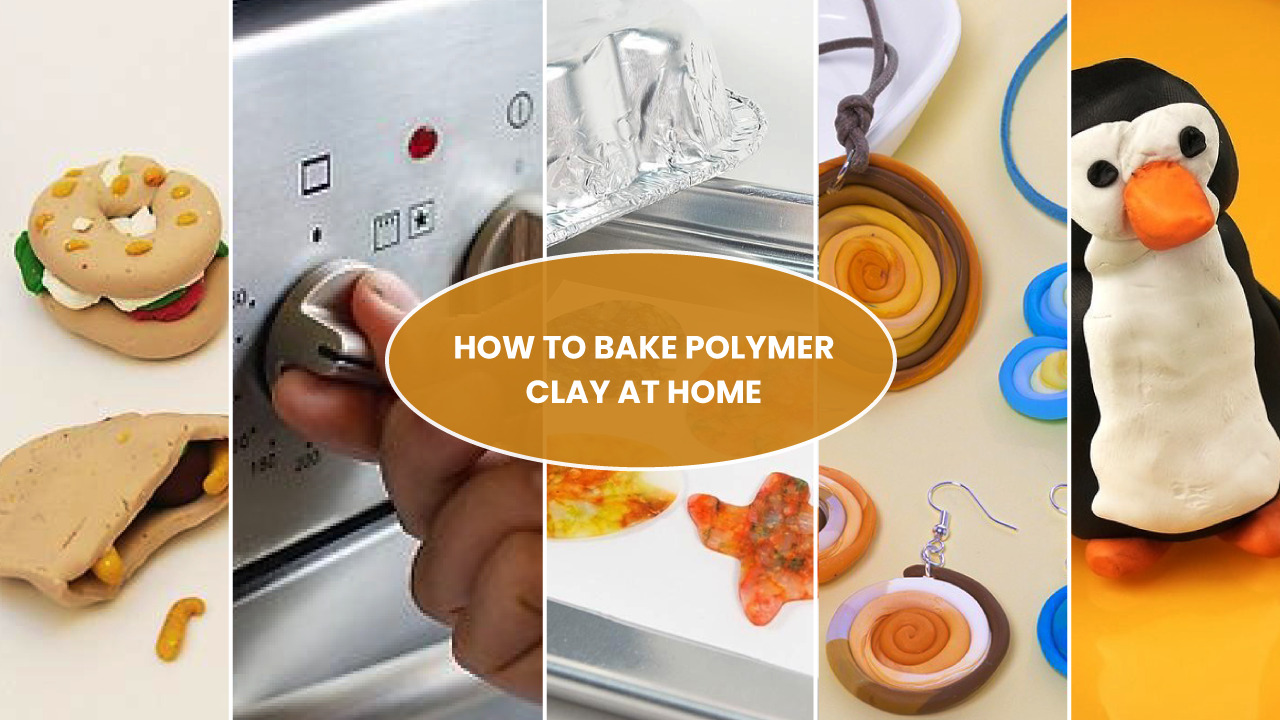
Polymer Clay

Polymer clay is one of the most popular choices for baking because it is easy to use and comes in many colours. It stays soft while you shape it, then becomes firm after baking in the oven. Well-known brands like Sculpey polymer, Mont Marte, Fimo, Premo, and Cernit offer a wide range of options for beginners and experts. This clay is great for making small figures, beads, jewellery, and other detailed projects.
Homemade Clay

Homemade clay is a fun and affordable option, especially for beginners or kids. A simple homemade clay recipe uses baking soda and cornstarch mixed with water to form a soft dough. You can bake this clay at a low temperature or even let it air dry. While it’s great for small and simple projects, it’s not as strong or flexible as store-bought polymer clay. If it isn’t baked or dried correctly, homemade clay can sometimes crack.
Air Dry Clay (Bonus)

Air dry clay is a type of clay that doesn’t need to be baked at all. Just leave it out in the open, and it will harden over time, usually within 24 to 48 hours. This makes it a great choice for beginners who don’t have an oven or who want to avoid baking. However, air-dry clay is not as durable as baked clay. It’s not waterproof and can break if dropped or bent.
Supplies You Will Need to Bake Clay
You will begin with a few simple tools. First, get your clay ready—polymer clay is a good choice for beginners. Then, make sure you have an oven or toaster oven to bake the clay. You’ll also need a tray or tile to place your clay on while it bakes. After collecting all the materials, you’re set to begin your easy clay baking project.
| Item | Why You Need It |
|---|---|
| Clay (like polymer) | The main material to shape and bake |
| Oven | To heat and harden the clay |
| Baking tray/tile | A surface to place your clay safely |
| Parchment paper | Prevents clay from sticking or burning |
| Oven thermometer | Helps check the correct baking temperature |
| Timer | Keeps track of baking time |
| Aluminum foil | Covers the clay to protect it from burning |
These tools help you learn how to bake clay the right way, so your clay projects turn out solid, neat, and ready for decorating or gifting.
How to Bake Clay in the Oven: [Step-by-Step Instructions]
Learning how to bake clay in the oven is one of the safest and easiest ways to harden your clay creations at home. Whether you’re using polymer clay, homemade clay, or modelling clay, following the right baking steps is key.
When you use proper tools, watch your temperature, and pay attention to time, your clay project will come out strong, smooth, and ready to decorate or use. Below are five simple steps to help you understand how to bake clay safely in a regular oven.
Step 1: Preheat the Oven Properly

Before placing your clay into the oven, always preheat it first. Most polymer clays, like Sculpey clay, require a temperature of 275°F (135°C). It’s best to use an oven thermometer instead of trusting your oven dial. A correct and steady heat helps the clay bake evenly and prevents cracking.
Step 2: Prepare Your Clay Piece

Once your oven is warming up, look at your clay item before baking. Make sure all parts are firmly joined and the surface is smooth. Try to keep your project at a good thickness—not thinner than 1/4 inch, but not too thick either. Very thin pieces might burn quickly, and very thick ones may not bake fully.
Step 3: Place the Clay on a Safe Baking Surface

When your piece is ready, place it on a safe baking surface. A ceramic tile, silicone baking mat, or a tray lined with parchment paper works well. Avoid putting clay directly on metal pans, as they can leave shiny or burned spots. Tent your clay with foil to protect the top from burning.
Step 4: Bake the Clay According to Type and Size

Each brand or type of clay may need a slightly different time and temperature, so always check the label first. A general guide is:
| Thickness | Baking Time |
|---|---|
| 1/4 inch | 15–30 minutes |
| 1/2 inch | 45–60 minutes |
For example, if you’re using Sculpey clay and it’s 1/4 inch thick, bake at 275°F for 30 minutes. This timing helps when baking, modelling clay, or jewellery pieces.
Step 5: Let It Cool
Once the baking time is done, remove your clay item carefully, but don’t touch it yet. Let it cool fully at room temperature before handling. If you move the clay too early, it may crack or lose shape. After this step, your clay piece is set and ready to use.
Alternative Clay Baking Methods
There are several alternative ways to bake or cure clay, depending on the type you’re using. While some methods are suitable only for homemade clays, others can handle polymer clay in small batches.
1. How to Bake Clay in a Toaster Oven
A toaster oven can be a great option for small craft pieces when used correctly.
- Preheat to 275°F
- Place clay on tile or parchment
- Bake small pieces evenly
- Always use an oven thermometer
This method works well for polymer clay like Sculpey or Premo. Make sure the toaster oven holds heat consistently and is not used for food afterwards, as polymer clay may leave residues.
2. How to Bake Clay in an Air Fryer
If you’re wondering how to bake clay in an air fryer, yes—it’s possible with homemade or thin polymer clay items.
- Line the basket with parchment.
- Bake at 250°F for 10–15 minutes.
- Good for thin items like clay earrings
- Watch closely to avoid burning
Air fryers heat up quickly, so it’s best for small and flat clay crafts. Always keep an eye on the time and temperature to avoid scorching the surface of your design.
3. How to Bake Clay in a Microwave
Microwaves are not safe for polymer clay, but you might be able to use them for basic homemade clay.
- Microwave in short bursts
- Always add water to prevent cracks
- Don’t try this with Sculpey polymer
If you try baking clay in a microwave, make sure it’s a simple cornstarch-based homemade recipe. Always place a cup of water in the microwave and use very low power to avoid drying it out too fast or burning.
4. How to Bake Clay Without an Oven
Even without any kind of oven, there are still ways to harden clay for simple crafts.
- Pan baking on the stovetop (for homemade clay)
- Heat lamps or sun drying
- Air dry clay for no baking at all
These methods don’t give the strength that oven baking provides, but they can work for lightweight models, kid projects, or fun decorative crafts where durability isn’t critical.
Creative Clay Ideas to Try After Mastering Baking
Once you learn how to bake clay safely and correctly, a whole world of creative projects opens up. These crafts are fun for all skill levels and make great gifts, items to sell, or personal keepsakes. Whether you’re using polymer or homemade clay, baked pieces become strong and ready for display or use.

- Clay earrings: Clay earrings are a fun way to show off your style. After baking, attach earring posts or hooks using strong glue. Use lightweight clay and bake carefully to avoid over-curing thin shapes.
- Clay rings: Clay rings are easy to mold and personalise. Wrap clay around a finger-sized guide to form bands. After baking, sand the surface and add glaze if you like a glossy finish.
- Clay magnets: Magnets are simple clay projects that make great gifts or decorations. Mold fun shapes, bake, then glue a magnet on the back. Decorate your fridge, locker, or whiteboard.
- Mini clay figures: Miniature figures are perfect for kids or collectors. Try shaping small animals, toys, or characters. Bake carefully to keep tiny details from warping or cracking.
- Homemade jewellery: Clay is great for custom jewellery, like beads or charms. After baking, thread them onto a cord or metal. You can make simple or detailed designs to suit your taste.
- Clay pottery:Try shaping small trays or bowls to hold rings, coins, or keys. Use a mold like a real bowl for support while baking. These are decorative only—don’t use them for food unless your clay is food-safe.
Safety Tips for Baking Clay at Home
When learning how to bake clay, it’s important to follow safety steps to protect yourself and your home. Some clays can release fumes if overheated, and using the wrong tools can create health risks. By keeping your workspace clean and well-ventilated and using the right equipment, you can safely enjoy this craft.
- Use separate tools – Don’t reuse clay baking items like trays or knives for cooking food.
- Limit access – Keep children and pets out of the room while baking clay to avoid accidents.
- Ventilate well – Open a window or turn on a fan for fresh air while the oven is on.
- Set a timer – Always use a timer so you don’t forget about your project.
- Check temperature – For Sculpey clay, stay below 275°F (135°C) to avoid burning.
- Watch for signs – If your oven starts smoking or smells strange, turn it off and check the clay.
FAQs
How to Bake Clay at Home If I’ve Never Done It Before?
To bake clay at home, start by choosing the right kind, like polymer clay. Preheat your oven to 275°F, place the clay on a lined tray, and follow the instructions on the clay package. Always bake in a well-ventilated space.
Can I Learn How to Bake Clay Earrings at Home Safely?
Yes! Clay earrings can be baked in an oven at 275°F for about 30 minutes (for ¼ inch thickness). Use a flat, non-stick surface and tent them with foil to avoid browning.
How to Bake Clay Without a Kiln or Traditional Oven?
If you don’t have a kiln, you can still bake polymer clay using home ovens, toaster ovens, or even an air fryer. For air-dry clay, no oven is needed—just let it dry in the open air.
What’s the Best Way to Bake Clay to Harden it Properly?
To harden clay, especially polymer types like Sculpey, bake at the recommended temperature based on the thickness. Avoid underbaking or overheating. Always let the piece cool completely after baking.
How to Bake Clay Figures at Home?
Clay figures can be baked in a home oven. Make sure the sculpture isn’t too thick (keep each part under ½ inch). Tent the figure with foil and bake for the time listed on your clay’s package.
Can I Bake Clay Jewellery in a Toaster Oven?
Yes, toaster ovens work well for small clay jewellery. Just make sure the temperature stays steady. Use a baking tile or parchment and monitor the piece often while baking.
How to Bake Clay Pottery or Bowls at Home?
While polymer clay pottery can be baked in a regular oven, it’s only for decorative use. Never eat or drink from polymer clay bowls. Bake at 275°F and let it cool slowly for the best results.
Final Thoughts
Learning how to bake clay is a fun and creative skill that any beginner can master with a little patience and the right tools. Whether you’re baking polymer clay earrings, homemade clay figures, or decorative pottery, the process is simple once you know the steps. From using a regular oven to exploring alternatives like a toaster oven or air fryer, there’s a method that fits your space and comfort level.
Now that you understand how to bake clay safely and easily, it’s time to grab your tools, shape your ideas, and start baking your first clay masterpiece. The joy of crafting comes not just from the finished piece, but from the making itself. So go ahead—bake, create, and let your imagination take form.


![The Best 30+ Free Crochet Cat Patterns [Beginner-Friendly Guide]](https://crochetmind.com/wp-content/uploads/2025/04/1-The-Best-30-Free-Crochet-Cat-Patterns-Beginner-Friendly-Guide.webp)


