


![Select Crochet Clothing Ideas: [Best Crochet Fashion] Crochet Clothing Ideas](https://crochetmind.com/wp-content/uploads/2025/07/Crochet-Clothing-Ideas-Best-Crochet-Fashion-in-2025-1-1.jpg)
In this article__________
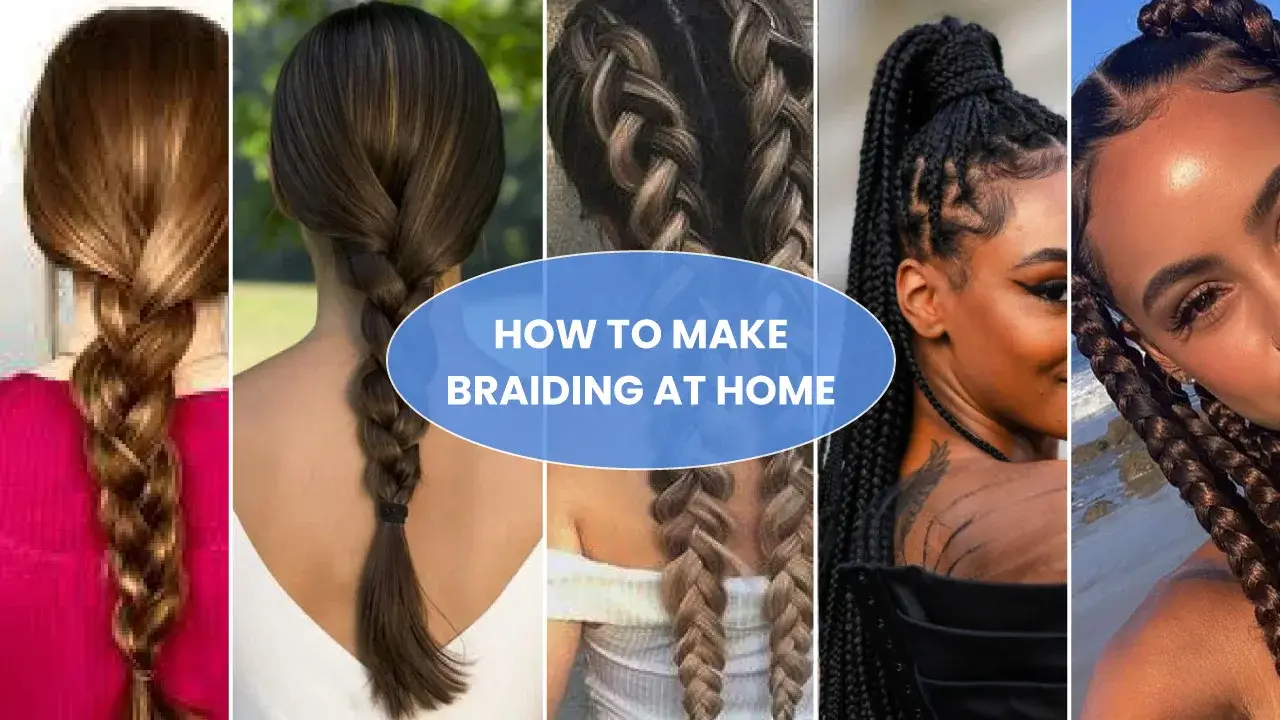
- MAKE BRAIDING IN EASY WAY..?
- MAKE BRAIDING AT HOME..??
- A BEGINNER’S MAKE BRAIDING..??
- BRAIDING MAKE BY BEGINNER’S AT HOME..?
Braiding is one of the most classic and enjoyable styles you can do at home. Whether you’re working with your hair, yarn, or threads, braiding is a great way to create neat, stylish, and creative patterns. With a few simple tools and a bit of practice, you can learn how to braid by yourself in no time.
It’s an easy and fun activity for beginners, kids, or anyone who enjoys DIY styles. From basic 3-strand braids to French or Dutch styles, there are many ways to try braiding your hair or someone else’s. Braids can also be turned into crowns, ponytails, or simple hairstyles for everyday use.
In this tutorial, you’ll follow step-by-step instructions on how to make braiding at home. You’ll learn about the types of braids, the tools you need, and how to get smooth, clean results. This guide is perfect for anyone who wants to master simple braiding techniques that look pretty and feel comfortable—great for school, fun days, or giving your hair a quick and neat makeover.
Key Takeaways:
- Braiding is simple to do, fun to learn, and does not need many items. A clean comb and hair ties are enough to begin learning how to make braiding at home.
- You can try different types like three-strand, French, or Dutch braids.
- Make sure your braid is tight and neat so that it stays in place. It’s a perfect DIY skill for both kids and beginners.

In This Post
What is Braiding?
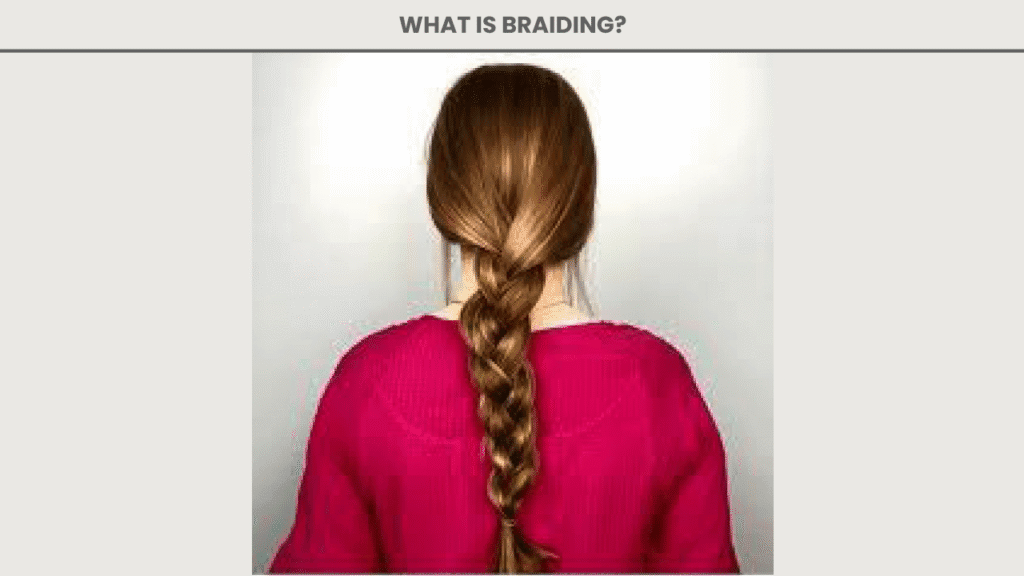
Braiding is a simple way to twist or weave strands of hair, thread, or string together to make something neat and stylish. When it comes to hair, braiding means dividing the hair into sections and then crossing them over each other in a repeated pattern.
It’s one of the easiest and oldest styles used all over the world. Braids can be tight or loose, thick or thin, and they work well for both short and long hair. Because of how easy it is to do, braiding is often the first hairstyle that beginners learn. People love braiding not only to keep their hair tidy but also to create pretty looks for school, work, or special days. You can even get creative with braids by mixing in ribbons, beads, or favourite colours.
Common Types of Braids
Braiding comes in many styles, each with its special look. Whether you like simple, sporty, or fancy braids, there’s one for you. Let’s understand some of the most popular braids you can try at home, even if you’re starting.
- Basic Three-Strand Braid: The basic three-strand braid is the easiest kind of braid you can learn. It uses just three even sections of hair. You cross one side over the middle, then the other side over the new middle, and repeat. Even though it’s simple, it gives your hair a clean and neat look for school, home, or playtime.
- French Braid: The French braid, sometimes called a French plait, starts from the top of your head and works its way down. It begins with a small section of hair at the crown, and as you go, you keep adding small pieces from the sides. This braid lies flat against your head and stays firm.
- Dutch Braid: The Dutch braid is like the reverse of a French braid. Instead of crossing the hair over the middle, you cross each section under. This makes the braid stand out or pop up from your head, giving a raised look. It’s a strong and bold style, great for sporty days or any time you want a fun and creative braid that stays in place.
- Fishtail Braid: A fishtail braid looks fancy but is made with only two sections of hair. You take small pieces from each side and cross them over to the other side again and again. This braid looks very pretty and detailed, even though it doesn’t need a lot of tools. It might take a little practice to get even, but it’s worth it for a beautiful result.
- Box Braids: Box braids are made using added braiding hair and are often done on curly or natural hair. The hair is parted into square-shaped sections, and each section is braided with extra hair. This type of braid is great for protecting natural hair and can last for several weeks

Supplies You’ll Need to Make Braids
You will begin with a few easy tools. First, make sure your hair is clean and dry. Then, grab a comb to divide sections. You’ll also need some hair ties or small bands to hold your braids. If you want extra hold, keep some styling gel or spray nearby. Now that you have everything ready, you’re all set to start your braiding DIY session.
| Item | Why You Need It |
|---|---|
| A Wide-tooth comb | To detangle hair |
| Rat-tail comb | For clean hair parting |
| Hair ties or elastics | To hold the braids in place |
| The Water spray bottle | Keeps hair damp and easy to handle |
| Braiding gel | Helps hold braids tightly |
| Hair clips | To keep sections separate |
These simple tools help make braiding at home easy, neat, and fun, perfect for beginners trying out new hairstyles.
How to Make Braiding: Step-by-Step Braiding Techniques
Now let’s learn how to braid with your own hands. These braiding methods are simple to follow, even for beginners. Each one has its look and style. Whether you want a normal braid or a pretty twist, follow the steps and try them out on your hair.
Basic Three-Strand Braid

The basic three-strand braid is one of the first braiding techniques most people learn. It’s simple, neat, and a great starting point for anyone new to hair braiding.
Brush your hair: Start by brushing your hair gently to remove all knots and tangles. Smooth hair is easier to work with and makes the braid look cleaner.

Divide into 3-strand parts: Split your hair evenly into three sections. Try to keep each part equal so the braid turns out balanced and neat.
Cross the right over the middle: Take the right section and move it over the middle one. This changes the middle strand’s position to the right.

Now, left over the new middle: Next, move the left section over the new middle strand. This step begins the basic criss-cross pattern of the braid.
Repeat till the end: Continue crossing the outer strands over the middle one, switching sides each time. Repeat this pattern down.

Tie with an elastic: Once you reach the end of your hair, use a small elastic band to hold the braid in place so it doesn’t come loose.

How to French Braid?
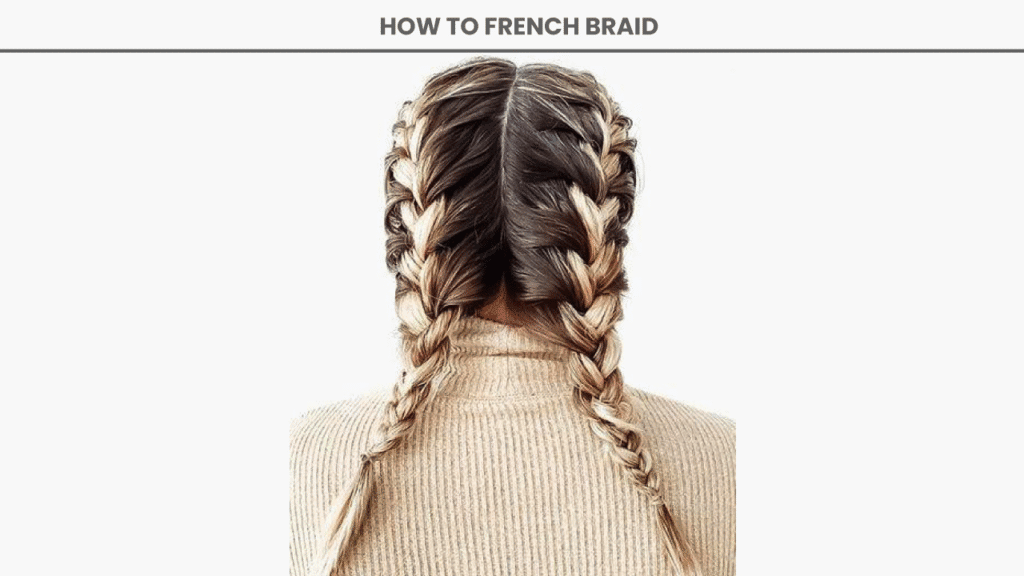
French braids begin at the top of your head and pick up hair as you go. They look smooth and help keep hair neatly in place. French braids are pretty, tidy, and great for school, sports, or daily wear. They also stay in place all day.
- Start with a top section.
Grab a part of your hair from the crown of your head. - Split into three parts.
Divide that section into three equal pieces. - Begin a normal braid.
Start like a regular braid. - Add a little hair from each side as you go.
Each time you cross a strand, add hair from the sides. - Keep it tight
Pull gently to keep the braid firm but not painful. - Secure at the bottom.
Finish with an elastic once you reach the end.
Dutch Braid Tutorial
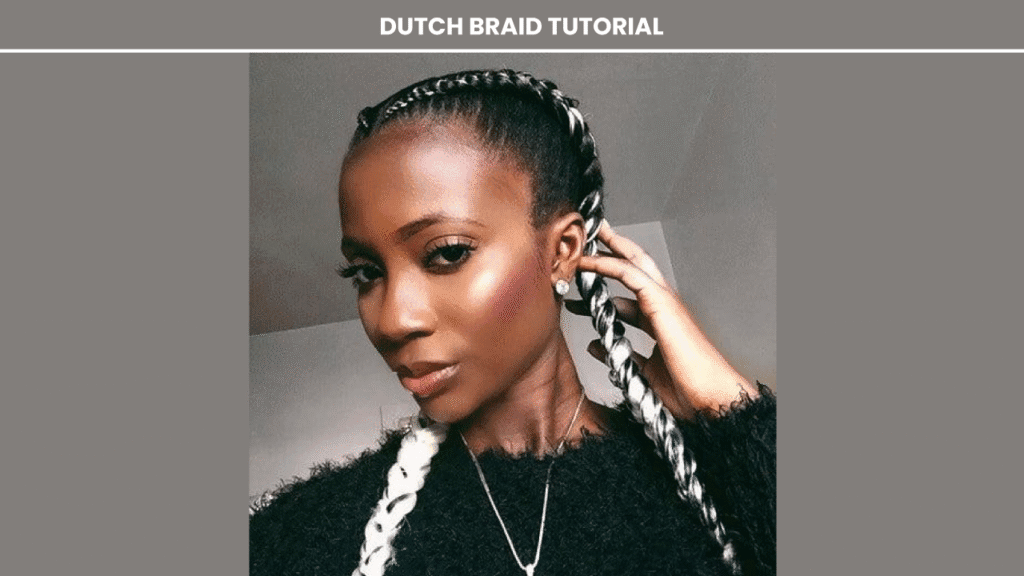
Dutch braids are also called inside-out French braids. The braid sits on top of your hair and looks more raised. Dutch braids are bold and eye-catching. They’re a good choice if you want your braid to look thicker and more visible.
- Do the same as the French braid.
Start with three sections at the crown. - But cross the parts under instead of over.
Cross each section under the middle one. - This makes the braid stand out more.
The braid will pop above the rest of the hair. - A cool hairstyle for beginners
Simple to try with practice and looks great.
Fishtail Braid Tutorial

Fishtail braids look fancy, but use only two sections instead of three. It takes a bit of time, but it is worth the effort. Fishtail braids are stylish and detailed. They look great for parties and also work well with casual looks. To make a fishtail braid:
- Divide your hair into two parts.
Split your hair down the middle into two halves. - Take a small piece from one side and cross it over.
Move a thin strand from one section to the other side. - Repeat from the other side.
Do the same with the other half. - Keep going until done.
Continue until you run out of hair. - Tie it at the end.
Use an elastic to hold the braid in place.
Box Braids Tutorial
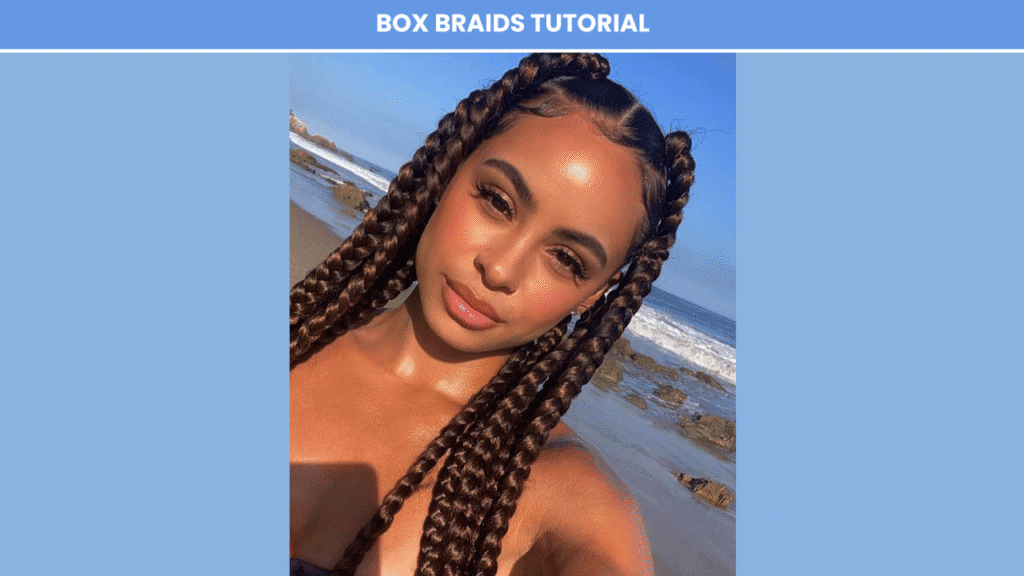
Box braids are long-lasting and protect your natural hair. They use added braiding hair and are great for curly or textured hair. Box braids are a great way to make your braiding hair look longer. They can last for weeks with good care and styling. To make box braids:
- Wash and dry your hair.
Start clean to keep your scalp healthy. - Section into squares
Part your hair into small square sections. - Use braiding hair
Add extensions for length and fullness. - Braid tightly down
Keep braiding each section to the end. - Use hot water to seal the ends.
Dip the ends in hot water to lock them.
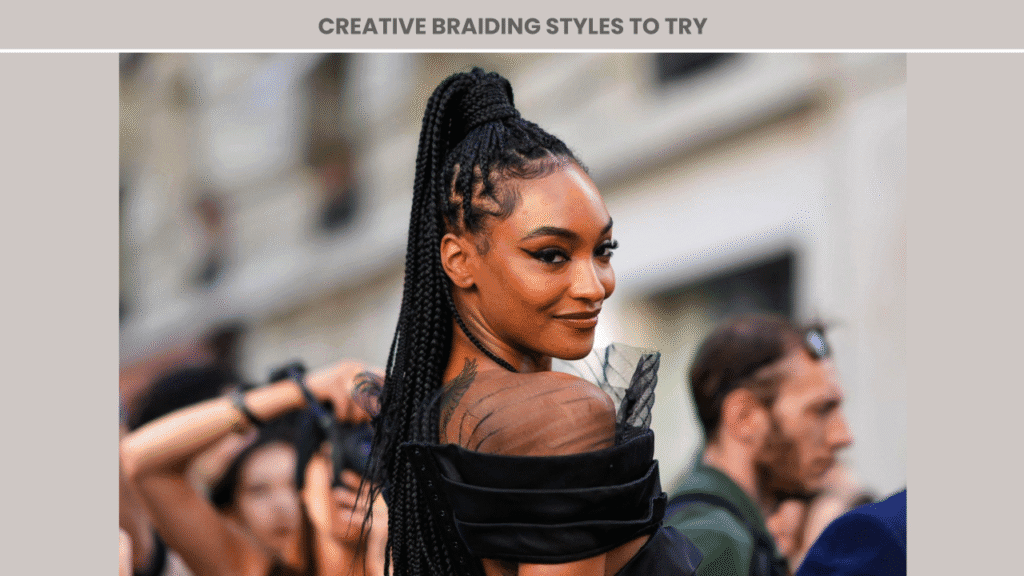
Creative Braiding Styles to Try
If you already know how to braid, you can now try some fun and stylish looks. These ideas are easy, yet they add something special to your hair. You don’t need to be perfect—enjoy creating something new with braids.
Half-Up 3-Strand Braid
This style is great when you want a mix of braid and flowy hair. Take the top half of your hair and do a basic three-strand braid. Let the rest of the hair hang down loose. It’s quick, easy, and looks cute for everyday wear.
Twin French Braids
Start with two sections from the front of your head. Braid each side using the French braiding method. These twin braids stay in place and are perfect for busy school days or when you need your hair out of your face during sports.
Low Dutch Braid into Ponytail
Begin a Dutch braid from the top and work your way down to the back of your neck. When you reach the bottom, gather the rest of your hair and tie it into a ponytail. This style is both cool and easy, especially for a quick outing.
Braiding on Short Hair
Braiding short hair can be tricky, but not impossible. Use a little hair gel or cream to keep small strands in place. Try mini French or Dutch braids on top or the sides to add a stylish touch even with short hair.
Hair Prep Essentials to Make Braiding
Before you start braiding, it’s important to get your hair ready. Clean, soft, and tangle-free hair makes the braiding process smoother and more comfortable. Whether you’re using your natural hair or added braiding hair, a little prep work helps your braids last longer and look better.
1. How to Make Braiding Hair Soft and Silky
To make your hair soft and silky before braiding, start by washing it with a mild shampoo. After that, use a deep conditioner to help smooth out any rough strands. When you dry your hair, pat it gently with a towel instead of rubbing. Adding a little hair oil can also make your strands feel smooth and easier to braid.
2. How to Make Braiding Hair Not Itch / Less Itchy
If you’re using synthetic braiding hair, it might feel itchy at first. One way to fix this is to rinse the hair in a bowl of water mixed with apple cider vinegar. Let it soak for a few minutes and dry completely before using. For your natural hair, spray a light leave-in conditioner to keep your scalp moisturised.
3. How to Make Braiding Hair Look Natural
To make braiding hair look natural, choose extensions that match your hair colour closely. Make sure to blend the added hair with your real hair while braiding. Braiding tightly can help hold everything together, but don’t pull too hard, or it might hurt your scalp.

Braiding Hair Maintenance Tips
Keeping your braids neat and fresh is just as important as learning how to braid. With some simple daily care, your braids can stay clean, last longer, and feel more comfortable. These tips will help you protect your hair and keep your braid style looking its best.
- Sleep with a satin scarf to stop frizz and keep braids in place overnight. This also helps reduce breakage and keeps your edges neat.
- Spray your braids lightly with water each morning to keep them soft and fresh. You can add a few drops of oil to the water for extra moisture.
- Oil your scalp regularly to prevent dryness and itching. Use light oils like coconut or jojoba so your scalp doesn’t feel heavy.
- Avoid keeping box braids in for too long to protect your natural hair. Leaving them in too long can cause buildup and tension on your roots.
- Wash your scalp gently and keep braids clean to make braiding easier next time. Clean braids also stop itching and keep your hair smelling nice.
Frequently Asked Questions (FAQs)
How to Make Braiding Hair Silky and Smooth?
Wash and brush the hair first. Apply mousse or gel to tame frizz and make the braids sleek. Silky hair makes your braids look clean and shiny.
How to Make Braiding Hair into a Ponytail?
Gather finished braids and tie with a strong elastic. Wrap a few braids around the base to cover the band. This makes the ponytail neat and stylish.
How to Make Braiding Hair Curly or Wavy?
For curls, set the ends on rods and dip in hot water. For waves, braid loosely and let them dry overnight. Always test on a small section before dipping it in water.
How to Make Braiding Gel at Home?
Mix aloe vera gel, a little castor oil, and shea butter. It helps hold your braids and control flyaways. Store in a clean jar and use within a week.
How to Make Braiding Hair Longer?
Add more hair mid-braid or use longer extensions. This gives your braids more length and volume. Great for fuller looks and creative styles.
How to Make Braiding Friendship Bracelets?
Use yarn or floss and braid simple patterns. Add names or colours for a fun, personal touch. These are great handmade gifts for friends.
How to Make Braiding Bracelets with Beads?
Thread beads before you braid and space them evenly. This adds decoration as you go. Elastic thread works best for stretchy styles.
Final Thoughts
Braiding at home is not just a simple skill—it’s a creative way to care for and style your hair. You can try all kinds of braids, from a basic three-strand to a neat French or sporty Dutch. With a bit of practice, even beginners can learn how to make braiding look clean, stylish, and personal. It’s also a relaxing and fun activity you can do on your own or with friends.
So pick up your comb, part your hair, and start braiding at home today. You’ll soon be confident in your style and proud of what your hands can do. Braiding is a journey, and every braid you make is part of your learning.


![The Best 30+ Free Crochet Cat Patterns [Beginner-Friendly Guide]](https://crochetmind.com/wp-content/uploads/2025/04/1-The-Best-30-Free-Crochet-Cat-Patterns-Beginner-Friendly-Guide.webp)


